

I’ve been really enjoying Midgard Heroic Battles as you might have been able to tell from my last few posts. While I’ve been working on my Epic scale Punic War armies specifically for the game, I’ve really enjoyed the opportunity it has given me to break out some older models I’ve had painted for a long time that have not hit the gaming table in almost just as long. So far these models have mostly been Lord of the Rings/Middle Earth models, as they fit nicely in the War of the Ring movement trays that work quite well for Midgard. I’ve been wanting to use the rules to play with Warhammer models and historical models however, and those do not (generally) work with the War of the Ring trays.
The opportunity to remedy this problem came in an unusual form, when a large frame containing a cool fantasy map came off the wall and smashed itself on the ground. The frame itself was wrecked, and so was the glass, but the MDF backing on it was mostly OK (the map also survived unscathed!). This meant I had a mostly nice sheet of 60x90cm 3mm MDF on my hands, and realised it would be a good solution to my Midgard basing issue.
Midgard requires a common frontage for all units, but is pretty flexible on depth for models of greater size. This frontage is recommended to be 12cm for 28mm scale miniatures (you can change this, one of the really cool things that makes the game scale agnostic – for example my Punic Wars models are on 8cm bases), and the default depth is half the frontage. Most infantry units should fit on 12x6cm bases, while units with larger footprints should increase the depth (e.g. calvalry might be on 12x10cm, large monsters on 12x12cm etc.).
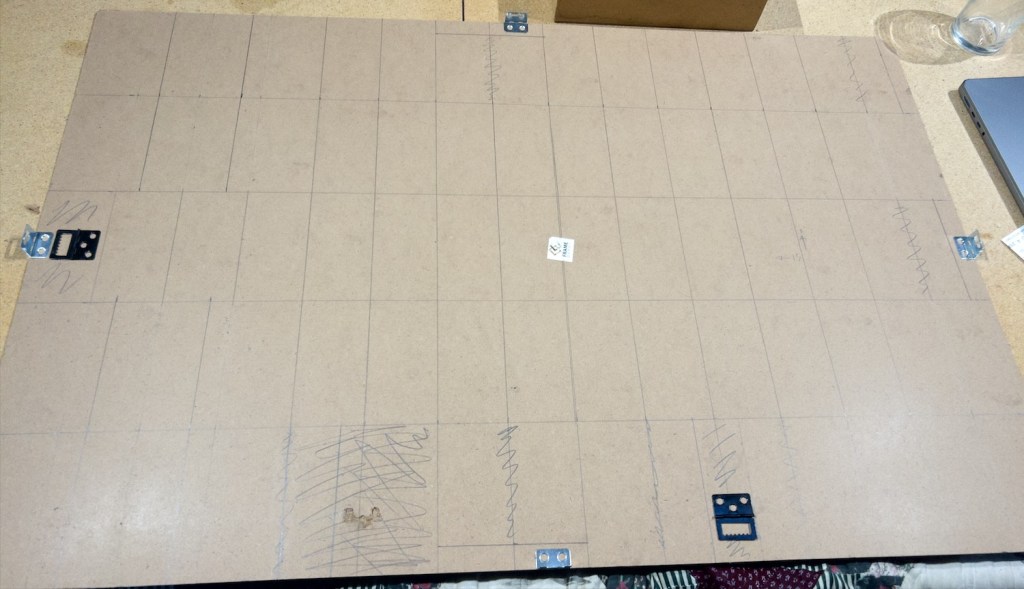
The good news for me is that 60 is nicely divisible by 12 and 90 by six, so I was able to plot a 12x6cm grid on my frame backing. I of course wasn’t able to fully utilise the board, as the hardware is anchored there (not that strongly clearly, you can see bottom left the spot where the other loop broke off leading to my frame mishap in the first place!). I used the marked bases with hardware on them to extend the 6cm depth of some bases to 10cm. In other areas you can see where I turned four 12×6 bases into three 12×8, and where I combined 2 12×6 bases into one 12×12 base. This gave me a nice spread off sizes, and more bases (I hope) than I could ever use!
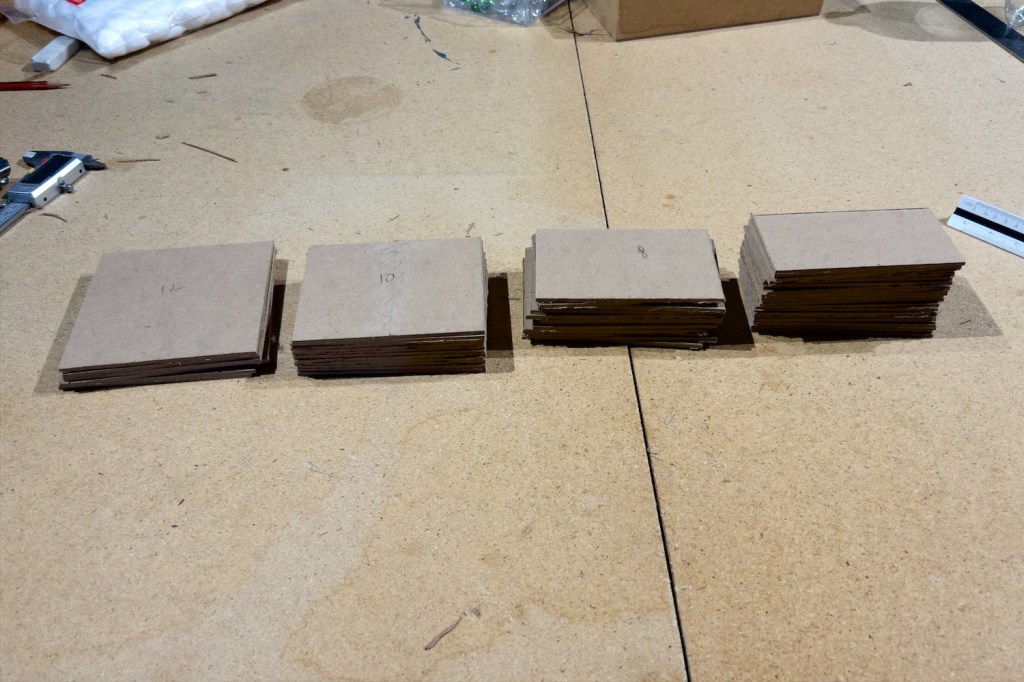
I usually use a jigsaw for MDF, but these needed to be pretty straight cuts and I didn’t think I could manage them freehand with the jigsaw. I went back and forth considering a few other methods for cutting these, but I ended up settling on using a long metal ruler and a box cutter. I read online that you can cut through 3mm MDF most of the way with the cutter, then snap the board along the cut, much like you would with plasticard. That worked pretty well, giving mostly clean edges apart from the snapped section. That was easy enough to trim away though so in general I think this is a pretty good method. Note that MDF dust is nasty stuff so wear a mask whenever cutting or sanding it – have a look at Guru Pig’s thoughtful comment below for more detail. Left-to-right above you can see the stacks of 12-10-8-6cm deep bases.
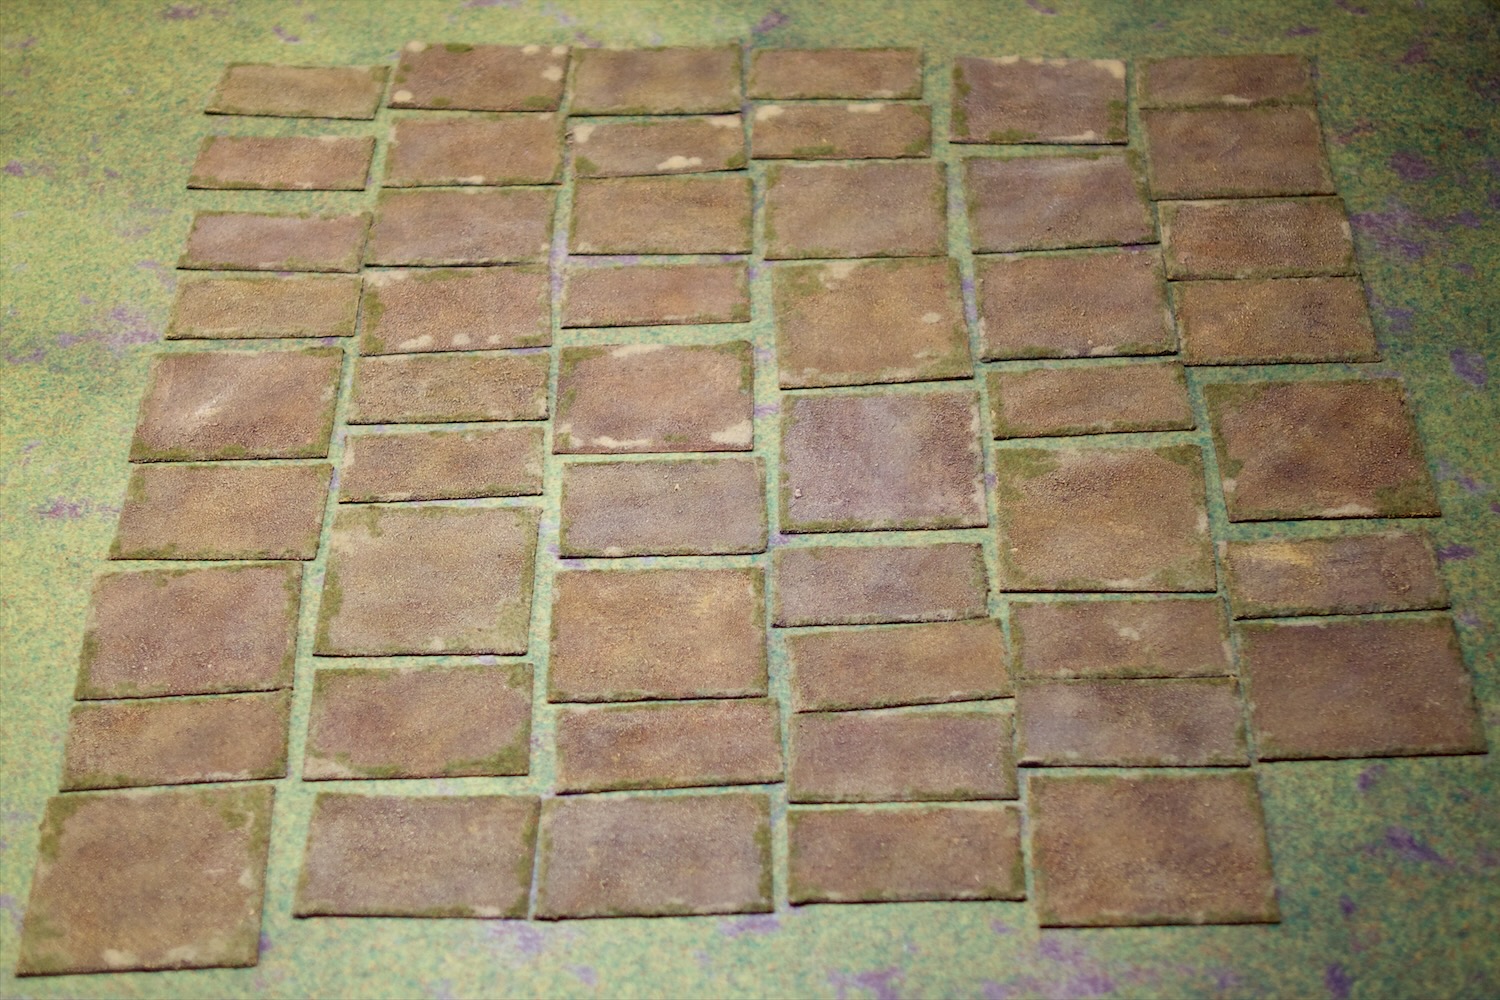
I glued sand on the bases and painted them with a series of dry brushes of successively lighter brown tones (raw umber, yellow ochre, yellow ochre with a touch of white), followed by some light flocking with green and dry static grass around the rims where model bases would most likely not sit. Painting that many was a bit tedious I have to say, but the results are hopefully worth it! Let’s take a look at them in action.
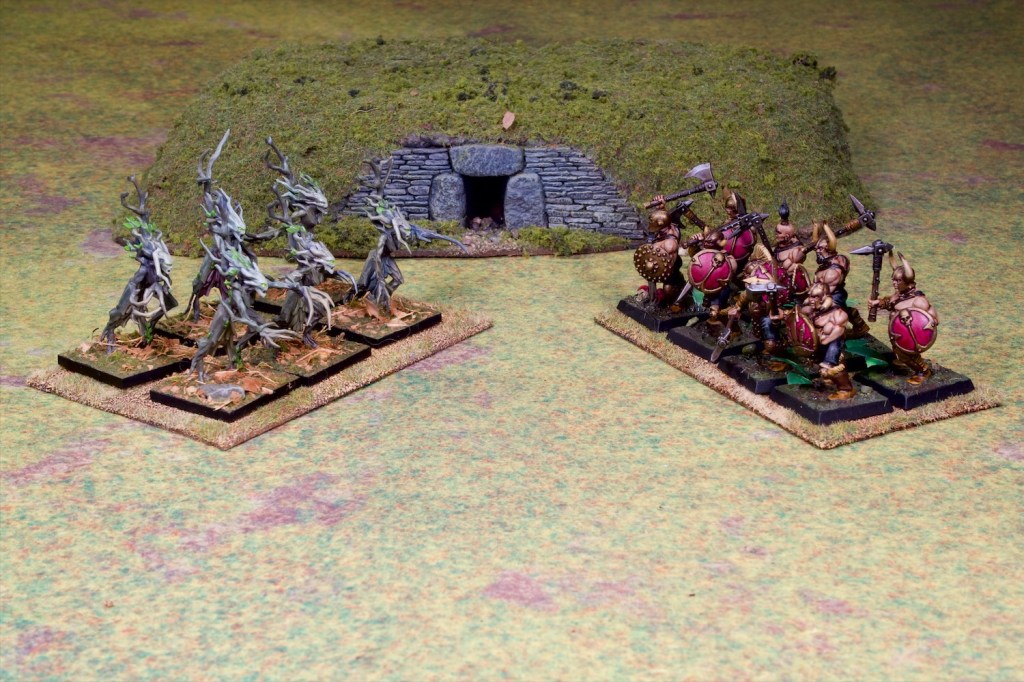
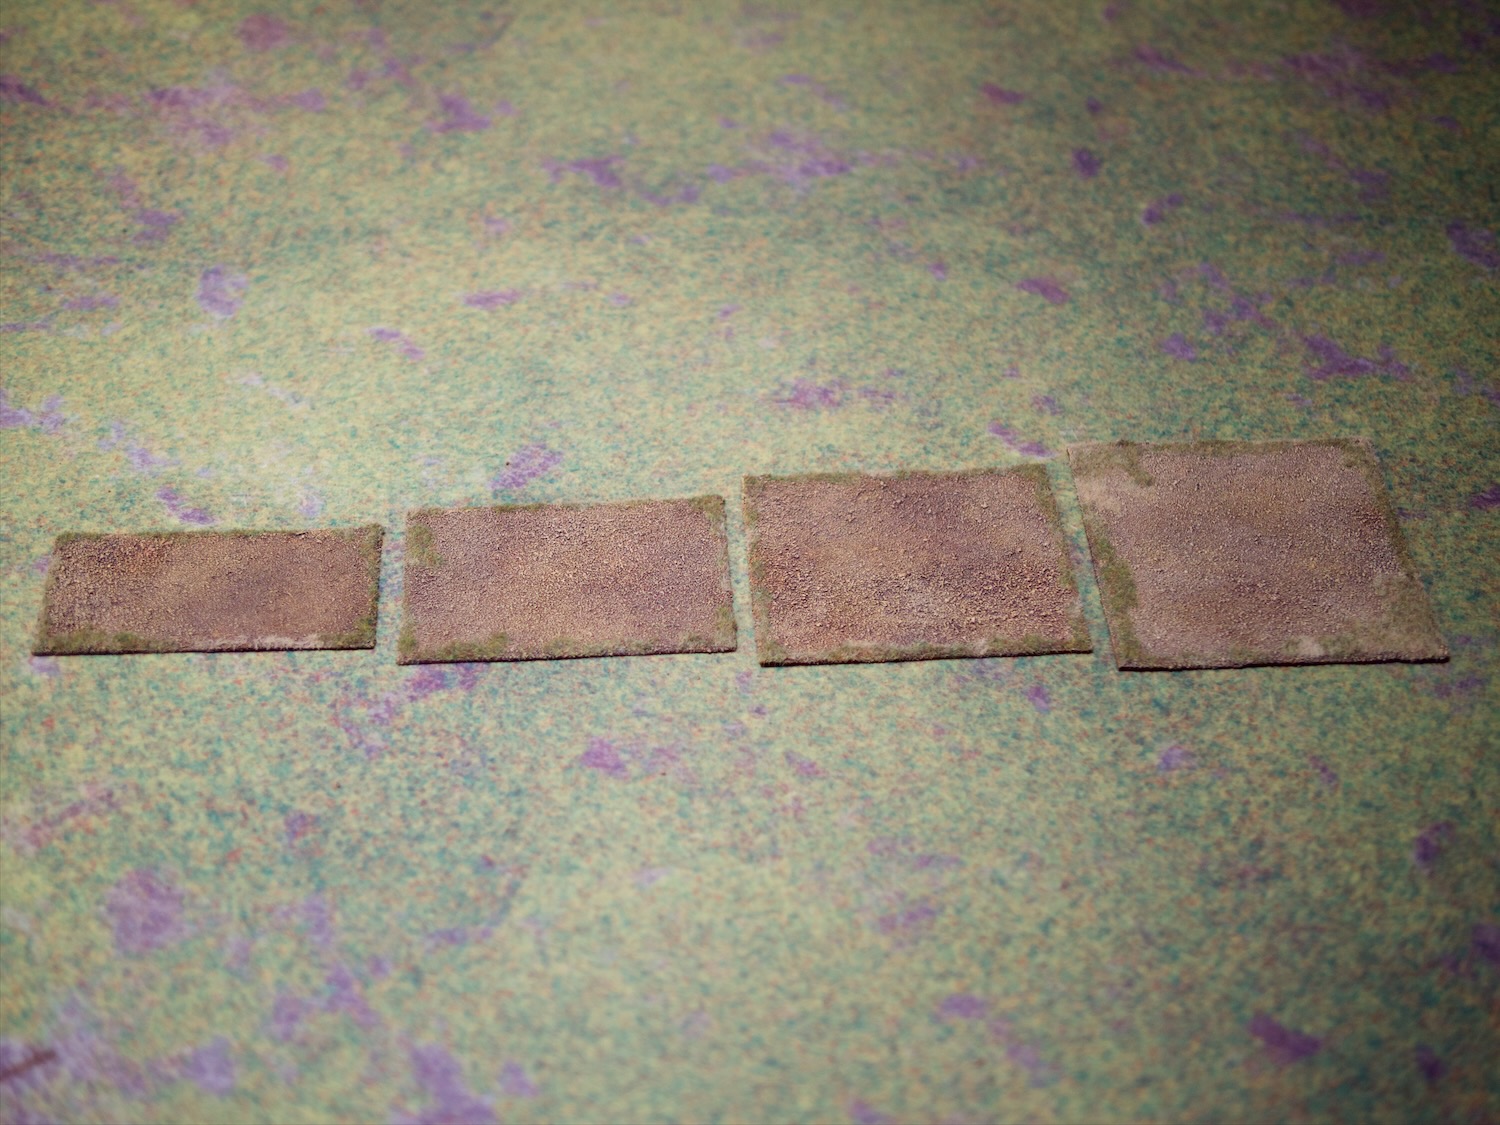
In the photo above we have on the left the 12x8cm base – good for larger infantry such as these dryads, on the right the 12x6cm regular infantry tray, which comfortably fits eight 25mm square based infantry.
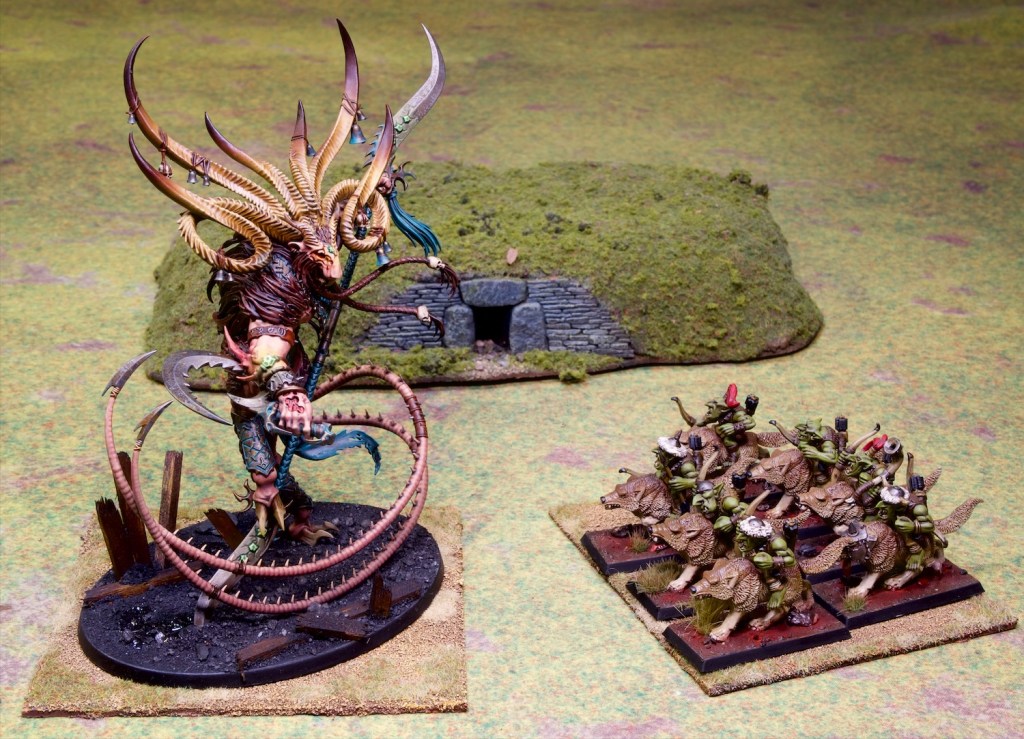
Left is the 12x12cm tray, big enough to fit this Verminlord, and right is the 12x10cm tray, good for cavalry models.
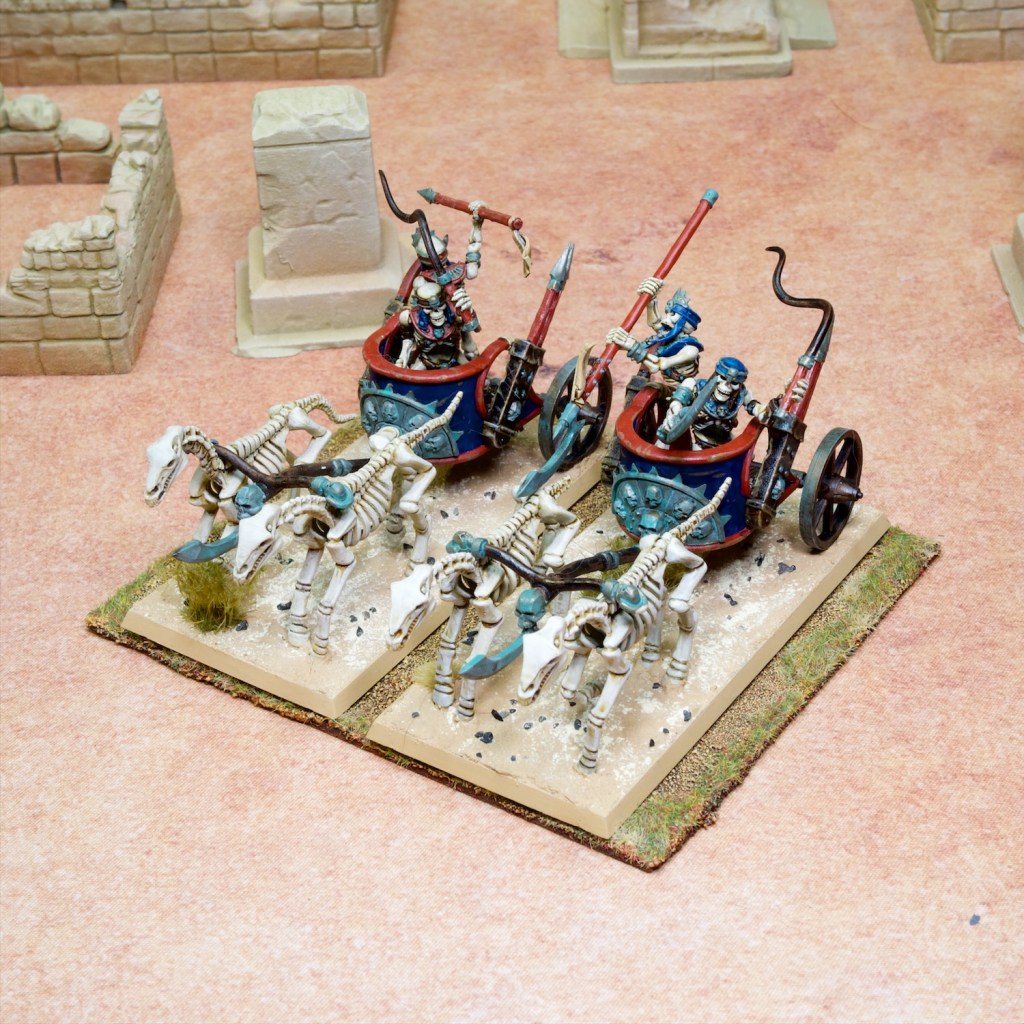
I painted and flocked the trays so they wouldn’t look too out of place on either of the mats I use for gaming the most, i.e. the green field and the desert you see in the photo above.
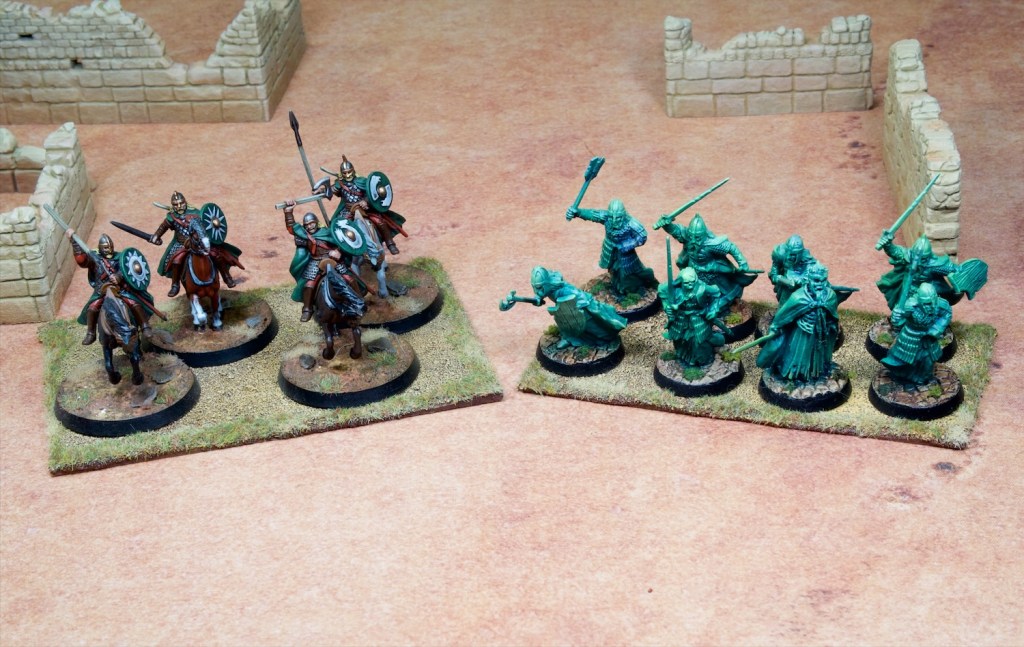
The Lord of the Rings miniatures also work fine on these, the cavalry bases with four models look better than the two you get on the War of the Rings bases.
Overall, these bases are pretty plain, and I think for armies that I build specifically for Midgard I’d like to use the opportunity to make proper scenic bases. These however have the advantage of being very flexible and letting me field a lot of existing armies in fun games of Midgard. I’m very much looking forward to that.

Neatly done, Nic! 🙂 I’ve never really tried cutting MDF so it’s worth knowing that it can be done without a jigsaw!
LikeLiked by 1 person
It is easy to cut with a “Stanley” knife. I only buy 2mm mdf for this reason and the safety reasons outlined in the reply to Nic below.
LikeLiked by 2 people
Thanks John! I’d stop at that 3mm thickness with the knife, you’d be there all day with thicker MDF I think.
LikeLiked by 1 person
Great work on these Nic!
A simple way of cutting mdf straight with a jigsaw is to use a length of wood just a bit longer than the width of your board say 2″ X1″ as a guide. Line up the guide so the jigsaw blade aligns with the line you want to cut. G-clamp the guide to the mdf sheet and cut your straight line.
NOTE: Cutting MDF is considered a potential carcinogenic activity due to the release of wood dust and formaldehyde. Formaldehyde and wood dust are classified as Group 1 carcinogens, meaning they are known to cause cancer in humans. Use a respirator mask rated N95, for better protection, a P100 or FFP3 mask to protect against fine dust particles and the urea-formaldehyde in the resin.
I find it is safer (I ran my own Risk Management consultancy before I retired) and less effort for little outlay to buy the sizes I need from Pendraken even with the postage to Australia. https://www.pendraken.co.uk/bases-and-basing
LikeLiked by 3 people
Thanks for the advice! Yep mask on for any jigsaw work, and I was surprised by how much dust the knife method also released (at least it wasn’t being kicked up into the air like it would with a jigsaw, but still I’d wear a mask when doing that). I might edit the post to add that in, just in case someone doesn’t read the comments – can never be too sure with that stuff.
There used to be a guy that did MDF cutting locally so that was great but he’s closed up shop unfortunately. I’m reviewing my options here for other MDF bases, I was fine with the rougher cuts for these, but for ones I’d have actually glued to models I’d want the cleaner look laser cutting gives you. Pendraken wasn’t on my radar as a potential source of bases so thanks for mentioning them!
LikeLiked by 1 person
Very useful comments from both of you, so thanks for those! 🙂 I’ve found that eBay in the UK has plenty of people selling bases of various sizes and thicknesses!
LikeLike
This is a very interesting project, mon ami! I like how the bases have a consistent look to them. I’m used to seeing the Warhammer fantasy trays and those are harder to do much with because there is a lot of empty space between the bases and tray rim, if that makes any sense. I think these bases look much more scenic and that makes them a great addition to your collection, in my book!
LikeLike