Necron Milestone: 1000 Points Painted

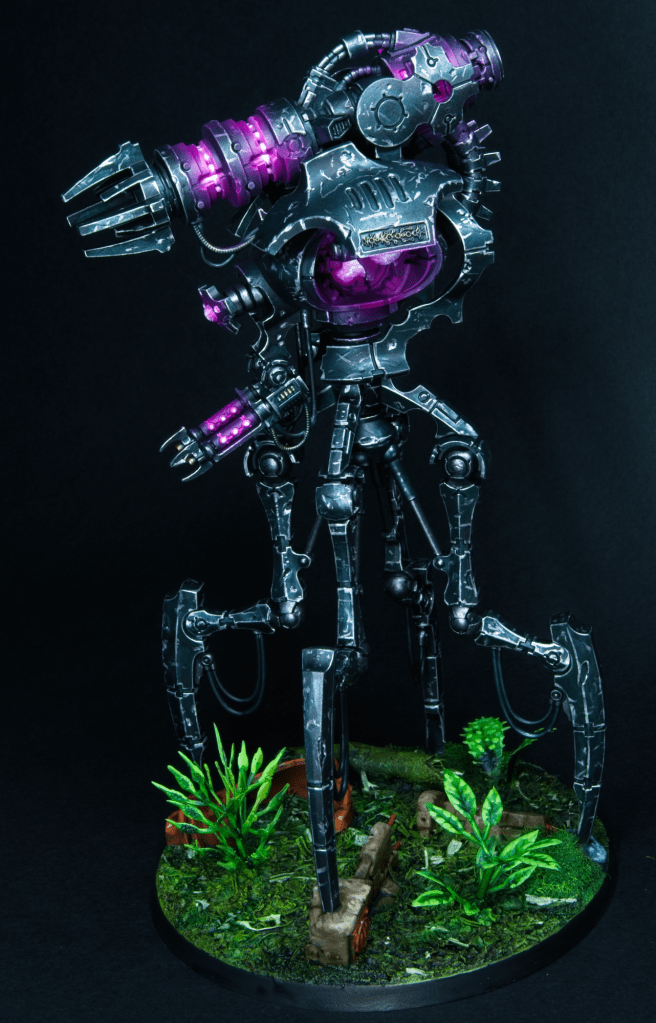
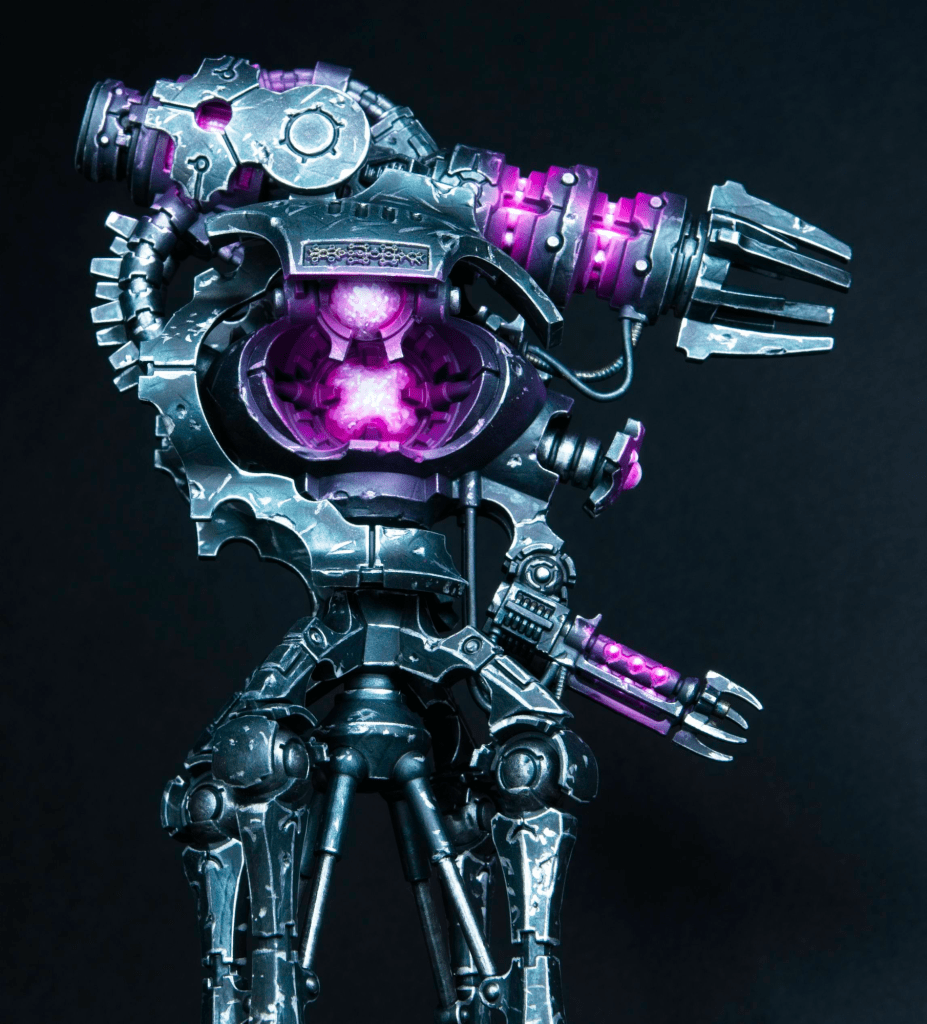
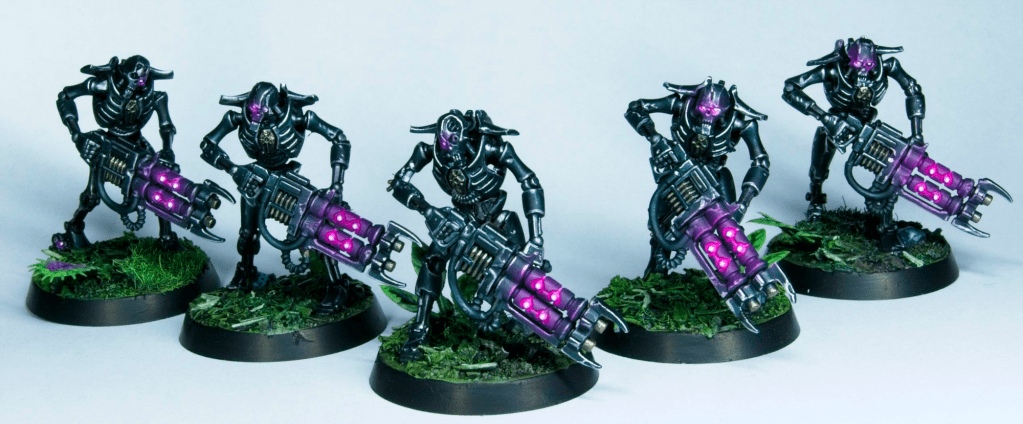
With only the two characters left to paint, I was very motivated to finish the army this weekend. This scheme is very quick to paint which meant I could fit both in today. First up the Cryptek:

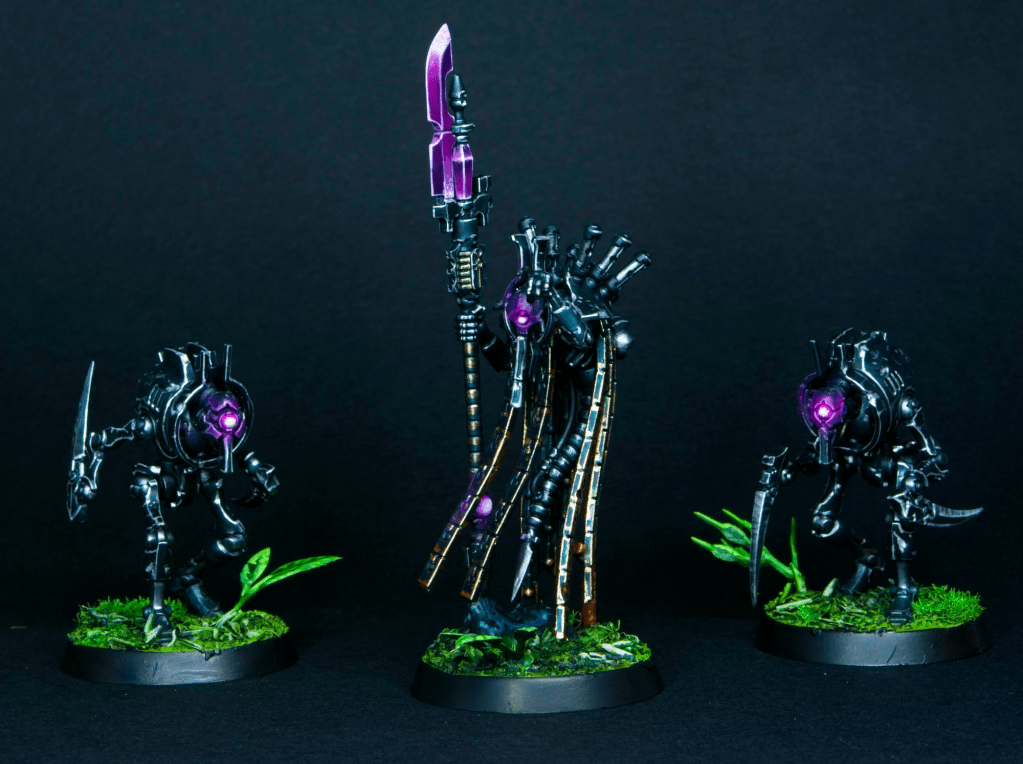
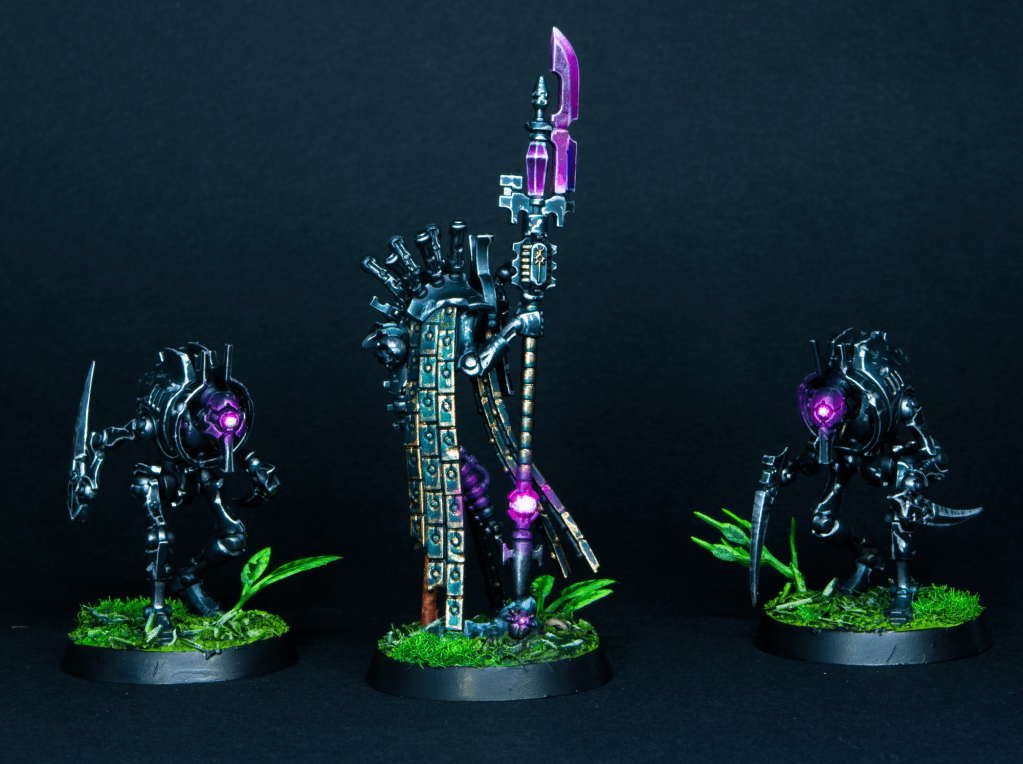
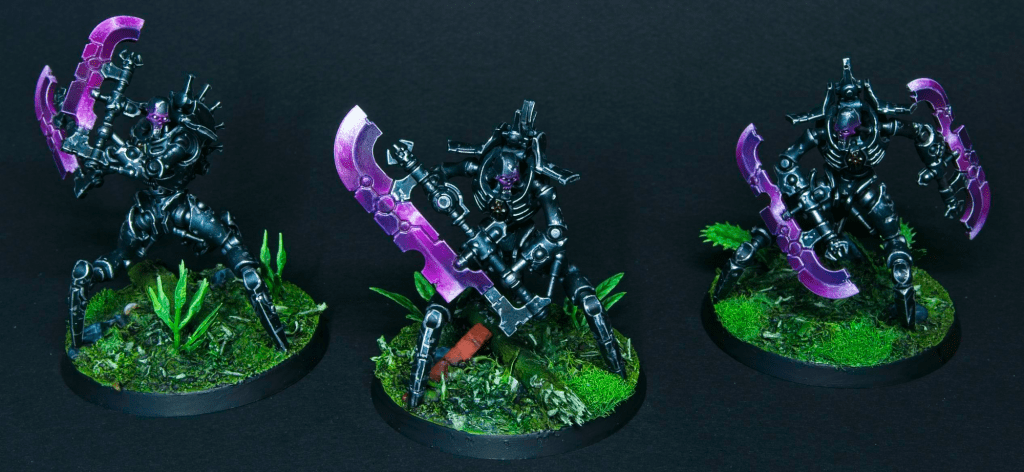
I’d actually painted the cryptothralls a while back, but I wanted to have the Cryptek finished before posting them. This model has a lot of ornamentation (most dominating of which is that cloak), and I settled on painting it all in the brass colour I’ve been scattering throughout the army on emblems and loose wires.

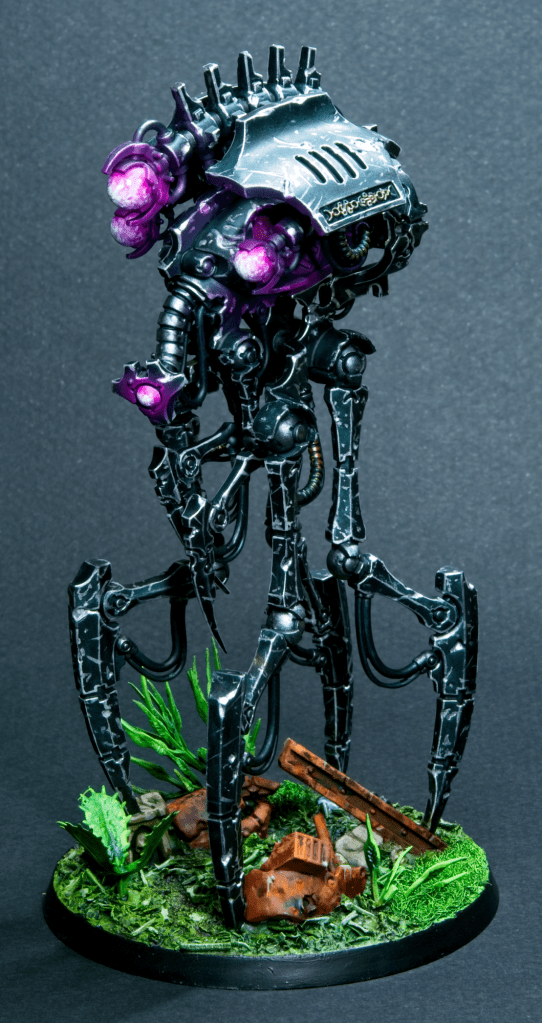
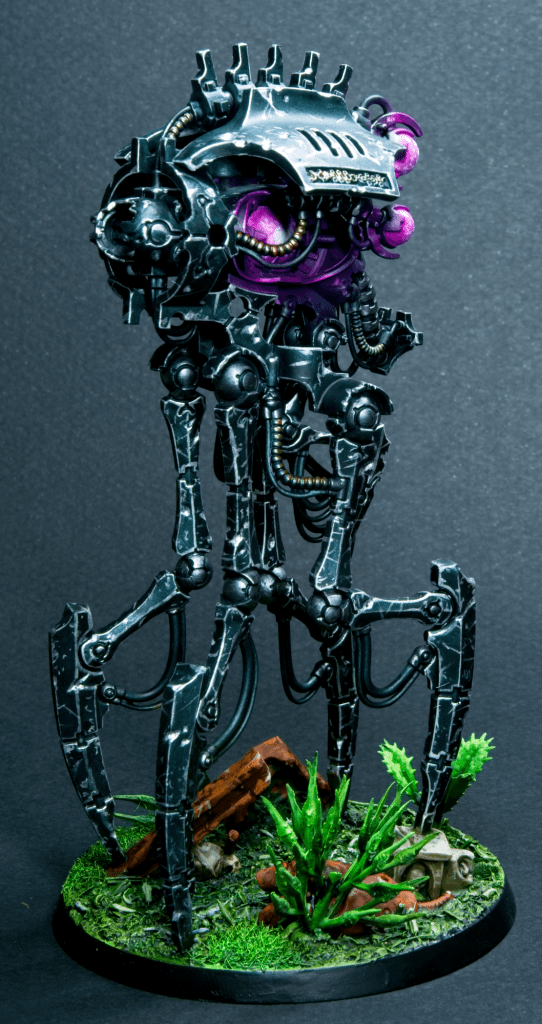
The warlord for the army, a Skorpekh Lord, is up next:

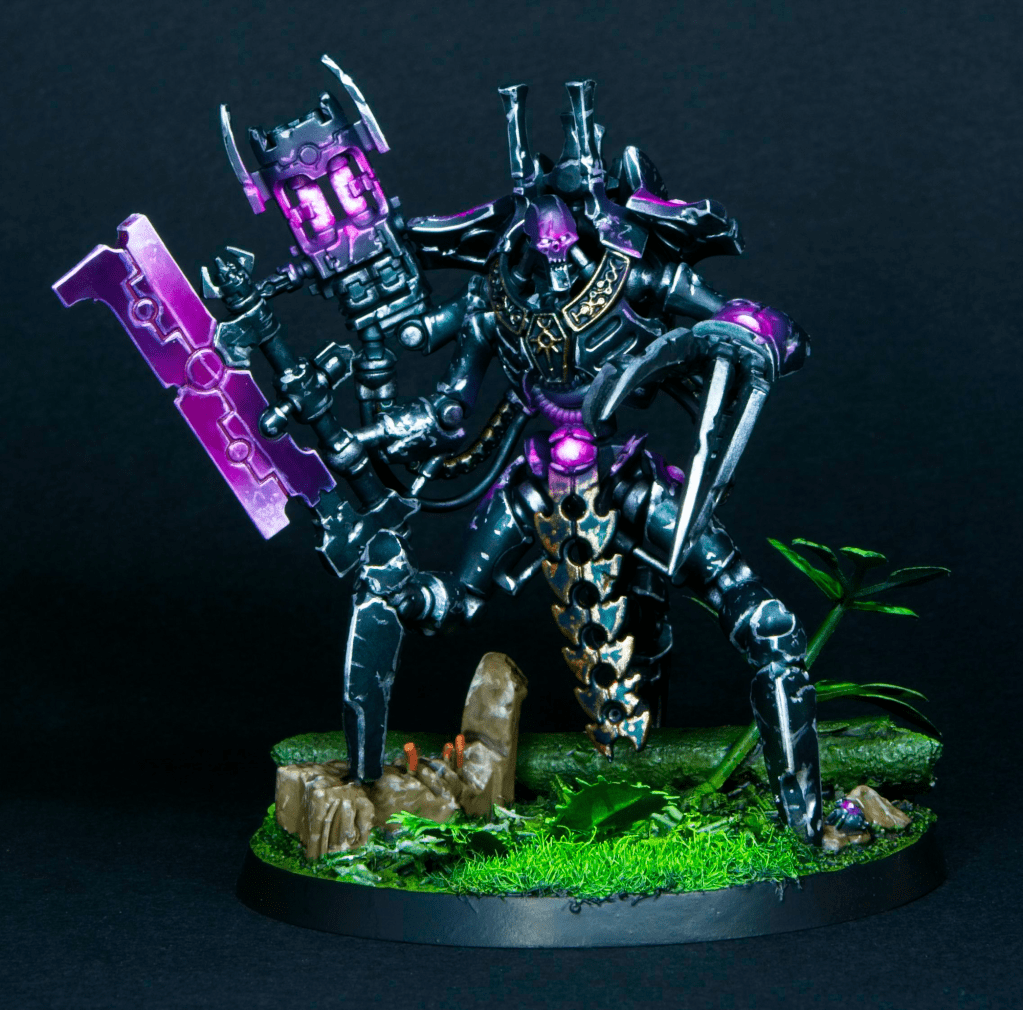
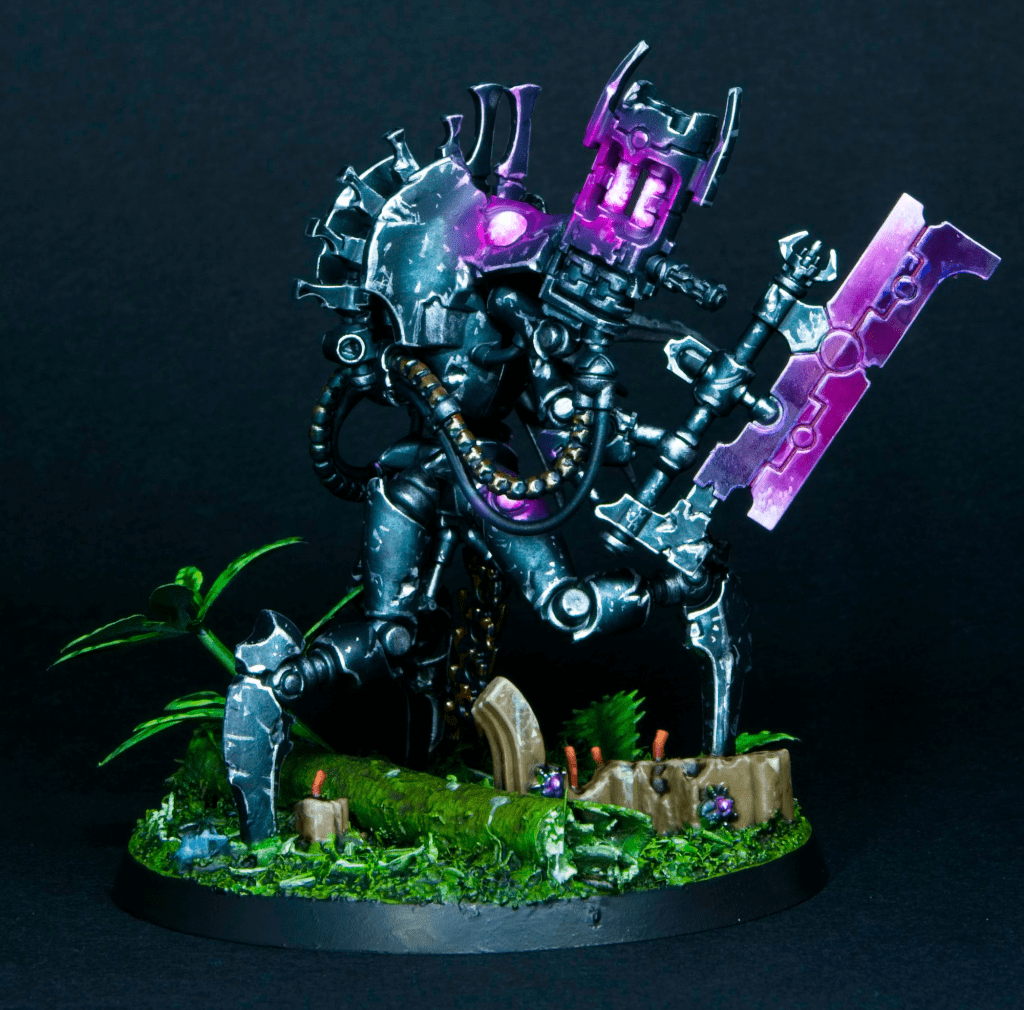
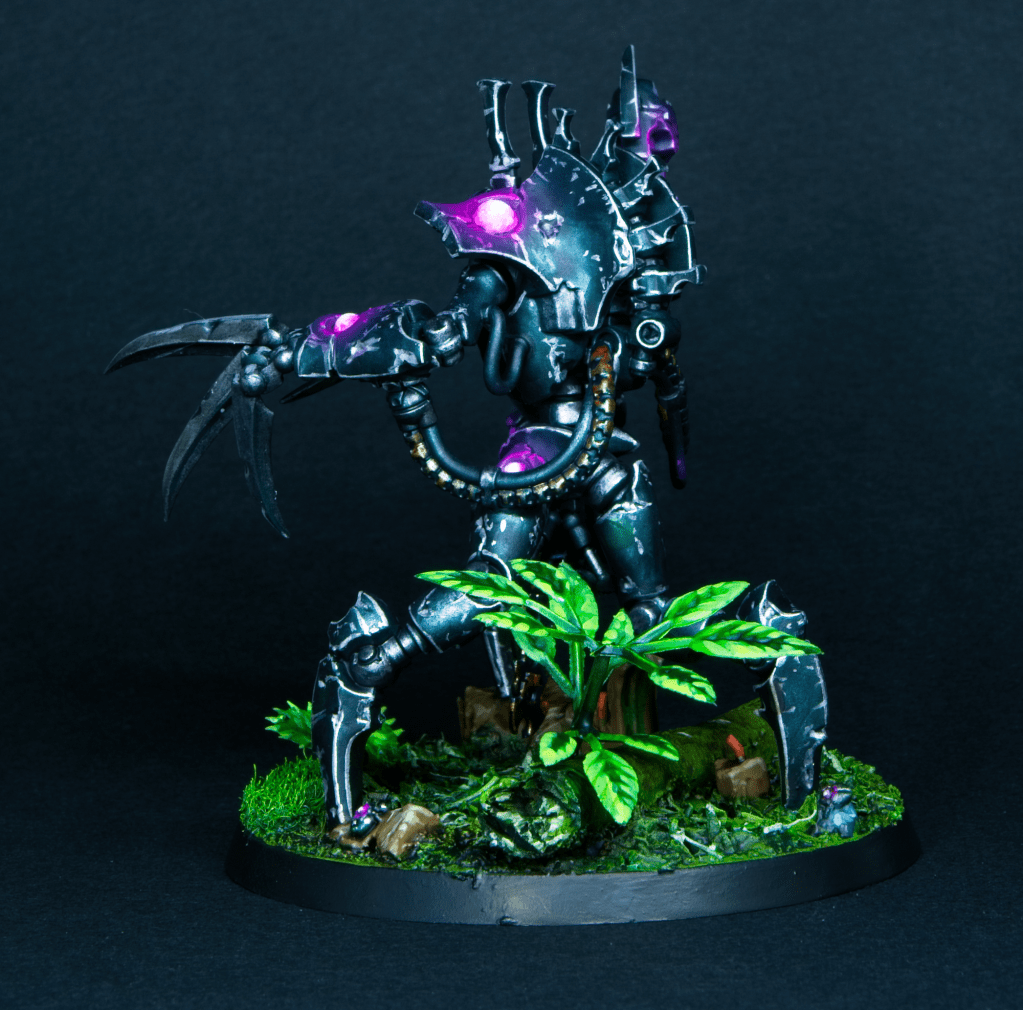
This model is very cool, incredibly imposing, and was pretty fun to paint. Each arm has a different weapon, which adds a lot of variety, and he ended up with every technique I used on the army (glowing weapon, glowing orbs, and power sword), which seems fitting as he leads it.

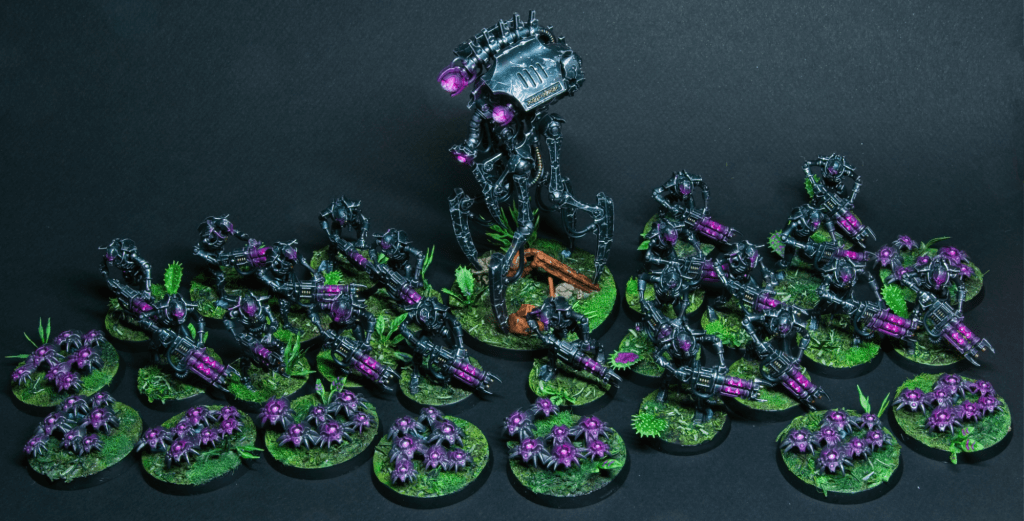
Finally, here’s a group shot of the army as it stands:

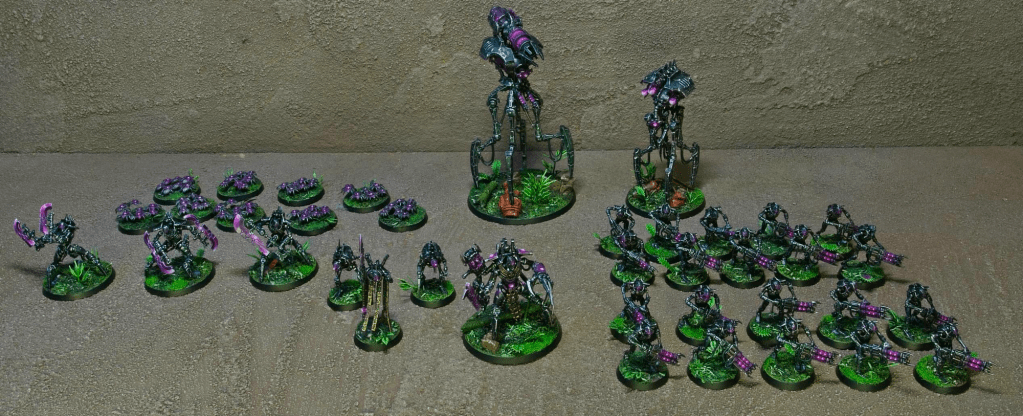
I ran out of space in my usual photography area, so I had to improvise with this photo. I’ll have to figure out a better solution in the future for army shots.

I’m planning at some stage to grow the army up to 2000 points, but not for a little while. I’m a little burned out on painting robots, so I’ll be moving on to another project soon.

Canoptek Doomstalker

The big guy himself is finally done. This is one of the models from the new range that really inspired me to get a necron force done, loved it as soon as I saw the previews. And when I saw it was bigger than the reanimator model I was very excited to say the least.

The large base was a lot of fun to populate, I got to use full stems of the aquarium plants rather than a few leaves.

I used the same sort of speckled light sources I did for the reanimator, just on a slightly larger scale. Here’s a close up of the lights of the main “reactor” for lack of a better word.

This was the largest model in the army by far, but painting it was relatively quick overall. I now just have two characters to paint and the 1000 points is done!

Skorpekh Destroyers

I finally got around to painting the destroyers from the Indomitus set. Very cool models and the first models with “power sword” style weapons, which meant needing to come up with a way of painting those. I’d settled pretty early on on using the same sort of colours as I used on the glow parts of the models, but only really decided to go with the by the book power sword look as I stated painting these models.

Photographing these was a bit of a challenge as I varnished the blades to give them a bit of protection (glazes do not bond very well to models and can rub off pretty easily), and even though I used satin varnish the glare from the lights was quite strong. I found a solution in the end which was to place my lights much further back than I usually do, reducing their intensity.

With these models finished, I only have three models left to paint to reach 1000 points, two characters and the Doomstalker.

A Canoptek Reanimator and Other Necron Progress

I made some more progress on my Necrons, with the latest addition a Canoptek Reanimator. I had a ton of fun painting this model, the Necron walkers are definitely my favourite models in the new range, I just love the idea of them stalking around.

The model came with bits of metal modelled on the base, so I decided to paint them completely rusted as I would expect to happen in a wet environment like a jungle. A few of the other models in the range come with extra base detail like this (including the Canoptek Doomstalker that I will be painting up soon!) and I’ll keep the rusty theme for these as well. I think it works nicely with the green of the bases.

Here’s a group shot of the Necron army as it currently stands:

I’m slowly but surely getting closer to having 1000pts painted up and ready for games. Here’s the list I’m aiming for:

That leaves the 2 characters, destroyers, cryptothralls, and the doomstalker to paint. All up 8 models left, so I’m definitely most of the way there!

First Necron Warriors

Here are the first five warriors I’ve painted, ready for the codex release next weekend! The bases are done exactly as per the article I posted last week, I’ll put up a post on how I’ve done the warriors themselves soon. The paint scheme is relatively quick and I’m hoping to have roughly a thousand points done relatively quickly.

Jungle Bases pt. 2

A continuation of yesterday’s post (found here). Last post I covered the airbrush steps I took to get the bases ready, this post will cover the paintbrush steps.

First any rocks are painted with Vallejo’s Dark Sea Blue
Then the fun part! I liberally applied Agrax Earthshade, Athonian Camoshade and Biel-Tan Green from the Citadel Range in splotches on the bases, letting the colours run and mix together.
The rocks were highlighted twice with successively lighter mixes of Vallejo Dark Sea Blue and Kimera “The White”.
Then I picked out a few random elements on each base in Mig Light Green to add a bit of interest.
Finally I focused on the leaves, adding some Vallejo Warlord Purple spots to some and highlighting these with a mix of that same purple and Kimera white, then on all leaves highlighting the green areas with Vallejo Escorpena Green.
I painted the rims black and the bases are ready to mount models on.

I think these turned out pretty good considering the relatively low amount of time they took to paint. Here they are with a few artificial inhabitants.

Jungle Bases pt. 1

For my Necrons I decided early on to have jungle bases, with a strong green tone overall. The idea is to have the bases look like the floor of a jungle area, with a lot of leaf litter and smaller ground plants. To that end I purchased the ever-needed accessory of jungle bases: aquarium plants!

To fill the bases, bits of aquarium plants were hot glued directly to the base, then a textured paste was applied over the entire surface of the bare base and over hot glue spots. On top of the paste I glued mixed herbs and some static grass to add texture to the ground and make it look undergrowthy.

A base ready for painting

To paint the bases I decided to employ two stages, first rough in the colours using the airbrush, then paint in detail by hand. The photos below walk you through the airbrush stages, I’ll cover the hand details in another post.

First a quick zenithal undercoat to define light and dark areas.
Go over the lot with vallejo air dark green, concentrating on the centre to start forming a light to dark gradient outside to in
Mig bright green to reinforce the outer areas
Vallejo Air Escorpena Green, also on the outer edge, but much more patchy, to create a bit of visual interest
Finally I lightly misted Vallejo Air Light Livery Green over the whole base to tie everything together
The LEDs in the spray booth are quite blue, so here is the result under daylight lamp.
And here is the base in context, with its future inhabitants

I plan next to add some washes to add more depth and to pick out some details using a brush. A few browns will be introduced for a bit of variation, but I want to make sure the greens dominate. I’ll add a link to Part 2 when that is complete (Part 2 here).

Something Dark This Way Comes

I keep hearing chittering near my paint desk…

Like many I’ve been bitten by the Indomitus bug and have been excited about painting 40k models for the first time in a while. In this case, it’s the Necrons that have captured my imagination.

I’ve tried to keep the paint scheme relatively simple, in dark colours to make them appear even more menacing. The goal is to give them jungle bases, but more on that later.