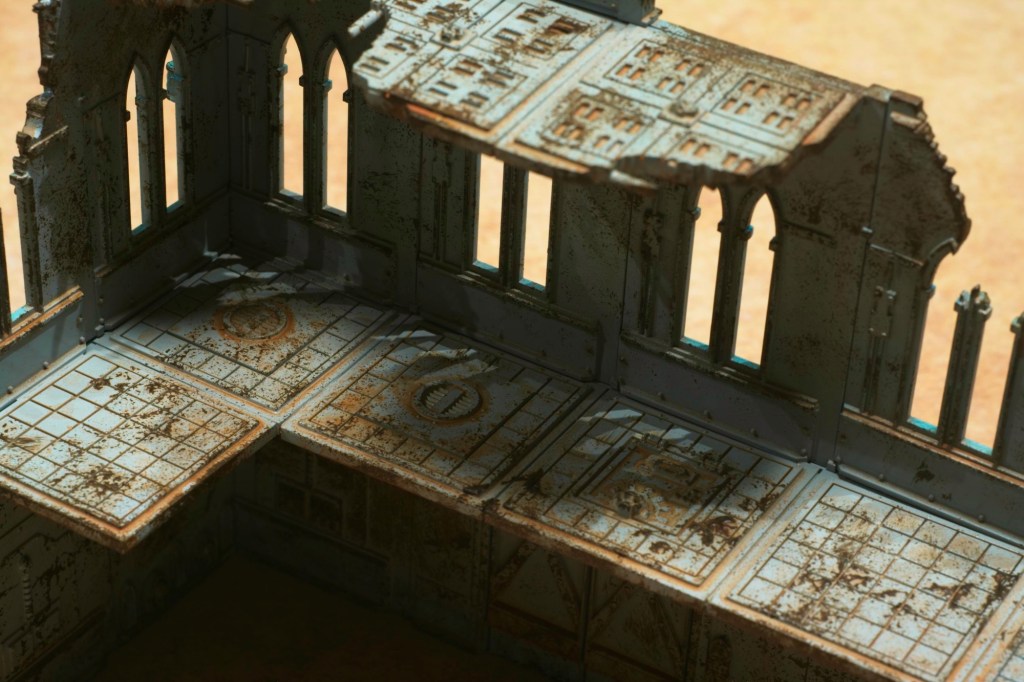
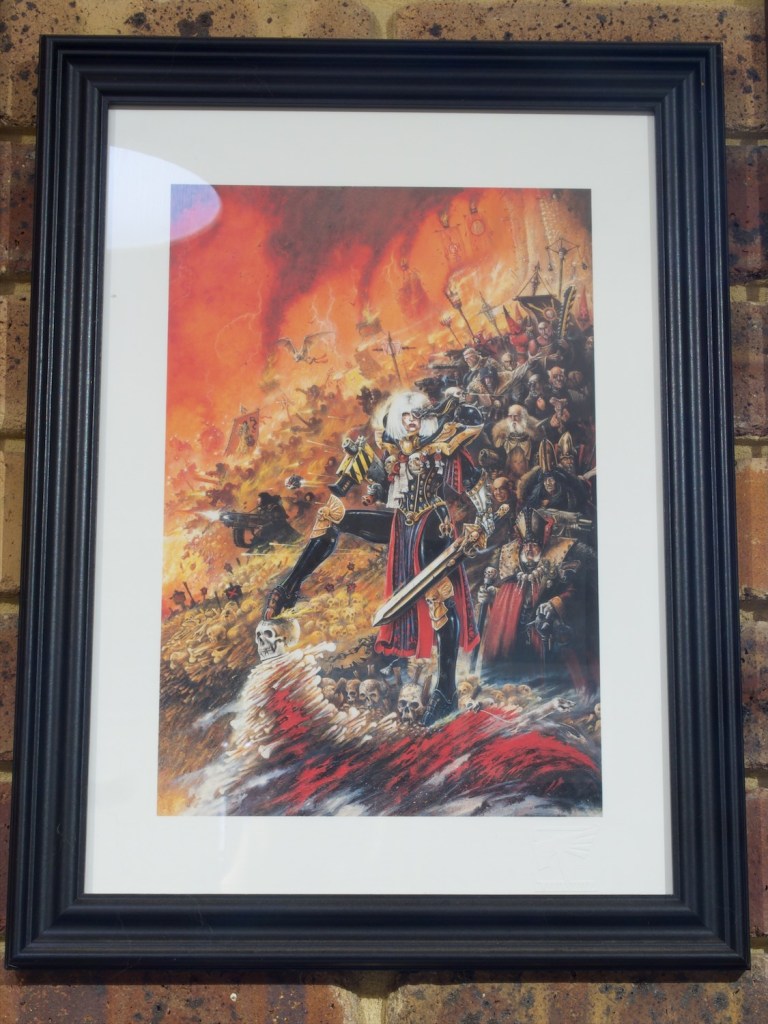
If you’re at all associated with the Warhammer side of our miniature hobby, you probably came across the sad news that John Blanche passed away earlier in the month. Needless to say he had an incredible impact on our hobby, his artwork inspiring many of us and laying the course for much of what Warhammer and its dark future counterpart became. It’s easy to see his impact by the number of excellent posts on the topic around the internet (I’m partial to Azazel’s post on the subject, which focuses on the impact of John’s miniature painting articles). For myself, one of my first proper experience of the hobby was reading through the 3rd edition Warhammer 40,000 rulebook, and soon after getting Mordheim and playing that for quite a few years. If you’re familiar with both those books, you’ll understand that John’s art provided a lot of the context as I got to grips with these worlds, and therefore has stayed with me throughout the years as I paint models and play games. On the news of his death I spent a bit of time looking back at those books, taking in at the art that inspired me all those years ago, and deciding that I should channel this energy into some model painting! Luckily for me I picked up the Canoness Veridyan model when that was released quite a while ago (I saw 2016 somewhere), and that being a direct interpretation of one off John’s most famous paintings that seemed like a good way to go.
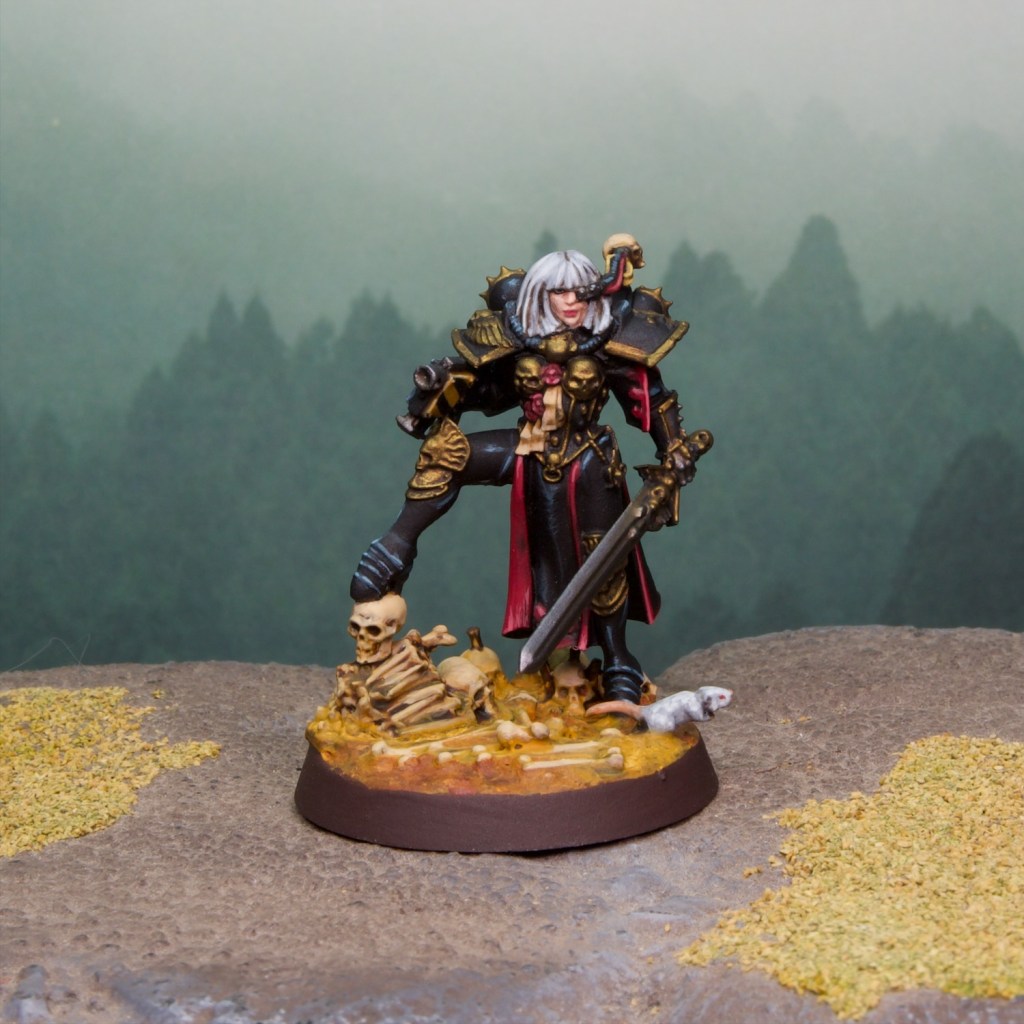
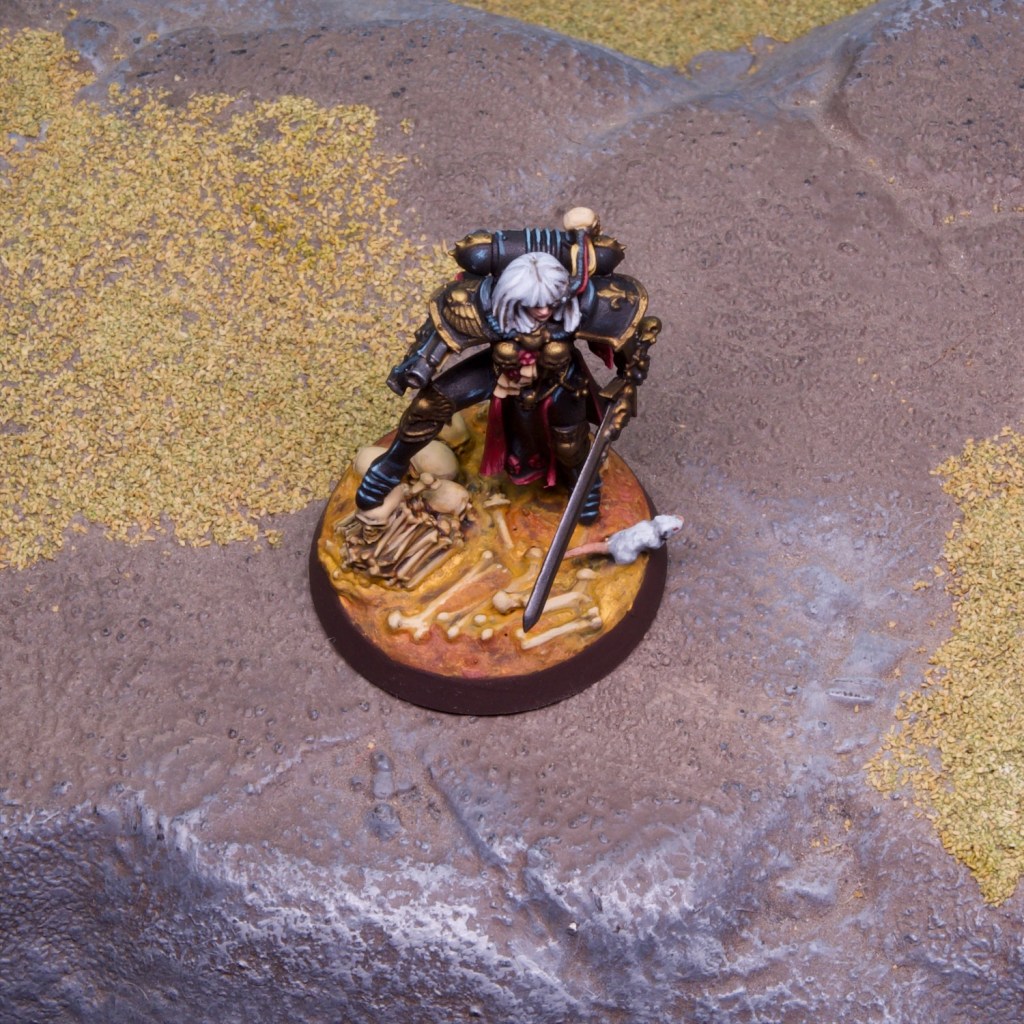
I initially decided maybe I should try to paint this to display standard, as it’s been many years since I tried my hand at that, but ended up going with the flow and that resulted in a model that’s more like character standard (i.e. slightly better than army painting!). I think I’m just too impatient to paint display models these days, or at least not used to it anymore!
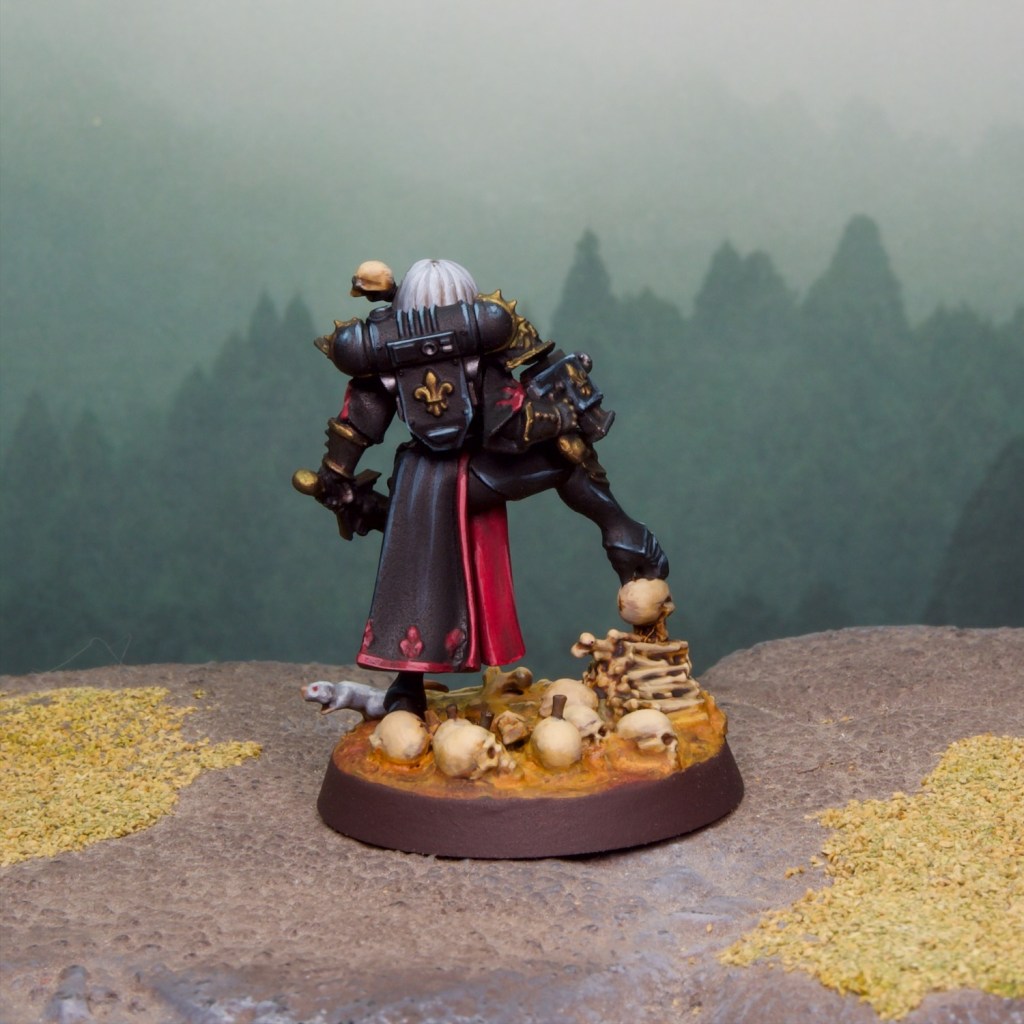
I left the model as is, adding a few elements on the base to recall the original painting (i.e. adding a stack of bones, and a white rat scurrying away).
If you’re unfamiliar with the painting, here’s a photo of a nice print of it I have hanging near my games table.
I really enjoyed painting the model, it was nice to take a bit more time than usual on a single figure. I find painting reds and blacks quite satisfying, and I have to say I had a bit of an urge to do some more Sisters of Battle/Adepta Sororitas models after this one, so who knows maybe that’ll start something!