

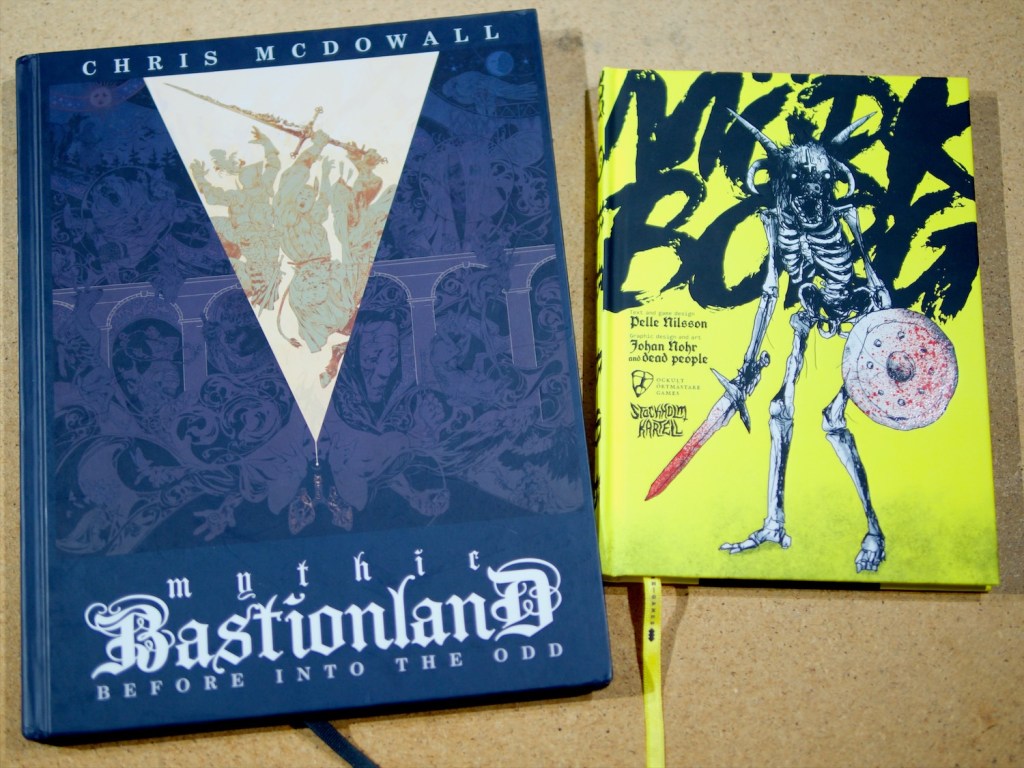
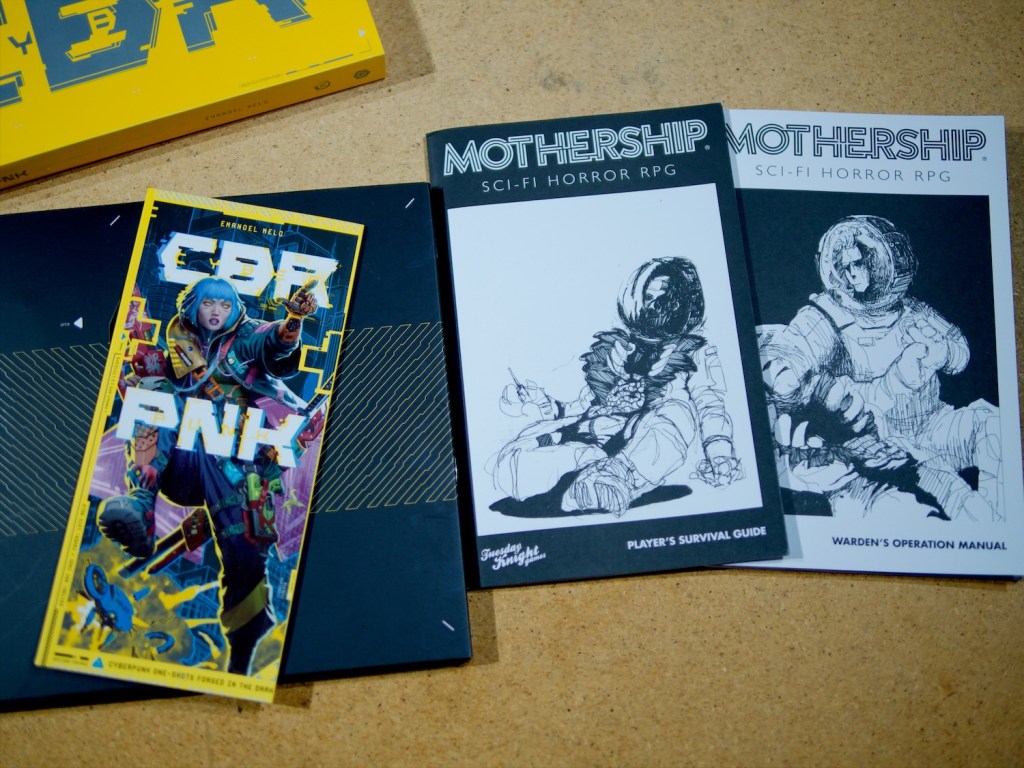
Over the Christmas break I reconnected with one of my favourite pastimes: reading roleplaying game books (hence me posting something painting-related just once over two weeks of mostly free time!). I have a regular gaming group with which I play roleplaying games (and the occasional wargame!), and we play quite a few different games, but my gaming bookshelf is filled with games I’ve never played (and in some cases never read). I’d like to turn that around to some extent, and use the blog to motivate me to read through these books and write up my thoughts around them (More on that later!).
What I immediately got out of my readings however is a furthering of my appreciation of narrative gaming (as opposed to competitive gaming), and/or rules light games. I’m saying and/or because I see quite a bit of overlap between the two. While narrative games aren’t always rules light, both narrative games and rules light games expect players to come up with rules for their games, which is very different to competitive games where rules are expected to be provided.
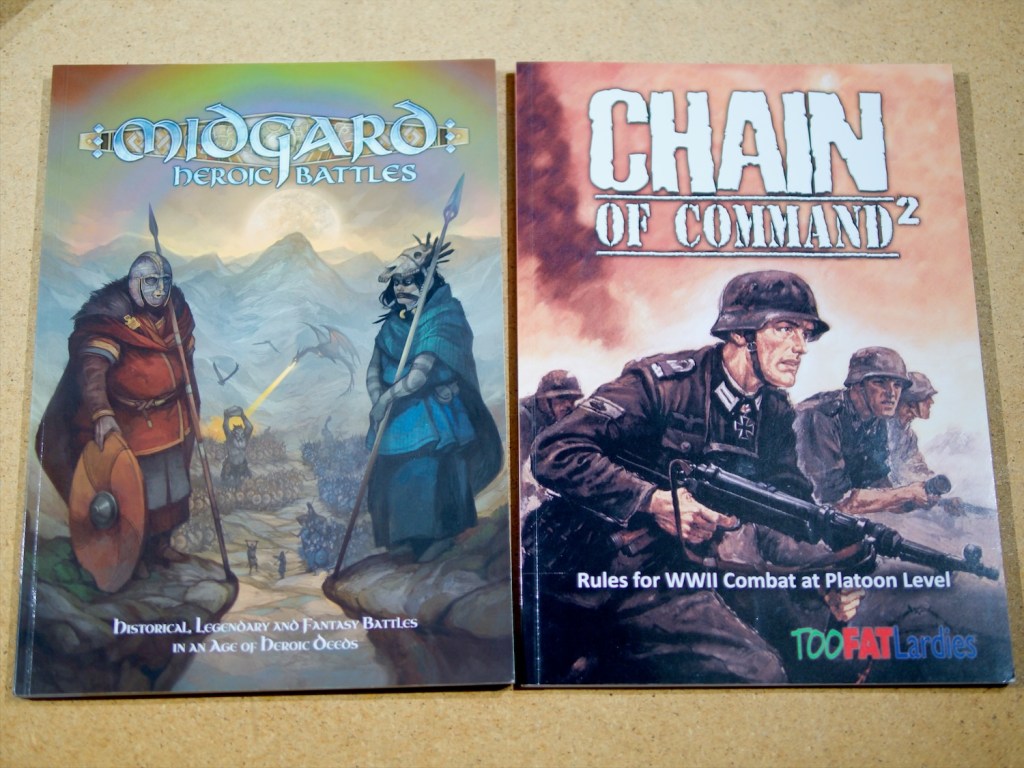
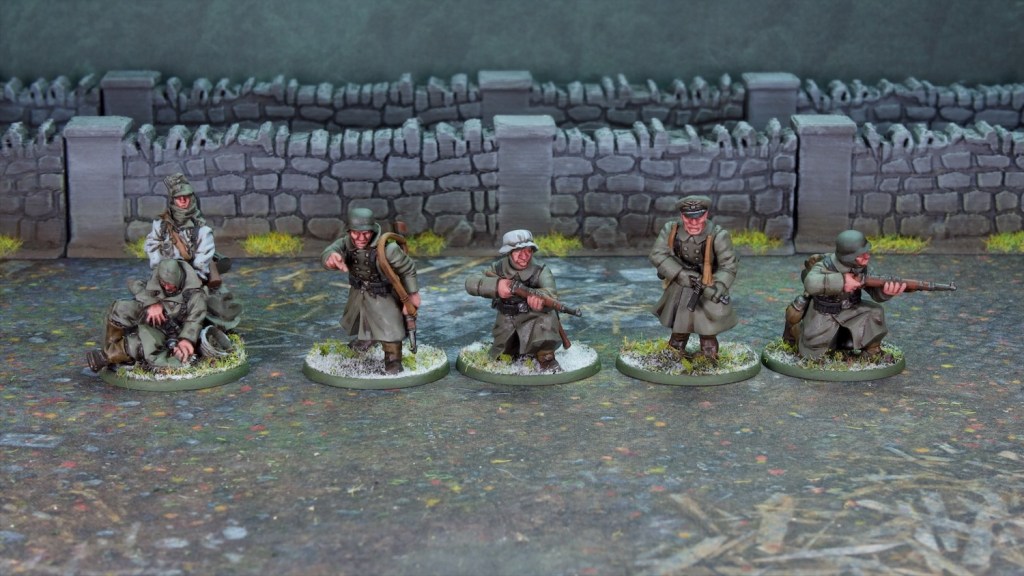
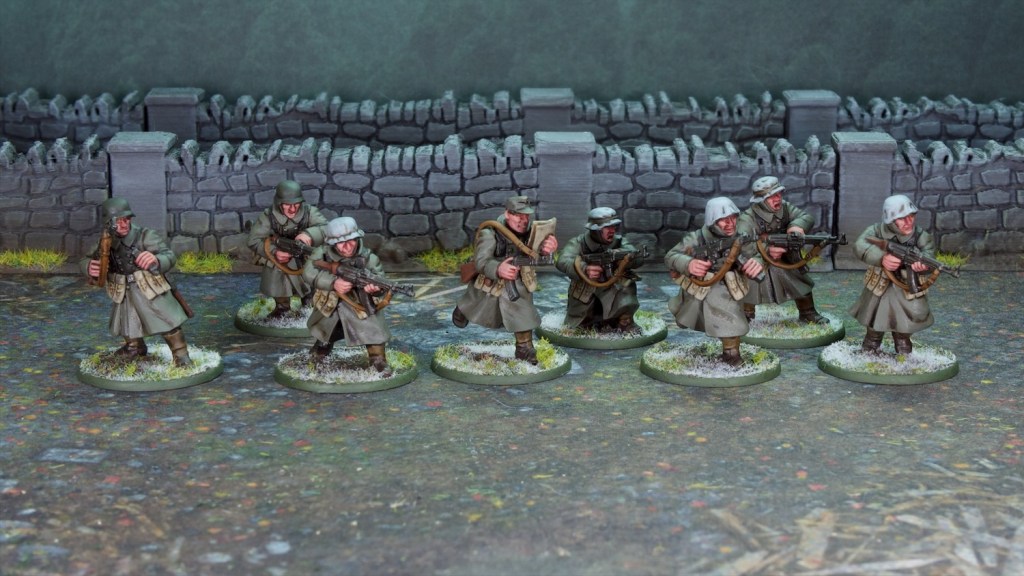
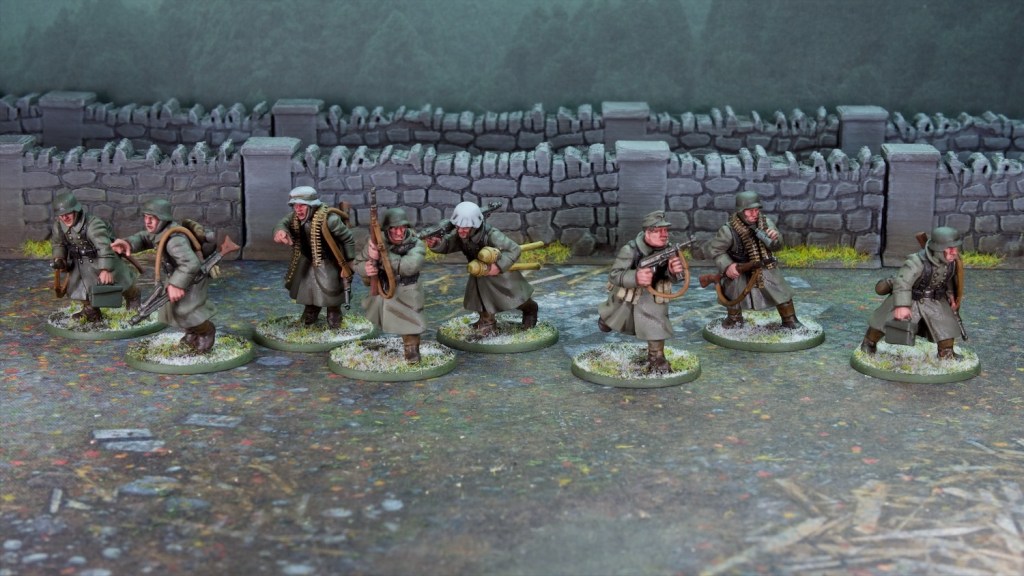
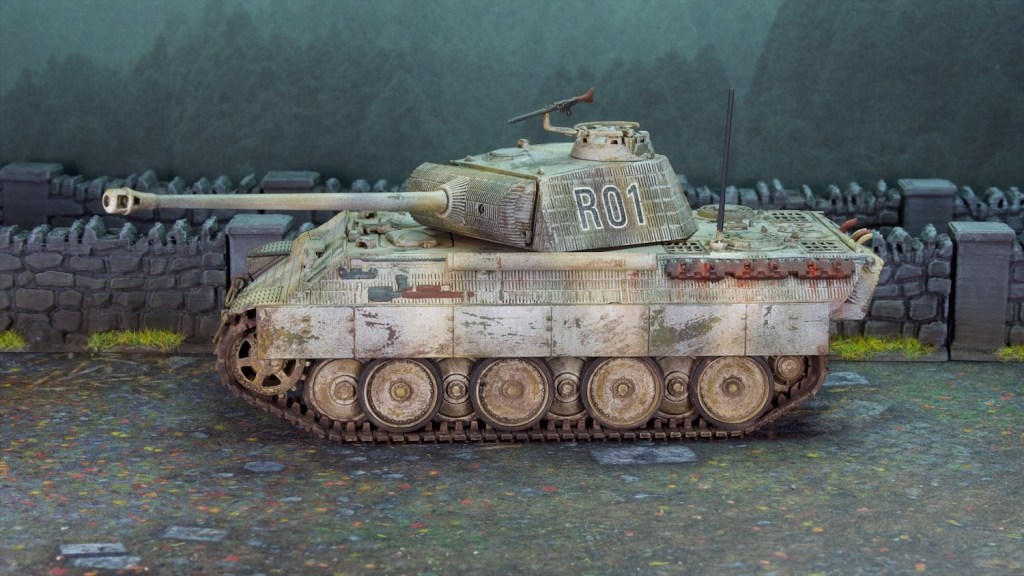
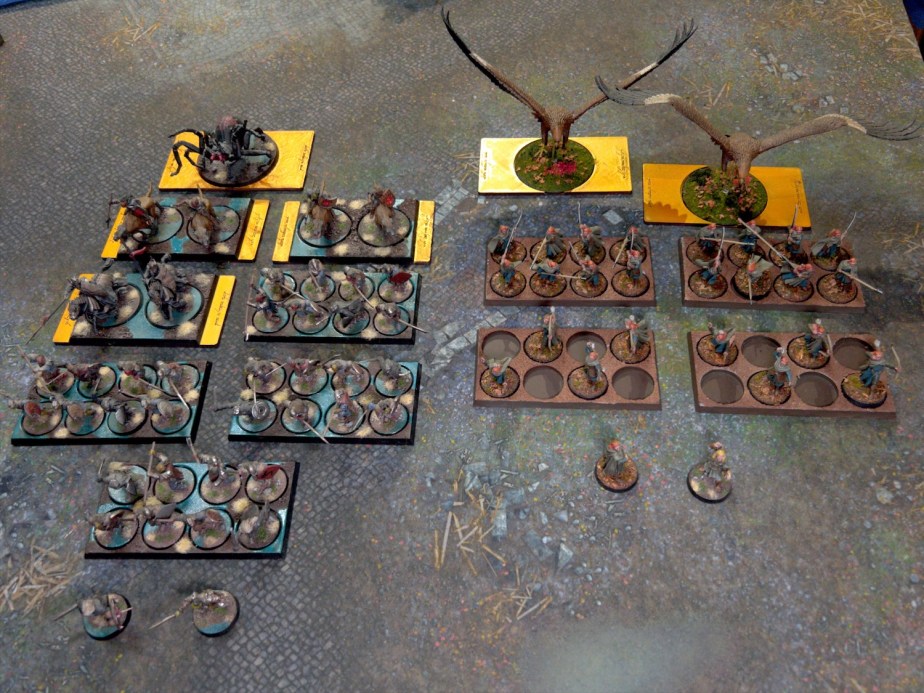
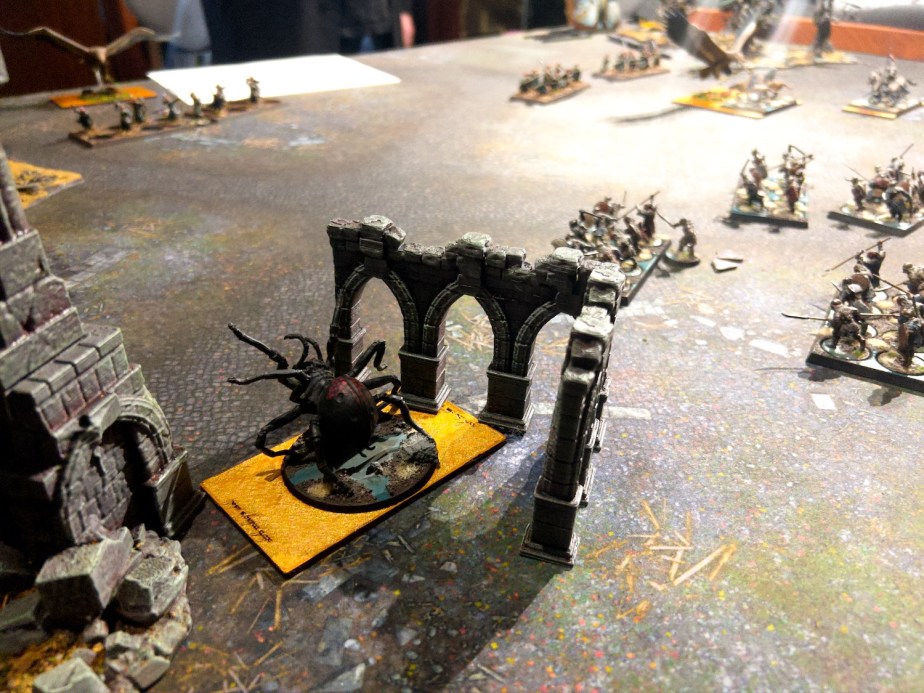
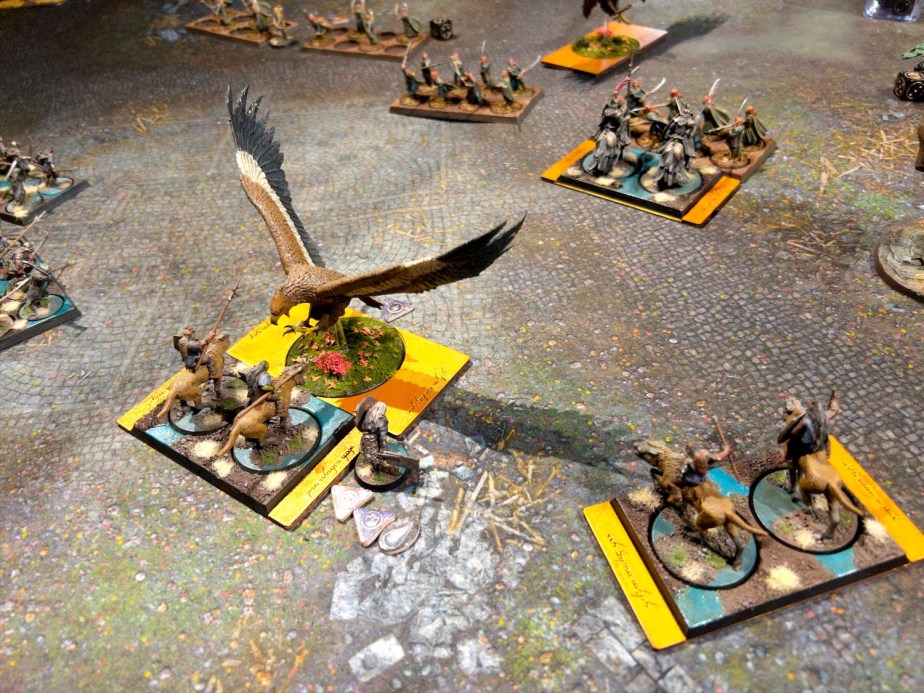
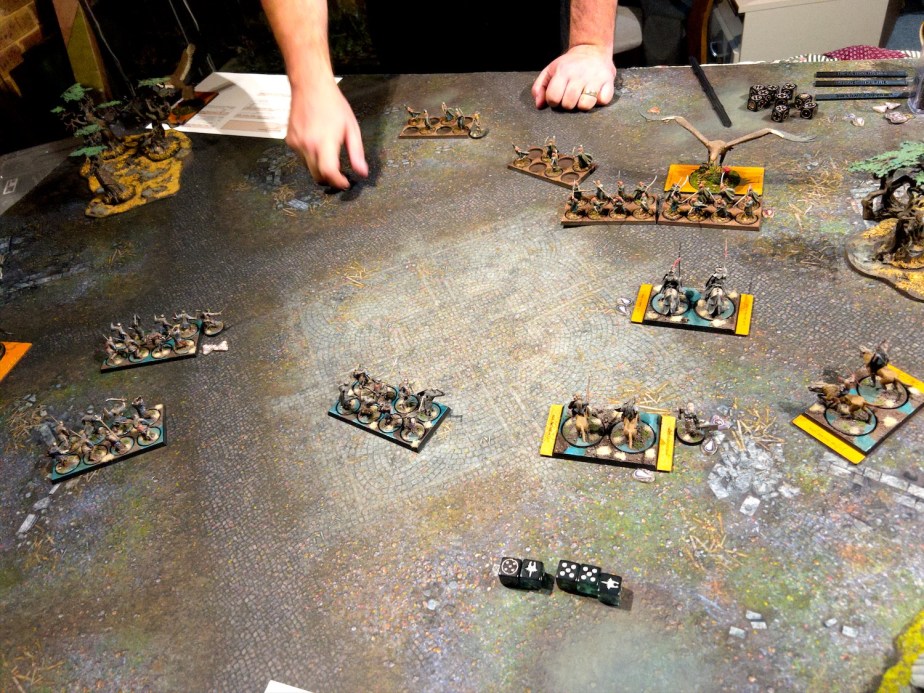
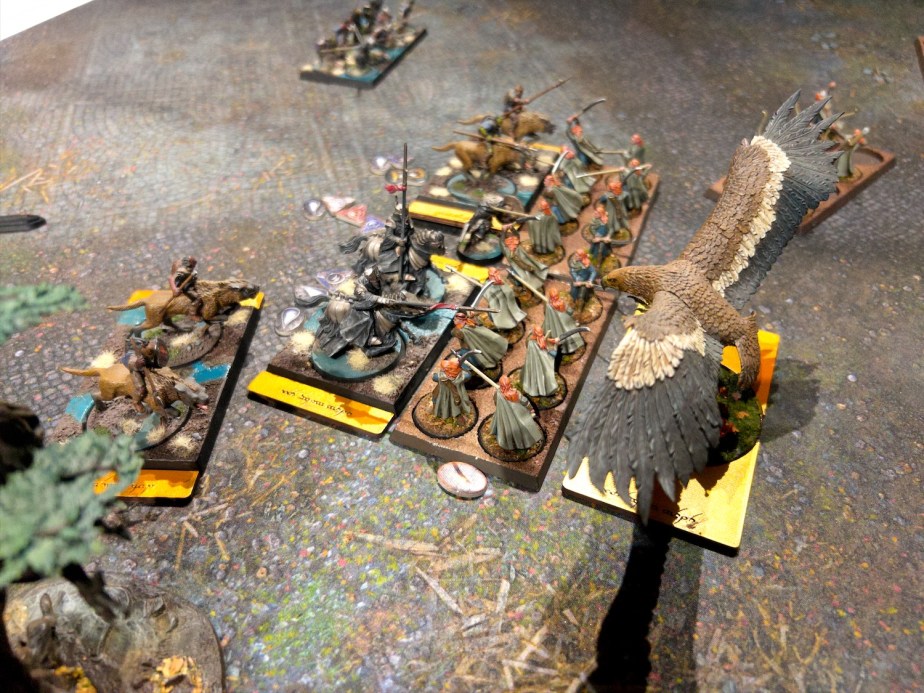
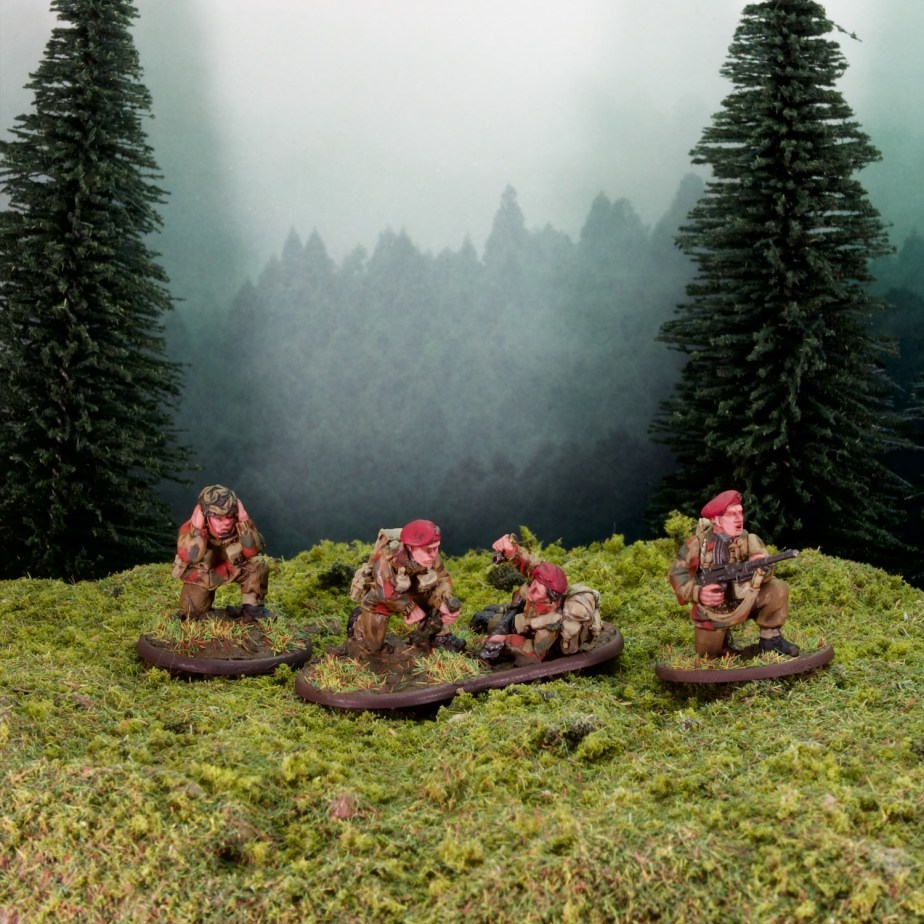
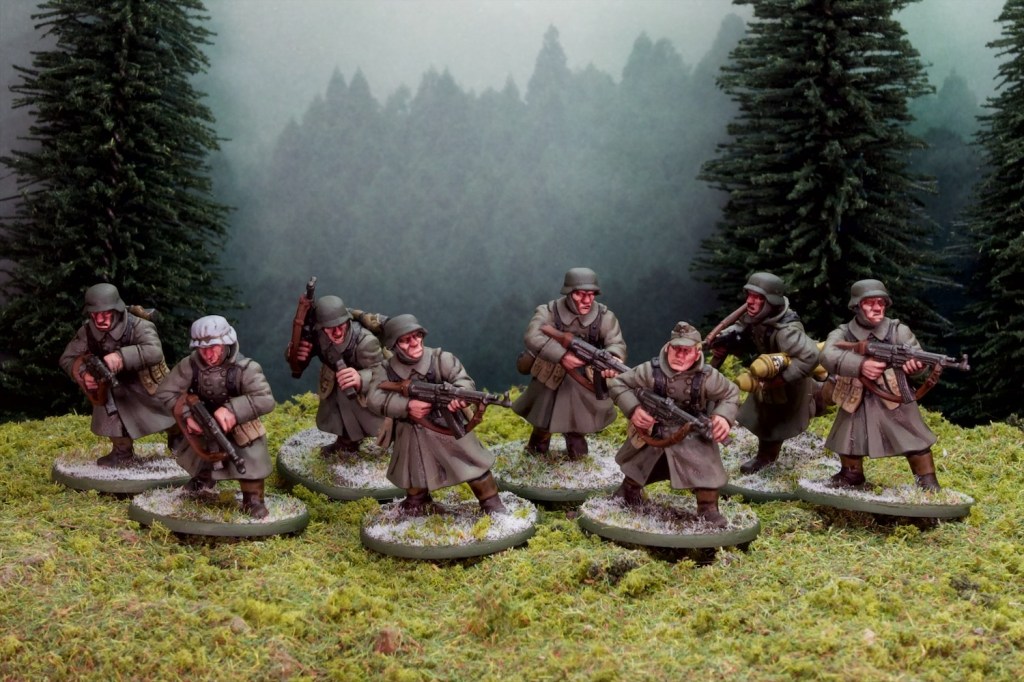
This personal shift is something that’s been happening quite a bit over the last year, you’ve seen me take to Midgard over Warhammer and other historical and fantastical rulesets, Chain of Command over Bolt Action, explore narrative solo gaming with The Silver Bayonet and dip my toes into rules writing with my own rules-light skirmish game Masse d’Armes. This was a very wargames focussed transition, but this Christmas reading got me effectively in the same place for roleplaying games.
I’m enjoying lighter rules in games for a few reasons. First of all, my time is more limited now than when I was younger, therefore my ability to a) play games, and b) read a massive rulebook front to back is much more limited than it used to be. I also more importantly have had a bit of an attitude shift to gaming itself, moving from a mindset of doing well in a game, playing to win etc. to enjoying the stories that emerge from these games. Looking back on 20+ years of wargaming, I don’t remember many of my victories (maybe not many to remember hah!), but I do remember plenty of fun moments in games where a lone soldier took down some chaos monstrosity, or when a unit of puny Skaven clan rats routed a mighty dragon.

More competitive play-styles tend to rely on tight rulesets, which cater to (or try to) all situations that can arise in games – and therefore lead to big rulebooks. This style of game aims for game balance and fairness. In wargames of this style this means that players can assemble their armies and expect a game where in theory the best general can walk away with the victory. In roleplaying games, while not competitive as such, this tendency to aim for game balance as well as fairness is also present, with games trying to make sure all players are roughly the same power level and therefore able to have the same amount of fun. Games in this vein tend to have rules covering all kinds of situations so that the game master needs to make as few rulings as possible during games – keeping things fair.
This competitive play style is very common in wargames because it means you can build your army to a common ruleset and play games against anyone else that has also followed those rules. It allows tournaments to be played, but also allows for random pickup games at clubs. This shared rules phenomena is also present in roleplaying games, with games organised at stores and conventions following rules familiar to players that may not know each other before the game. This is the style of games I played for most of my gaming life, whether it be Warhammer or Dungeons and Dragons. If a query came up, I expected to be able to pick up a rulebook and find out how to resolve it (or failing that go look at FAQs online).
Rules-light games on the other hand expect that situations will arise that will not be covered by the rules and therefore need some adjudicating during play. This is not a bug, it’s a feature. There is a movement in the roleplaying space called the OSR (Old School Renaissance/Revolution) which calls back to some glorious past vision of roleplaying in the 80s and 90s. I’m not sure things were that rosy, but I have to say the ethos that’s come out of that movement definitely resonates with me. One of the mantras I hear in this space is “Rulings not rules” which touches on that exact point: the rules provide a framework, the players (the game master mostly) are expected to fill in the gaps as they arise.
This sounds like more work, but in practice I really like it – I would much rather make a call on rules in the moment than try to find the relevant rule in a book. It’s probably not any faster, but it creates a shift in focus: instead of thinking about how to play the rules, you start thinking about how to play the situation in the game. For example, say a unit retreats into a dangerous magical swamp. A comprehensive set of rules might say they take d6 hits and how to resolve them. A more rules-light game might not, and the players will have to decide what this swamp does. Maybe this is a necromantic swamp filled with the dead dragging the living down and therefore some agility or initiative test might be in order to avoid being drowned. Perhaps the players land on the same rules they would have been given by a more comprehensive ruleset, but at least they’ve thought about what is happening in the imagined world.
Clearly I’m enjoying this shift, so what took me so long? Well I was always worried about this game balance and fairness aspect. For me, house rules were never going to be as tested as “proper” rules, and therefore would lead to unfair and consequently unfun games. I’ve now come to the decision that fairness is overrated in these games we play, and we’re much more likely to have a good time if we don’t worry so much about what is fair, and rather focus on what is unfolding in the game. The price of this is that it might be hard for me to find people that want to play games the way I do at a club or store. Luckily for me I have some friends that enjoy this play style, and we’re having a great time. This right there might be the reason you prefer one style of game over another, and that’s just fine – do what works for you!
To get back to that sentence right at the top on how I want to use the blog to motivate me to read through my book pile of shame, I’ve decided to try something along the lines of a series of posts dedicated to books. For these I would pick a book off my bookshelf, read through it and write down my thoughts. Not really as a review, more like reading notes. It would likely be a mix of wargames books and roleplaying books, which given this blog is 99% about wargaming might be a bit of a change but hopefully those of you that aren’t into roleplaying might find the posts interesting if only from your familiarity with rulebooks!
Anyway I hope my digression into games rules was interesting to read, let me know in the comments what you think about all this!


