Japanese January

I’ve been in contact for a few months with John over at Just Needs Varnish!, over which time we decided to tackle some of our respective Japanese backlog. He had some turn of the 19th century Japanese forces in need of painting, and I’d been sitting on a collection of unpainted Sengoku era miniatures for a couple of years.

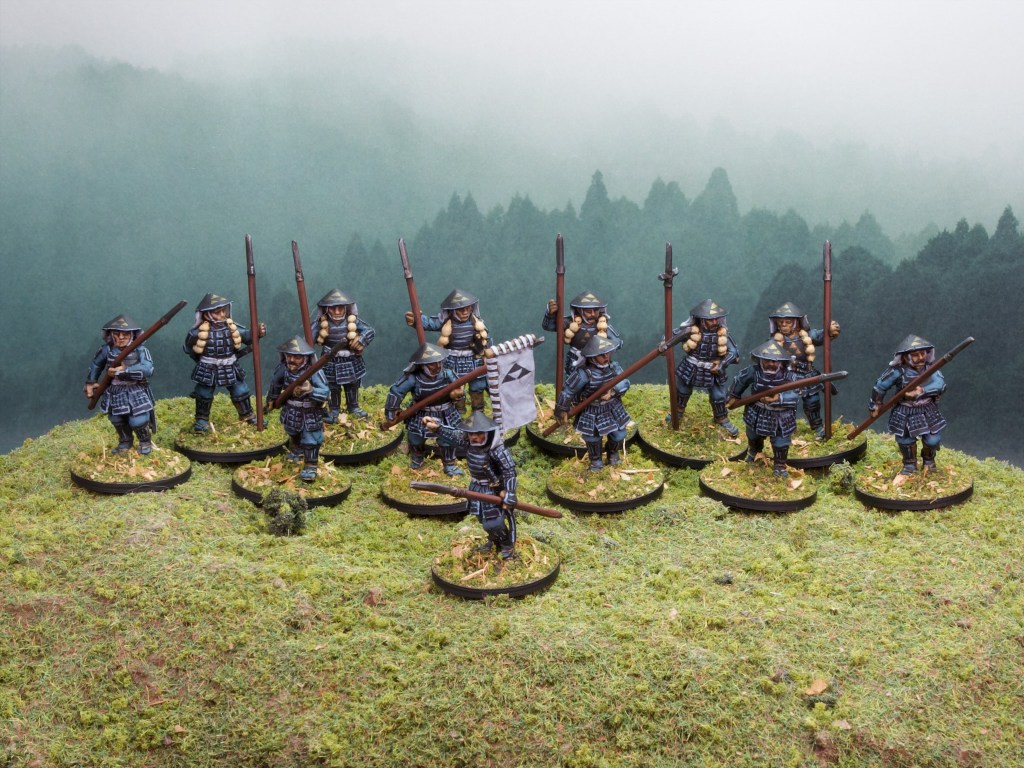
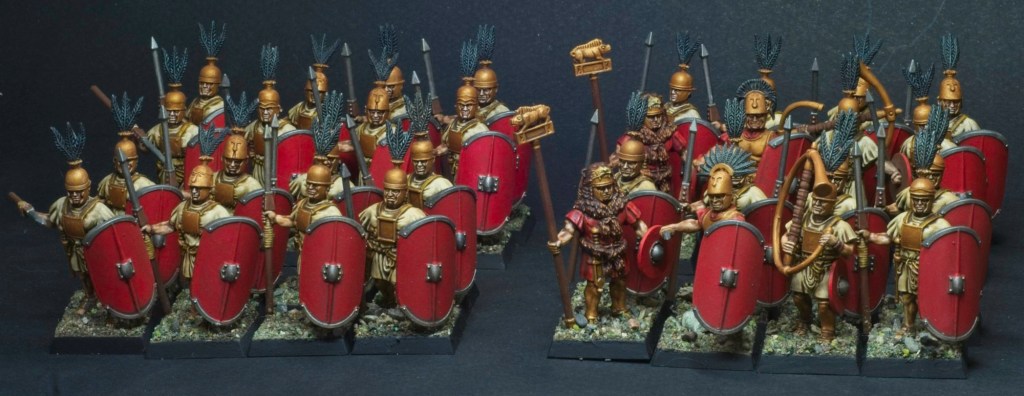
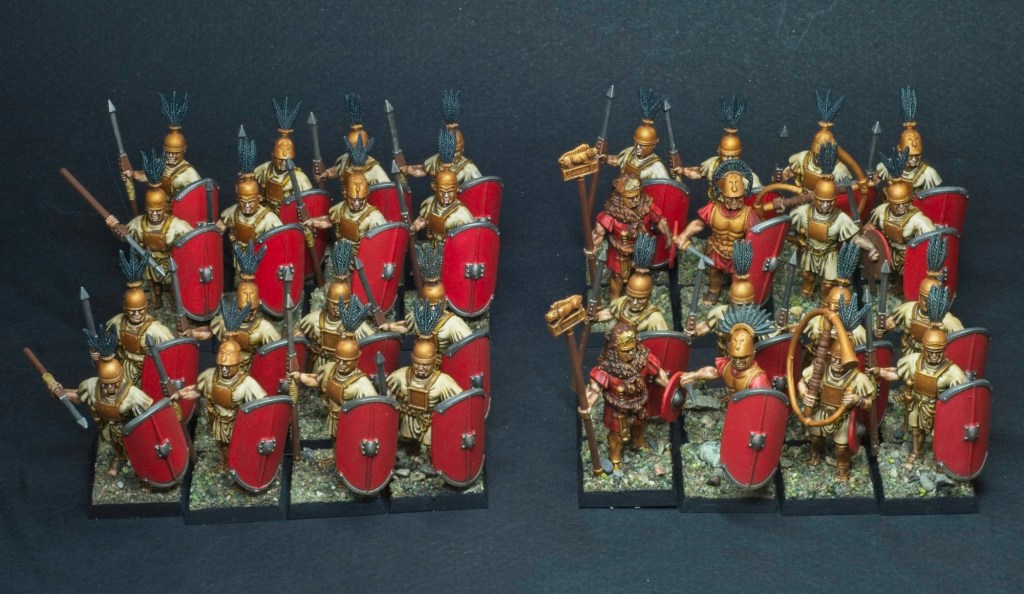
I decided to kick off my Sengoku collection with some spear Ashigaru. The models are from Perry Miniatures and come in boxes of 6 metal miniatures so what you see in the photo above is two boxes of spearmen and a lieutenant from the ashigaru command box also by Perry.

The resulting odd block of 13 models works well for my current target rules system for playing this era: a repurposing of the MESBG ruleset. It’s one of my favourite skirmish systems and I think lends itself very well to historical gaming. The game system is very flexible and makes it easy to represent mixed units as the models are individually placed and moved. In MESBG you pick armies by assembling warbands lead by character models, with 12 models lead by a minor “hero” being pretty standard for the game. This means this group of 13 above makes for a nice warband.

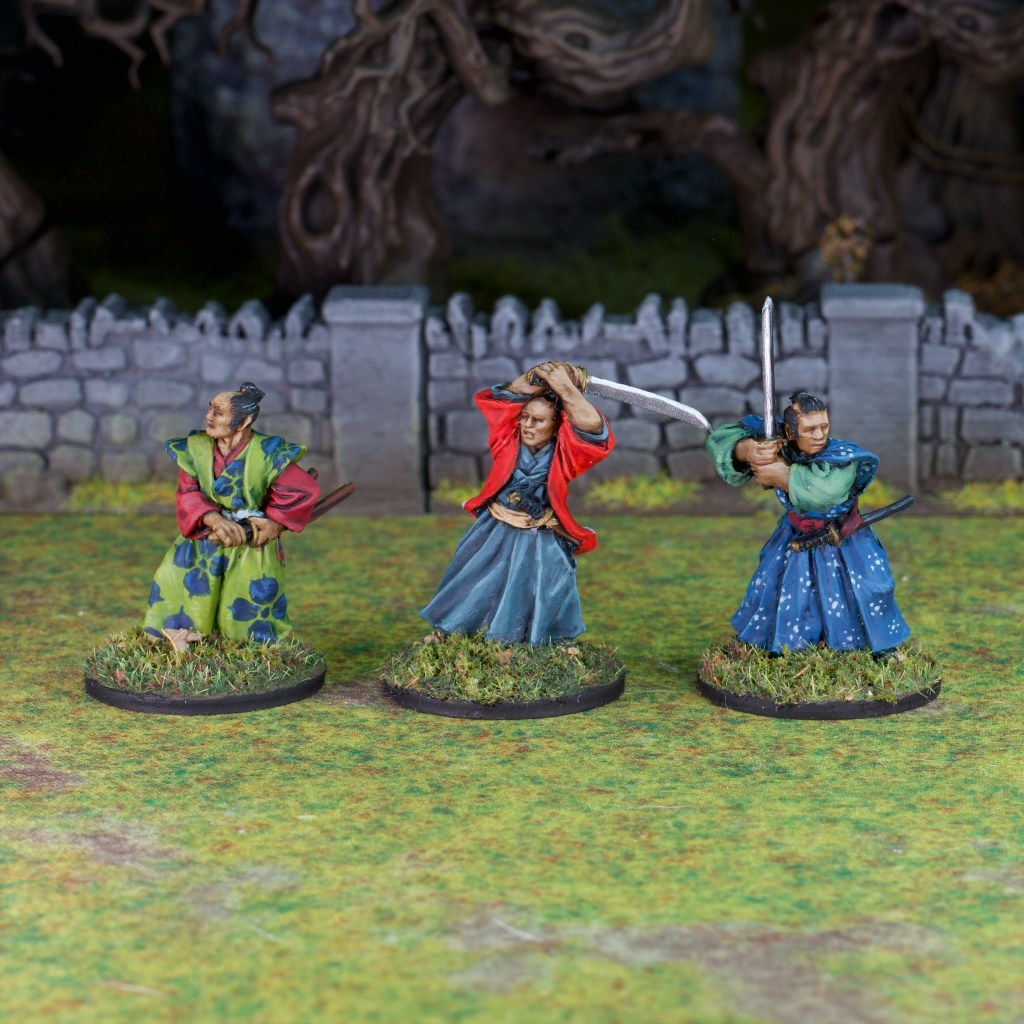
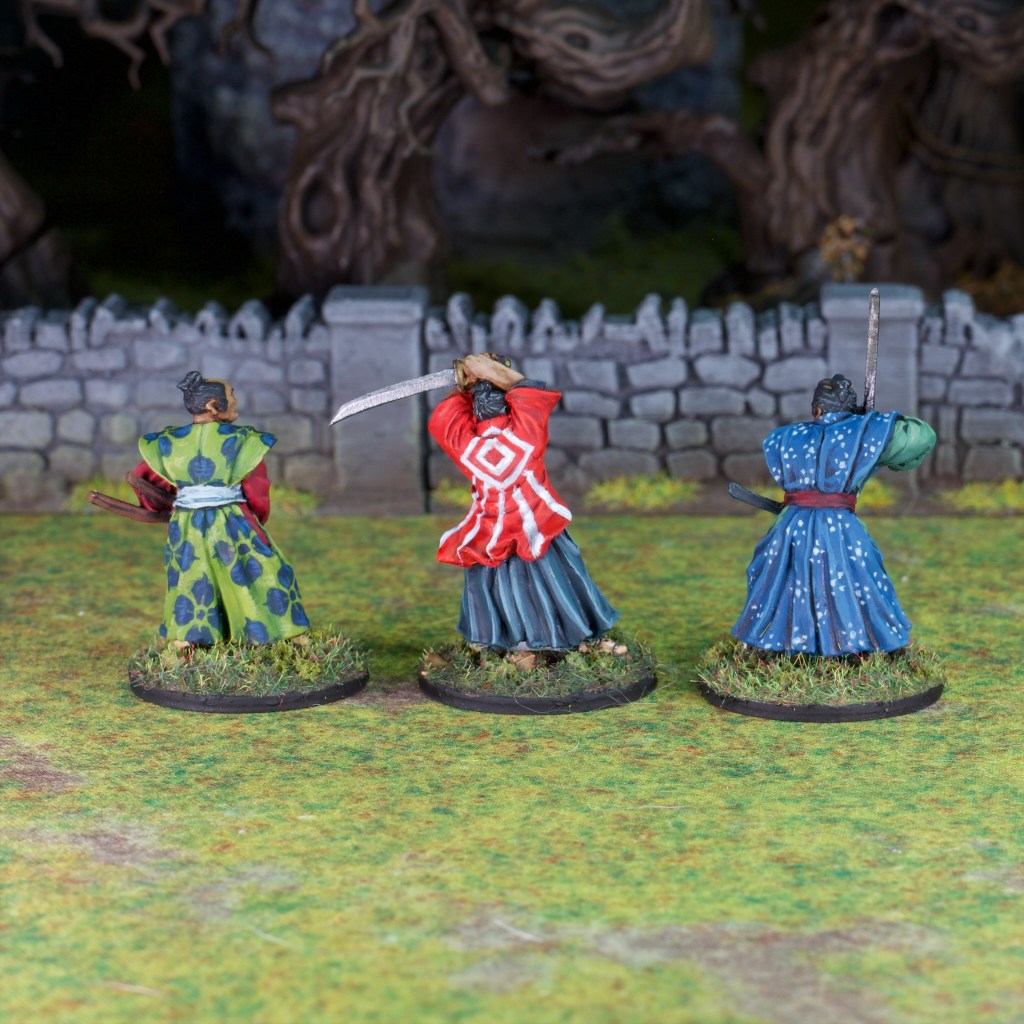
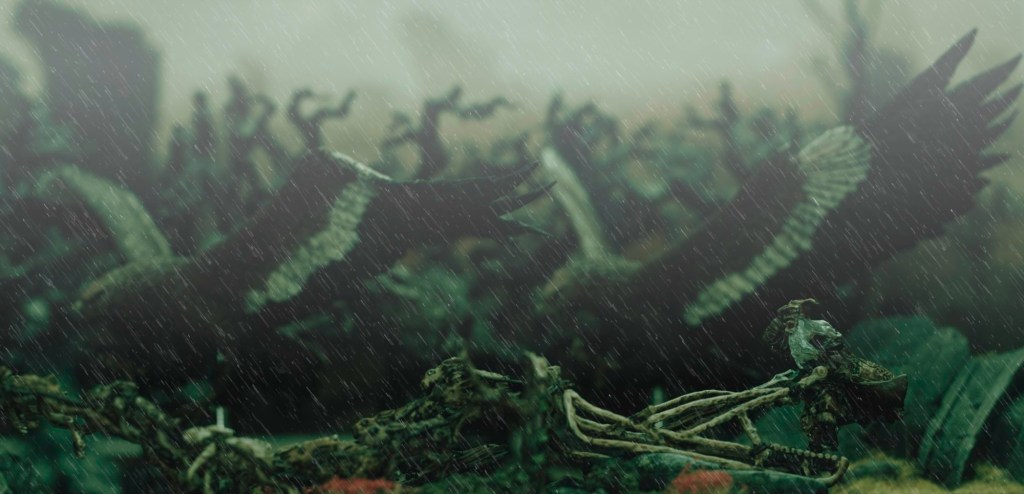
If you’re familiar with the period you might have recognised the mon (emblem) of Clan Hōjō, with it’s three triangles (representing fish scales if I understand rightly!). I decided to go with this clan as I visited some the region they ruled over during my first visit to Japan back in 2015 and really liked it, it’s one of my fondest memories from that trip. In fact the foggy forest photo I’ve been using as a backdrop to my miniature photos for quite a while now was taken there! So the backdrop is very appropriate for these models.

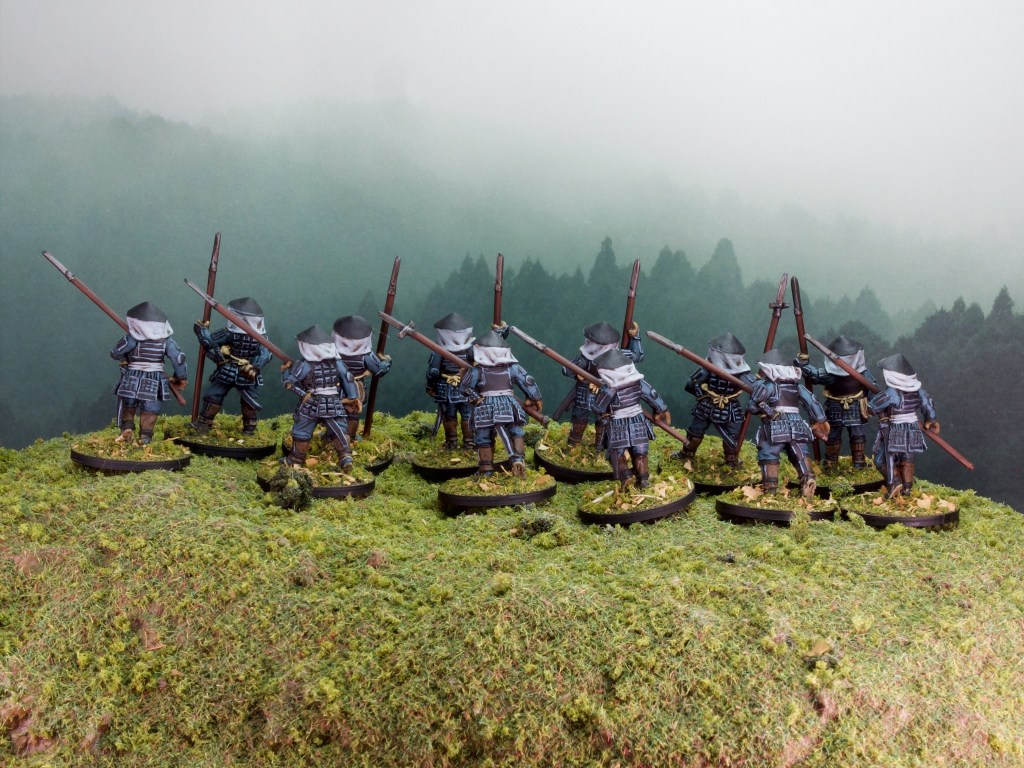
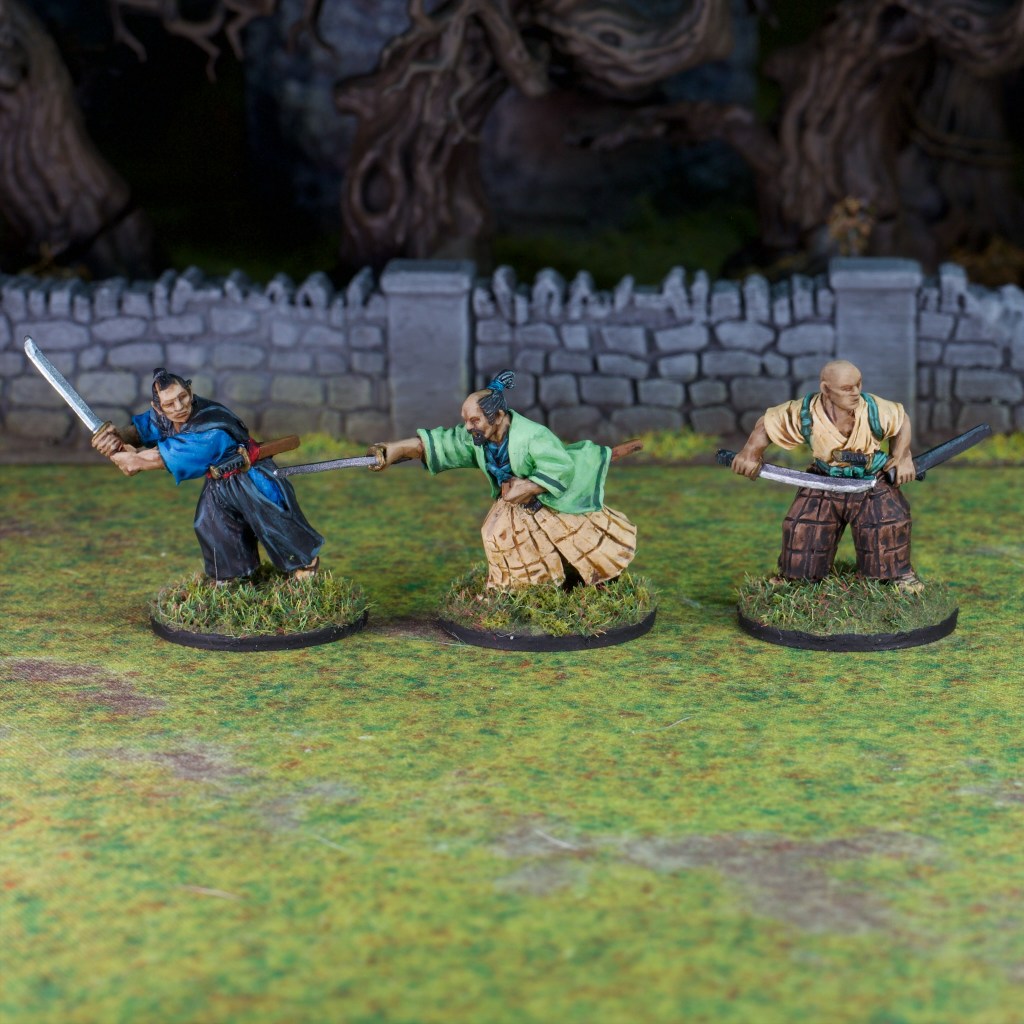
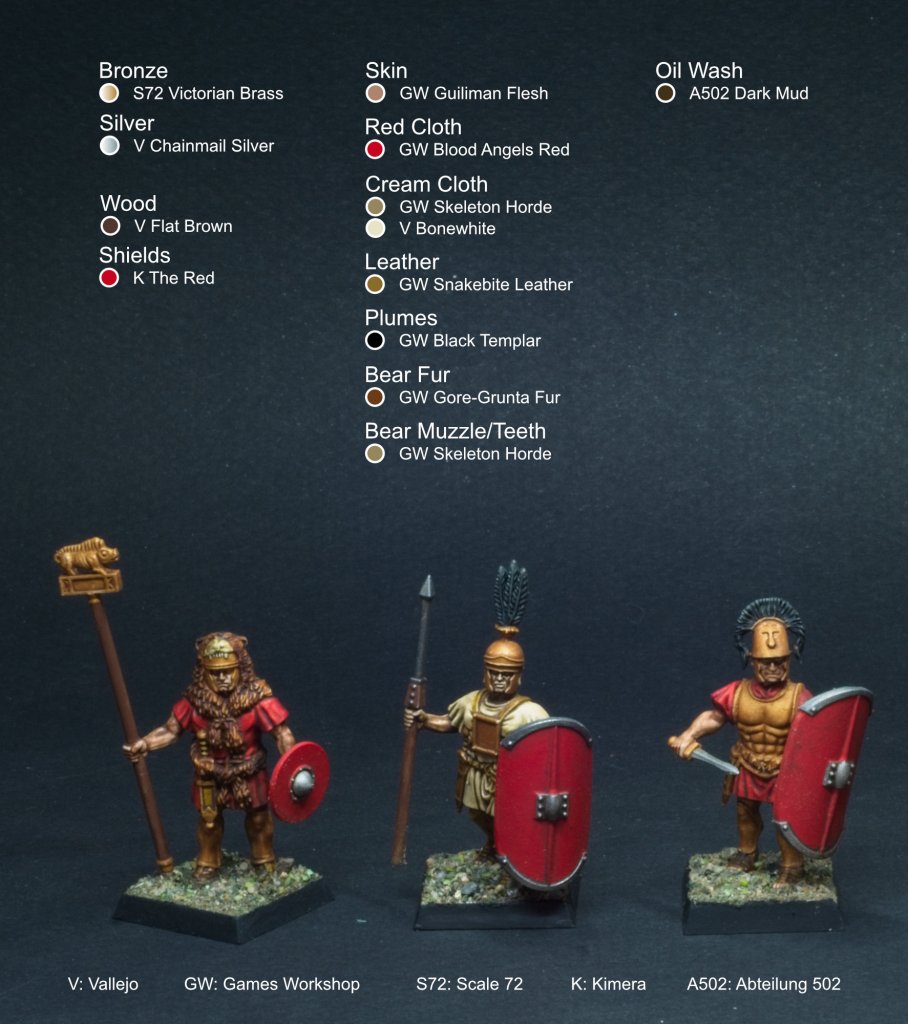
Painting-wise these were relatively simple, with the black and blue scheme heavily reliant on Vallejo’s Dark Sea Blue. I used it both for the cloth areas and the highlights on the black, just mixing in different levels of pale greys in for highlights to differentiate them. For the skin I followed the recipes in my previous Samurai post.

I was planning on tackling some buildings I 3D printed early in the month but simply ran out of time, so they will appear on the blog at a later date when I get around to them!

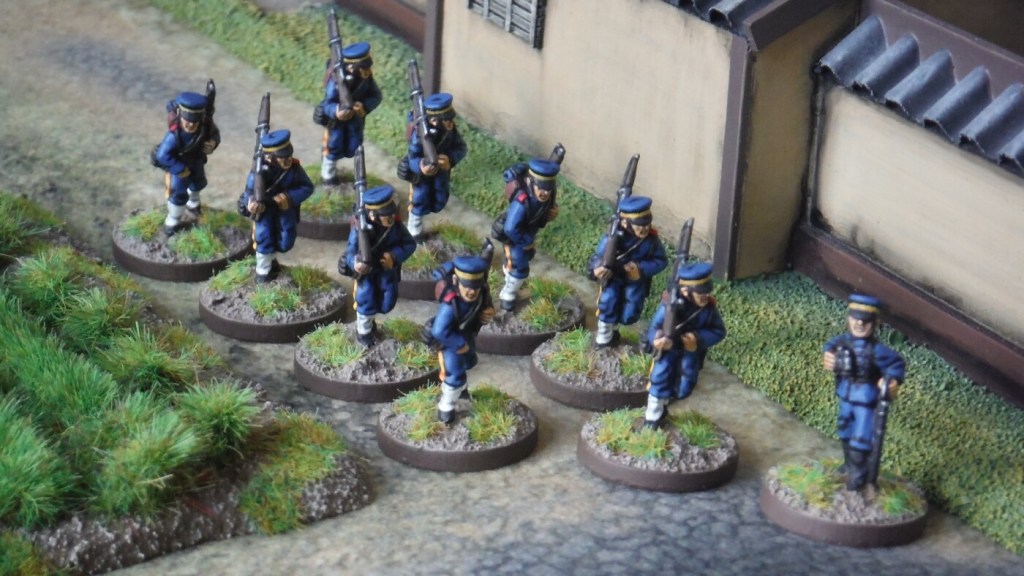
John got some great results out of our themed painting month, painting some very nice cavalry and some matching infantry that you can see pictured above. Overall this was a fun exercise, and got me to paint some models which I had no immediate plans to tackle which is always a nice plus! So thanks John for the motivation, and I recommend you all go check out the models John painted (and generally follow his blog, lots of great stuff on there).

The Six Samurai

A week or so ago I watched Kurosawa’s Ran and after that unsurprisingly felt the need to paint some samurai! Luckily for me a little over a year ago I ordered from Perry Miniatures a small force of Sengoku period Japanese with the intent of painting them up for an as yet undecided system (Hail Caesar is an option, and so is Clash of Katanas). Alongside these I ordered this set of unarmoured samurai, and it’s these I decided to paint up.

These were a nice break from the Warhammer models I’ve been painting recently, even if they were somewhat challenging. I have no real plans for these models beyond a fun painting experience at the moment as they don’t really fit with the rest of the models I ordered which are armoured for war, but after seeing the costumes in Ran I knew I wanted to paint some kimonos!

For the colours and the patterns on these I used a book of Japanese wood block paintings I had at home as a reference, never directly copying patterns but generally inspiring myself from them. Most of the colours I saw in these were blue/red/green alongside white and black, hence the scheme you see on these.

You can see I got adventurous on some of these and kept others rather simple. I’d say it’s nice to have some variety, but truth is some of these patterns were rather tricky to replicate consistently and I didn’t want to do that too many times!

The skin on these was a bit of an experiment as I’d never tried to paint Asian skin tones before. I’m pretty satisfied with the results so I’ll record them here for when I get to painting the army!

Acronyms: VMC – Vallejo Model Color, VGC – Vallejo Game Color, GW – Citadel/Games Workshop,

  1. Basecoat: VMC English Uniform
  2. Wash: GW Reikland Fleshshade
  3. Highlight: VMC English Uniform
  4. Highlight: 50/50 VMC English Uniform/VGC Barbarian Flesh
  5. Highlight: VGC Barbarian Flesh
  6. Glaze: 50/50 Reikland Fleshshade/GW Contrast Medium
  7. Highlight: VGC Barbarian Flesh

The basing is a mix of Woodland Scenics foam flocks and GW static flock as well as some crushed up dead leaves for colour.

These are likely the last models I’ll paint in 2023, and not a bad way to finish the year! Plenty to look forward to in 2024, with the release of the relaunch of Warhammer Fantasy (as The Old World!) confirmed for the start of the year. I hope everyone has a lovely new year celebration and I’ll likely post next in January some time!

Hastati

Some of you may remember a post from a while back about my Republican Romans army. At the time I had built a fair few models and spent some time deciding how to field them using the Warhammer Ancient Battles ruleset. They’ve been sitting in a box since then waiting for motivation to strike. A couple of weeks ago I found a second hand copy of the rulebook and army list book for the Hail Caesar game by Rick Priestley at a local game store. I bought them, started reading them, and immediately began planning lists for my Romans using the ruleset.

In Hail Ceasar, armies are built around “divisions”, a generic, period agnostic word they use to describe a group of units lead by a commander of some sort. One of those commanders is chosen to be the general of the army. This system is quite flexible, and meant to be used as the player sees fit to represent historical formations. In my case, the unit was pretty clear as the divisions fit the republican maniples quite well.

One decision that needs to be made between players of the game is how big do they want a “standard” unit to be. Ranks in the game are mostly aesthetic, frontage is all that really matters as far as the rules are concerned. This is so that players of other rule systems can easily port their armies across to this system regardless of the conventions that might have been enforced by other rulesets. This flexibility is interesting and definitely took some adjusting to coming from more rigid systems. Seeing as the other player doesn’t exist (most likely to end up being friends playing whatever other army I end up painting for this system!) I got to argue with myself about what size to make units.

To respect the ratio of Hastati to Principes to Triarii found in each maniple (120, 120, and 60 men strong respectively), the republican army list sets a rule that a ratio of 2:2:1 units must be taken. I decided that these 5 units plus some skirmishers would make a good maniple/division. The game treats the components of a maniple as small units (so half the size of standard units), and sets as a guide the frontage of small units to 80-120mm (so 4-6x20mm based models in the first rank). If two of these small units are to match the 120 men found in the historical formation, then choosing the smaller end of that range gives me a 4×2 formation, 8 men per unit, 16 hastati per maniple, or a ratio of one miniature per 7.5 men, which seems reasonable to me (I’ve seen 10 used in the past). Now enough of that, let’s talk about painting!

As you can see above I have painted up four of these small units giving me enough for two divisions of troops. Still to come then are as many principes, and half as many triarii to complete the core of the units. On top of that I need to paint some velites (skirmishers), and a division of equites (cavalry). Finally I’ll need one commander per division.

I occasionally try things out when I paint, and this seemed like a good project to try the GW contrast paints in their intended use, i.e. single coat applications over a pale undercoat. I find rank and file games to be more forgiving than loose formation games when it comes to painting standards, as the nature of tight formations means they generally get looked at from further away. This meant that I wasn’t too worried about experimenting here, I was fairly sure I’d end up with something serviceable!

The paints I used are listed in the picture above. As you can see, many of the colours are a single coat of the contrast paints. The exceptions are flat colours and metallics. As undercoat I used Vallejo Grey primer, which is effectively an off-white, just very slightly grey. There is one highlight in the scheme and that is the cream cloth, which I wanted brighter than I could get with the contrast on top of the primer. You’ll notice off by itself an oil paint listed, and that was for the second experiment. I’ve used oils a fair bit on tanks and other vehicles in the past but haven’t really tried them on organic things before. I wanted to tone down the brightness of the models and unify them somewhat, so after some drying time, I thinned down some of the Dark Mud by Abteilung 502 and covered the models in it. I let that dry for a few minutes until the thinner looked to have evaporated (it has been over 40 degrees C for almost a week over here so that did not take long…), then wiped the excess off of the raised areas with a cheap makeup sponge.

I’m pretty satisfied with the result, I painted all 32 models in a few sittings so the speed is definitely there, and I think they look nice all ranked up! I can see why many army painters swear by these paints. I actually got excited by how fast I did these and started on the equites, but I missed highlighting things so I’m back to painting some WW2 models for a little bit.

Warp Lightning Cannon

To keep things from getting too boring when painting this skaven army, I’ve decided to space out the blocks of infantry models with single models. First of these to hit the painting table is the Warp Lightning Cannon! One of the Skaven’s most powerful (and therefore extremely likely to blow up!) war machines.

This model was painted following the same recipes I detailed in the post on the clan rats with the exception of two new materials: the warpstone chunks and the copper wiring.

The warpstone was painted by first covering the yellow ochre undercoat with GW’s Ork Flesh contrast paint, followed by a pure white highlight on the edges of the stone, and finally a very light misting of Vallejo’s Light Livery Green through the airbrush to tint the stone and the surrounding areas for that faint glow effect.

The copper was painted using Vallejo Metal Color Copper as a basecoat, followed by the overall coat of GW Agrax Earthshade the rest of the model gets, then GW Reikland Fleshshade to give it a nice reddish tint. This is followed by a fine highlight of the copper basecoat to bring that metallic look back in.

Overall I’m happy with how it turned out, painting time was relatively quick which is what I’m aiming for with this army, too many models to go slow! I also had a bit of fun with the “in-universe photo”, lots of squiggly lines seemed to do the trick!

In the background, I’ve been bitten by the historical bug again, so next post will be a WW2 interlude before resuming the skaven!

Radagast’s Alliance

Radagast and his allies brave the foul weather to venture deep into Mirkwood

We have a small Middle-Earth SBG tournament coming up in a few weeks that I’ve planned on attending, and what better excuse to get more of my models painted! This tournament is limited to 400 points, which coincidentally is what Radagast on his sled and two giant eagles add up to! I’ve had these models since they were released (sometime around the release of the hobbit movies I assume), built and sitting in a case ever since. This seemed like a great opportunity to put some paint on them, and so off I went!

This is a three model army, and I have no idea how it will go in games but I hope it will be a lot of fun to play! I made the decision to experiment a bit with these models, and learned quite a bit in the process as I made quite a few mistakes that I hope not to reproduce!

For Radagast and his sled I used GW’s contrast paints primarily, the first time I’ve really experimented with these in their “intended” use, i.e. one coat that does basecoat, shading, and highlights. I’ve always found the MESBG models to take really well to washes due to their tight, small details (as opposed to other GW models that have a lot more large flattish areas), and was intrigued by how the contrast paints would work with them. The answer I think is really well. The rabbits are only painted with a single coat of 3 different contrast paints: Cygor Brown (Thinned down 50/50), Snakebite Leather, and Skeleton Horde. Radagast and the sled were also painted with contrast paints but were followed up with highlights of regular old acrylic paints. This model has a massive base, so I knew I wanted to make it a feature. I used a variety of Woodland Scenics foam flocks, and their more bushy clumping foliage. The flowers are tufts from Gamers Grass. The leaves are the usual seeds you can get for that purpose, I’ve had them for years and can’t remember where I got them. I had some issues with all this being pretty loose on the base and ran some thinned down PVA all over to glue it all down. This ended up drying all white in patches and made me very scared I’d just ruined the whole thing. No idea what happened there, but I ended up using some green contrast paint to tint the areas affected by this and they blended right back in, got very lucky there!

The rules for MESBG account for your mount being shot off under you, so it’s expected to have a dismounted version of any mounted models. Here’s my Radagast on foot, carrying his faithful hedgehog Sebastian. Painted exactly the same as the sled version.

The eagles were another experiment, I decided to try shading them with oils to cut down the amount of time I’d need to spend on highlights. This worked very well, but I made the mistake of being impatient and varnishing over the oils too soon, and ended up with a very unstable coat of varnish that came off with gentle rubbing! I left them alone for a few days, then went back over the white areas with some highlights and finally gave them another coat of varnish and that is holding much better. The lesson here: when painting with slow drying paints, don’t expect them to dry fast!

Overall I really like the look of the “army”. They were painted fast and there are definitely areas that suffered as a result, but I think they look nice and cohesive on the table.

A Name Change

I started this blog a few months back, mostly as a way to share my hobby in a longer form than twitter posts. I was a bit of an experiment and I rushed choosing a name at the time so I could get going ASAP. Now that I’ve found myself enjoying the process I’ve put in a bit more time into choosing a name and designing a logo for the site.

I’ve always liked rabbits, in fact most of my online handles in the past have been rabbit related (as a result of owning many pet rabbits as a teenager), and I love that the name of their order sounds like something straight out of a DnD monster manual. Add in my inability to resist alliterations and Lair of the Lagomorph was born.

From a design perspective, the logo is an amalgam of old gaming inspirations. Think old roleplaying games, and the Citadel logo to some extent. The font is Berry Rotunda, an open source font that fit the part very well. The skull is of course a rabbit skull!

I’m hoping the address change didn’t break too much, but if it did, better do that early in the life of the blog!