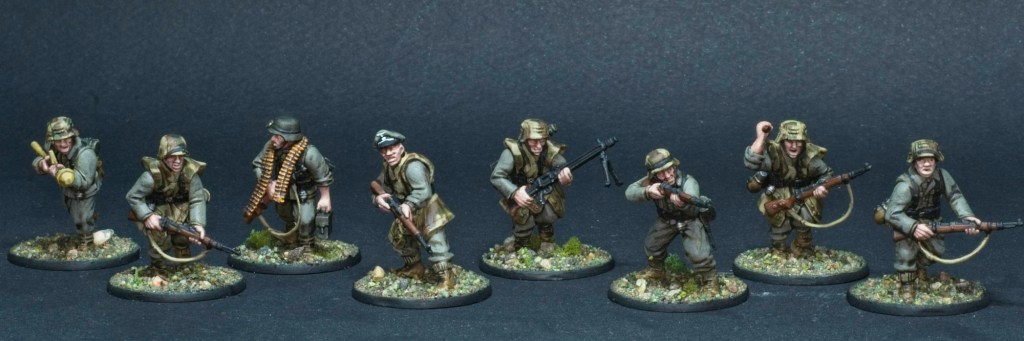
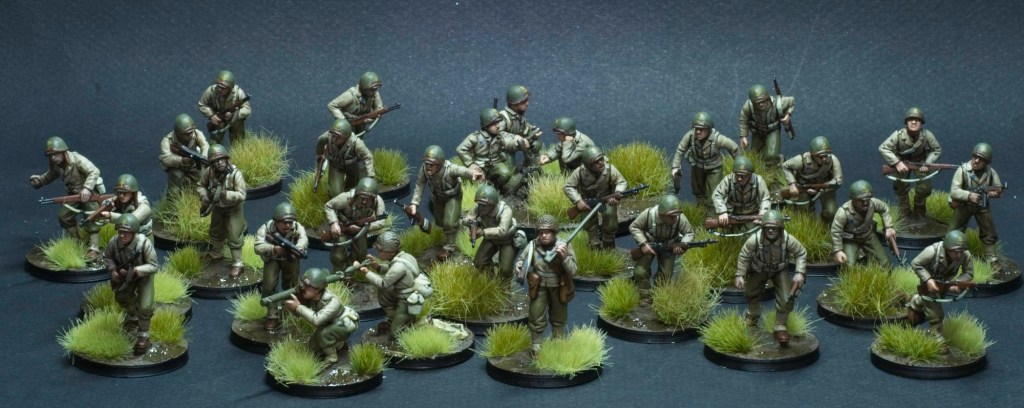
After a brief interlude in antiquity, back to World War 2 and Bolt Action, with an army that’s been in the works for a while but never got finished, my take on the 2ème Division Blindée, or Division Leclerc for some, an armoured division of American-equipped Free French troops.
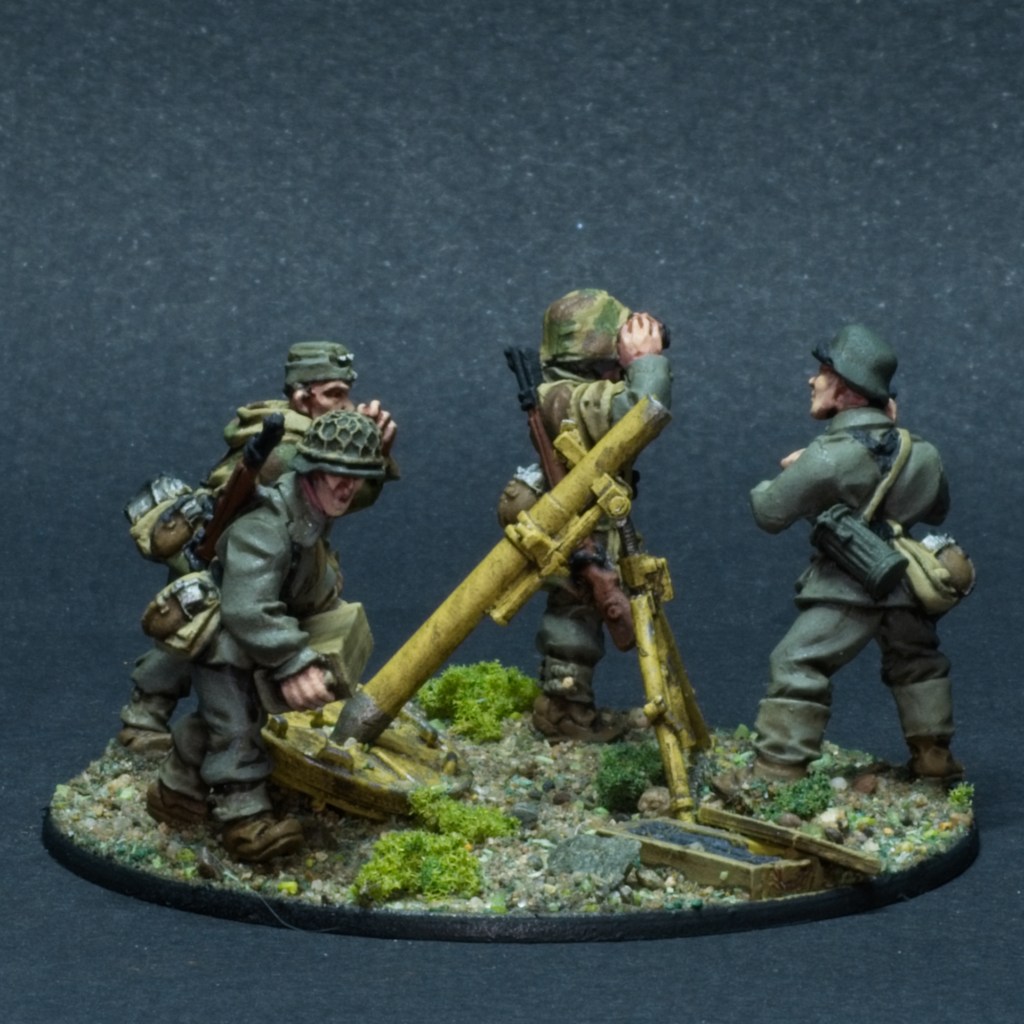
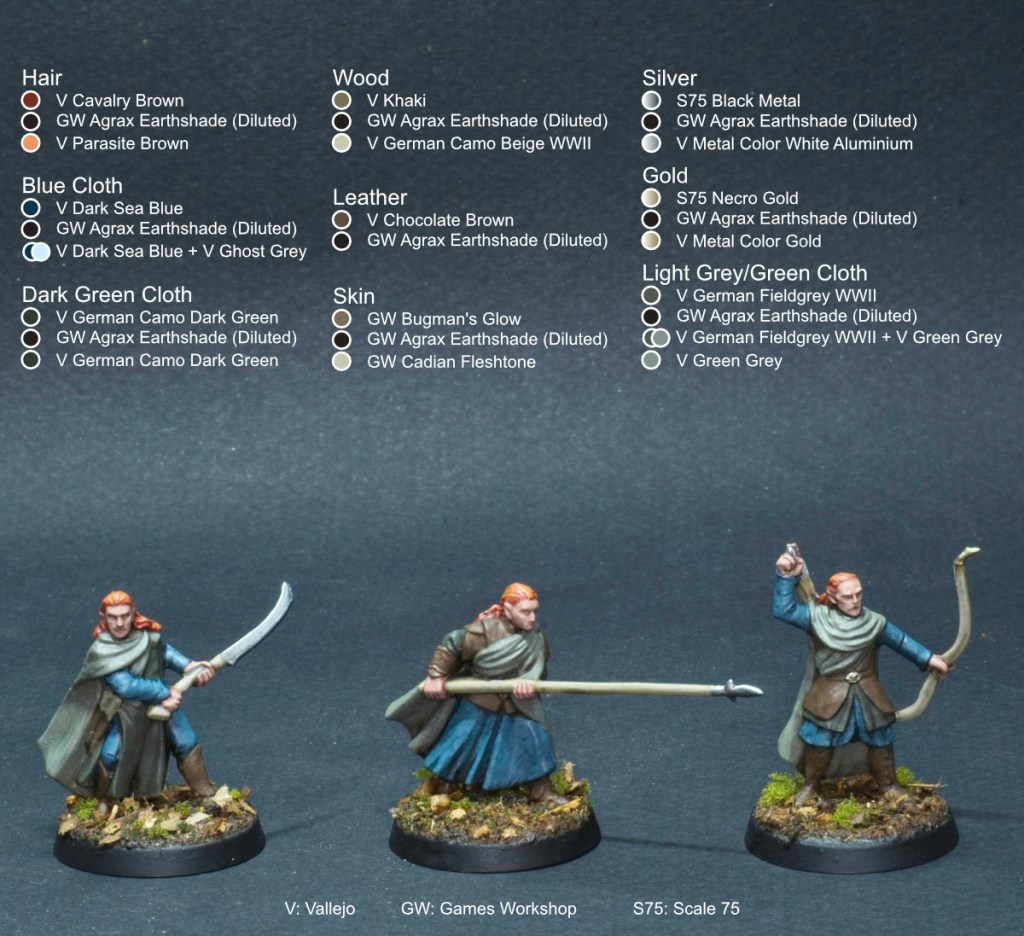
If you read the previous post on the army you’ll realise that these don’t match those very well, and indeed I had a change of heart with regards to their colour, taking inspiration from the very good videos by Sonic Sledgehammer over on YouTube. From that original post, the bazooka team and the mortar team were repainted to match the newer scheme.
The infantry in the photo above are all I’ll need for the 1000pt army list I devised for the army. To follow on are the vehicles. As these are for an armoured division, I have half tracks for all of the squads and some tank support as well.

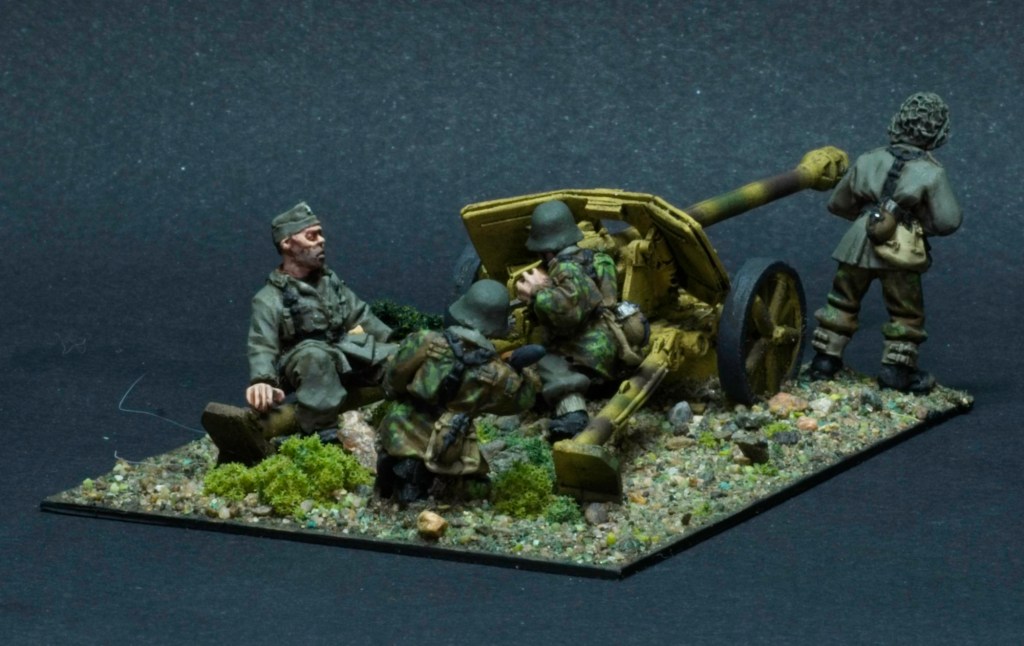
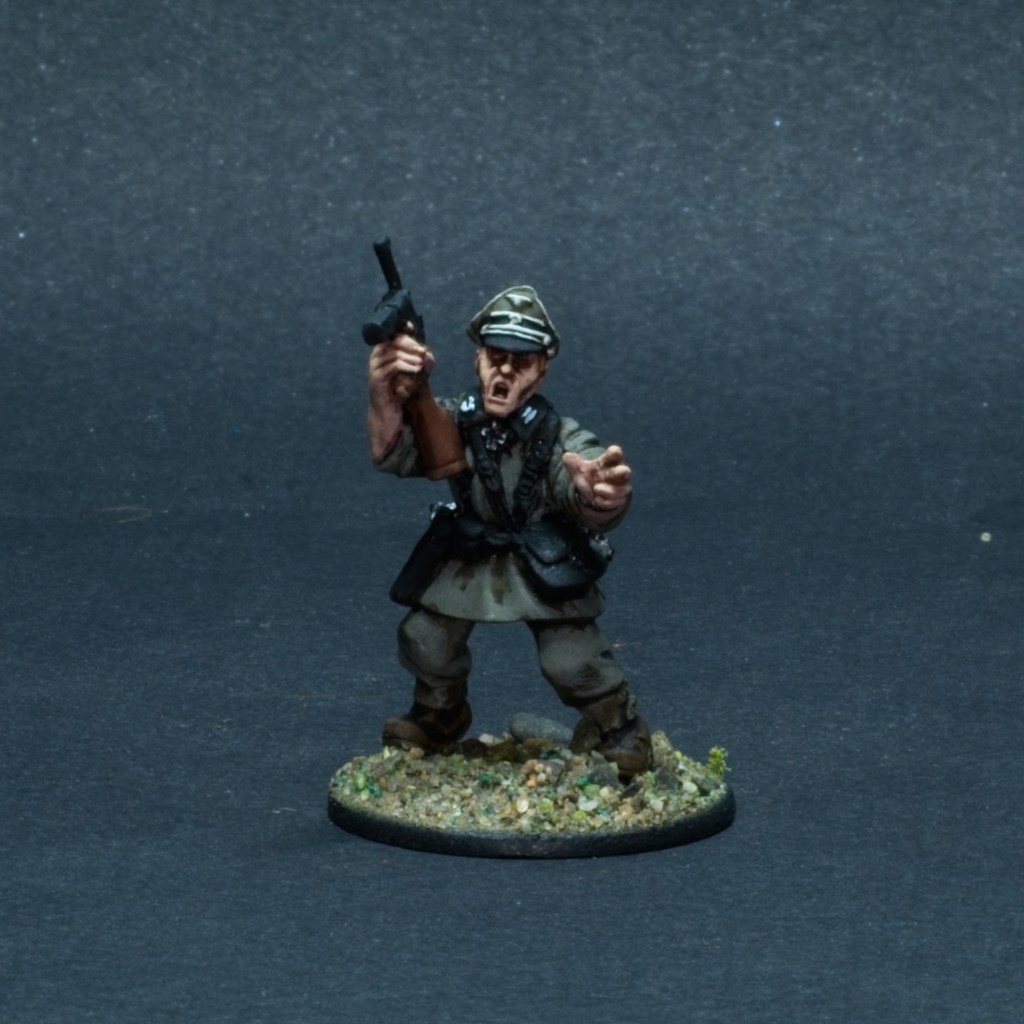
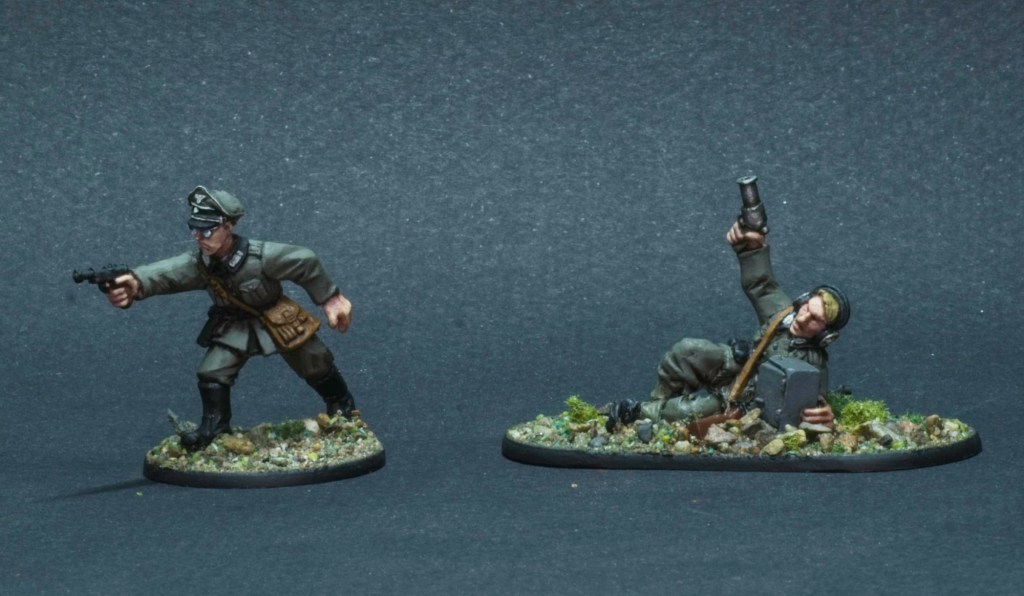
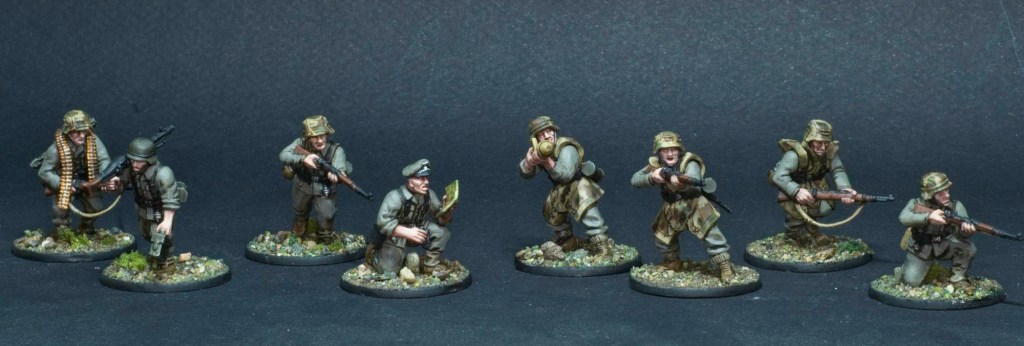
First up, we have a lieutenant and bodyguard, both armed with Thompsons.
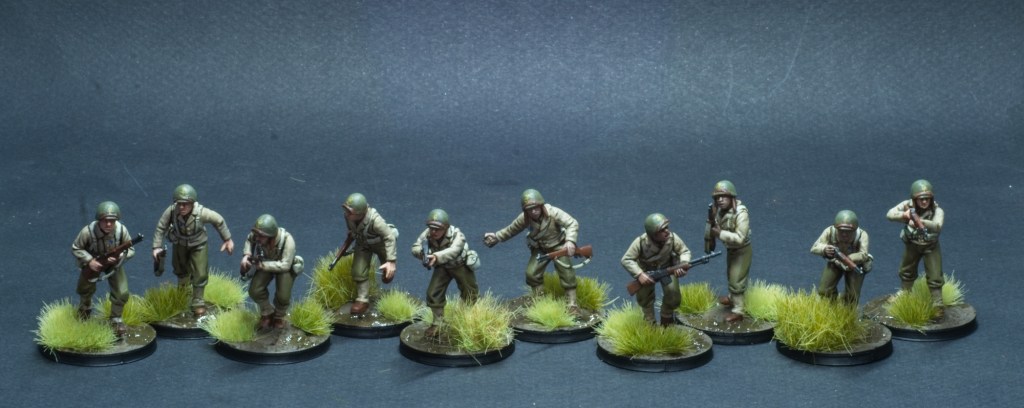
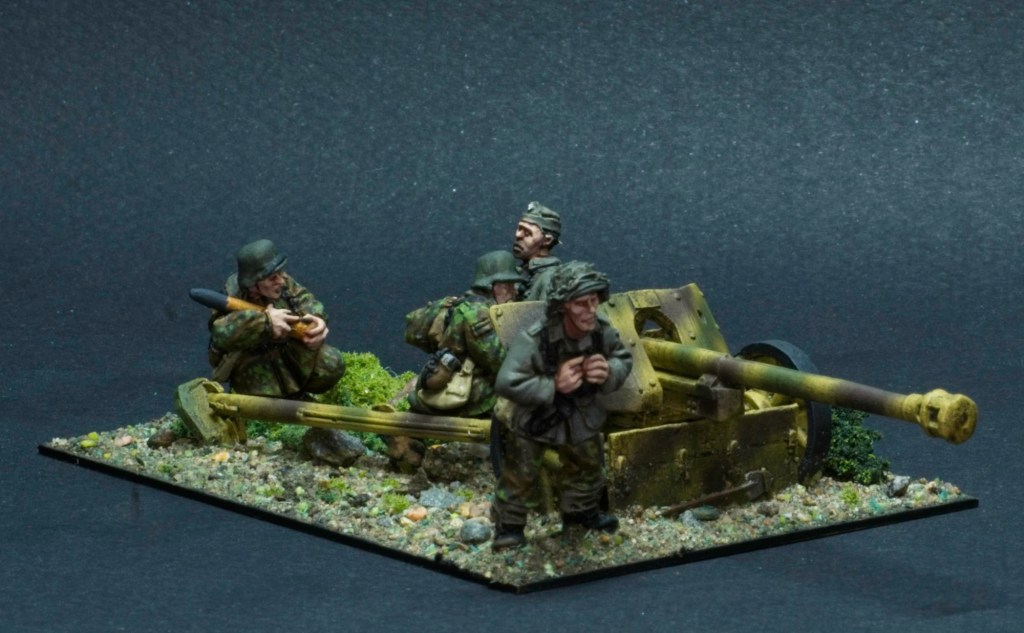
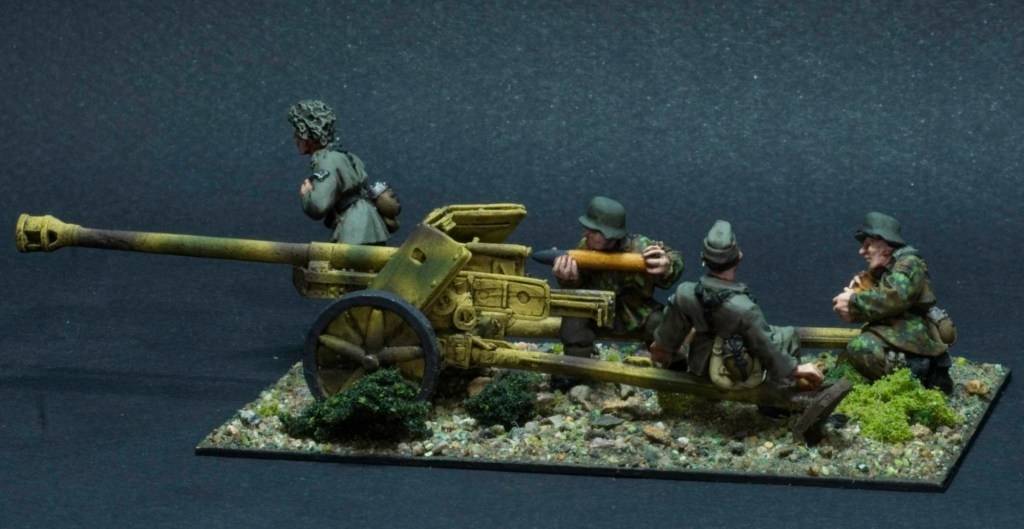
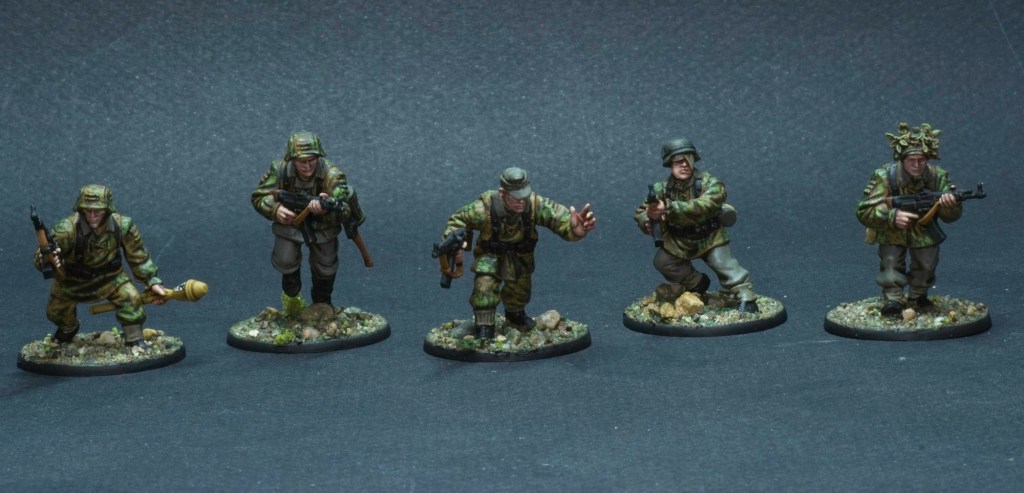
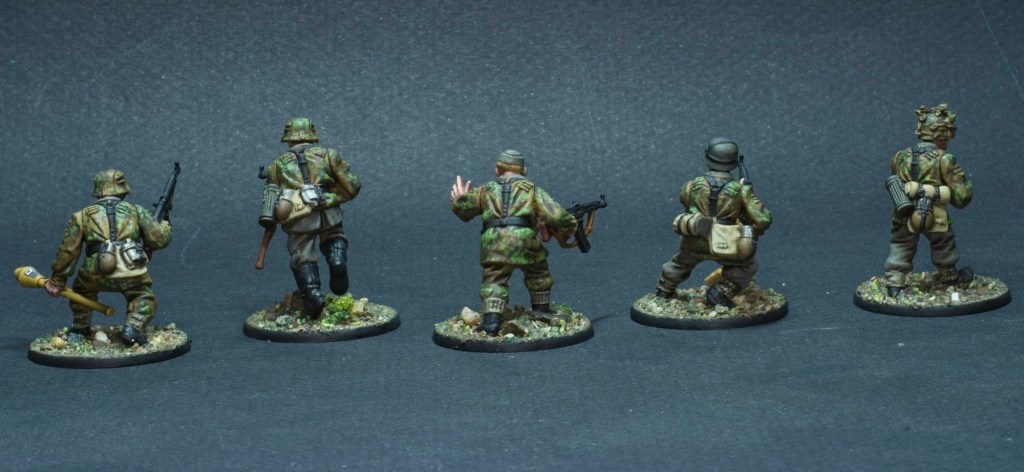
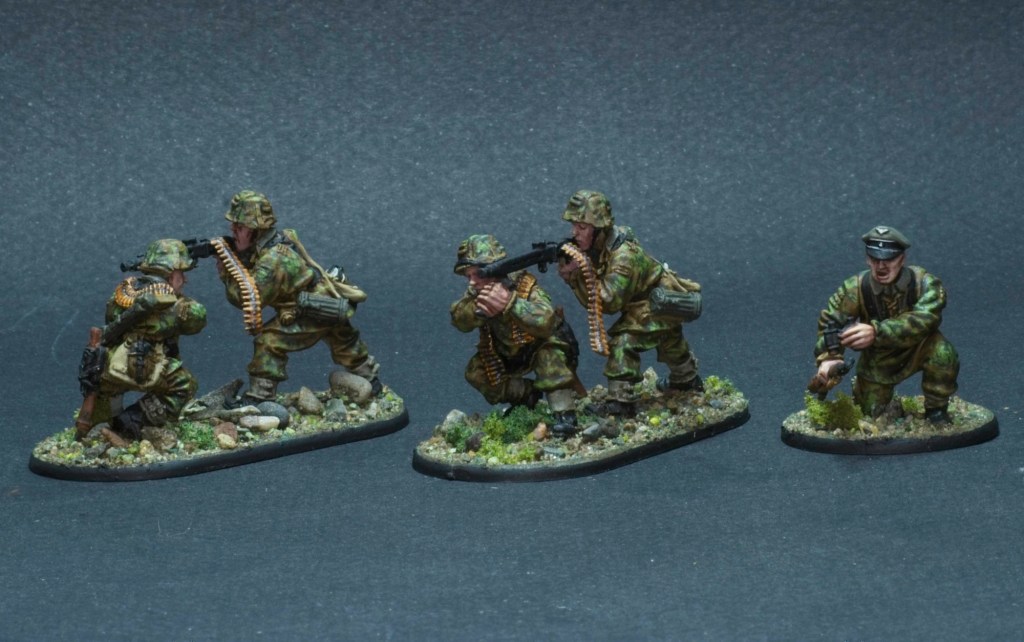
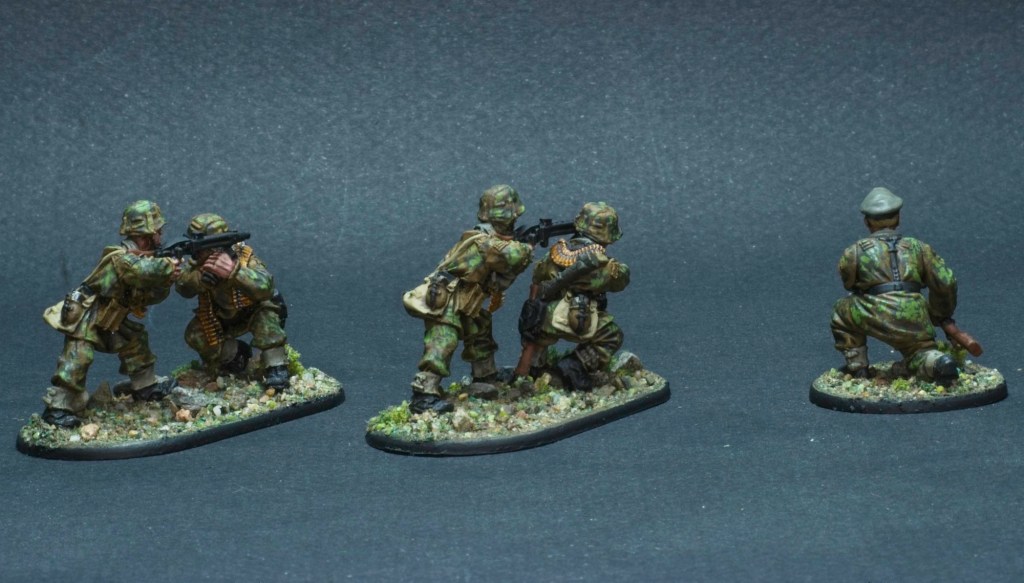
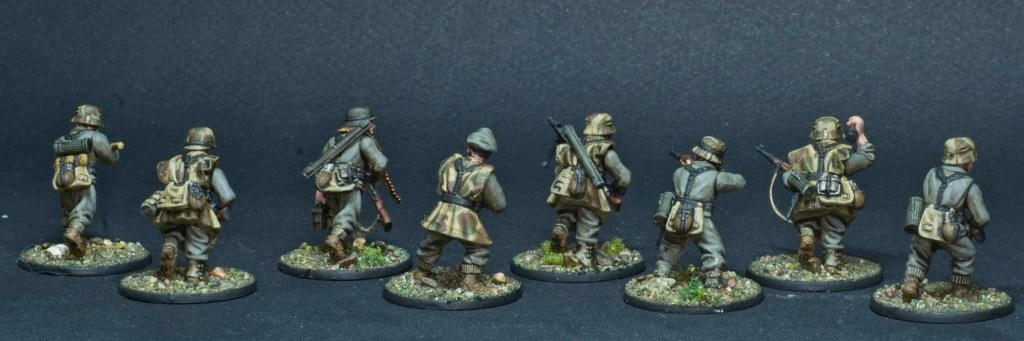
A ten-man rifle squad, with BAR and NCO with Thompson.
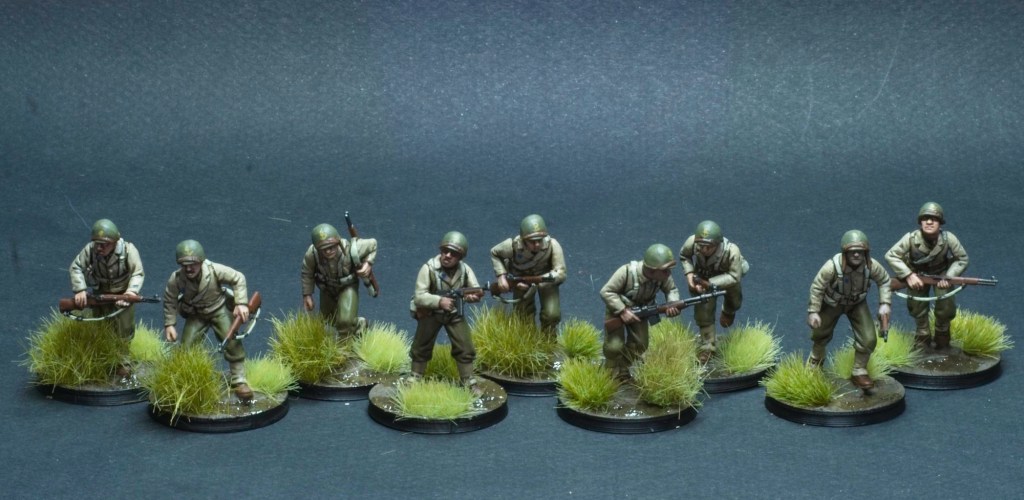
A nine-man rifle squad, with BAR and NCO with Thompson.
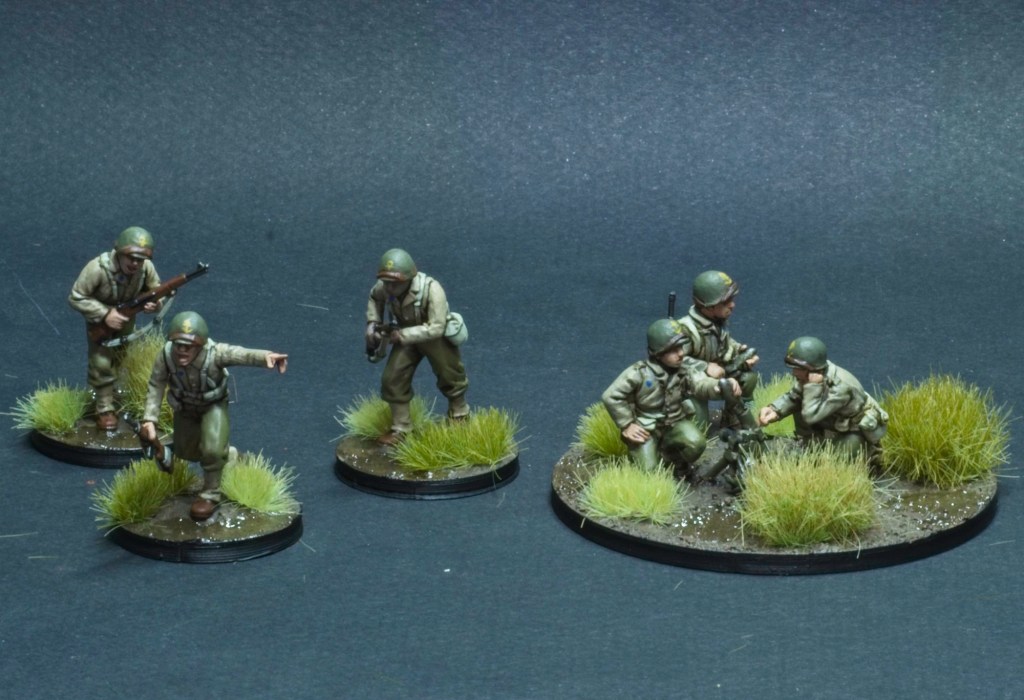
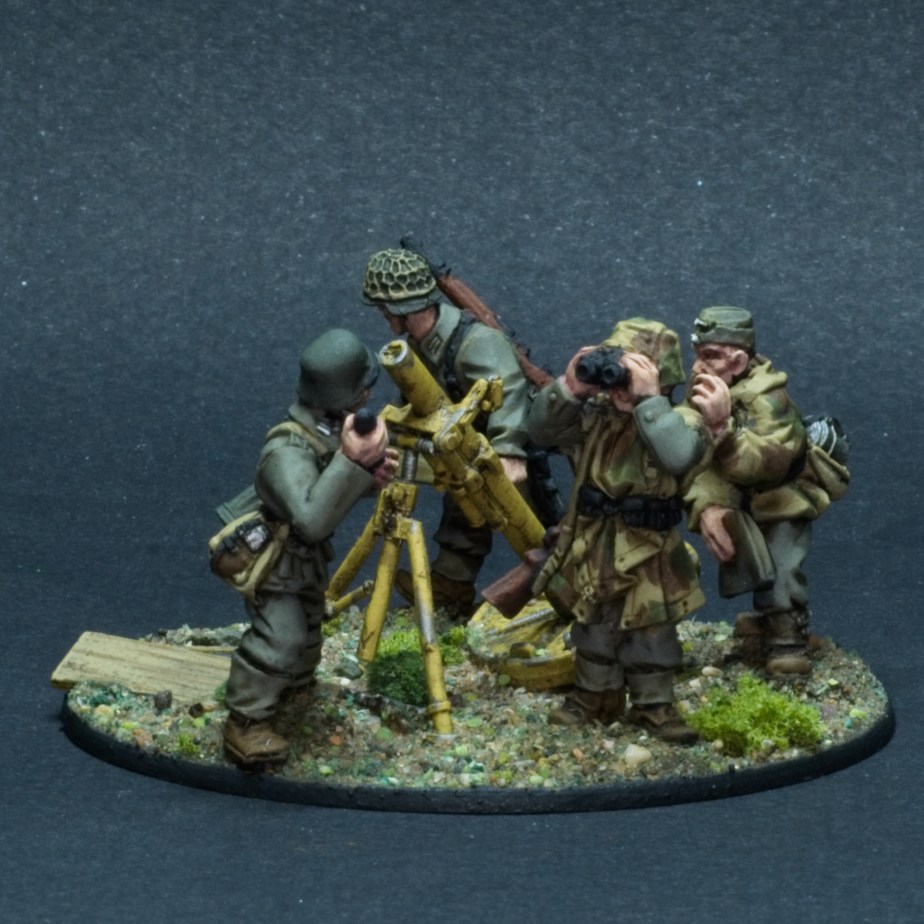
A six-man mortar squad, most of the time I envision the mortar team splitting off from the rest of the squad who will be manning the machine guns on the half-track.

A bazooka team.
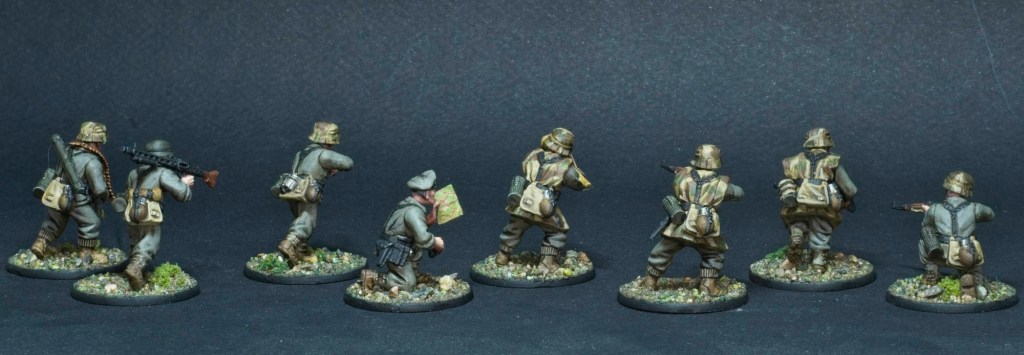
You might have noticed yellow anchors on the helmets of the non-netting covered helmets, and blue patches on most of the jackets. The Osprey book I have on the division has them marking their helmets with a yellow anchor, symbol of French colonial troops. I found a photo of American helmets painted with the same anchor (although in use by other French troops).
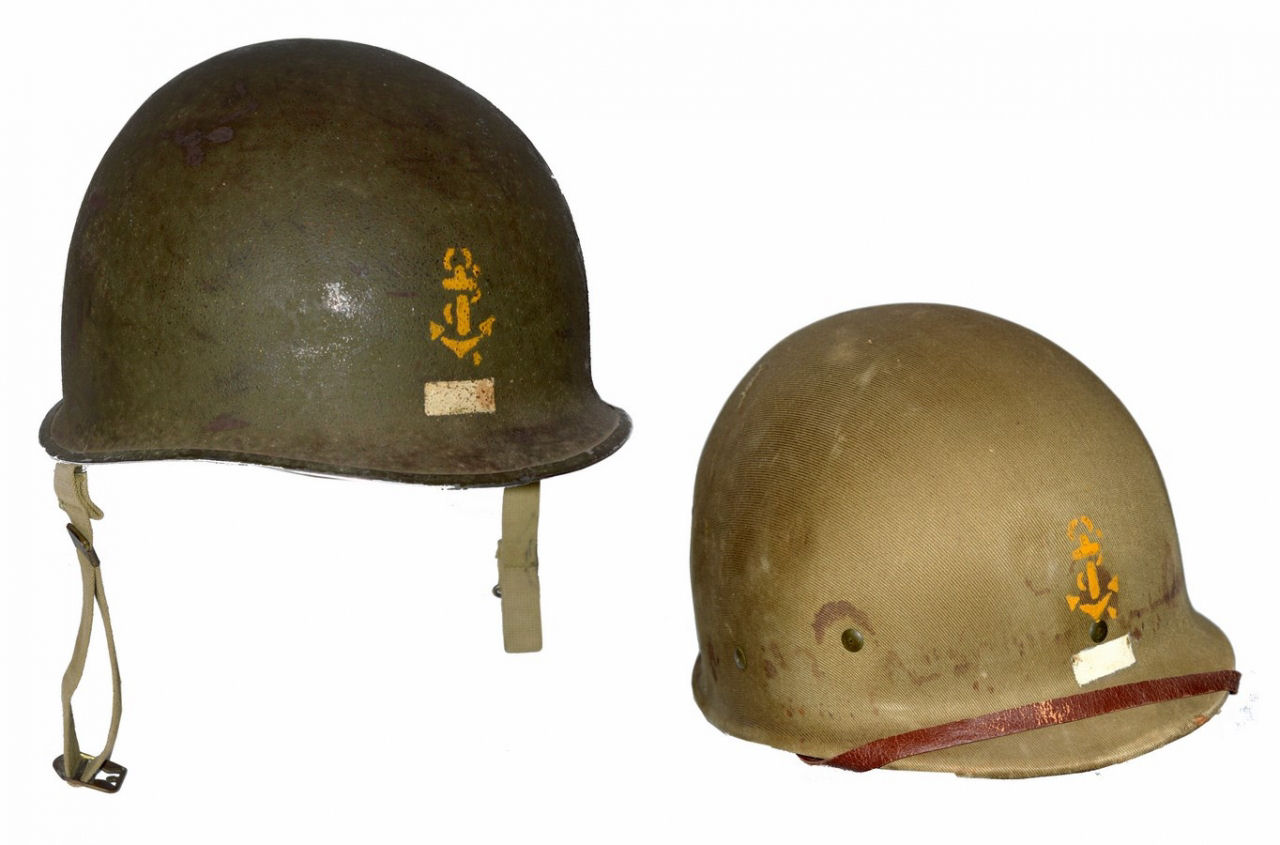

The blue mark represents a pin with the emblem of the division often worn by the troops. Both of these I added to make them look a little bit different to regular American soldiers!
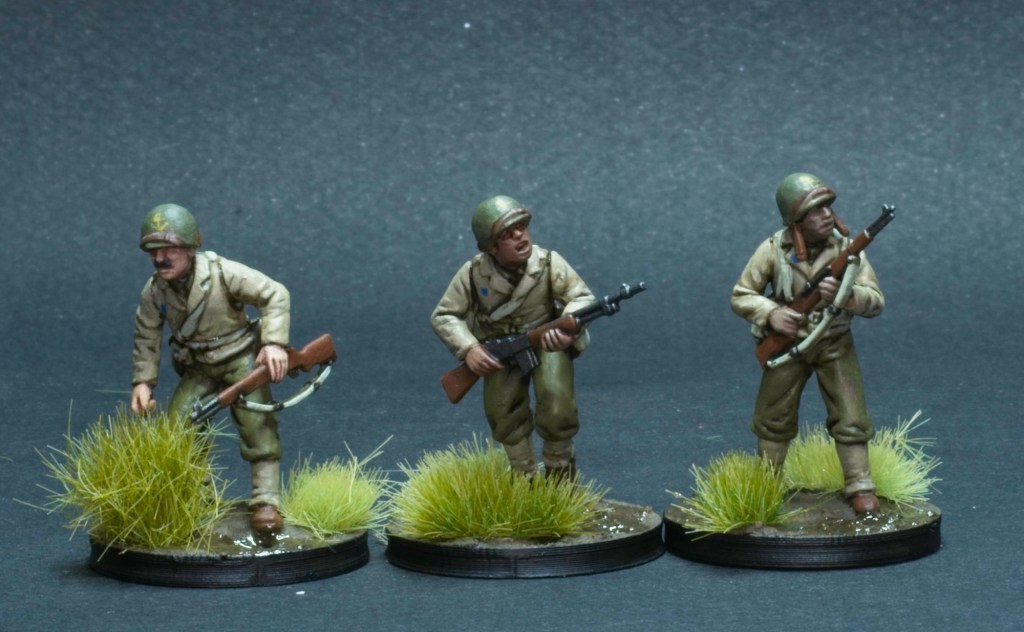
I also tried to vary the skin tones I used, as the division had many soldiers from North Africa in its ranks as well as Republican Spaniards that had fled after the civil war.
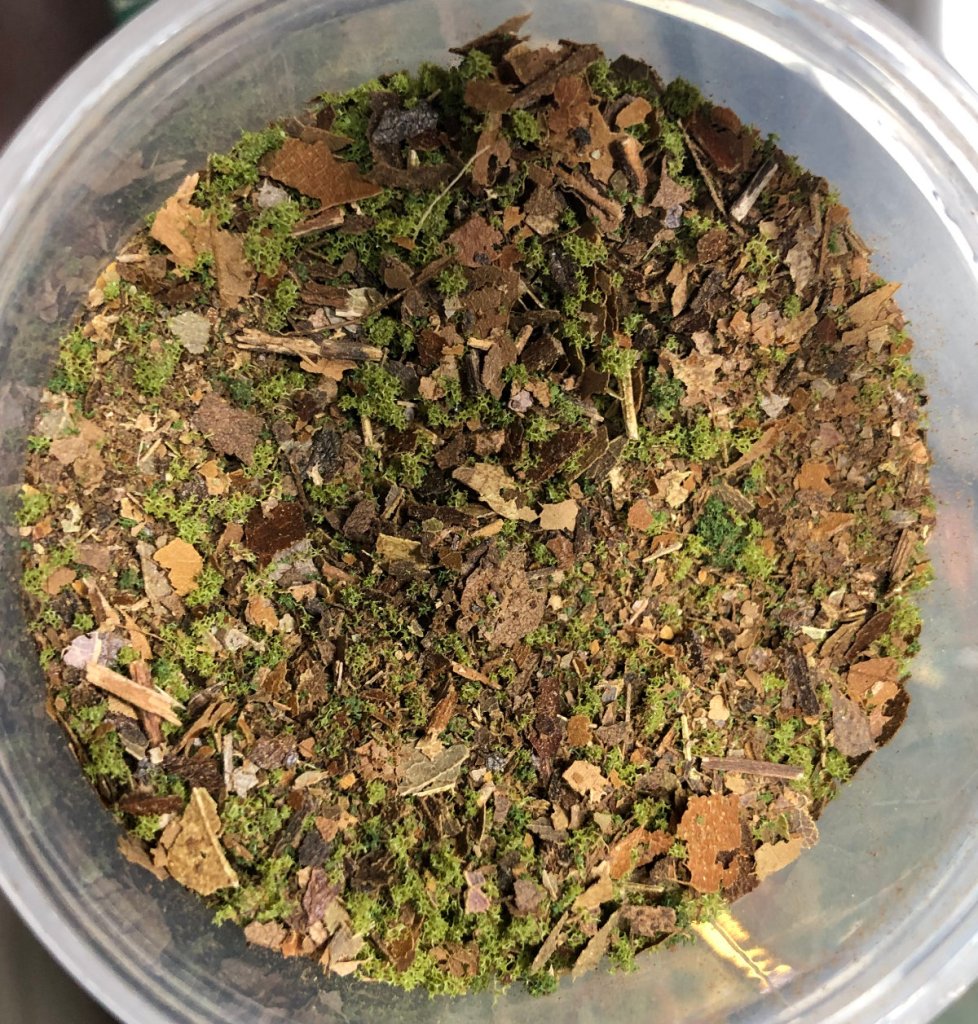
These were a lot of fun to paint, I found myself quite motivated when I started a got through all of them 5 models at a time, which wound up being a nice batch size. The basing was a bit of fun too, I found these packs of tufts by Vallejo at my local game store and got 4 different types that I randomly scattered on the bases. I found the result looked quite swampy so I added puddles with a product by AK called … “Puddles”! They worked out nicely I think so I’ll be using that on other models.
Unless I get wildly distracted (which is a very real risk let’s be honest!) the next post should be the vehicles to match the army.
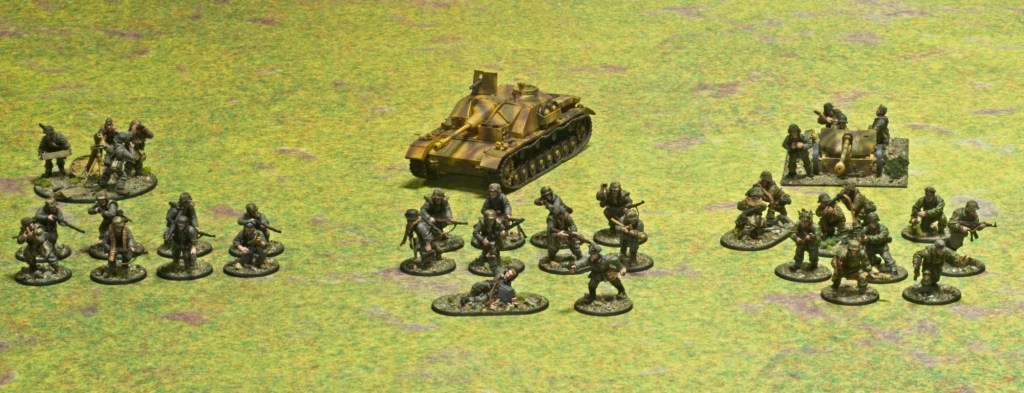
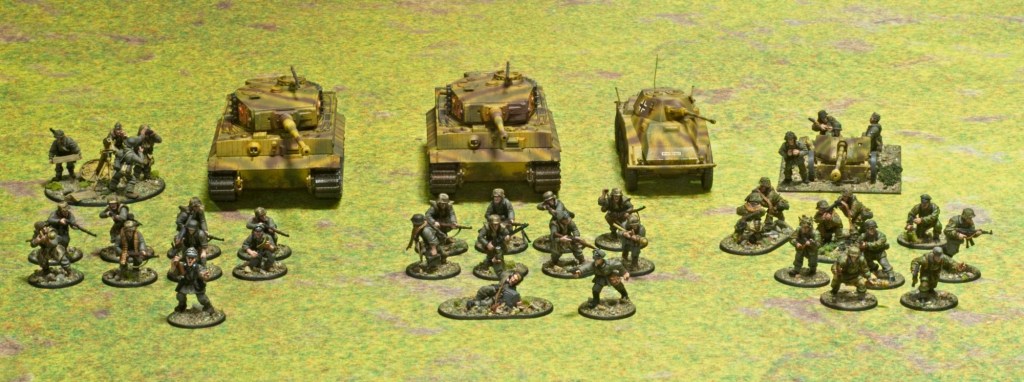
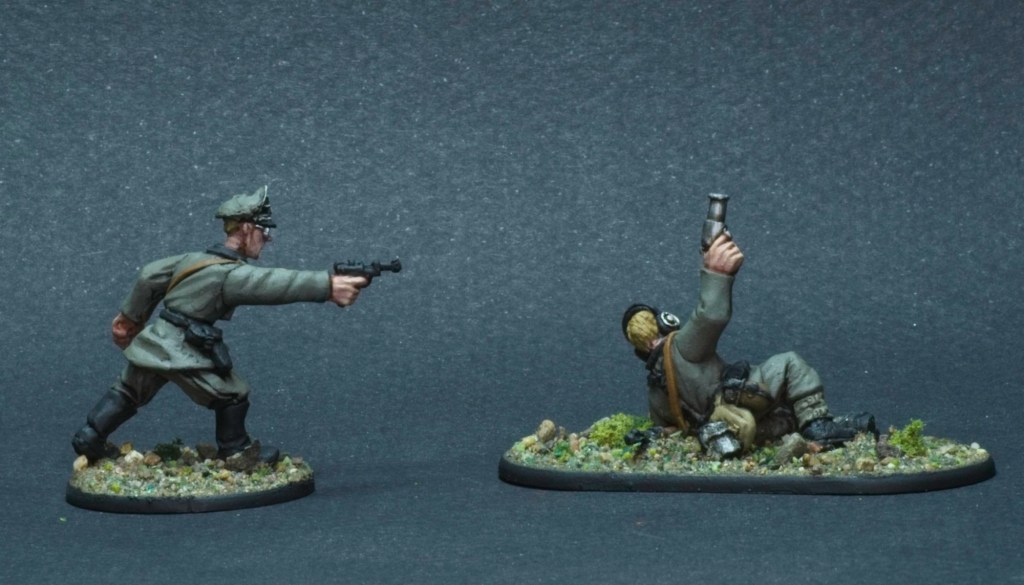
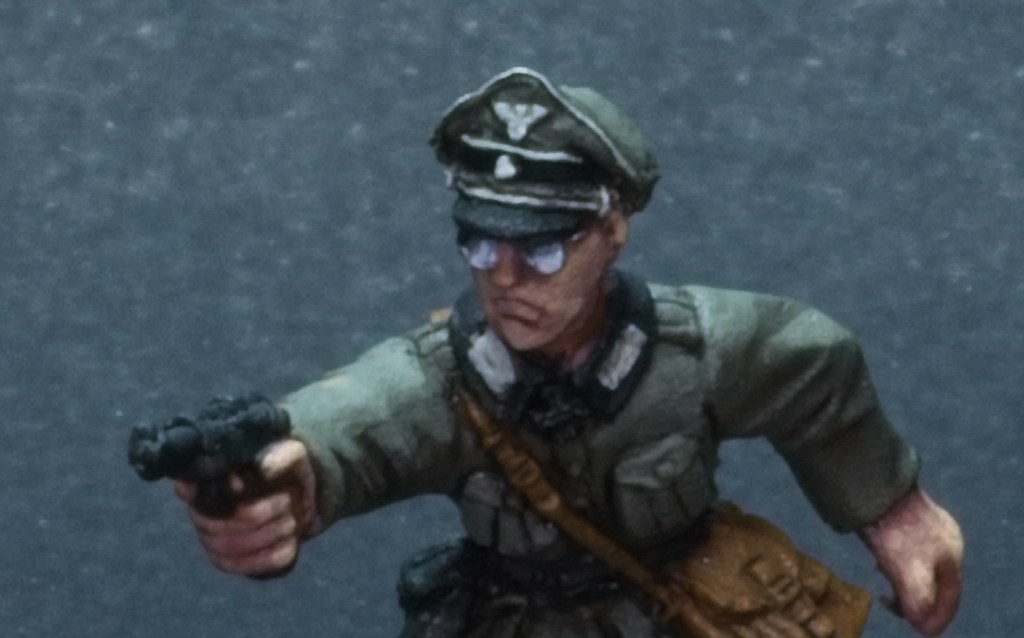
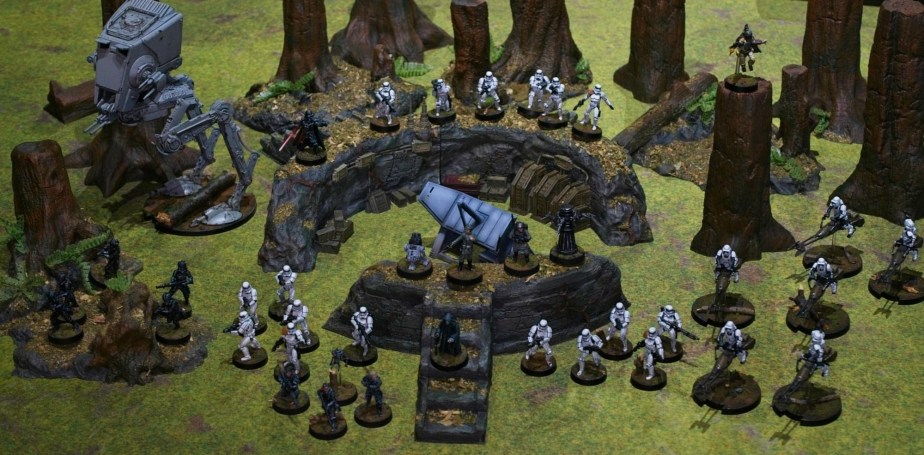
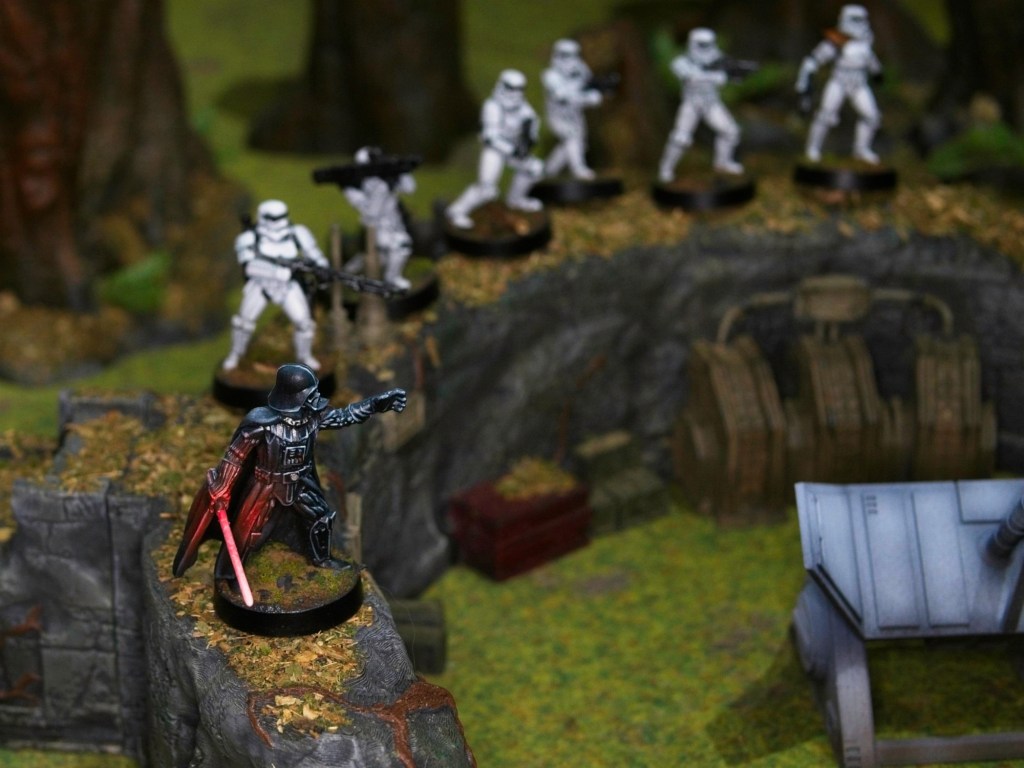
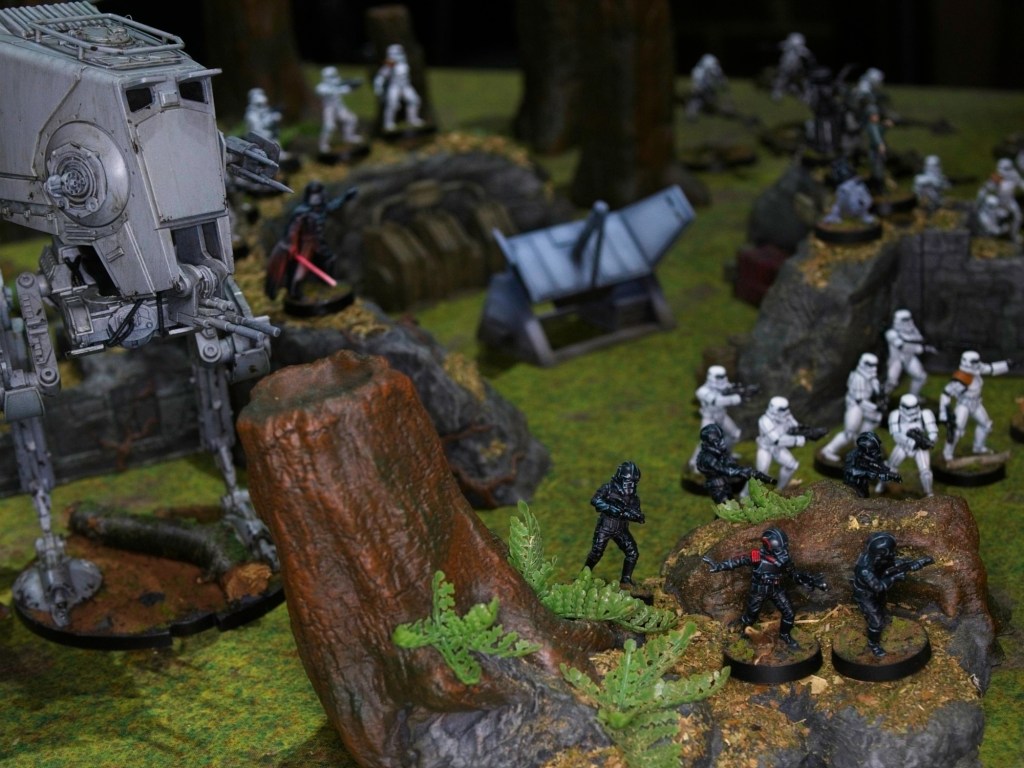
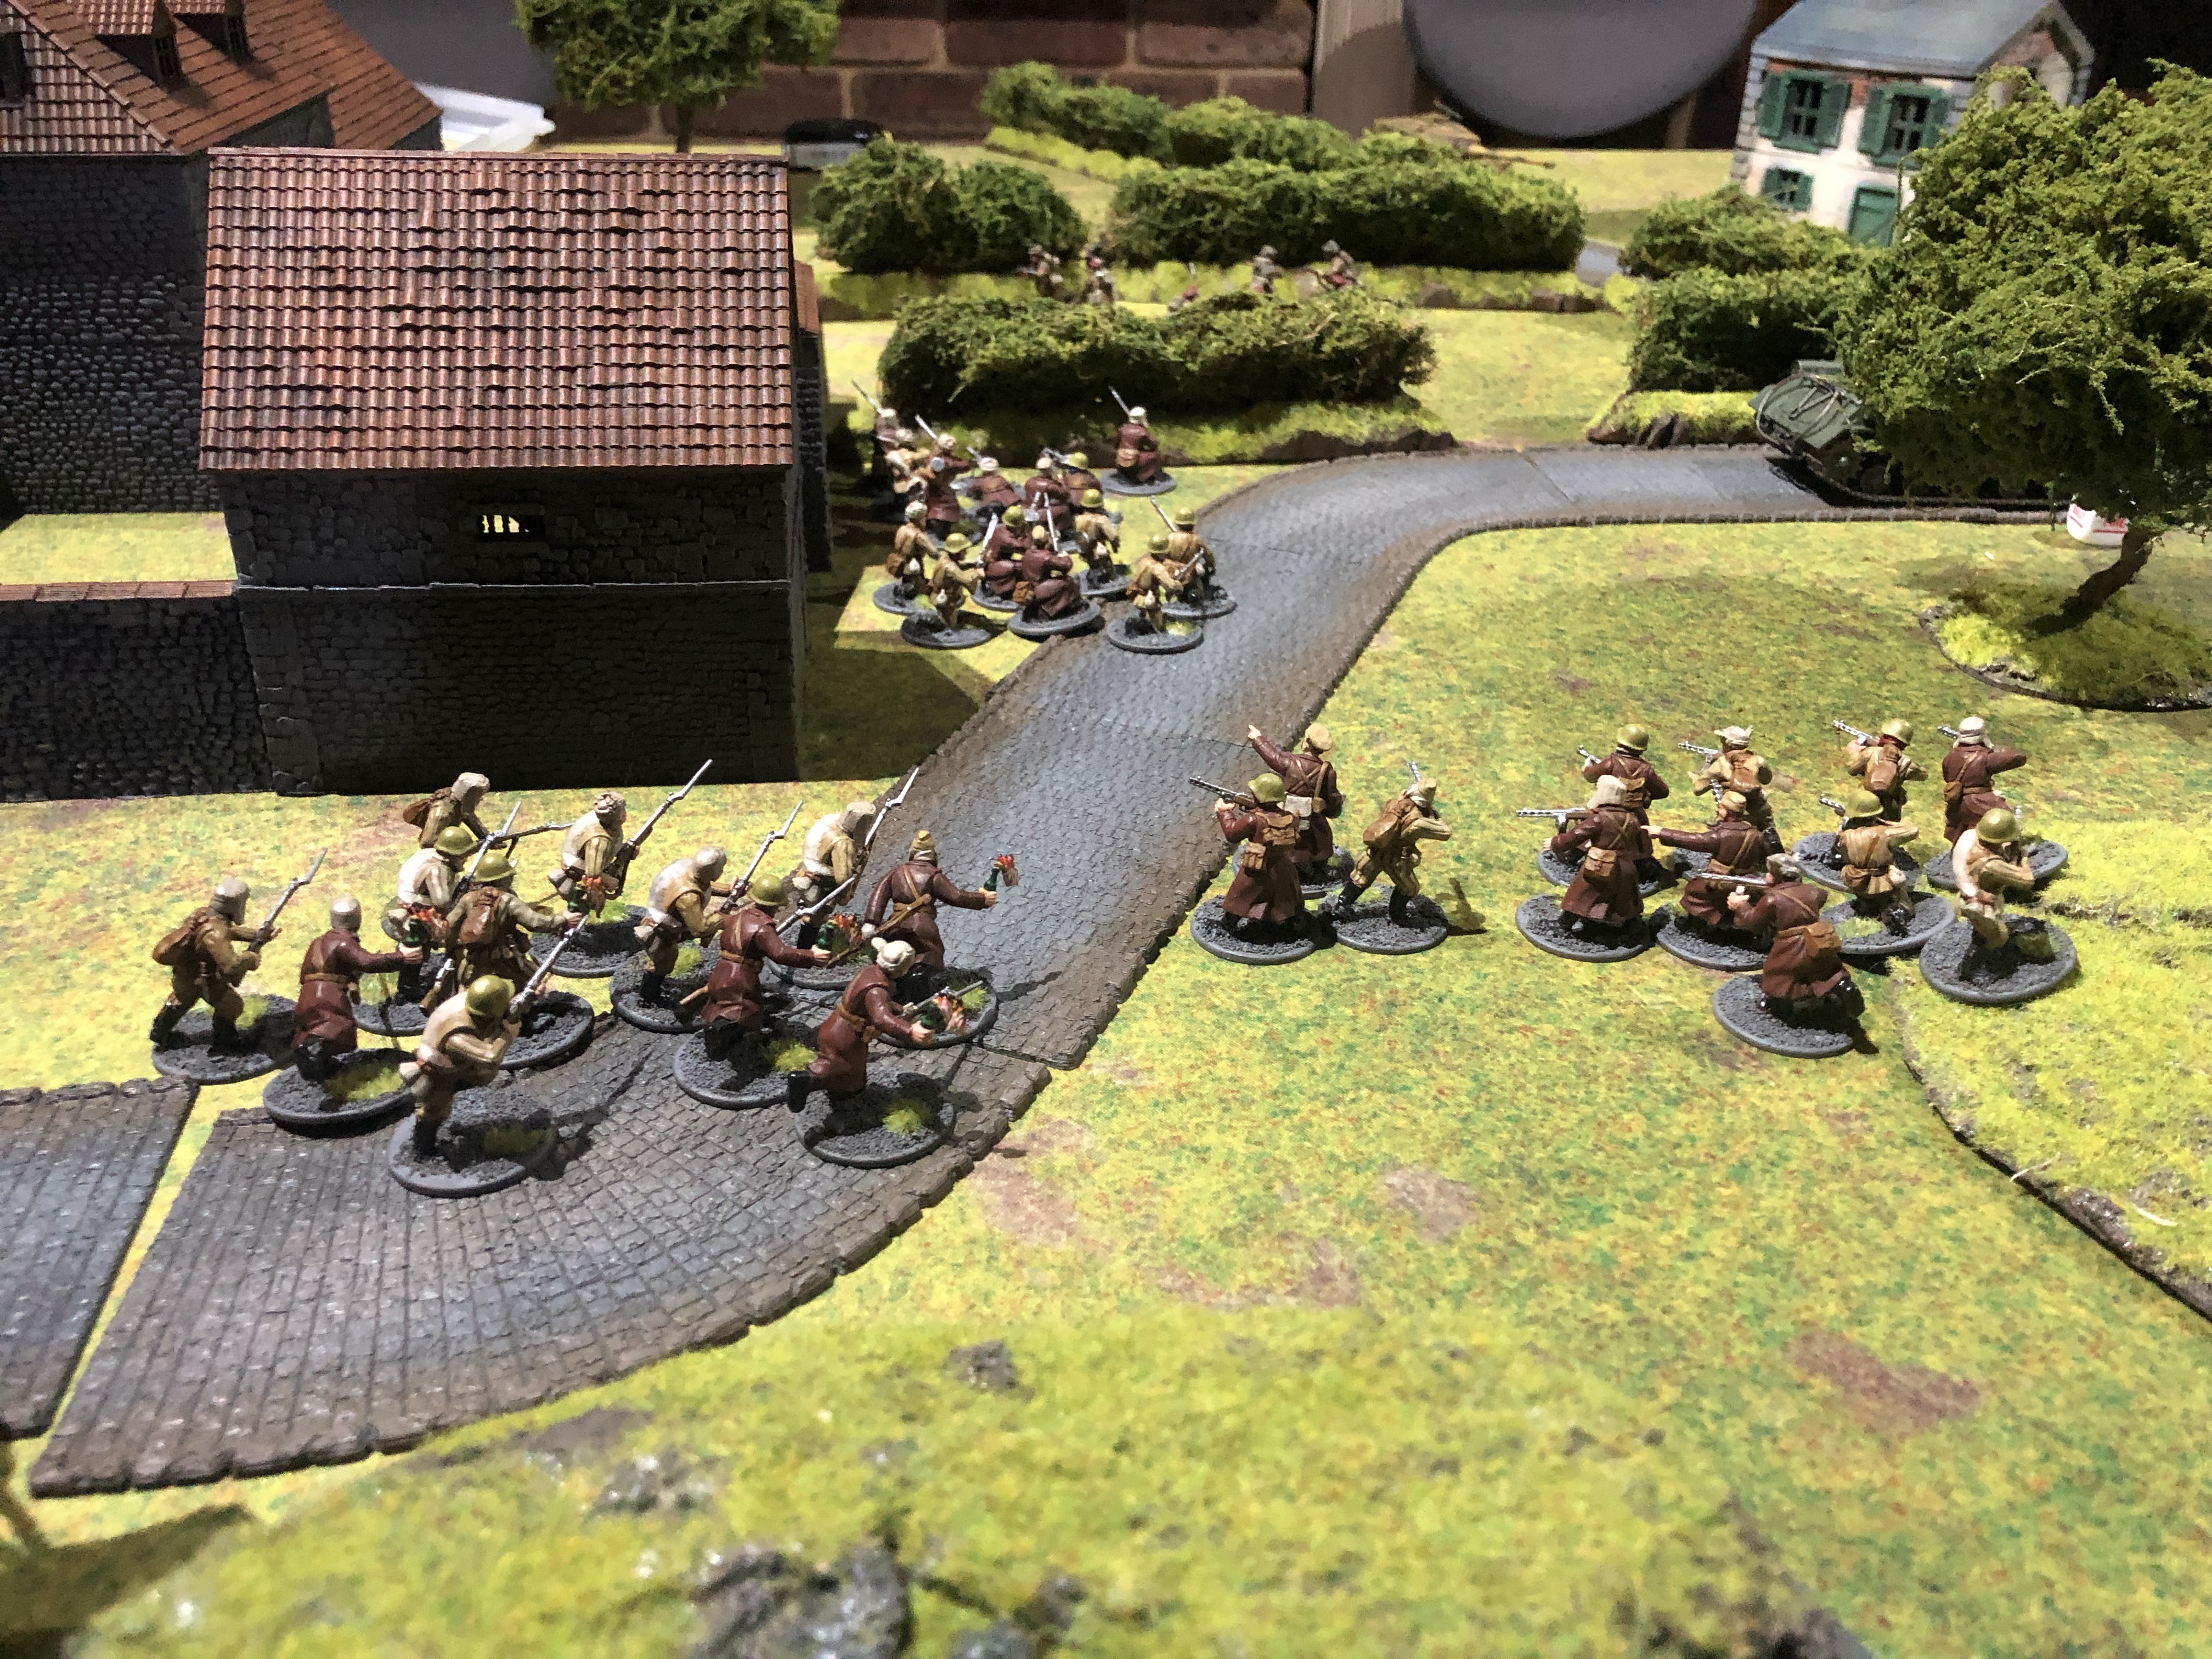
In the meantime however, this is not the end of this post! A few weeks back I played a 2000 point game of Bolt Action with some friends and thought I’d share photos. The game had a small force of Germans backed by a couple of Tigers take on a coalition of Russians and British Paratroopers, a very historical scenario as you might imagine.
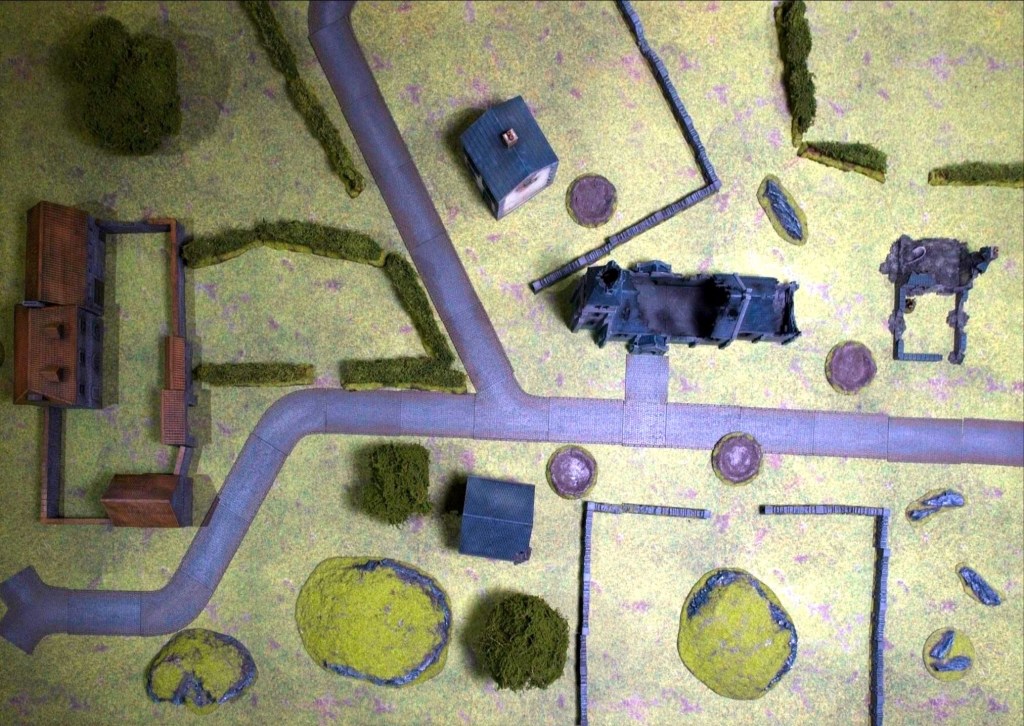
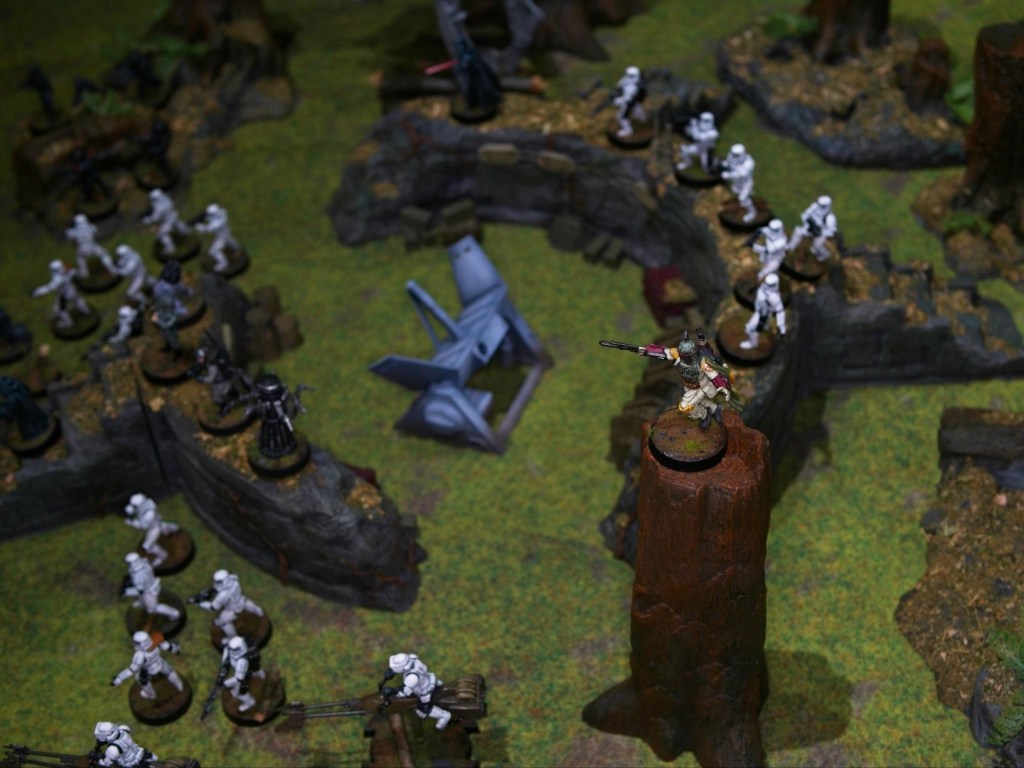
The game was played on the Normandy board I’ve been working on for a while, you can see the layout above.
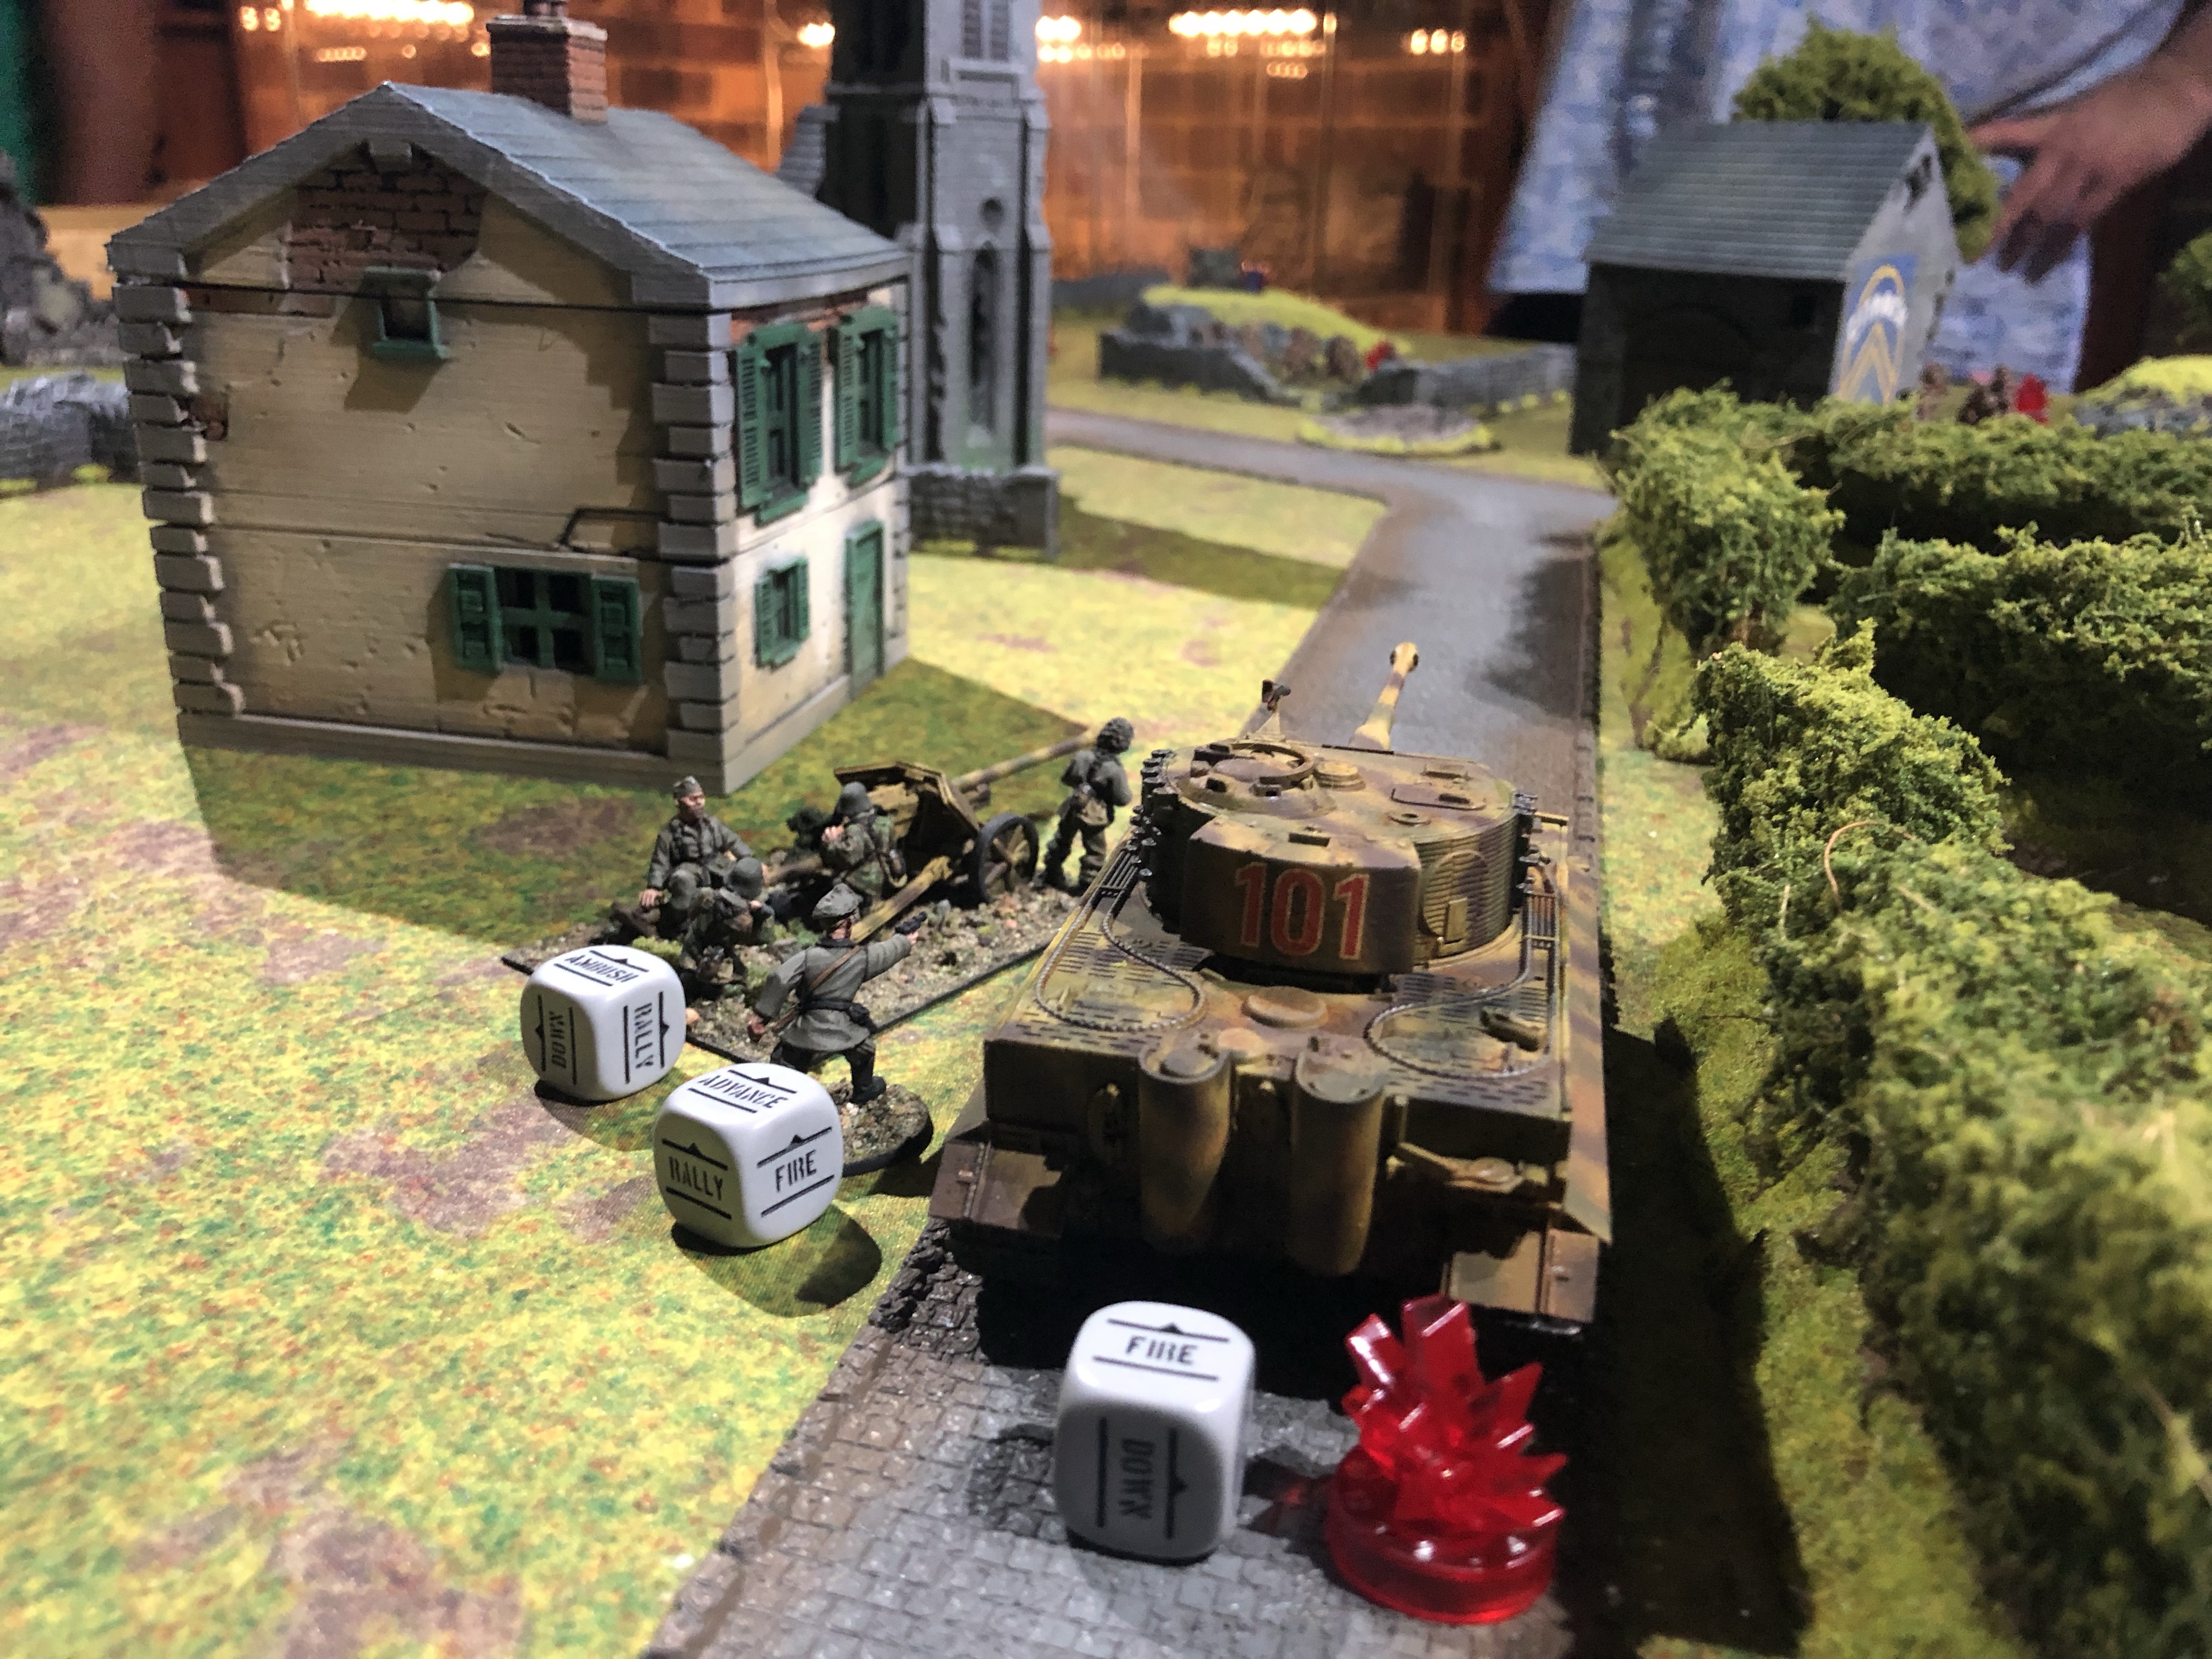
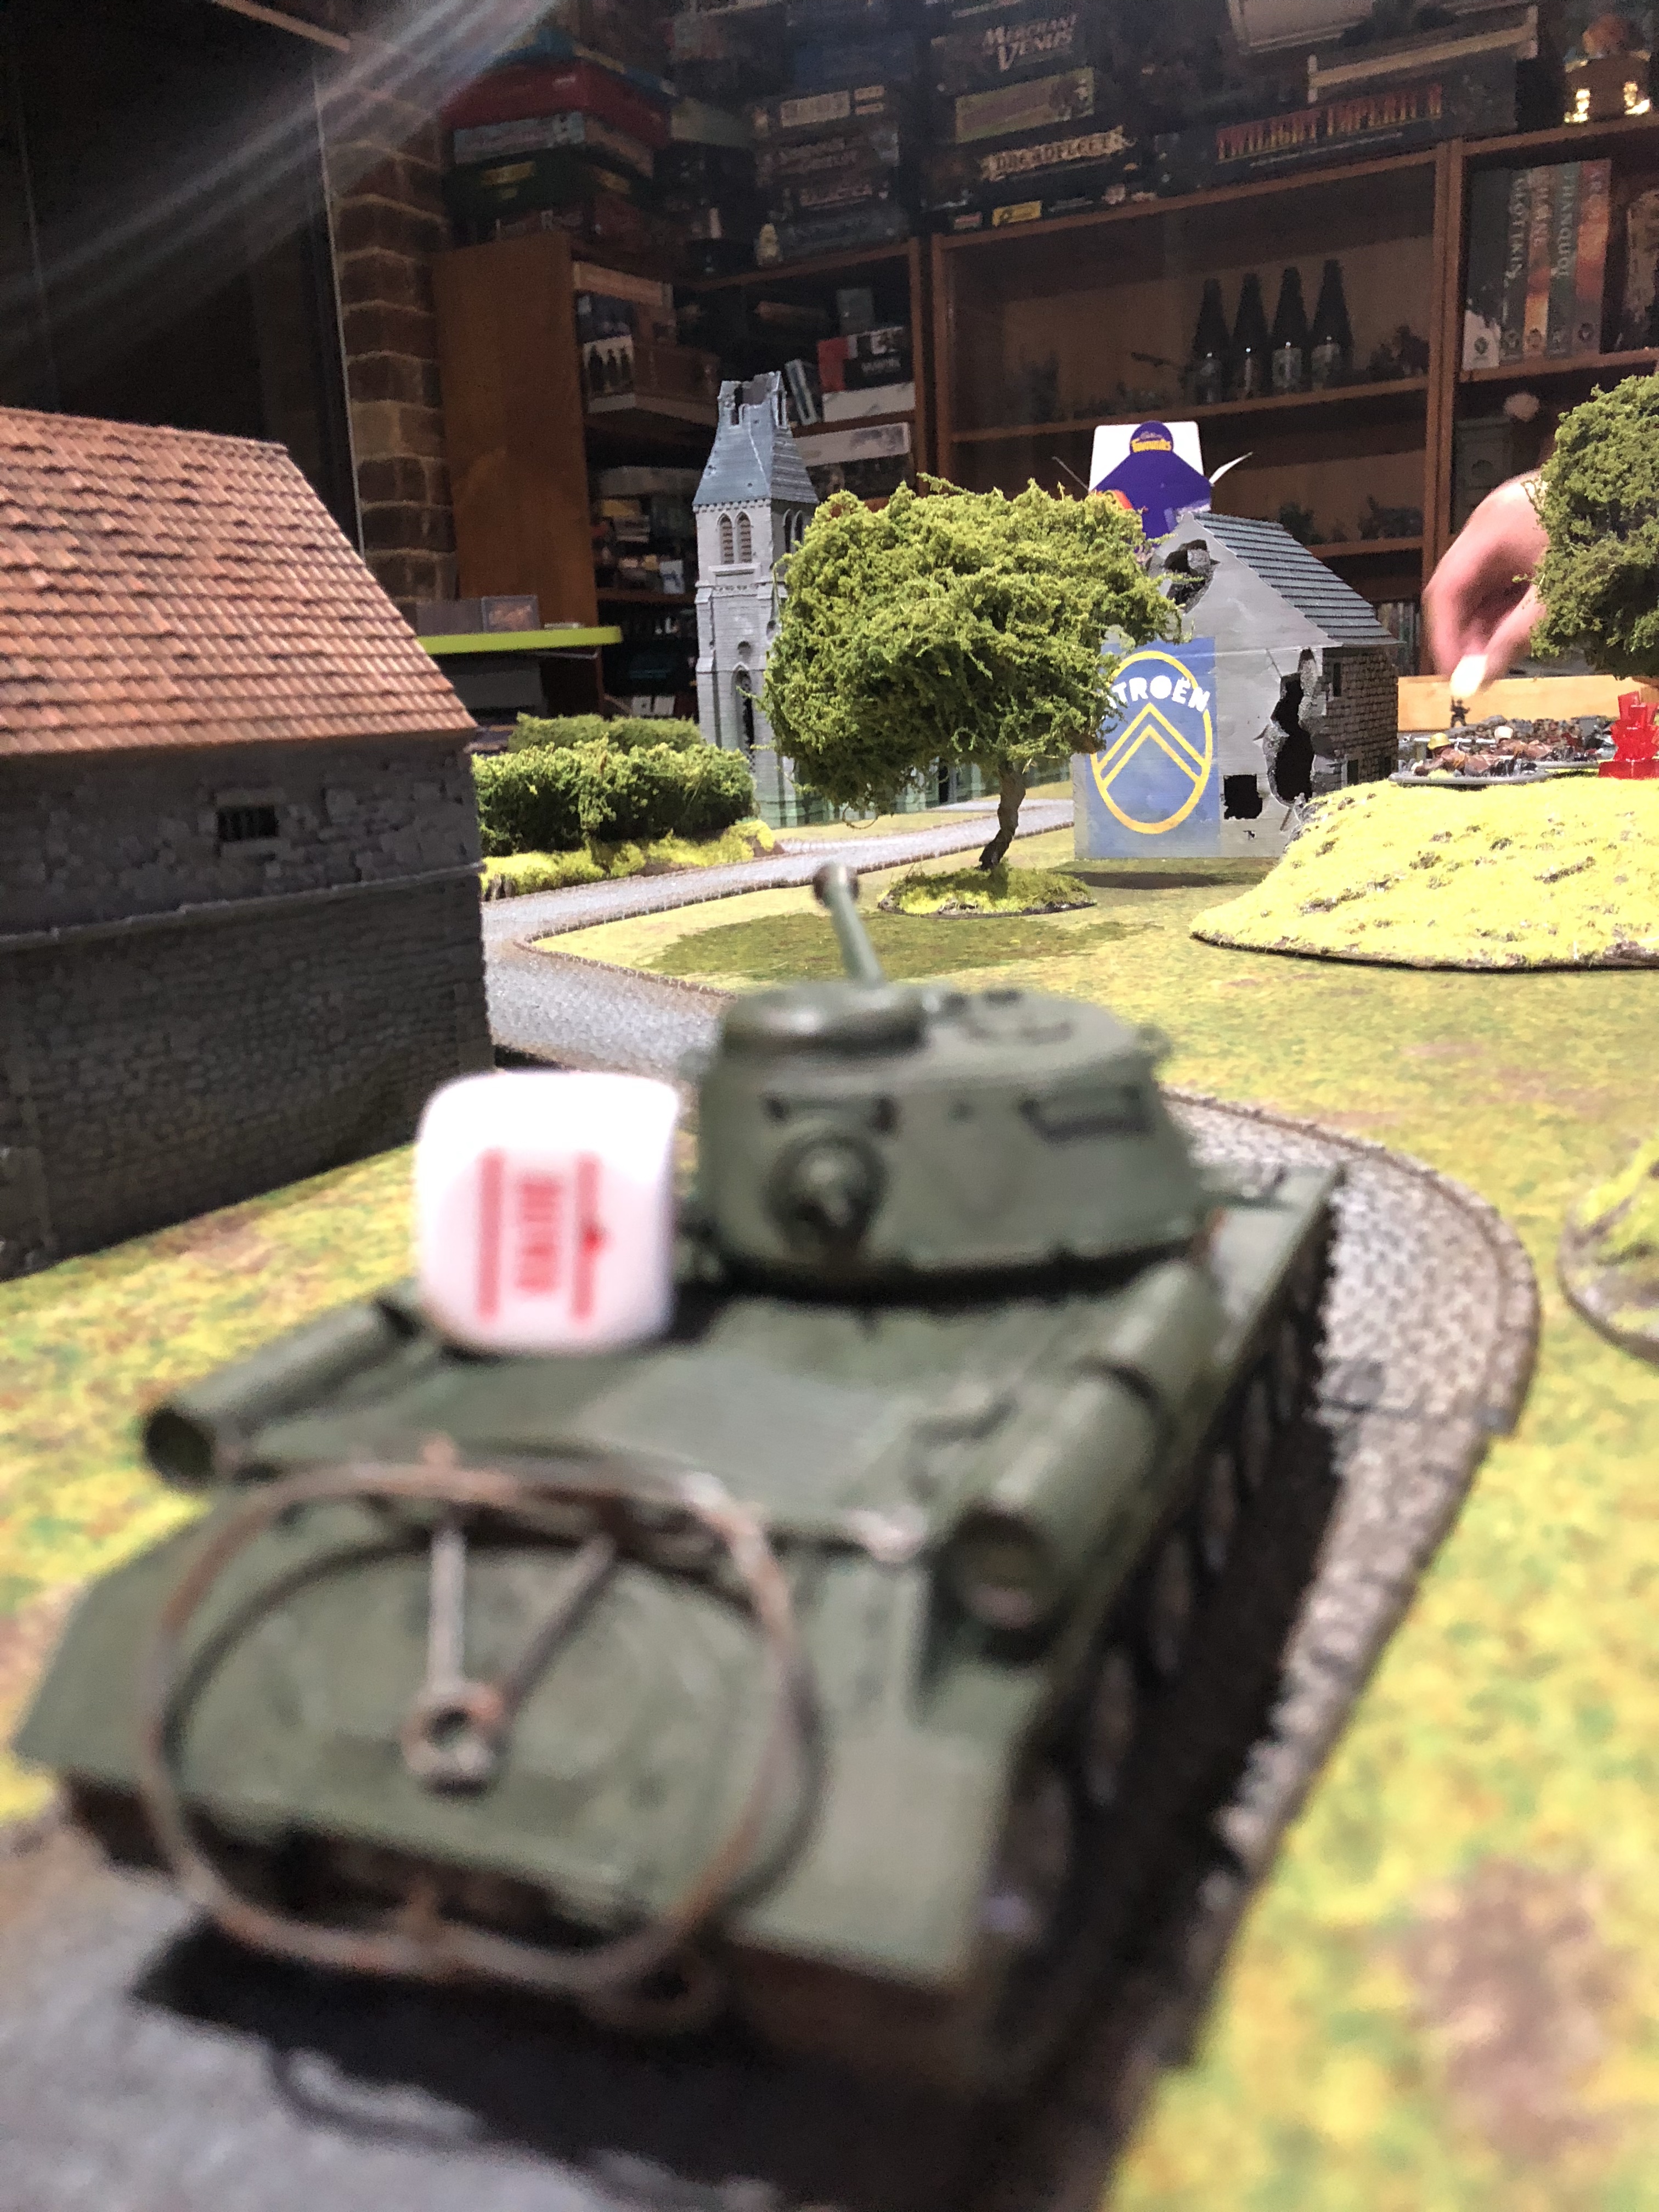
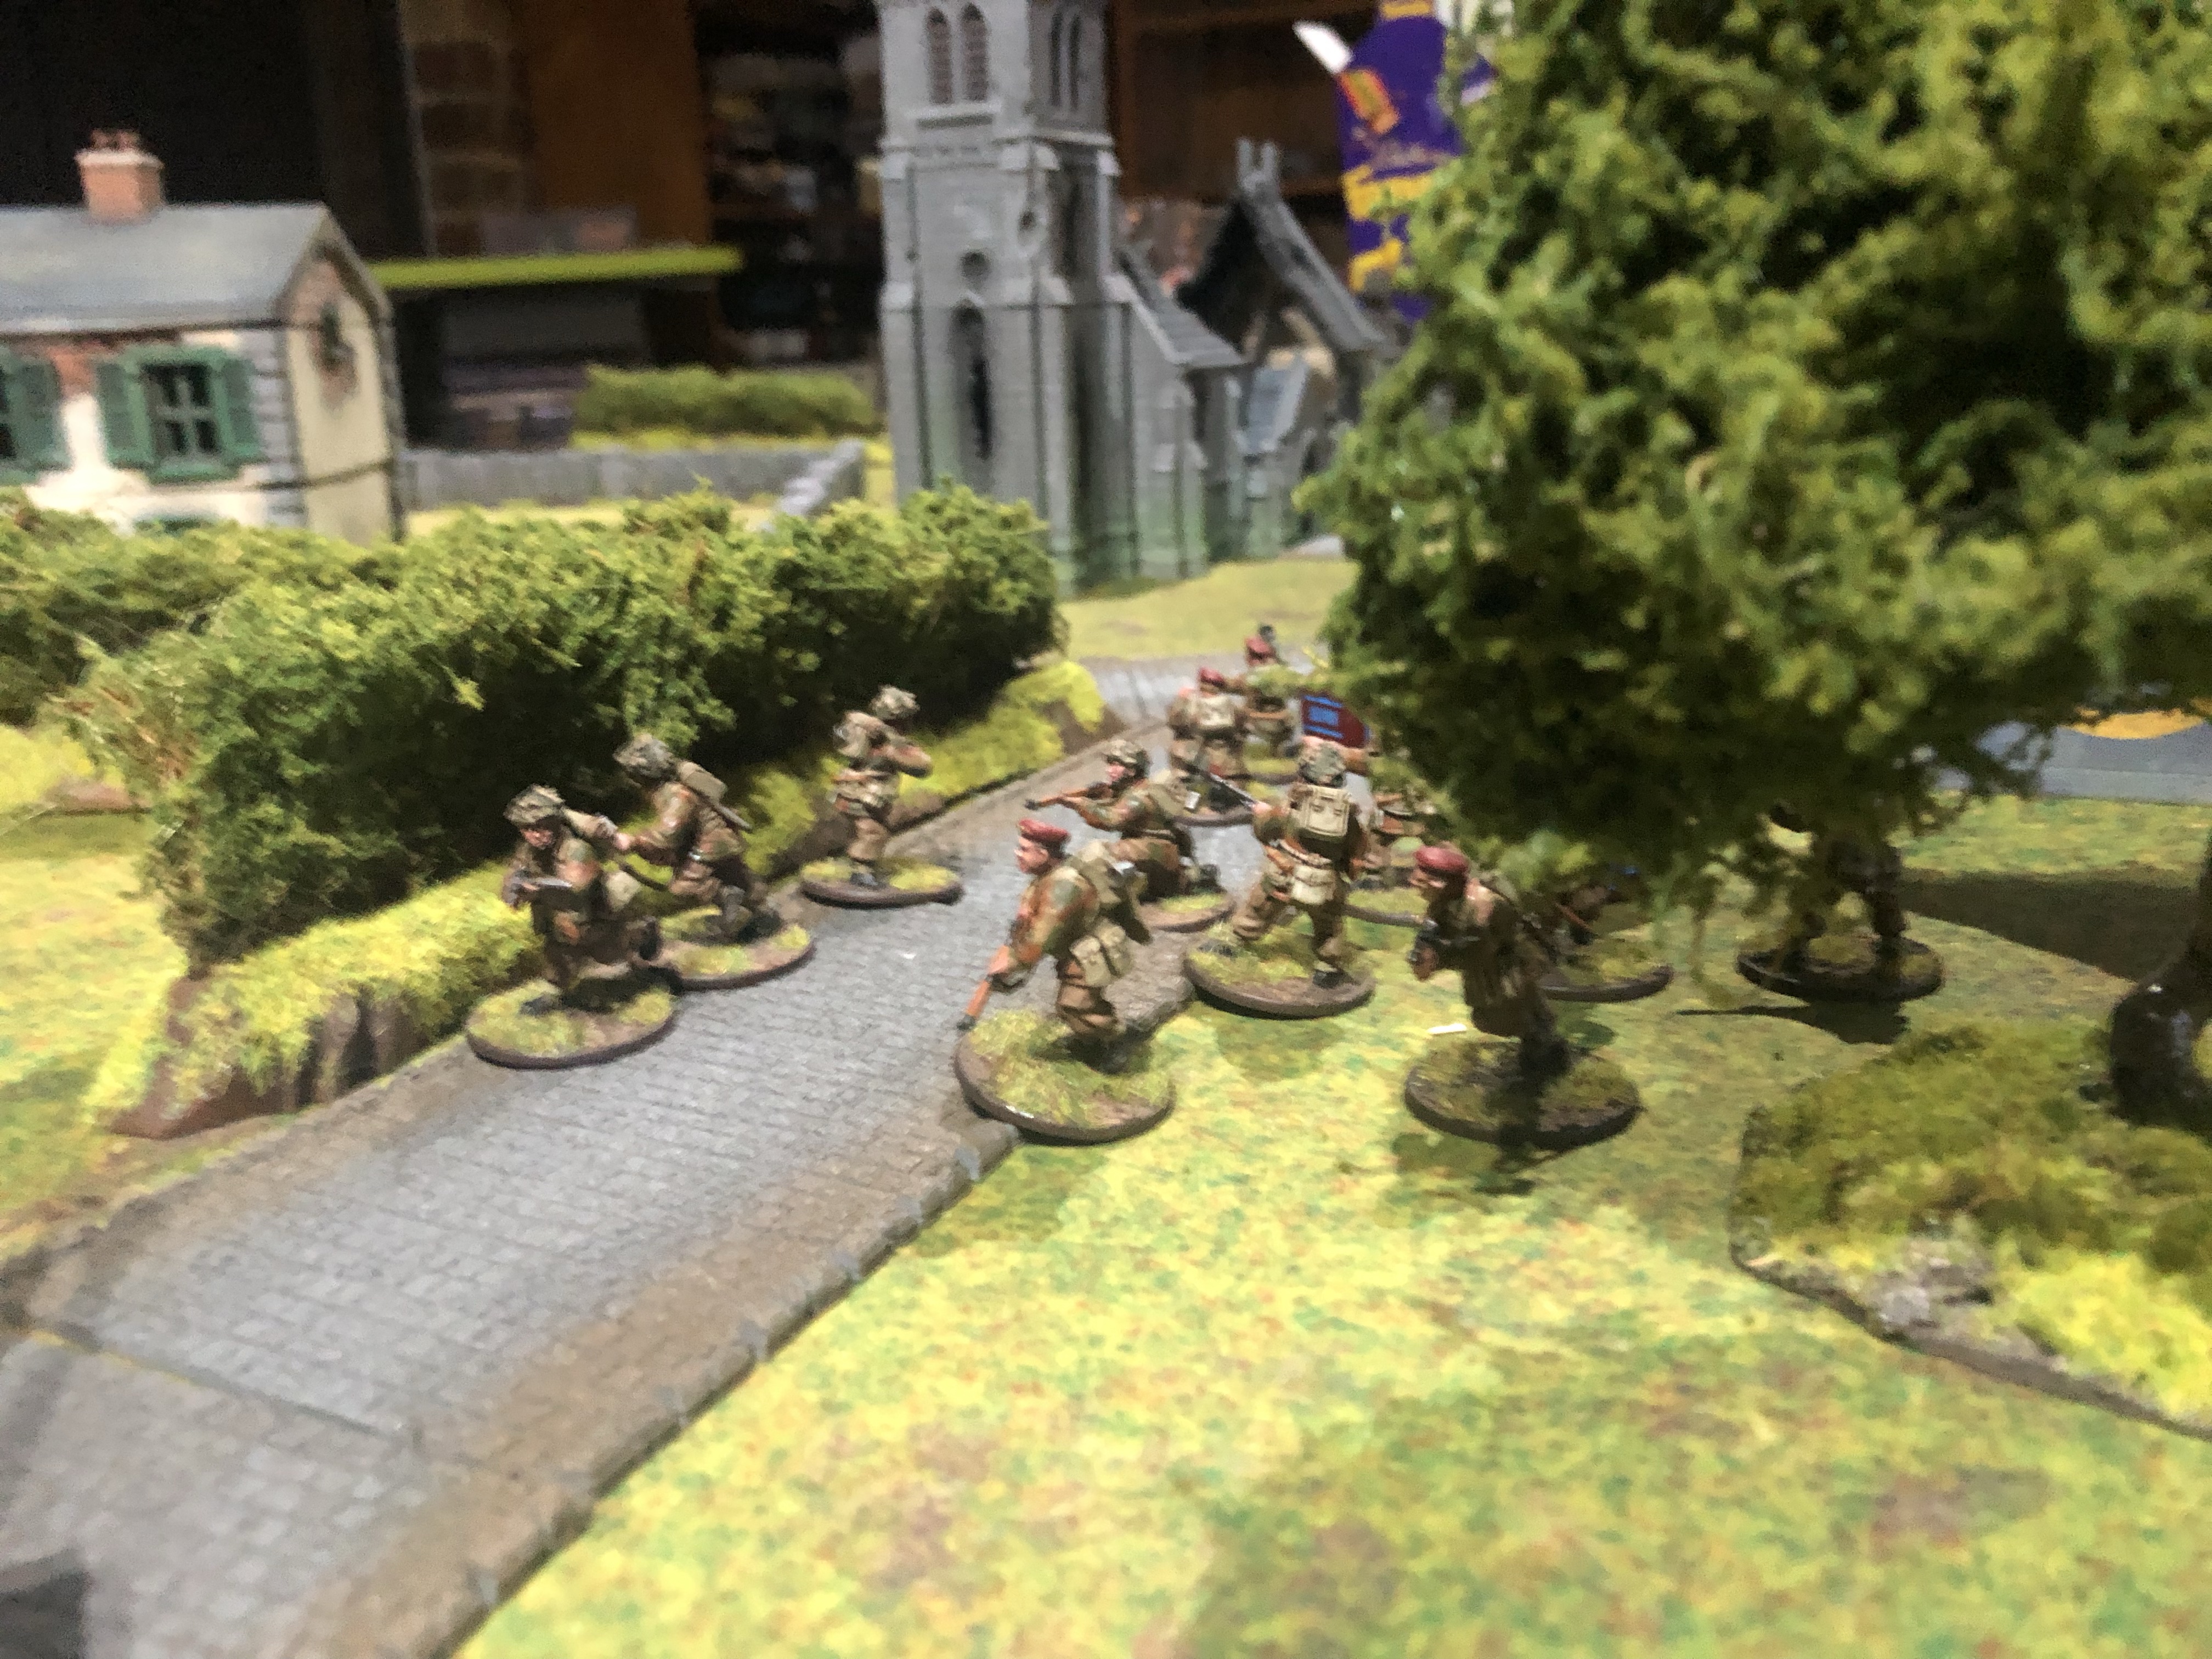
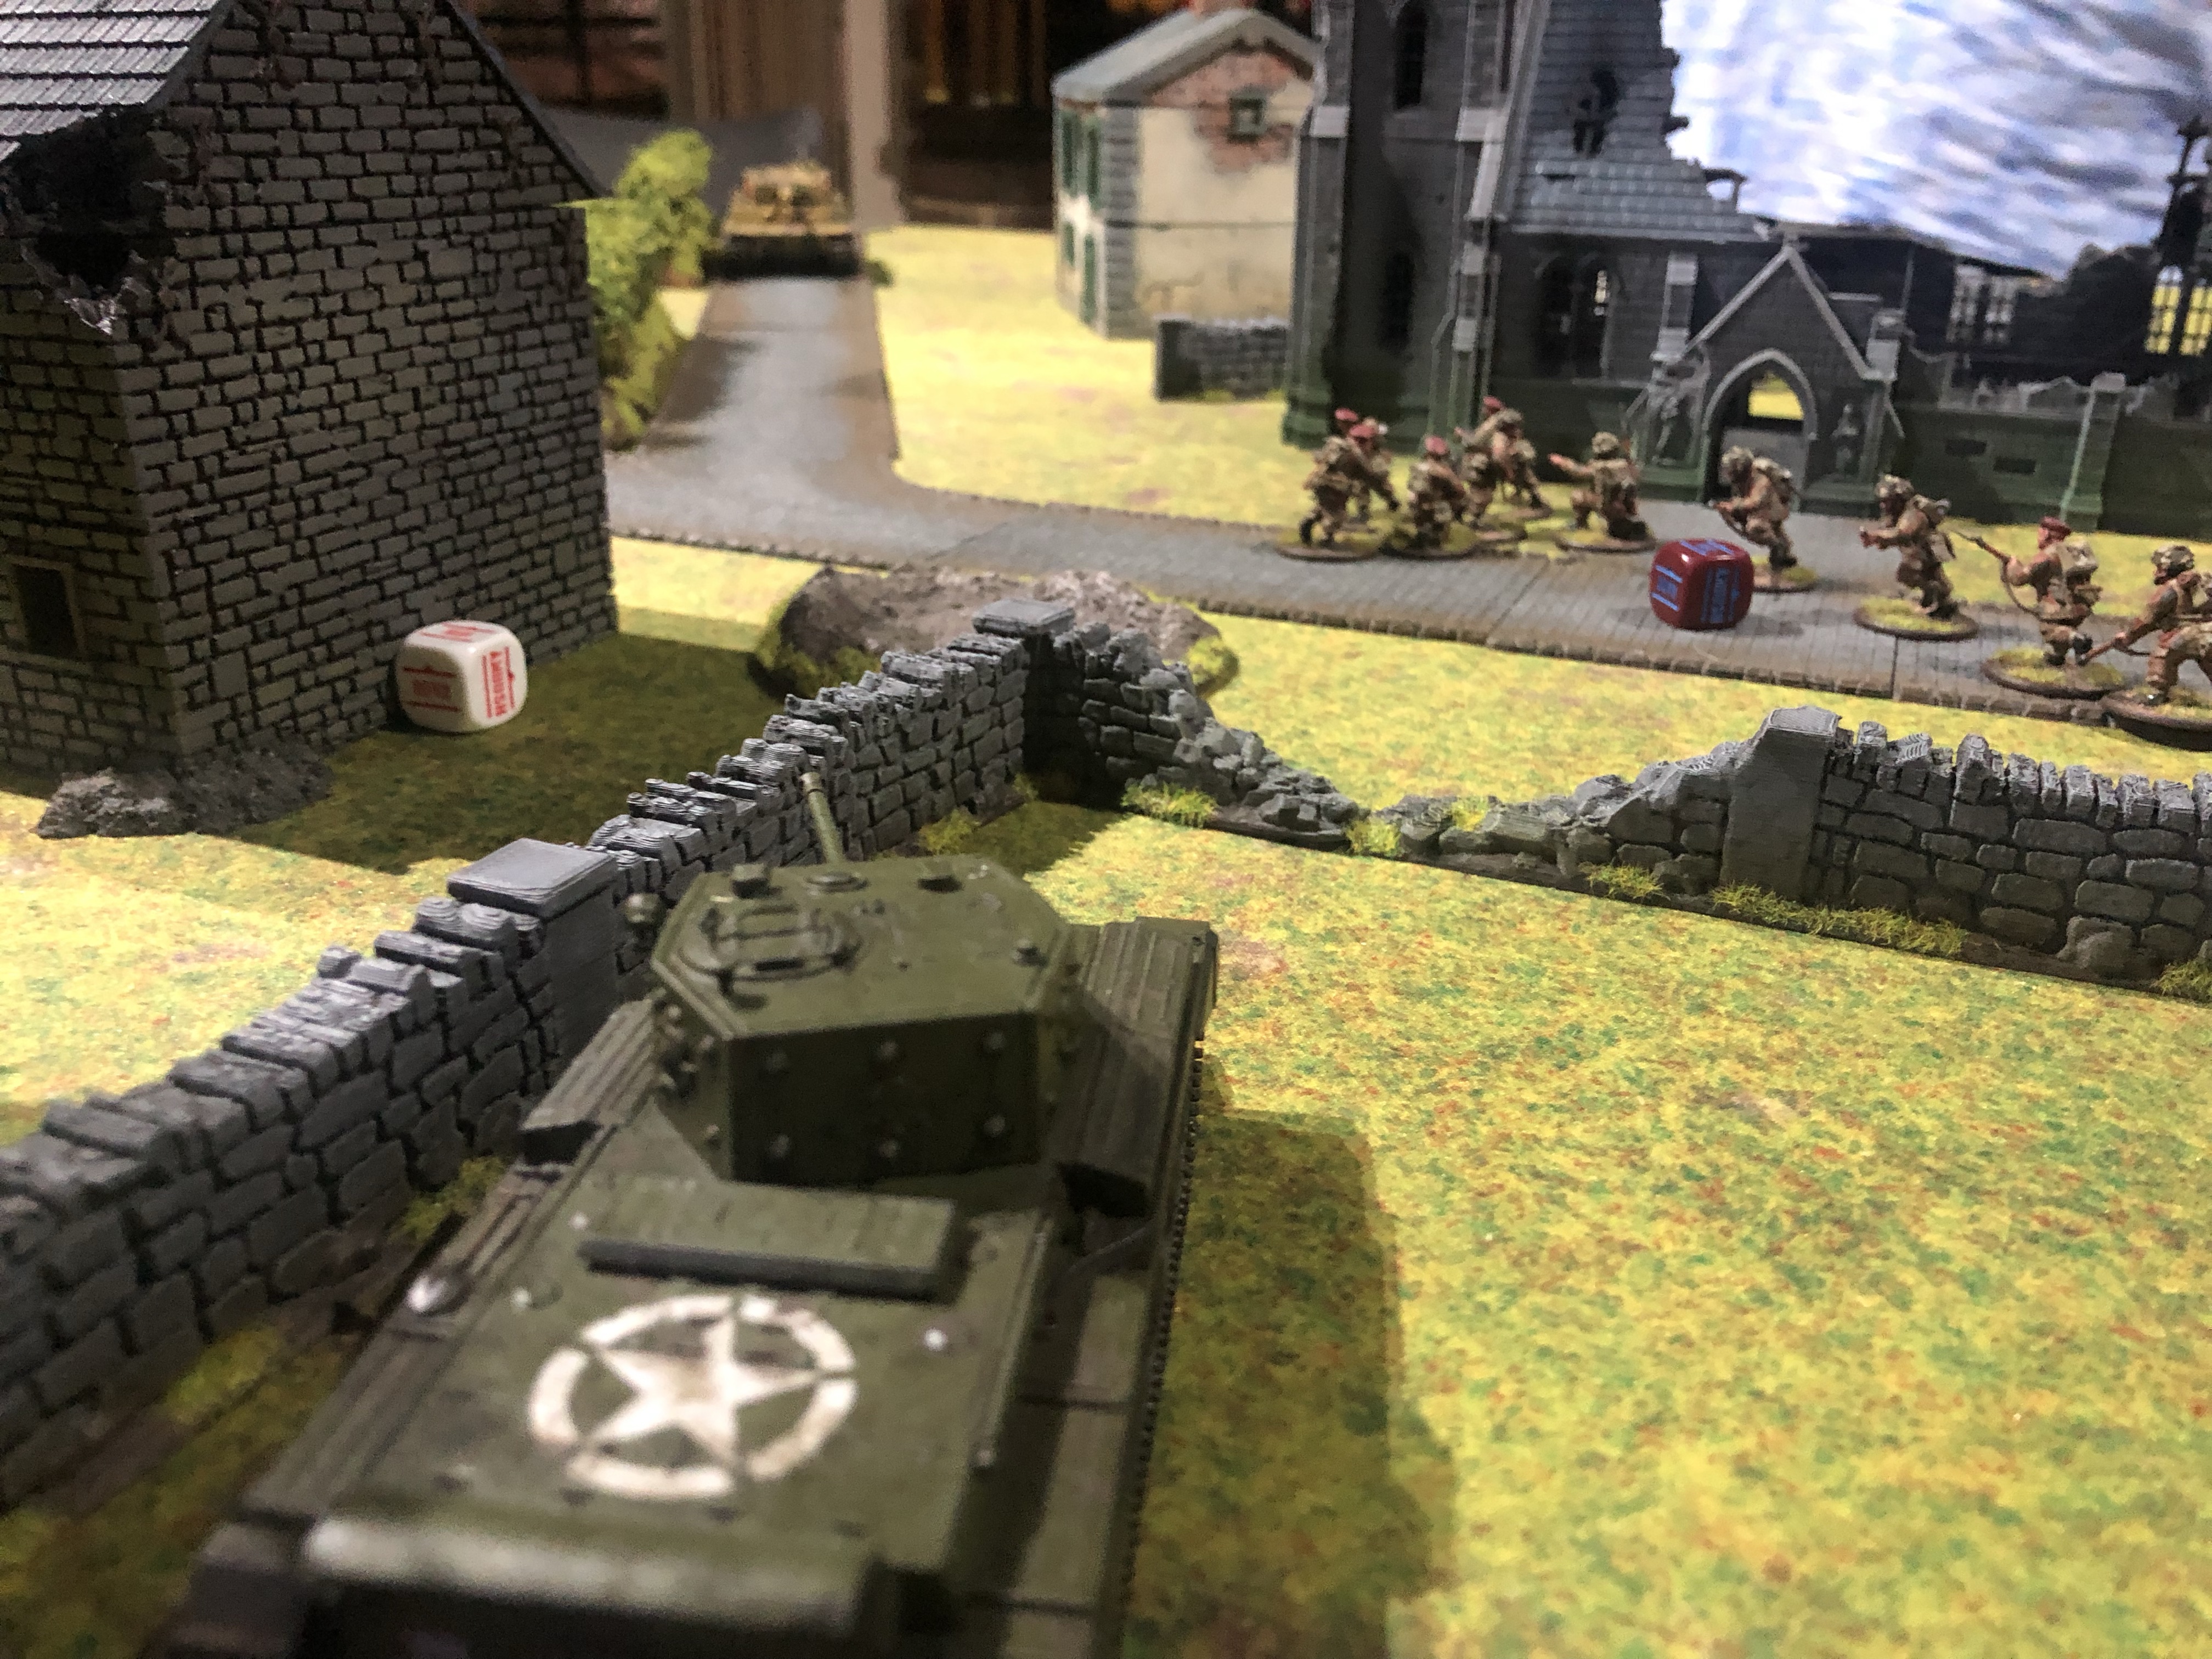
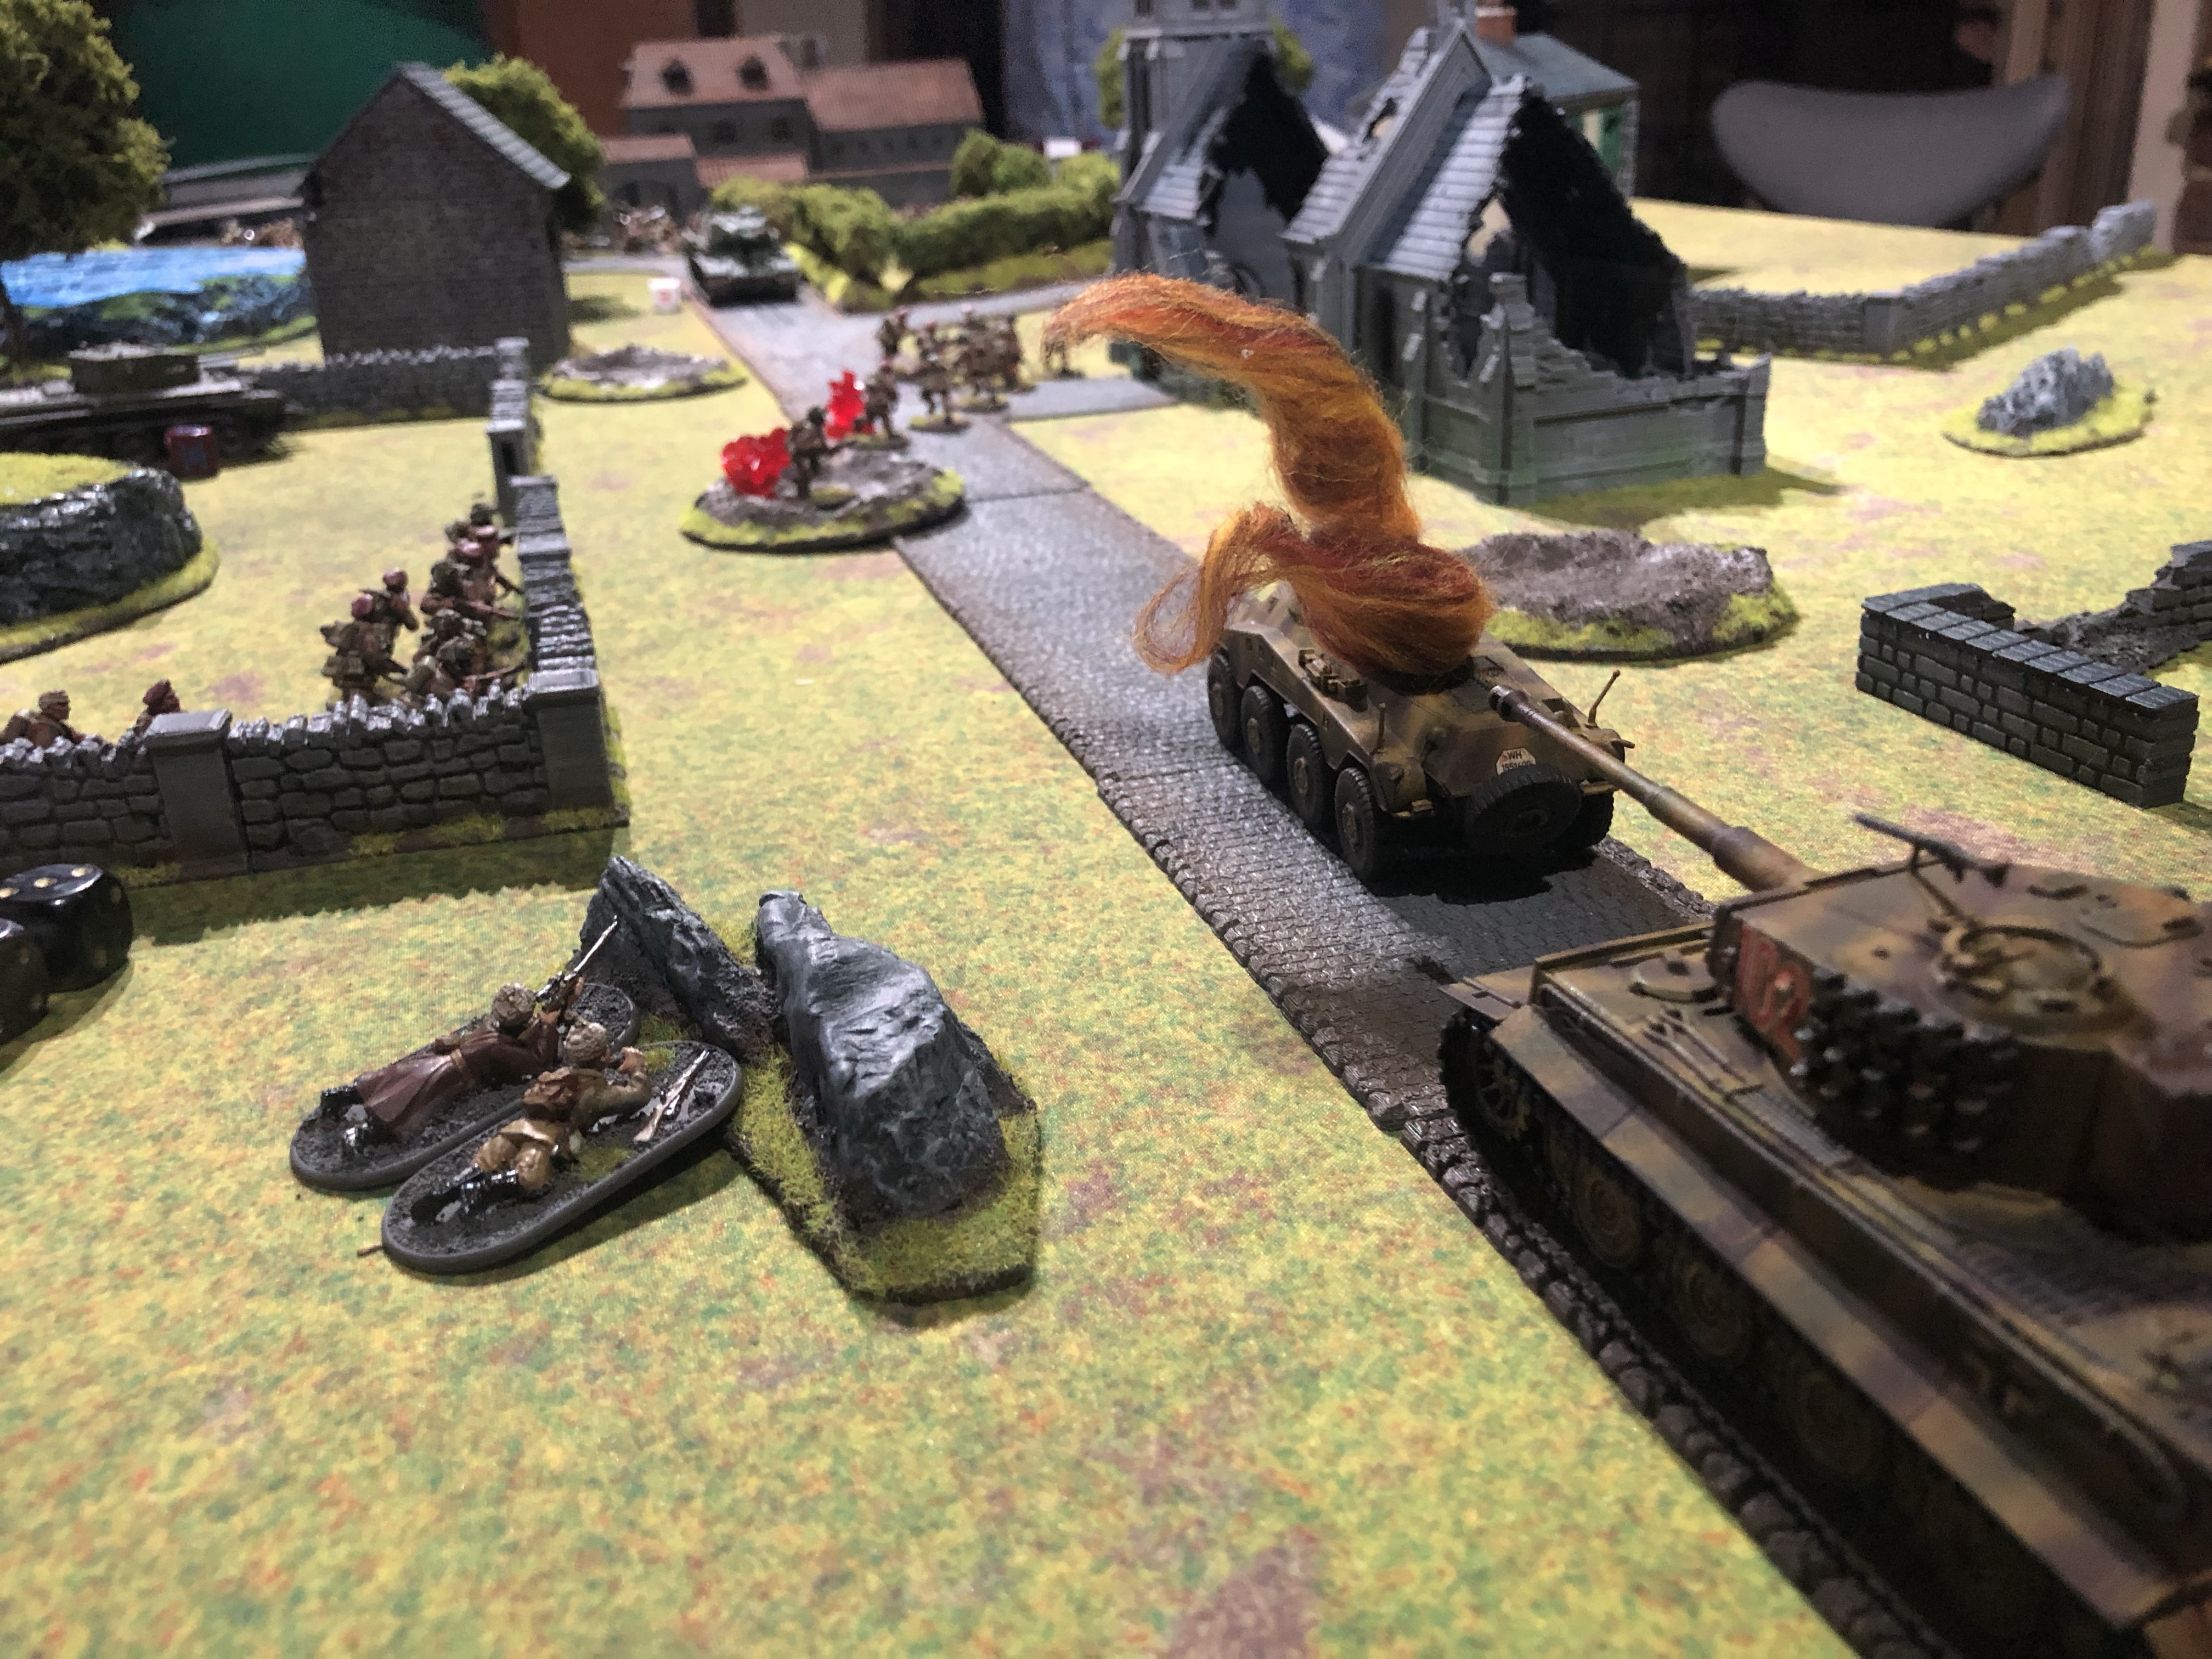
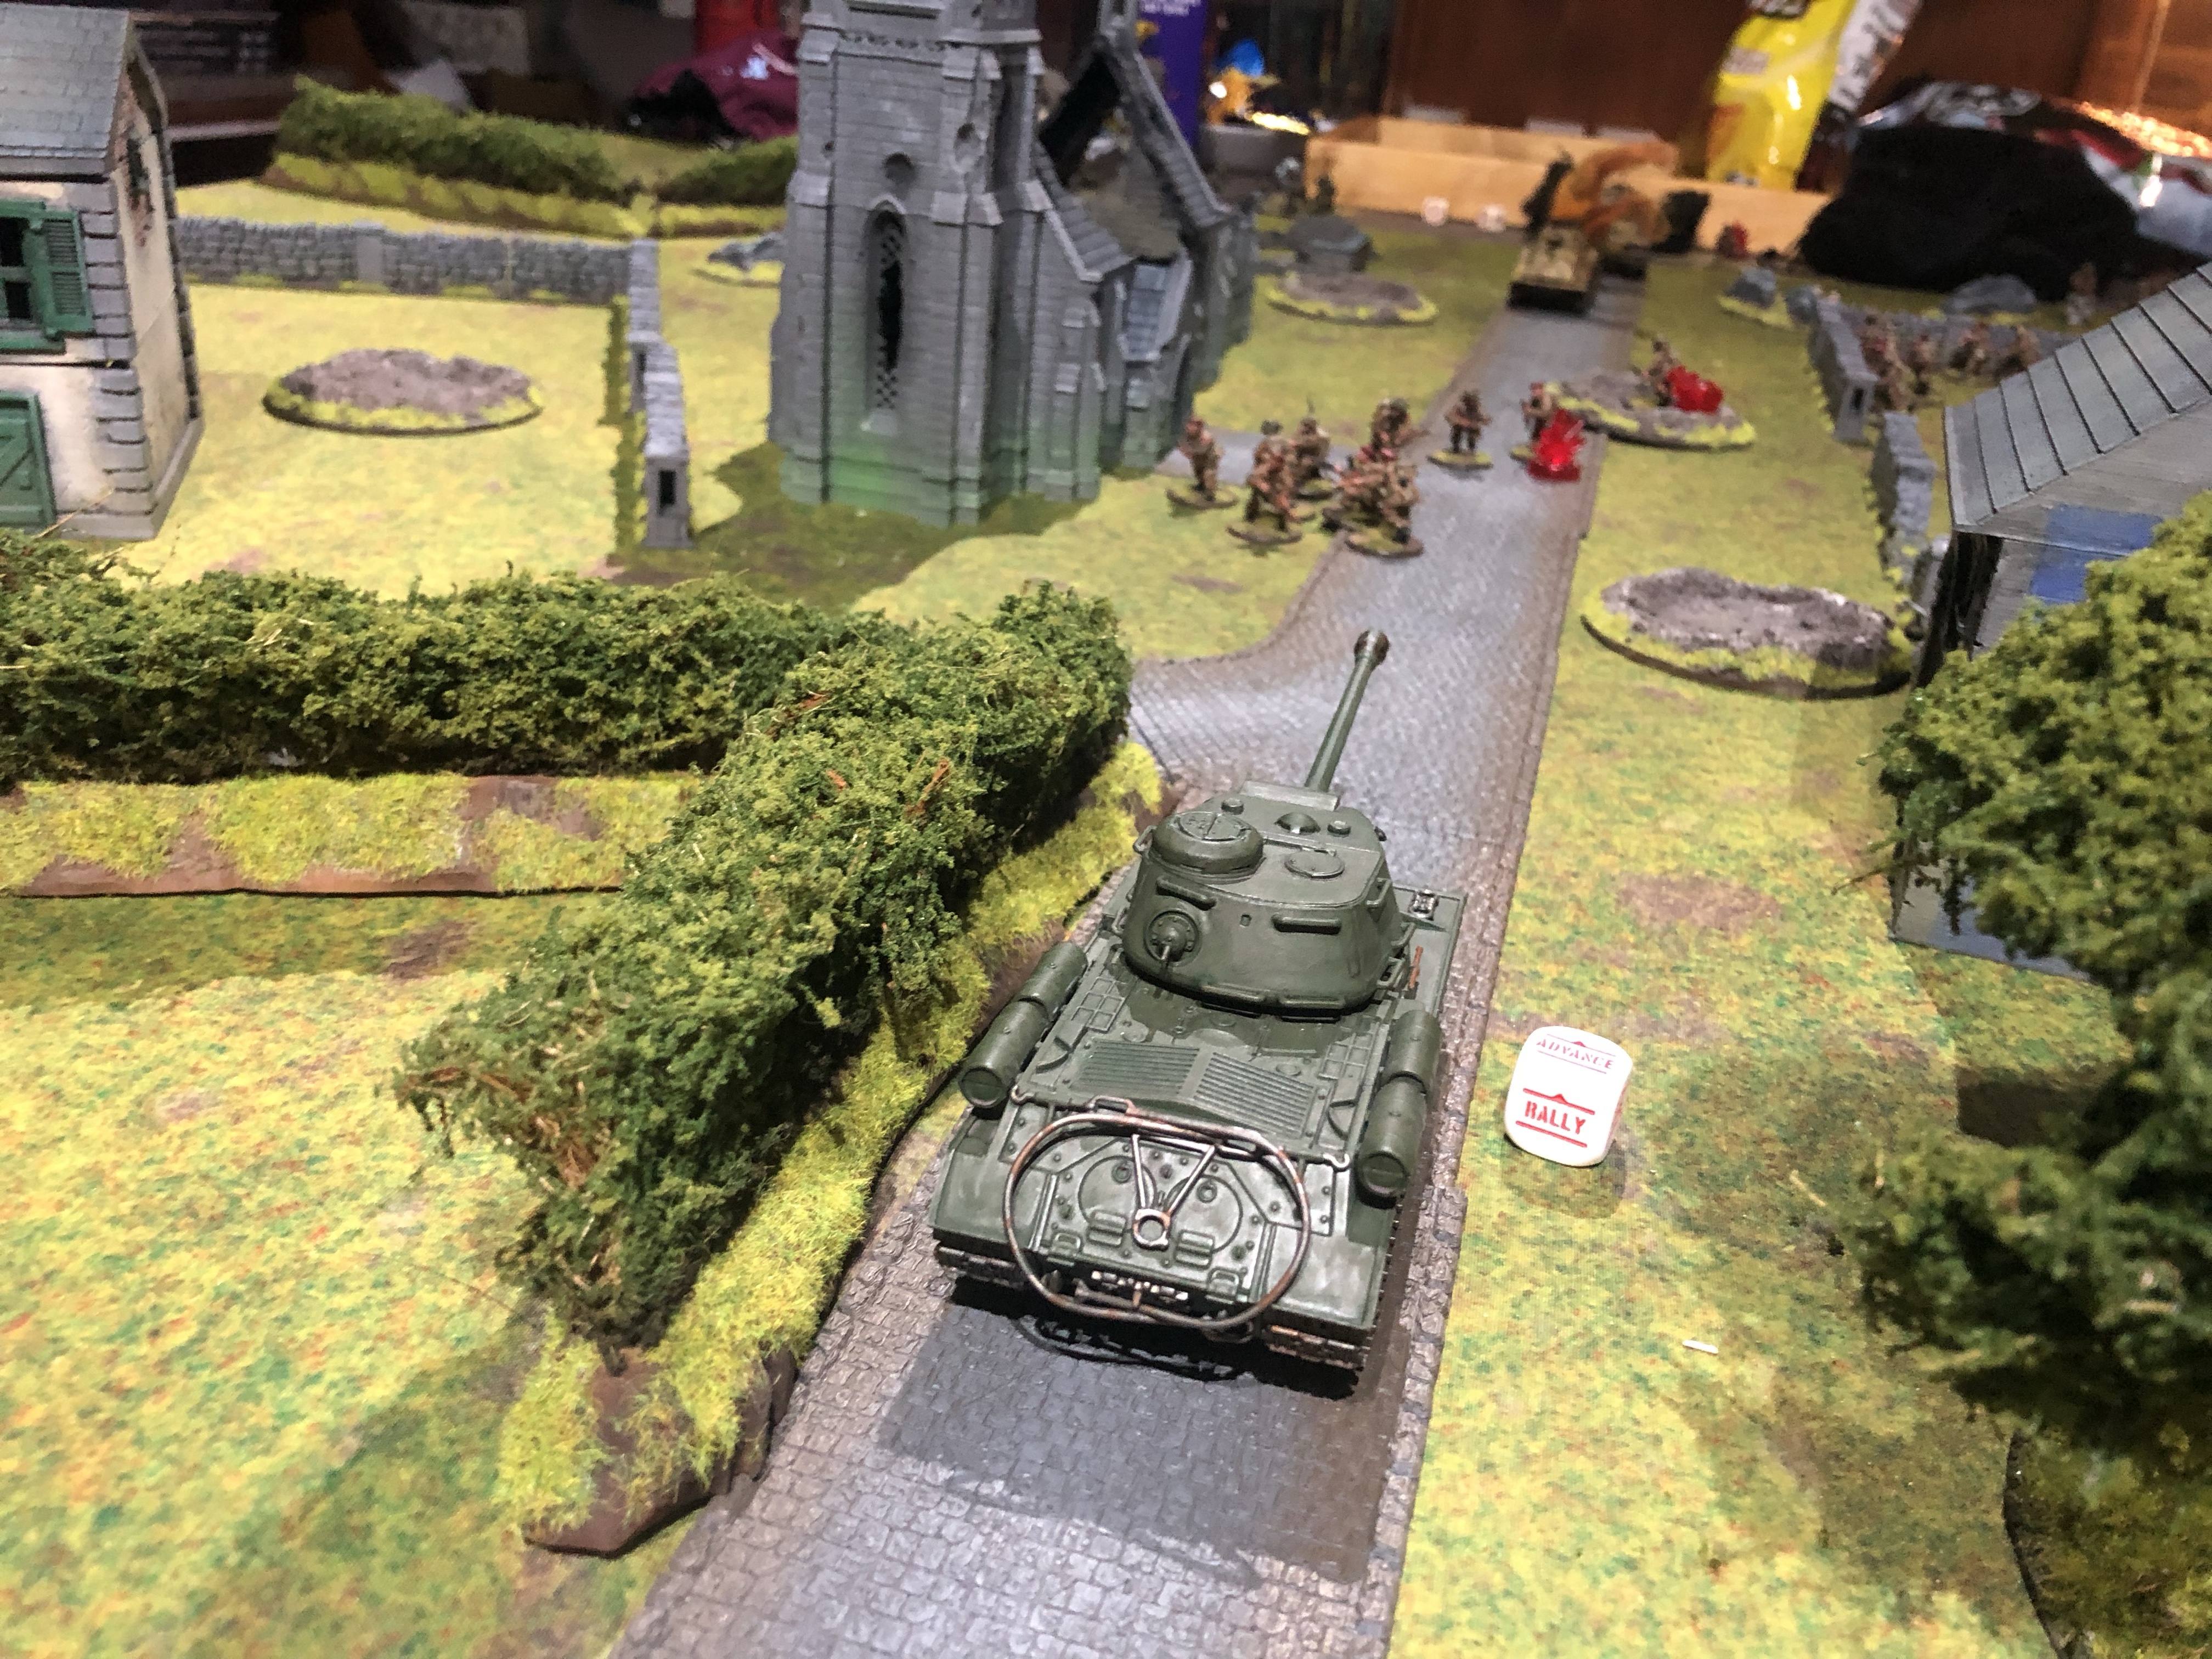
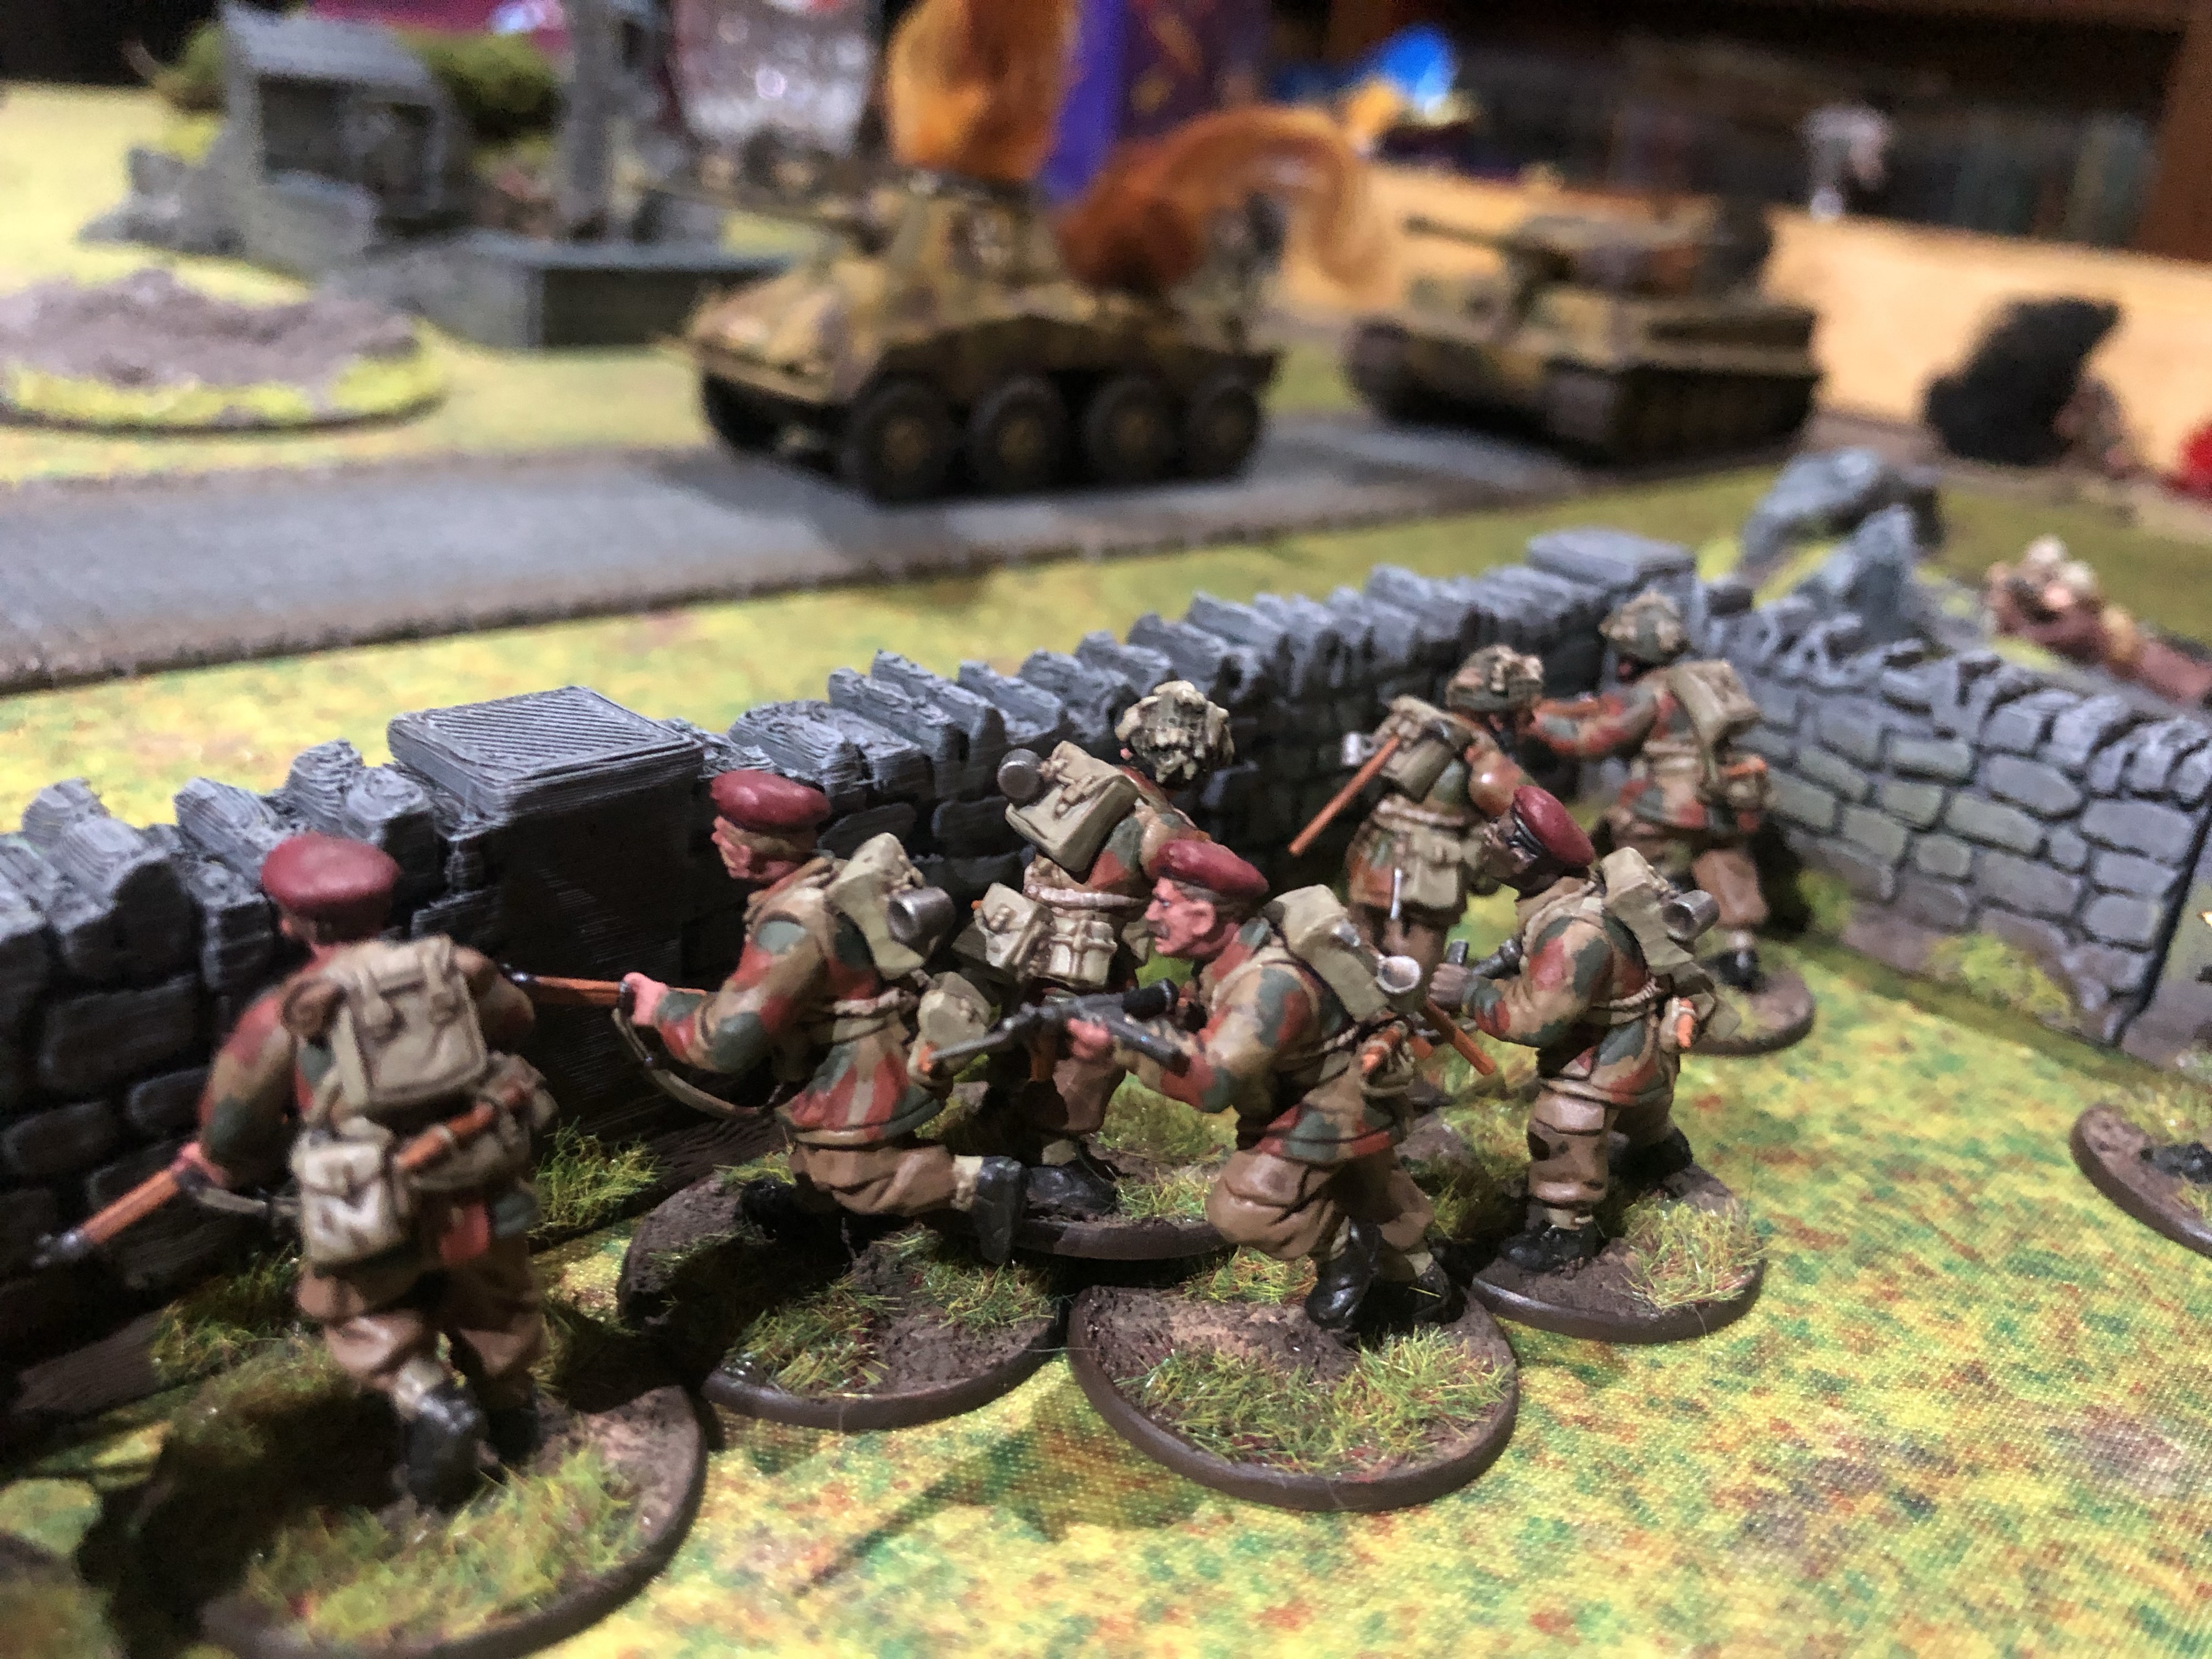


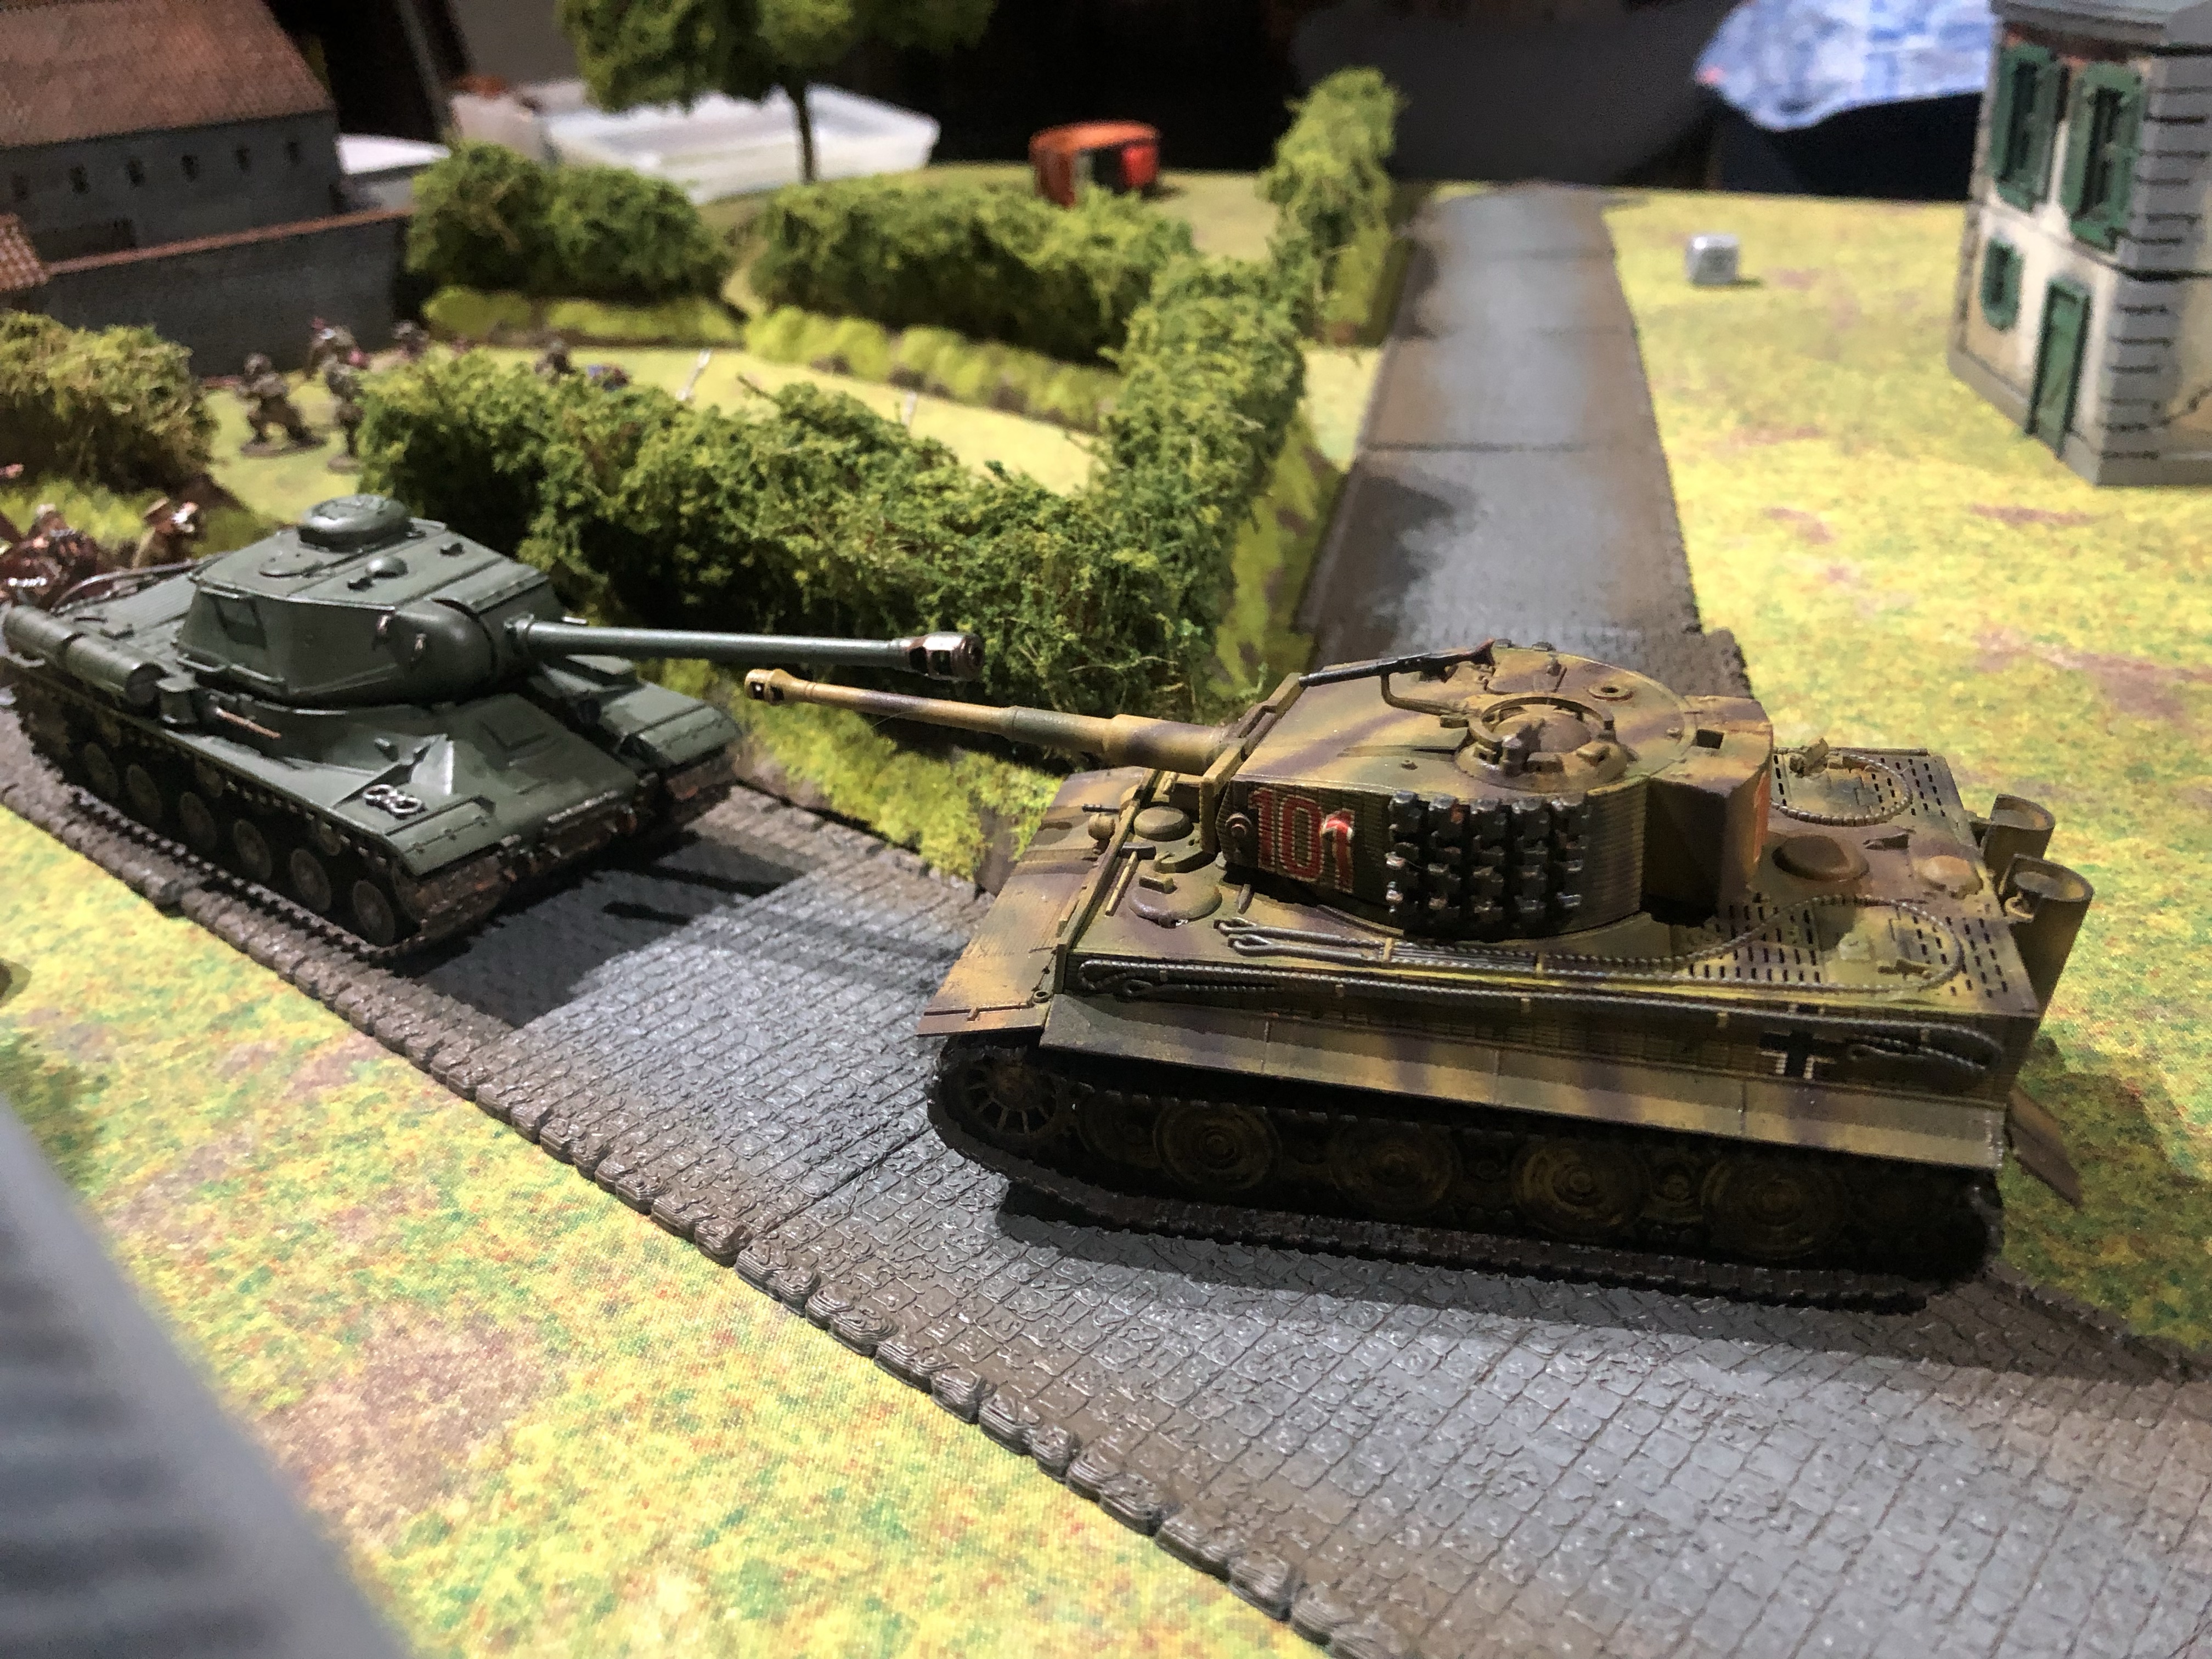
The allies ended up taking the win, the game ending with just the two Tigers left on the german side, Although as you saw above, one of them ended up at point blank range of the IS-2, so who knows how that would have gone!