Rosa’s Ravagers

I’ve been playing the post-apocalyptic skirmish game This is Not a Test for a while now with a couple of friends, and decided it was time to paint up a new warband. I had a few old metal Escher gangers from Necromunda lying around that I thought could make really cool raiders for the game. Rather than make the full warband from those models, I decided to mix and match with other models I had around the place to get a nice eclectic look to the band.
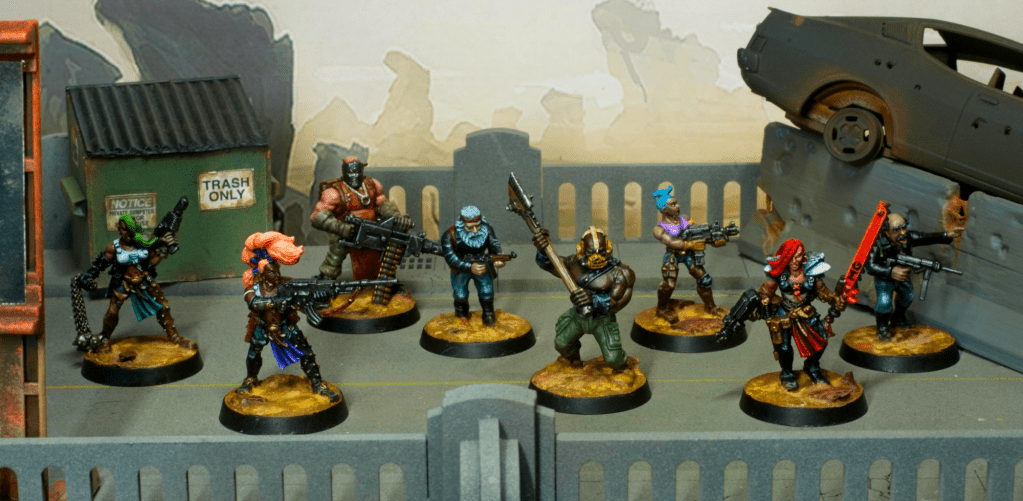
Rosa’s Ravagers ready for a fight.

I challenged myself to paint the team with a variety of skin colours, to break away from the routine of painting skin the same on everyone. There’s a lot of variety in the real world, so why not in made up worlds too! Another challenge for me was the bases, I’ve been trying out various ideas to make desert bases I’m happy with for a while and I think these worked out really well.

I’ve taken individual photos of the members and will be talking about each below, starting with the leader, Rosa:
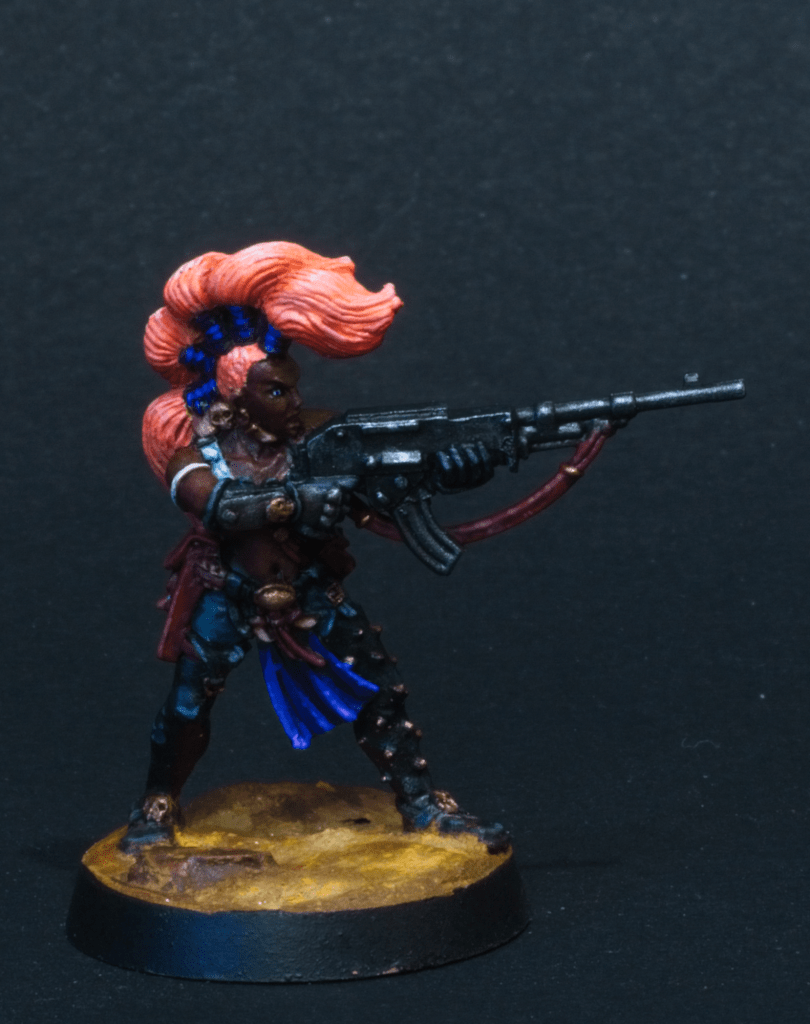
Rosa Salmón the Bandit Queen

Rosa is built out of an old Escher ganger, with the lasgun gut up and supplemented with Bren gun parts from the Warlord games WW2 British Paras set. Her hair is painted with Vallejo’s Salmon Rose, hence her name!
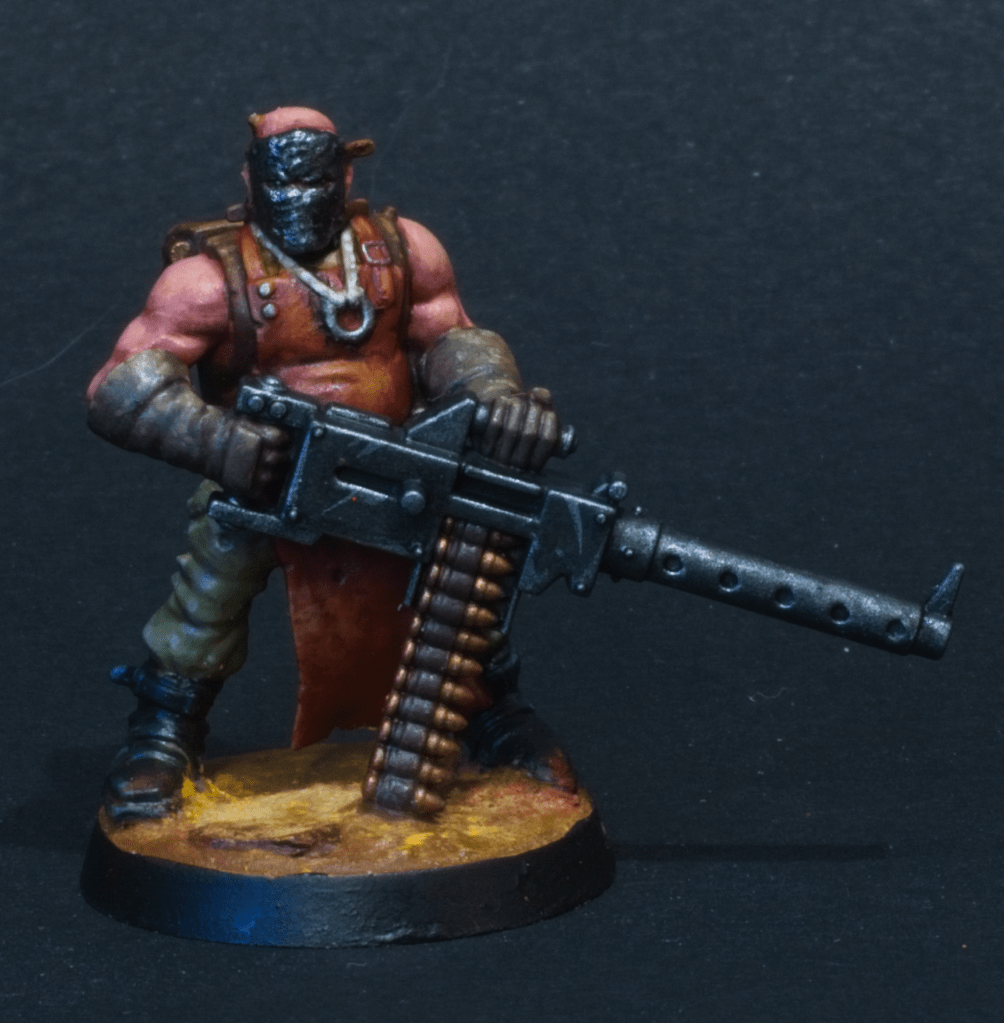
Butcher

Butcher was made from Games Workshop heavy stubber chaos cultist. I filled in the chaos star on his mask, and trimmed the chaos pendant back down to a simple ring.
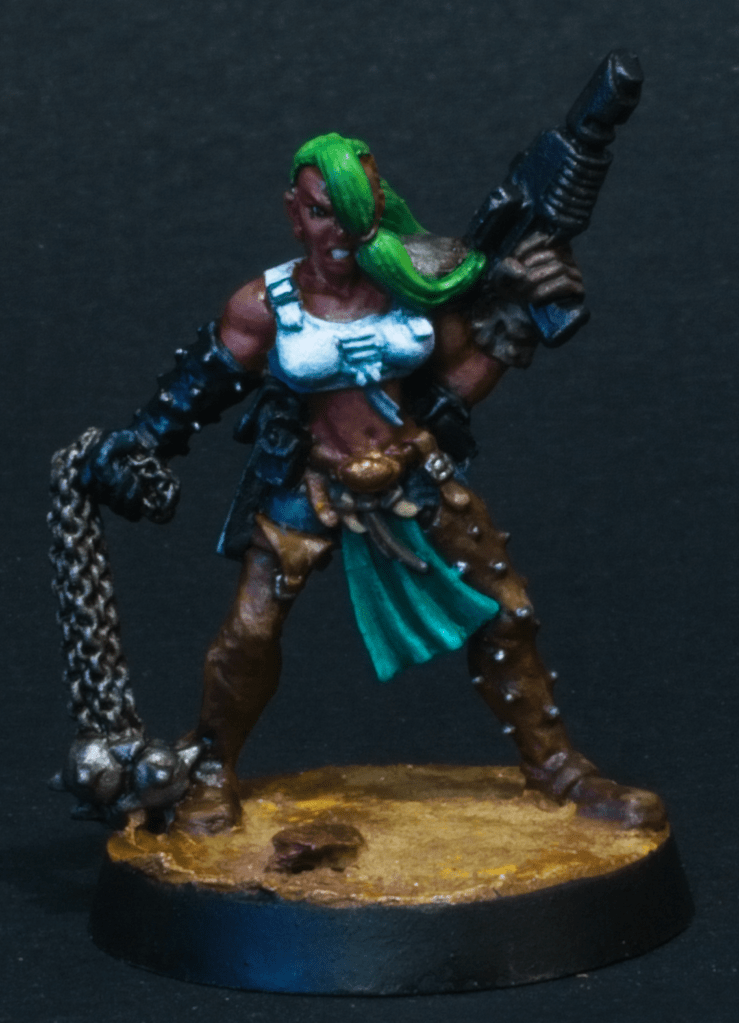
Vasquez

Vasquez is a stock Escher ganger. This is Not a Test has rules for laser weapons so I decided to keep the pistol as is rather than replace it with a gunpowder equivalent.
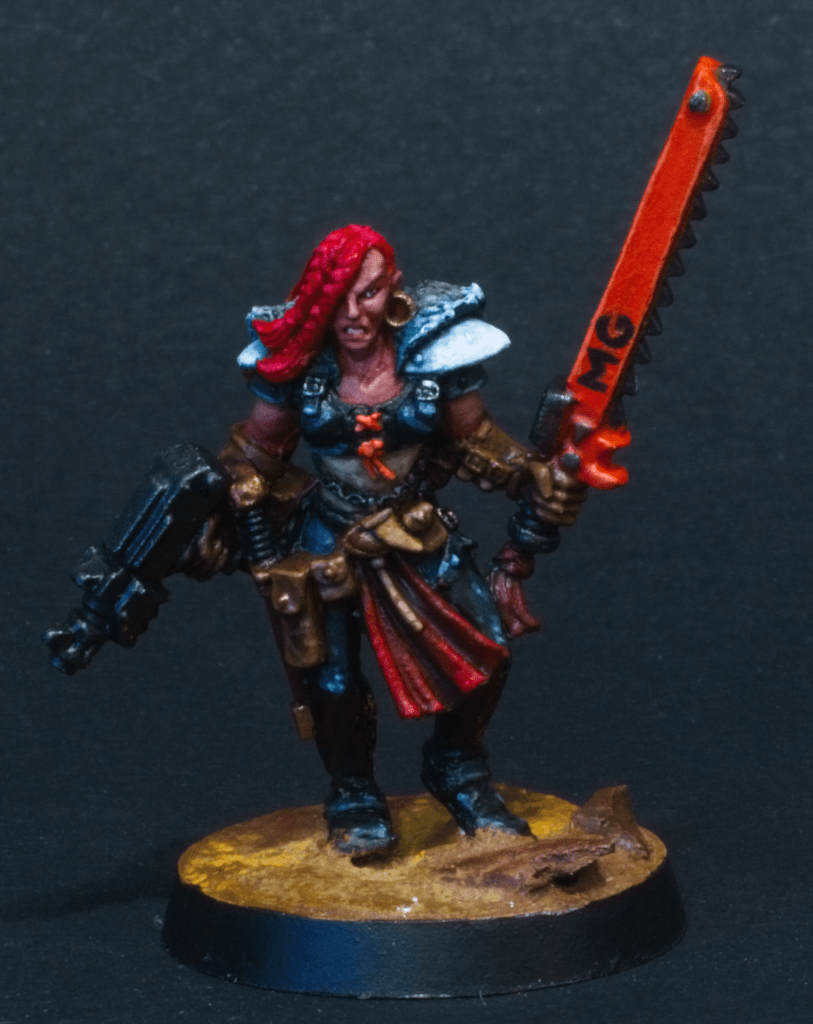
Sawtooth

Sawtooth is also a stock Escher model. The game has chain blades as relics from the past. In our own version of the universe, the apocalypse was cause by MG, a megacorporation that had its fingers in all the pies. In this case I painted the housing of the chain blade orange as a callback to gardening tools. I see this particular relic is a repurposed chainsaw of some kind.
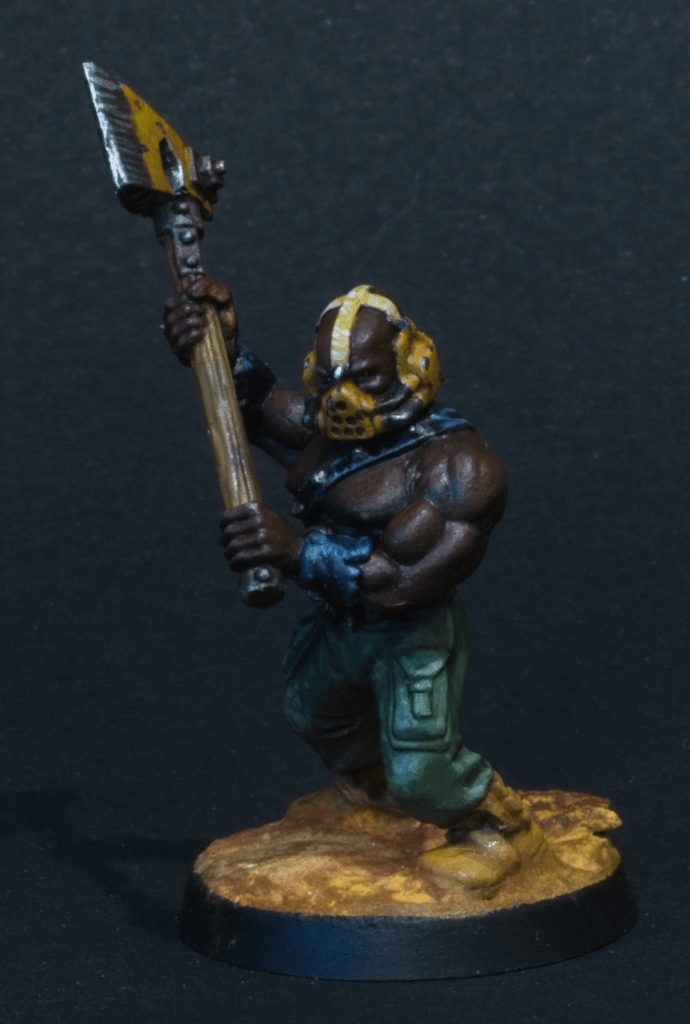
Ray, the Rage Sage

Ray was kit bashed from a GW marauder torso and arms, GW Catachan guardsman legs, a head from the GW Chaos Vehicle Sprue. In a past life Ray was a tech savant from the reclaimer faction, but unfortunately for him he tried on this mask, which he didn’t know was a Worker Focus and Resiliency Increaser also by MG (of course), which pumped him full of strength enhancing drugs and other drugs made to make workers compulsive about their jobs. Not being in a factory, the drugs pushed Ray to be compulsive about a job he couldn’t do, which made him very mad.
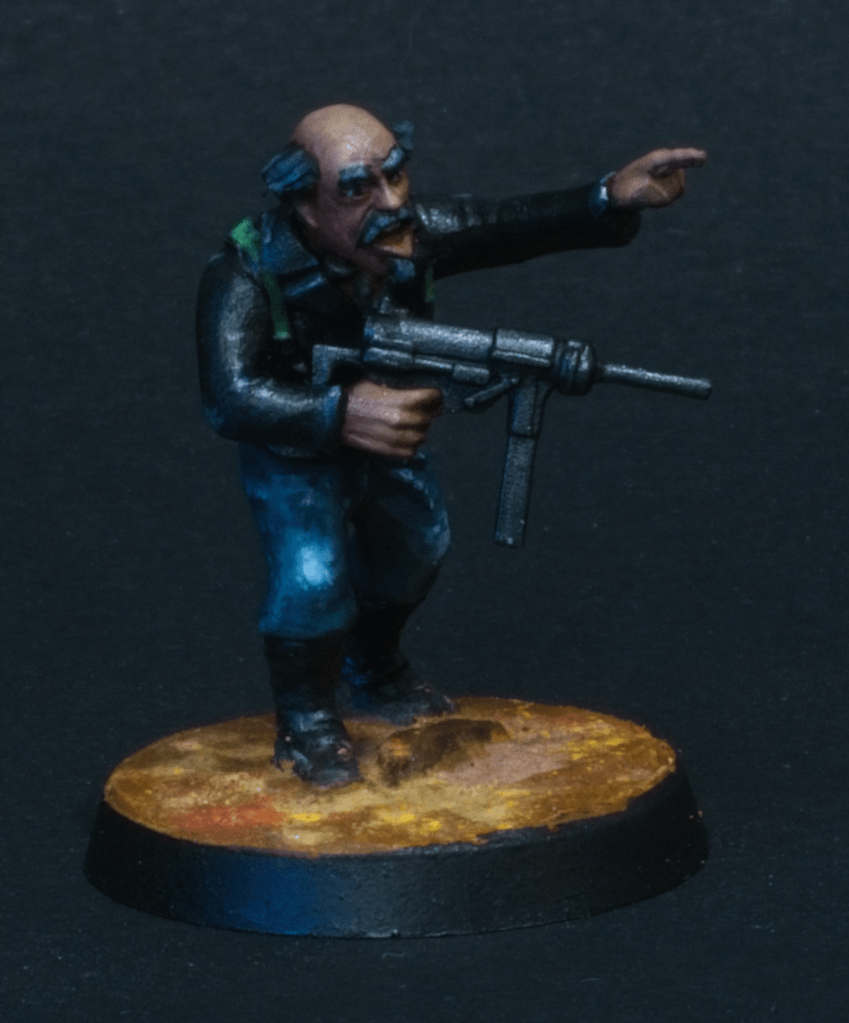
Old Man Ramirez
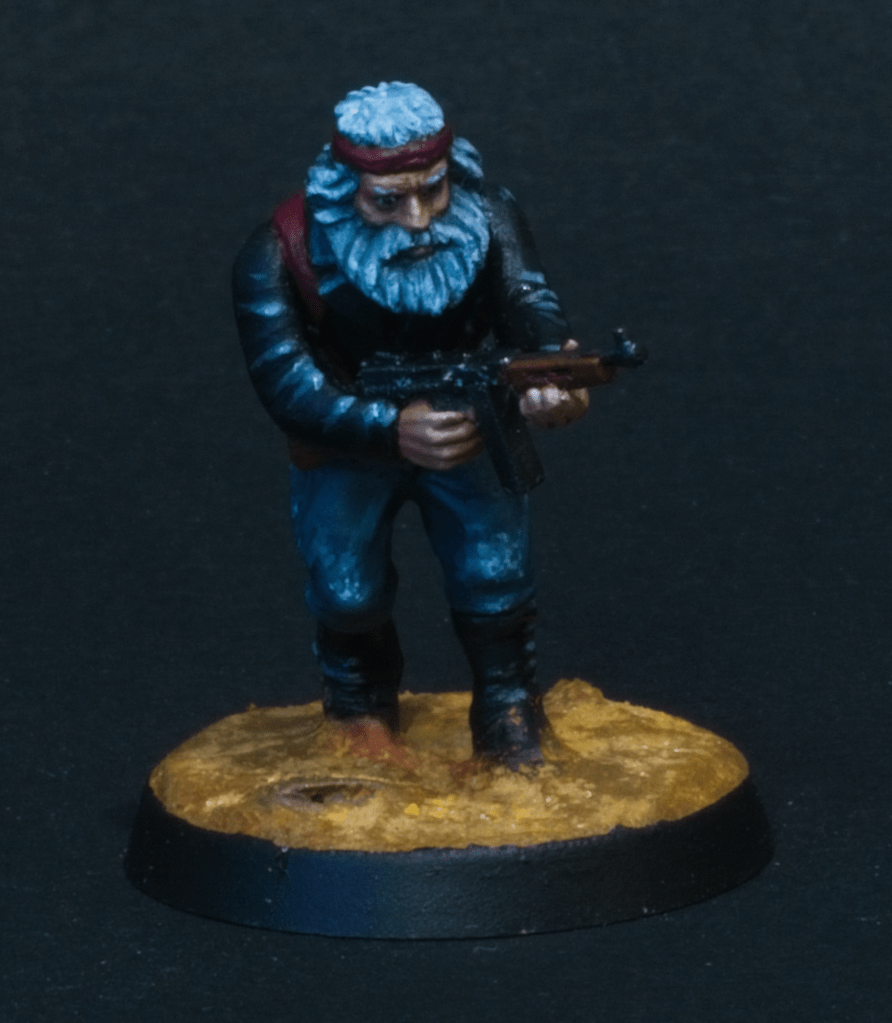
Old Man Parkes

Old Man Ramirez and Old Man Parkes are two old men in the band, I see them as ex-bikers, Both were built out of Warlord Games WW2 American Infantrymen, with old GW head from the empire militias set.
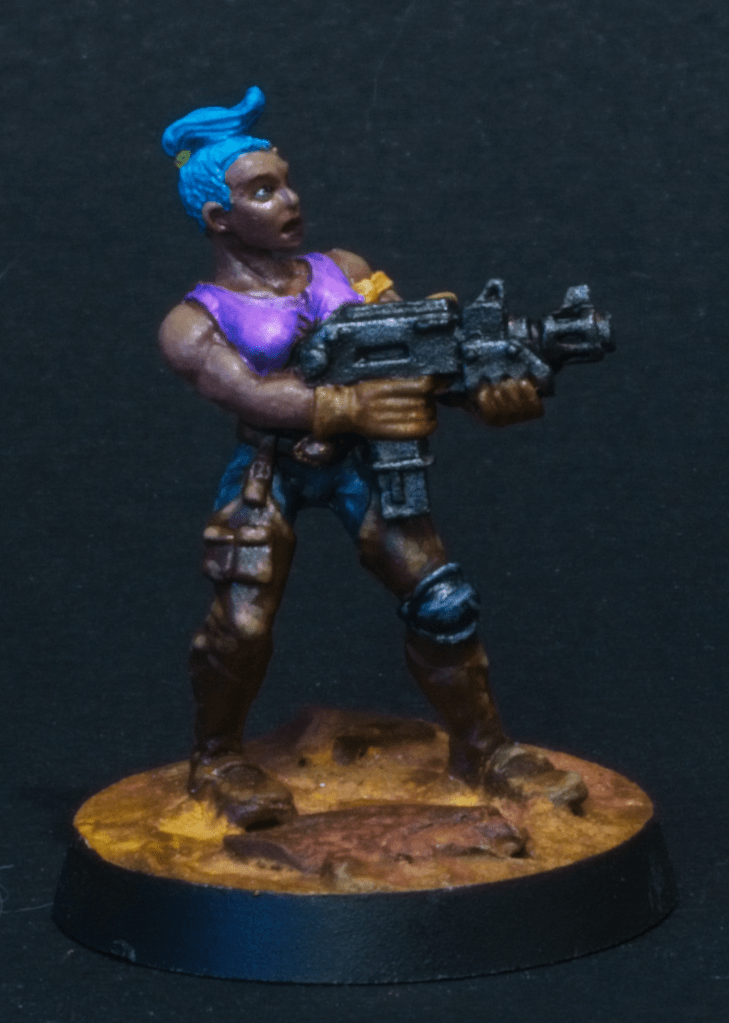
Darts

Rounding off the band is Darts, also a stock Escher ganger.

This was a very fun project, each model being very individual and requiring a new plan for painting. I’m looking forward to adding more models to it as the campaign progresses.
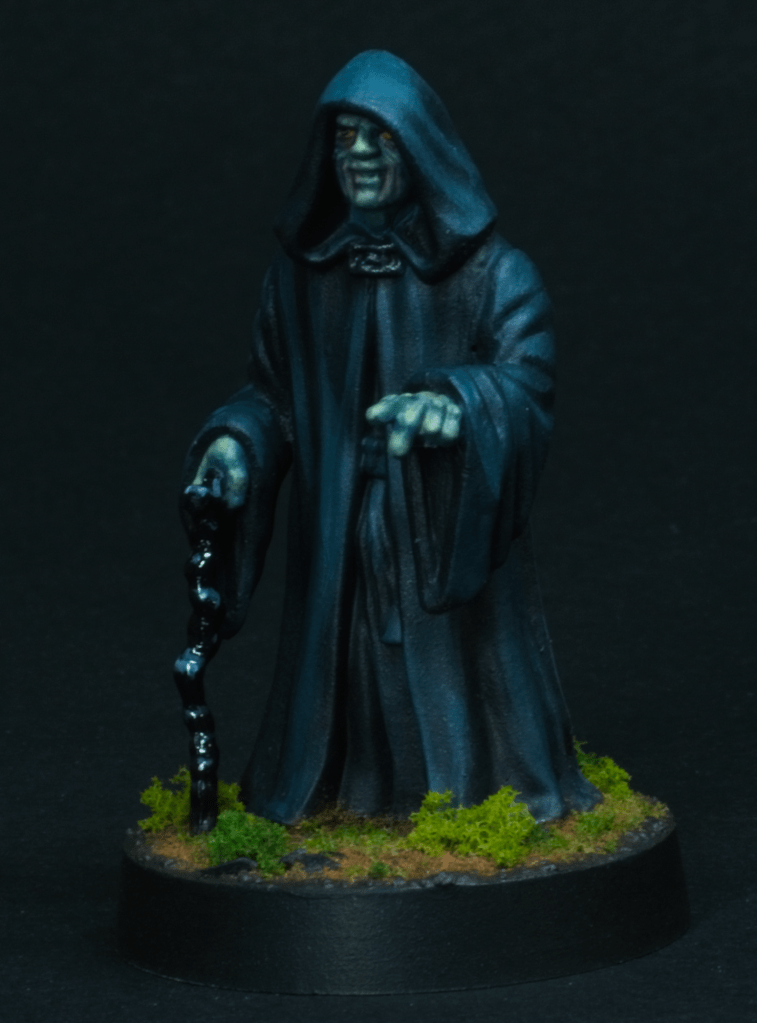
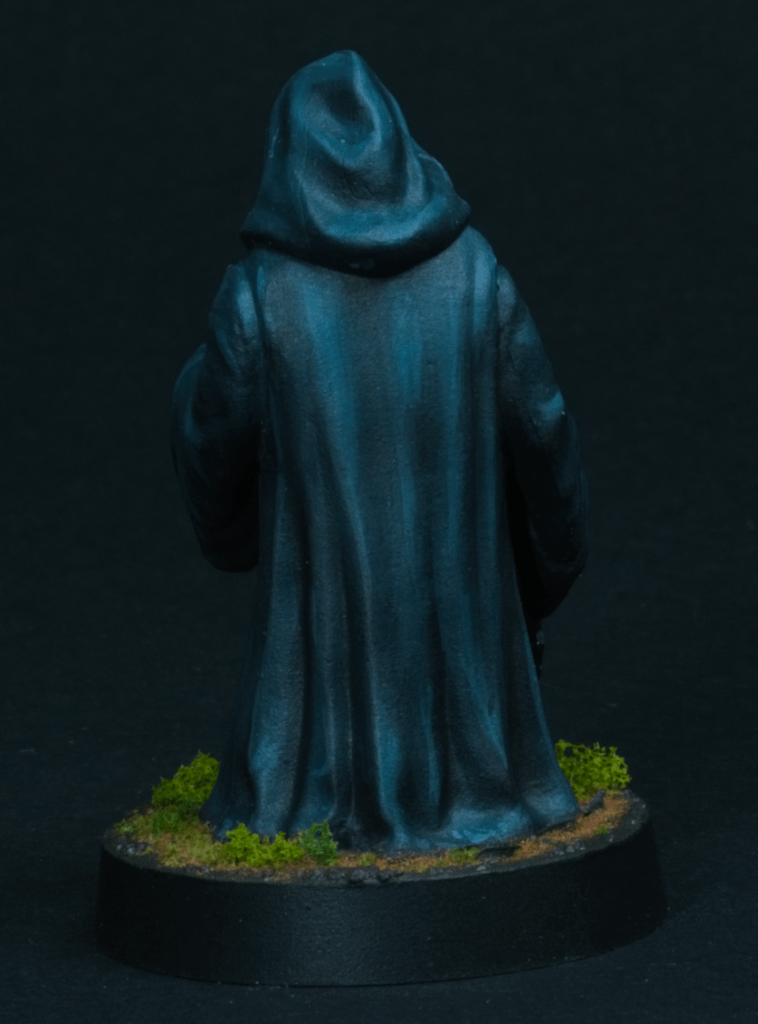
The Emperor

Added another model to my painted Star Wars Legion collection, this time the emperor himself!

The model is mostly black robes, so there wasn’t too much to do on it. I recently re-watched Return of the Jedi, where the Emperor is almost constantly basked in the blue glow of the room he’s in on Death Star 2, and that’s what I’ve tried to represent here.

The robes and the skin both make heavy use of Vallejo’s Dark Sea Blue, to keep them both tied together with the same tones. For the skin, that Dark Sea Blue had more and more Vallejo Dead Flesh mixed in as highlights were applied, culminating in final highlights of pure Dead Flesh. The robes are a gradient from black, through Dark Sea Blue, to Dark Sea Blue with a small amount of white mixed in.

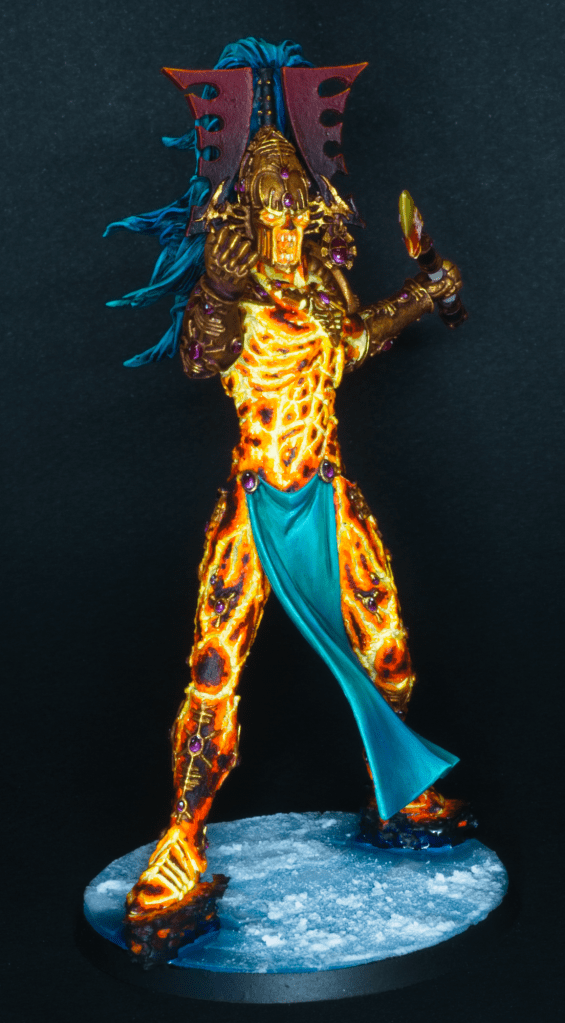
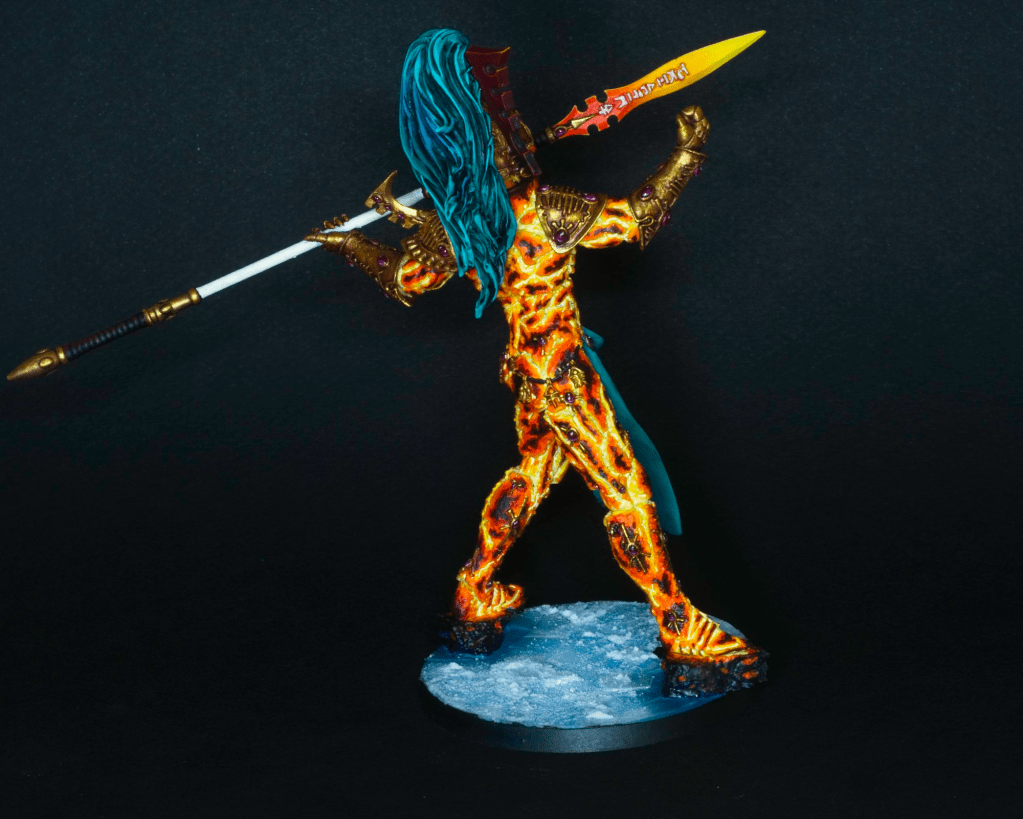
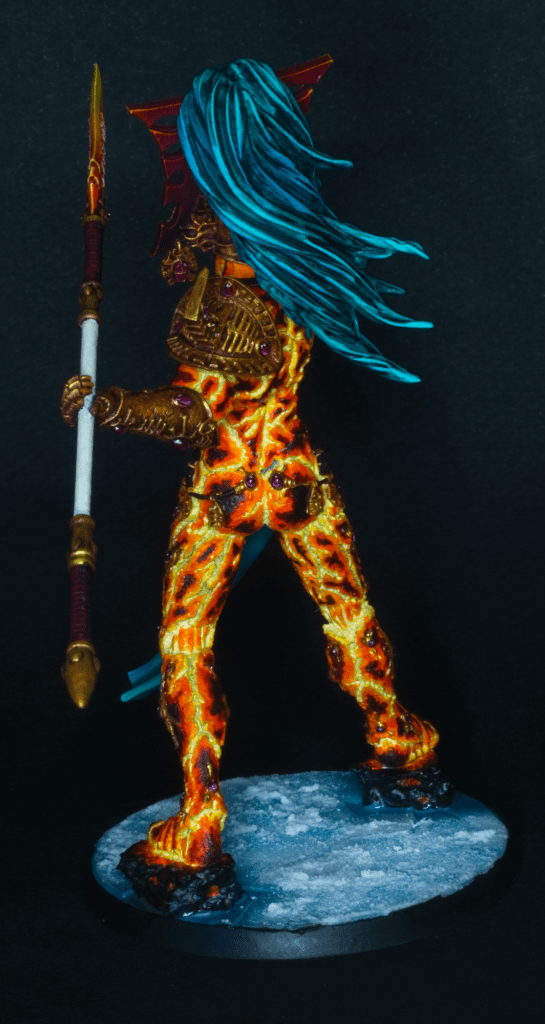
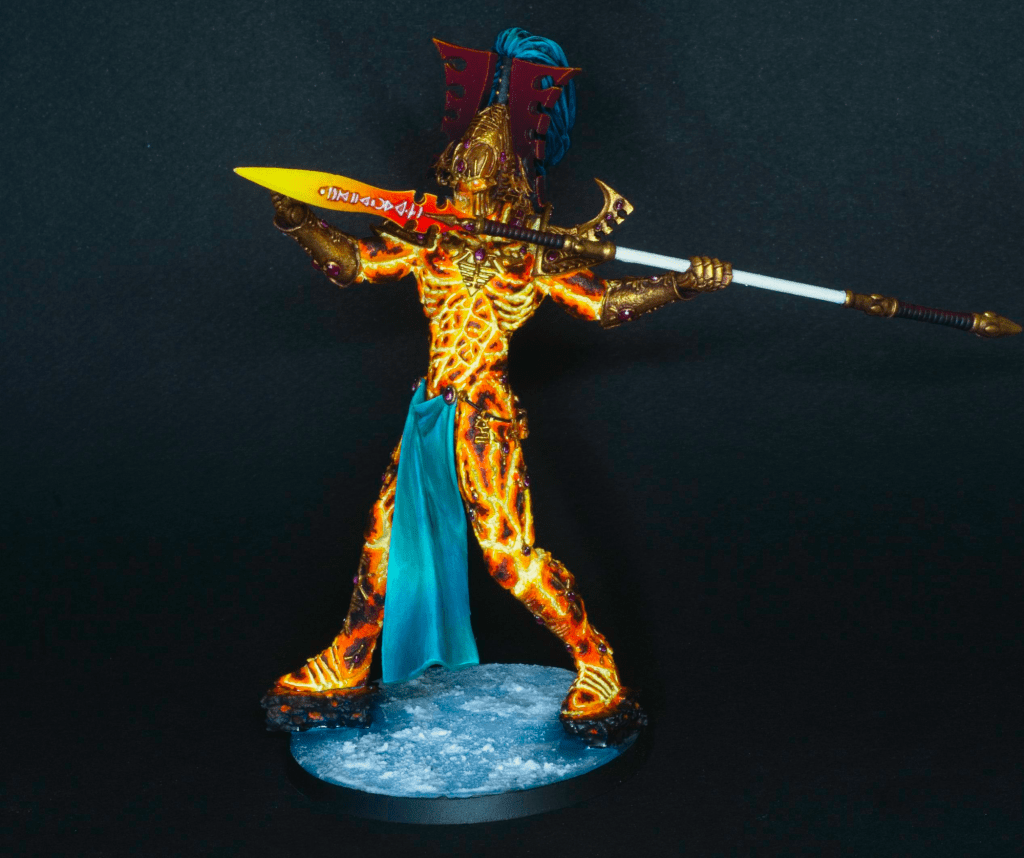
Avatar of Khaine

This is a model I’ve owned for years, and has languished in the draw of shame for far too long. After painting my way through a couple of armies, I wanted a more standalone project, and I’d settled on painting a big model. This guy stood out to me and I got going.

I decided pretty quickly I wanted to try out an ice base, which presented me with a problem: how does a molten lava giant stand on ice? My girlfriend suggested that pillars of magma would rise up from below the ice and support him, which seemed very cool to me, so that’s what I tried to achieve with the basing. The broken ice chunks are made from cut up clear plastic (like what comes on blister packs).

This model was pretty interesting to paint, in that I’ve always found painting convincing fire effects challenging, as reverse highlights are tricky to get to look right. Here with the lava textures on the model, getting a smooth result wasn’t an issue as there are a lot of hard edges in lava flows especially in the cooler bits of black crust.

This model has a crazy amount of gems all over it, and that really tested my patience, but it’s very rewarding to see them all done on the finished model.

Overall I’m very happy with the outcome, I don’t have any current plans to build an army to go with him but I do have enough eldar models lying around to make one, so who knows!

AT-ST and 800 points

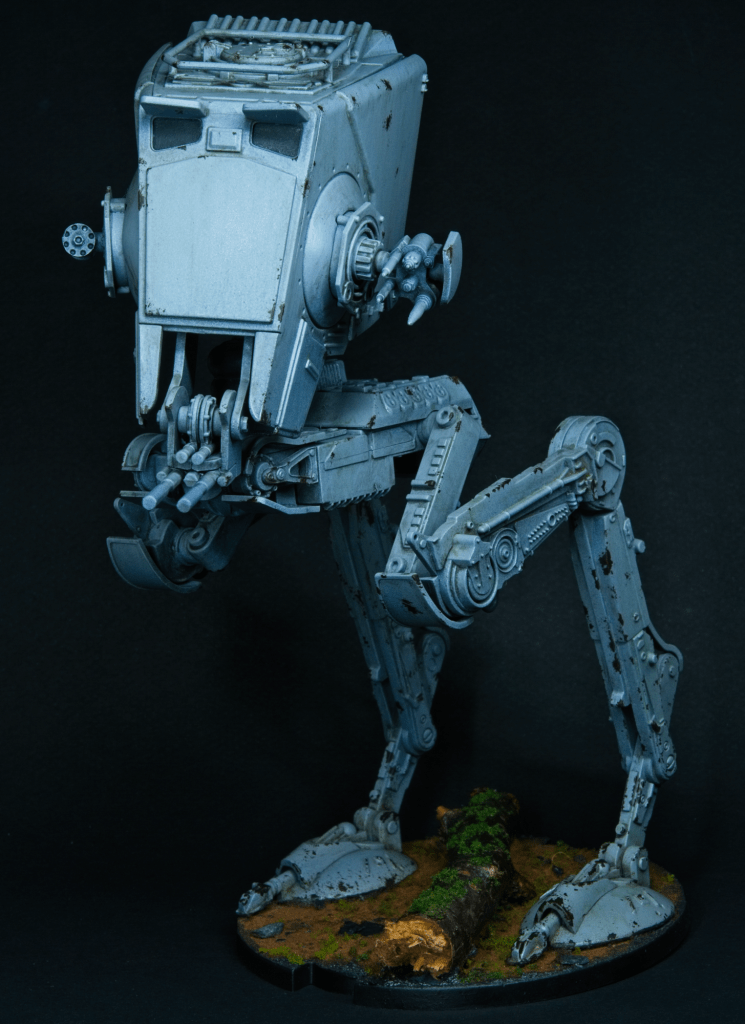
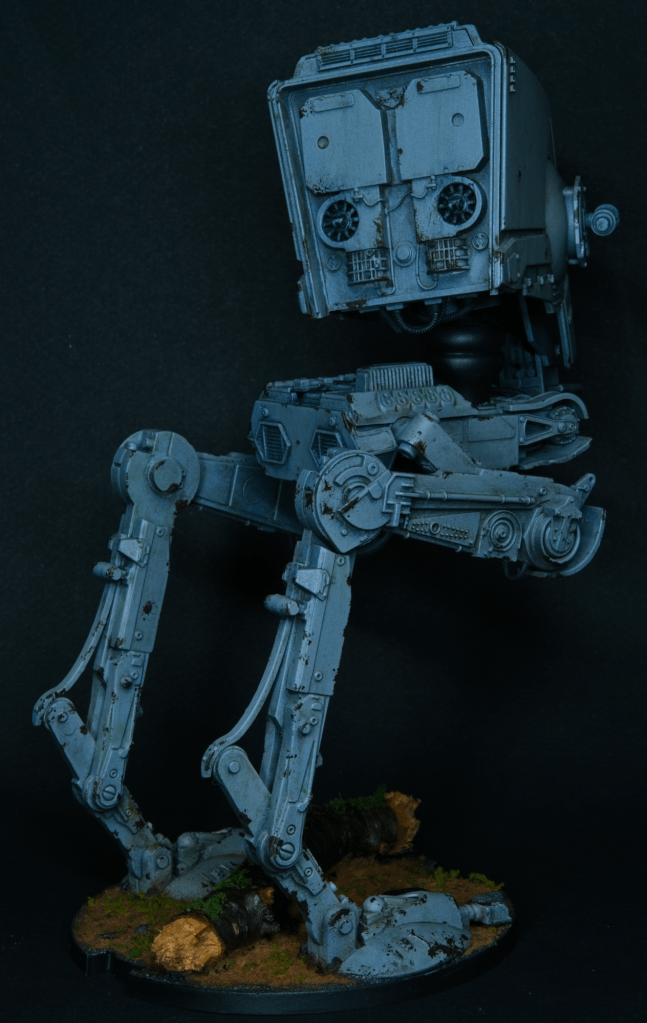
I’ve painted up the last model for my 800 point Star Wars Legion army: the AT-ST! This is the model that drove me towards playing Galactic Empire, so I was pretty excited when it arrived in the post. I painted it using standard armour painting techniques, using oil washes over a somewhat shaded grey coat I did using the airbrush. The chips were done with a sponge and a 50/50 mix of brown and black paint.

I mainly concentrated the weathering on the legs of the models, where I would expect most of the damage and dirt to be.

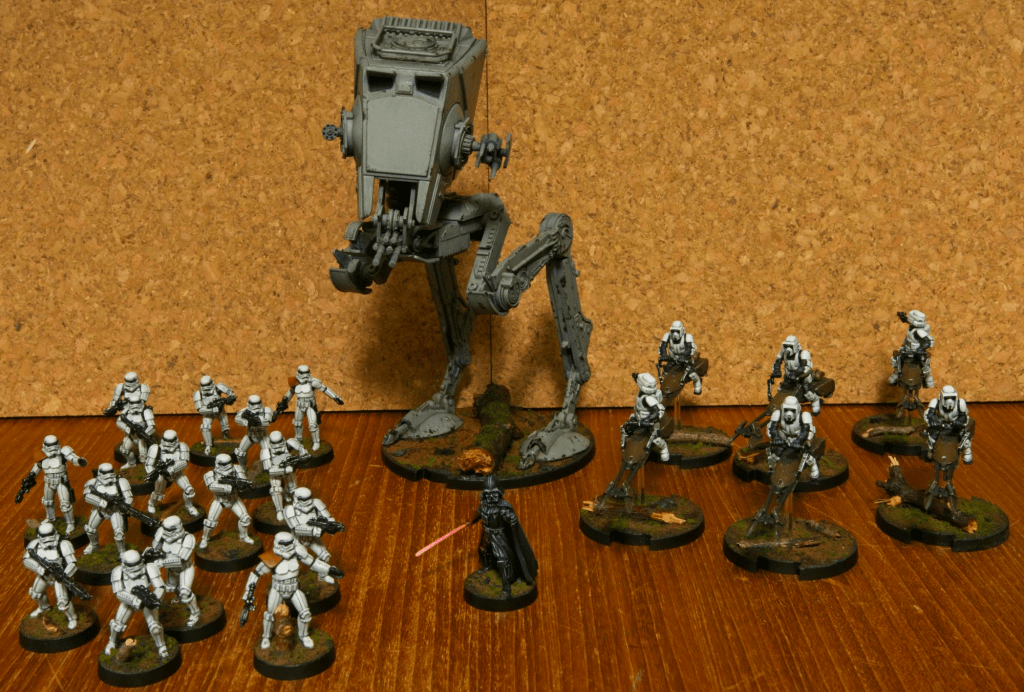
Here’s a photo of the finished 800 points. I’ll add to this army over time, to give myself more options during games, but this is a good starting point to try the game out.

Darth Vader Joins the Legions!

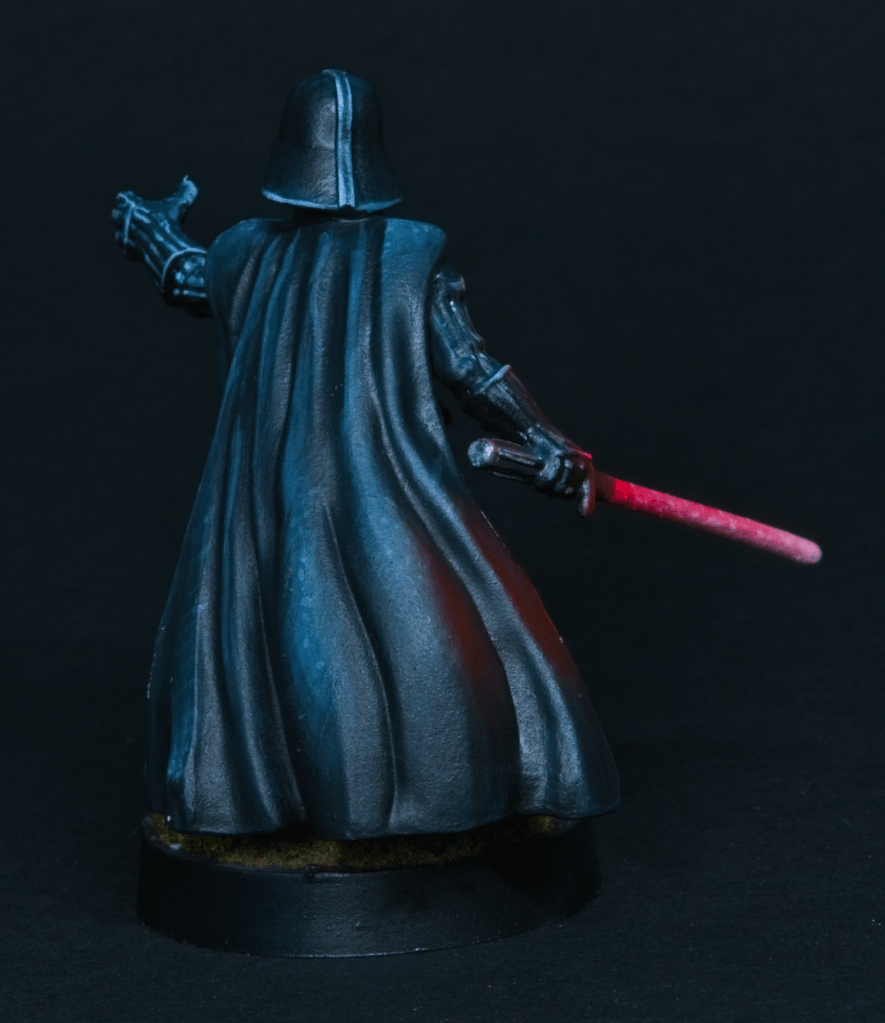
After finishing the grunts it’s time for some villainy! Here’s my painted Vader. This model was rather interesting to paint, as it is almost all black, but has three distinct materials, cloth, leather, and hard plastic. I tried to highlight these differently to make them stand out from each other. Not sure if I succeeded, but I’m happy with how it looks. The glow was done the same way I did the glow on my necrons, using an airbrush for the glow effect itself and a brush on the lightsource (i.e. the light sabre!). Overall he took me around 3 hours to paint.

Out Of The Old World Into The New

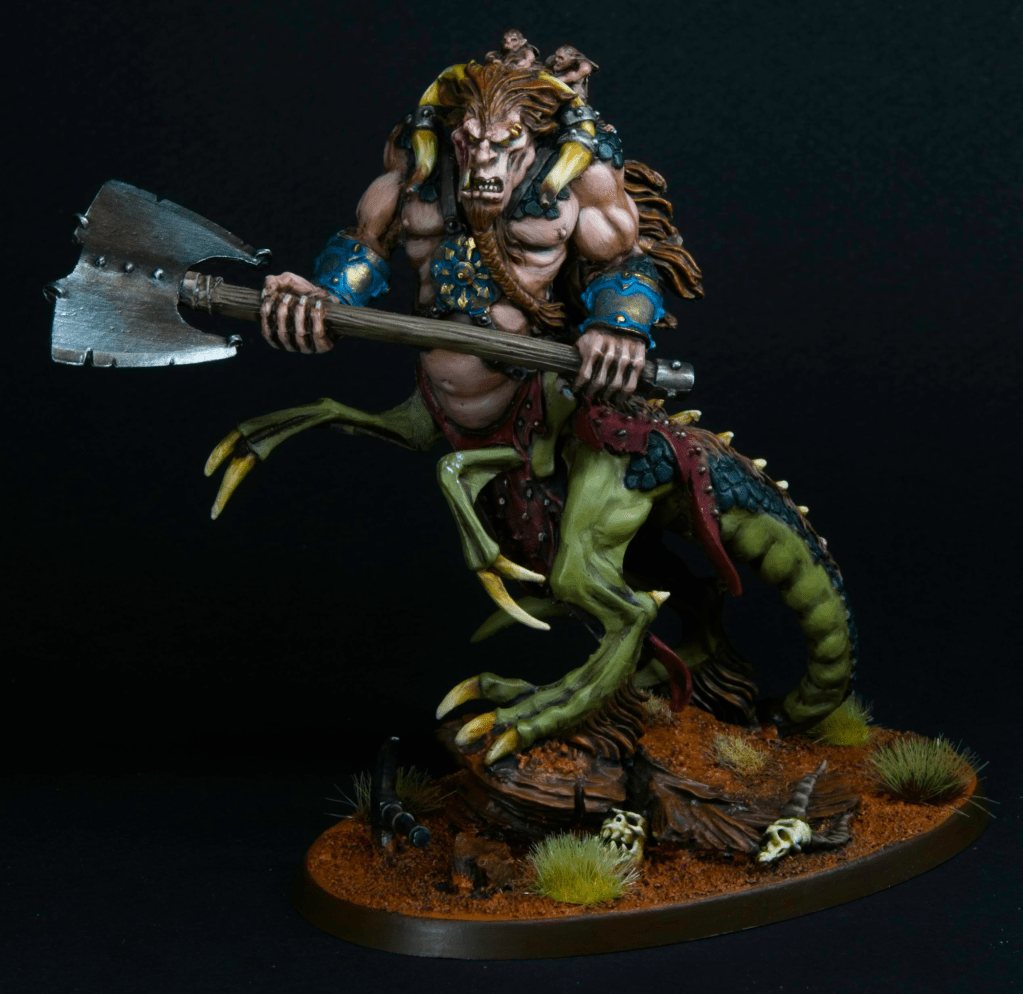
Here’s a model I painted many years ago for my old Warriors of Chaos army, back in the misty times when bases were square and pre-measuring was not allowed. I’ve always loved this sculpt, this is one of my favourite GW models ever, and it was time to give him the rebase treatment so he could join in to the fun of current games! He’ll be added to my Nurgle army as an ally as part of the escalation campaign I’m playing with some friends.

Speeder Bikes

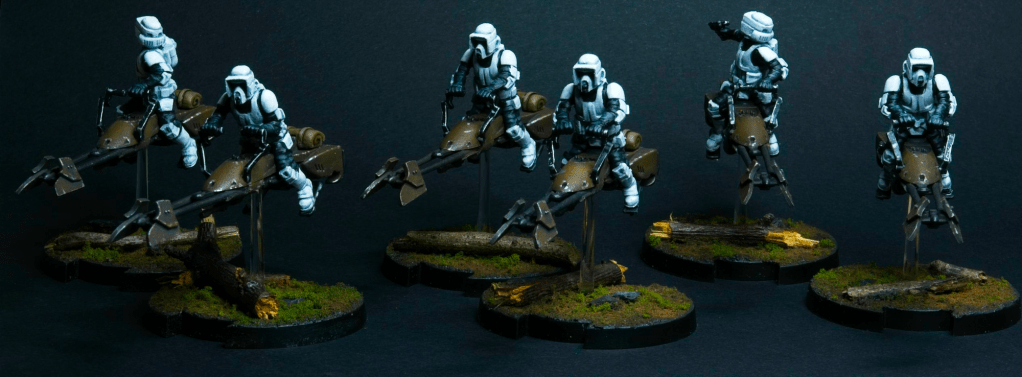
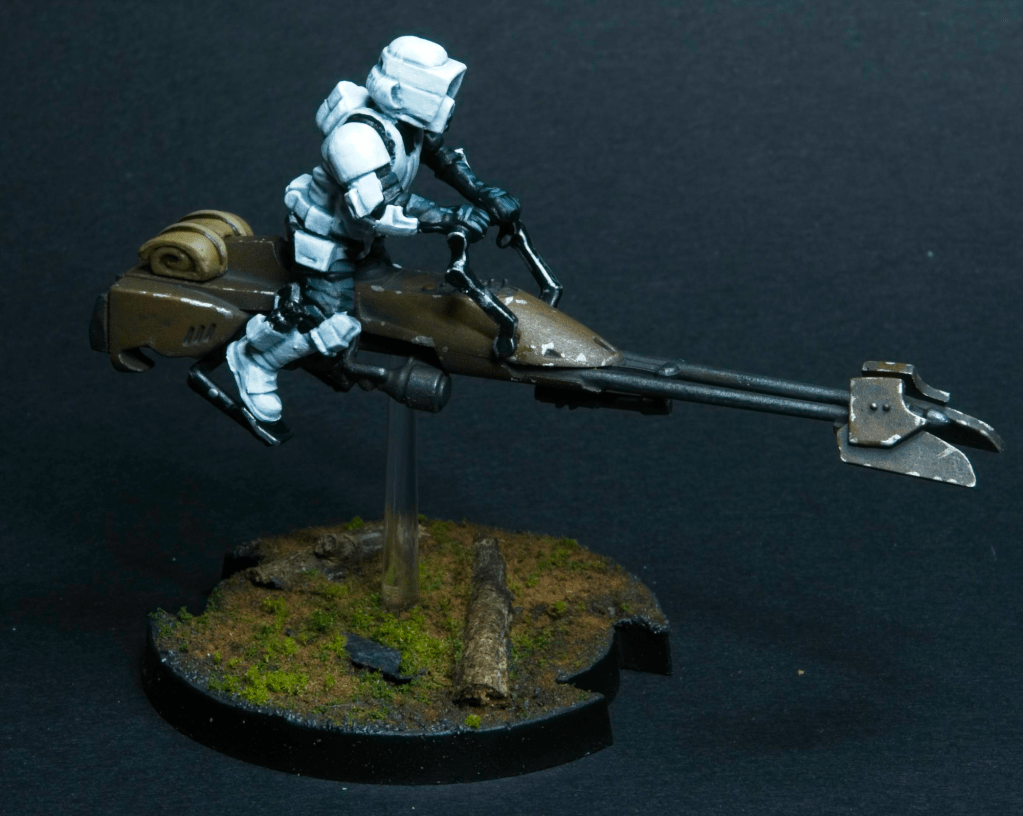
I’ve painted up the speeder bikes for my Star Wars Legion army. These we fun to paint, I had them in quite a few sub-assemblies, with pilot, bike, pedals, and camping gear all separate.

I painted the pilot, gear, and pedals in a rather standard manner (i.e. using regular paints and washes), but did the bikes the way I would paint larger vehicles like tanks, that is to say using enamel washes over an acrylic base coat with a matt varnish to seal the lot.

This leaves me with Vader and the AT-ST (When it arrives!) to paint to complete my 800 point army.

More Stormtroopers

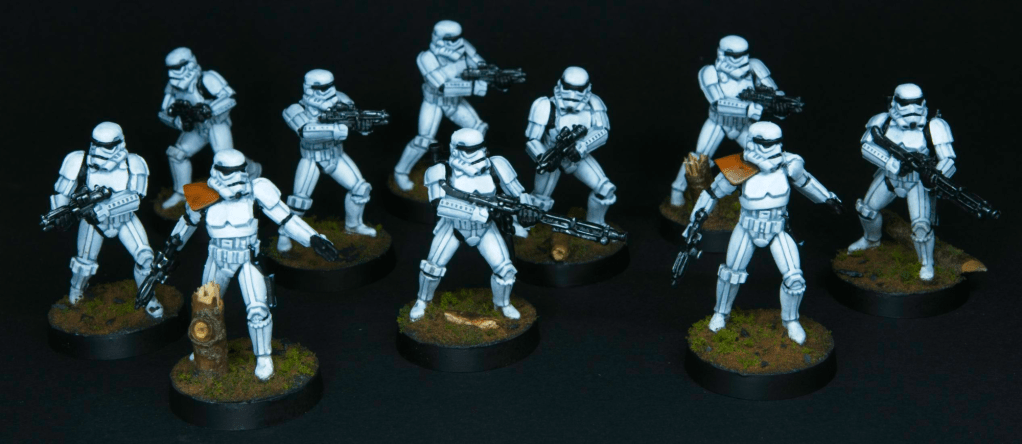
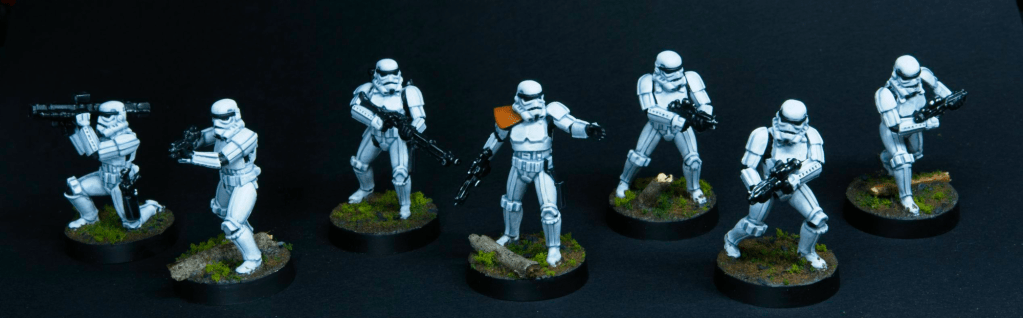
No a legion’s worth, but enough for my first draft 800 point list!

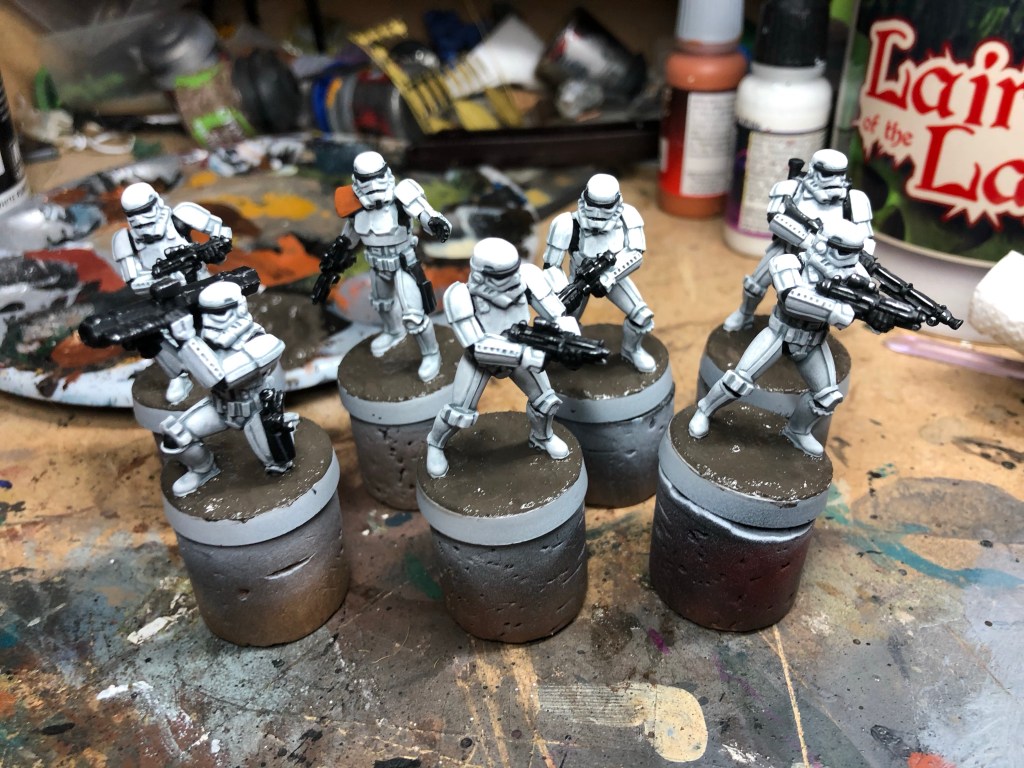
I painted 10 more Stormtroopers, two squads upgraded with a DL-19. This rounds off the three squads I’m planning to take in 800 points. The rest of the force is Vader himself, 3 squads of speeder bikes, and an AT-ST. The bikes are up next on the painting desk!

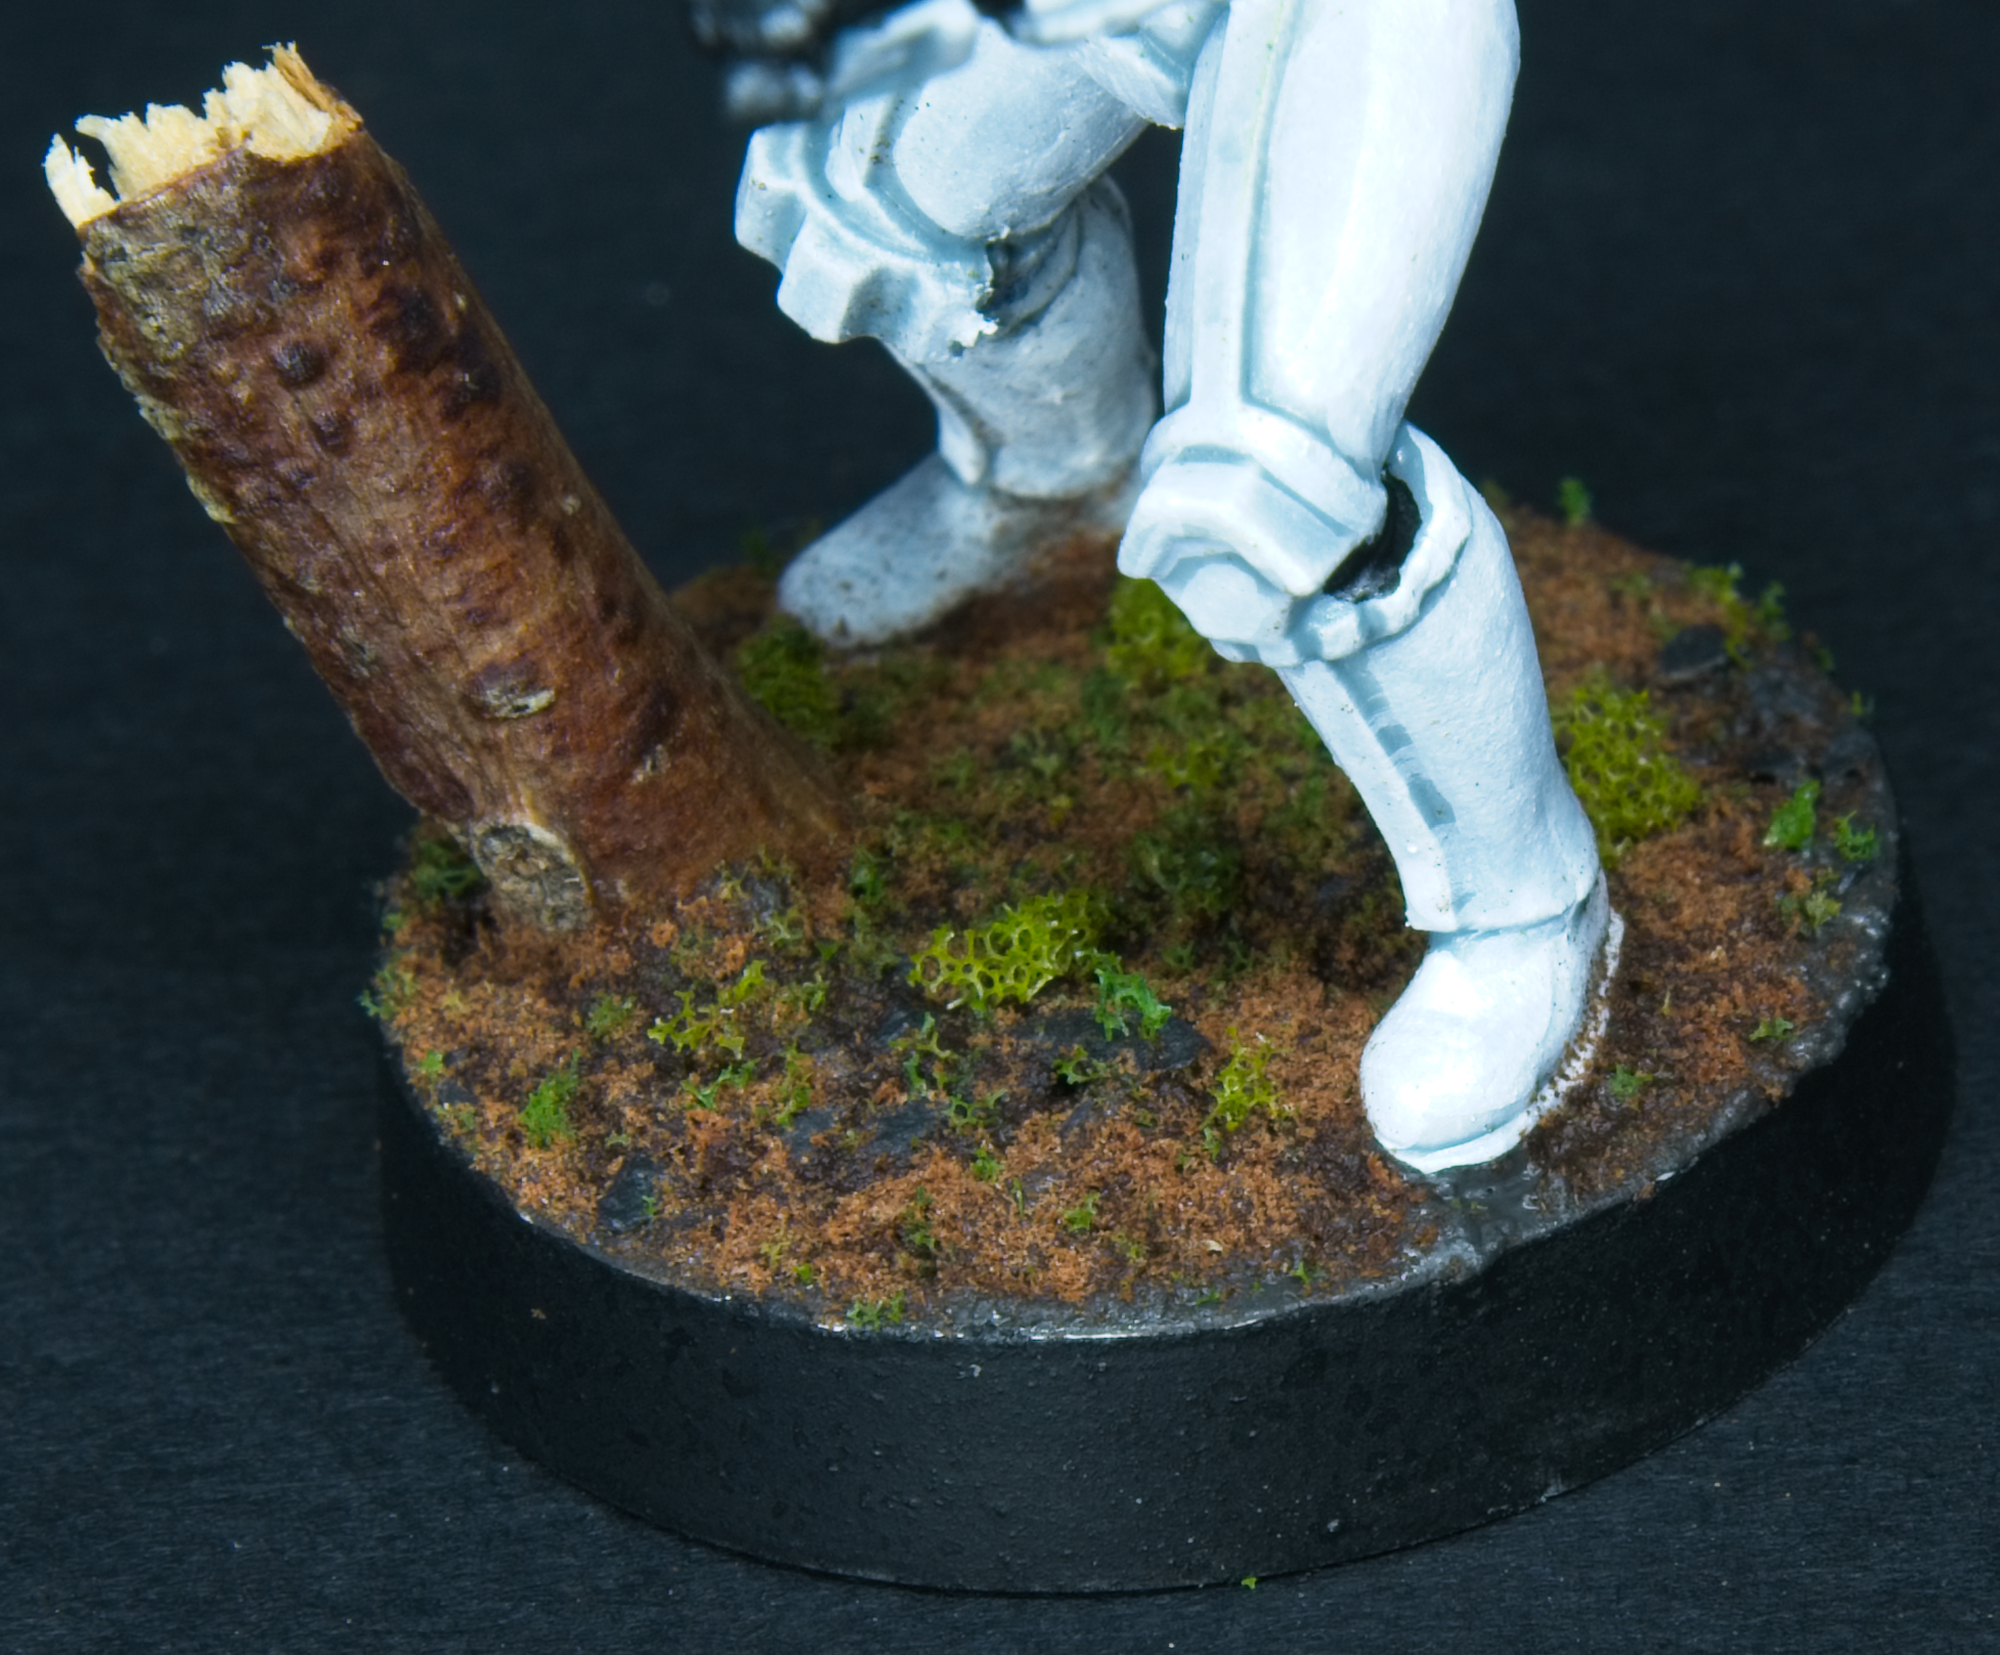
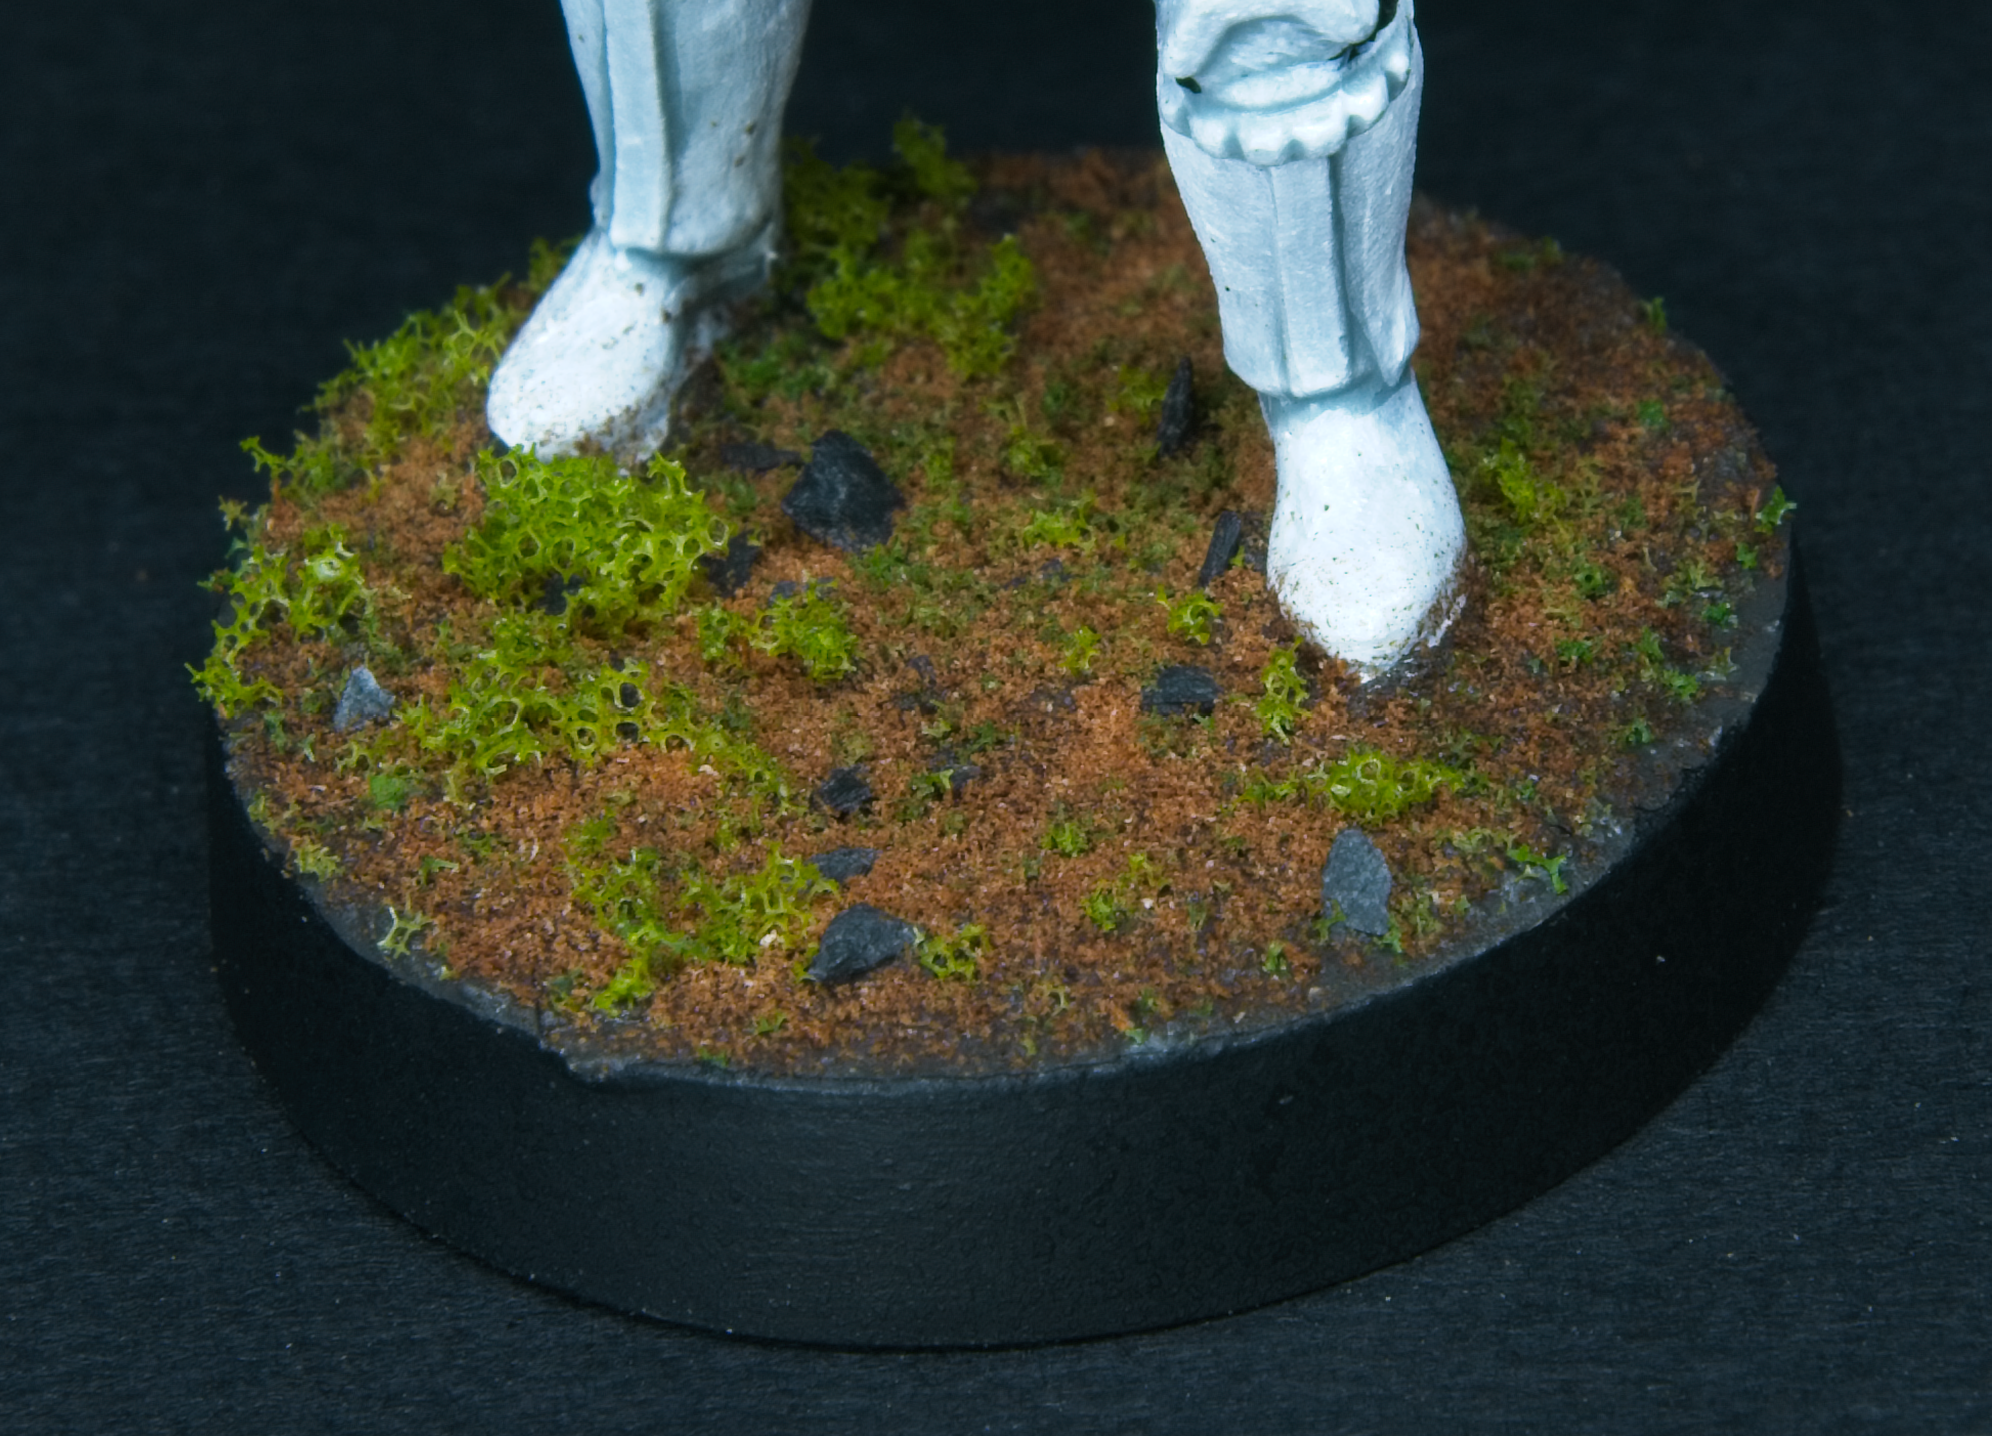
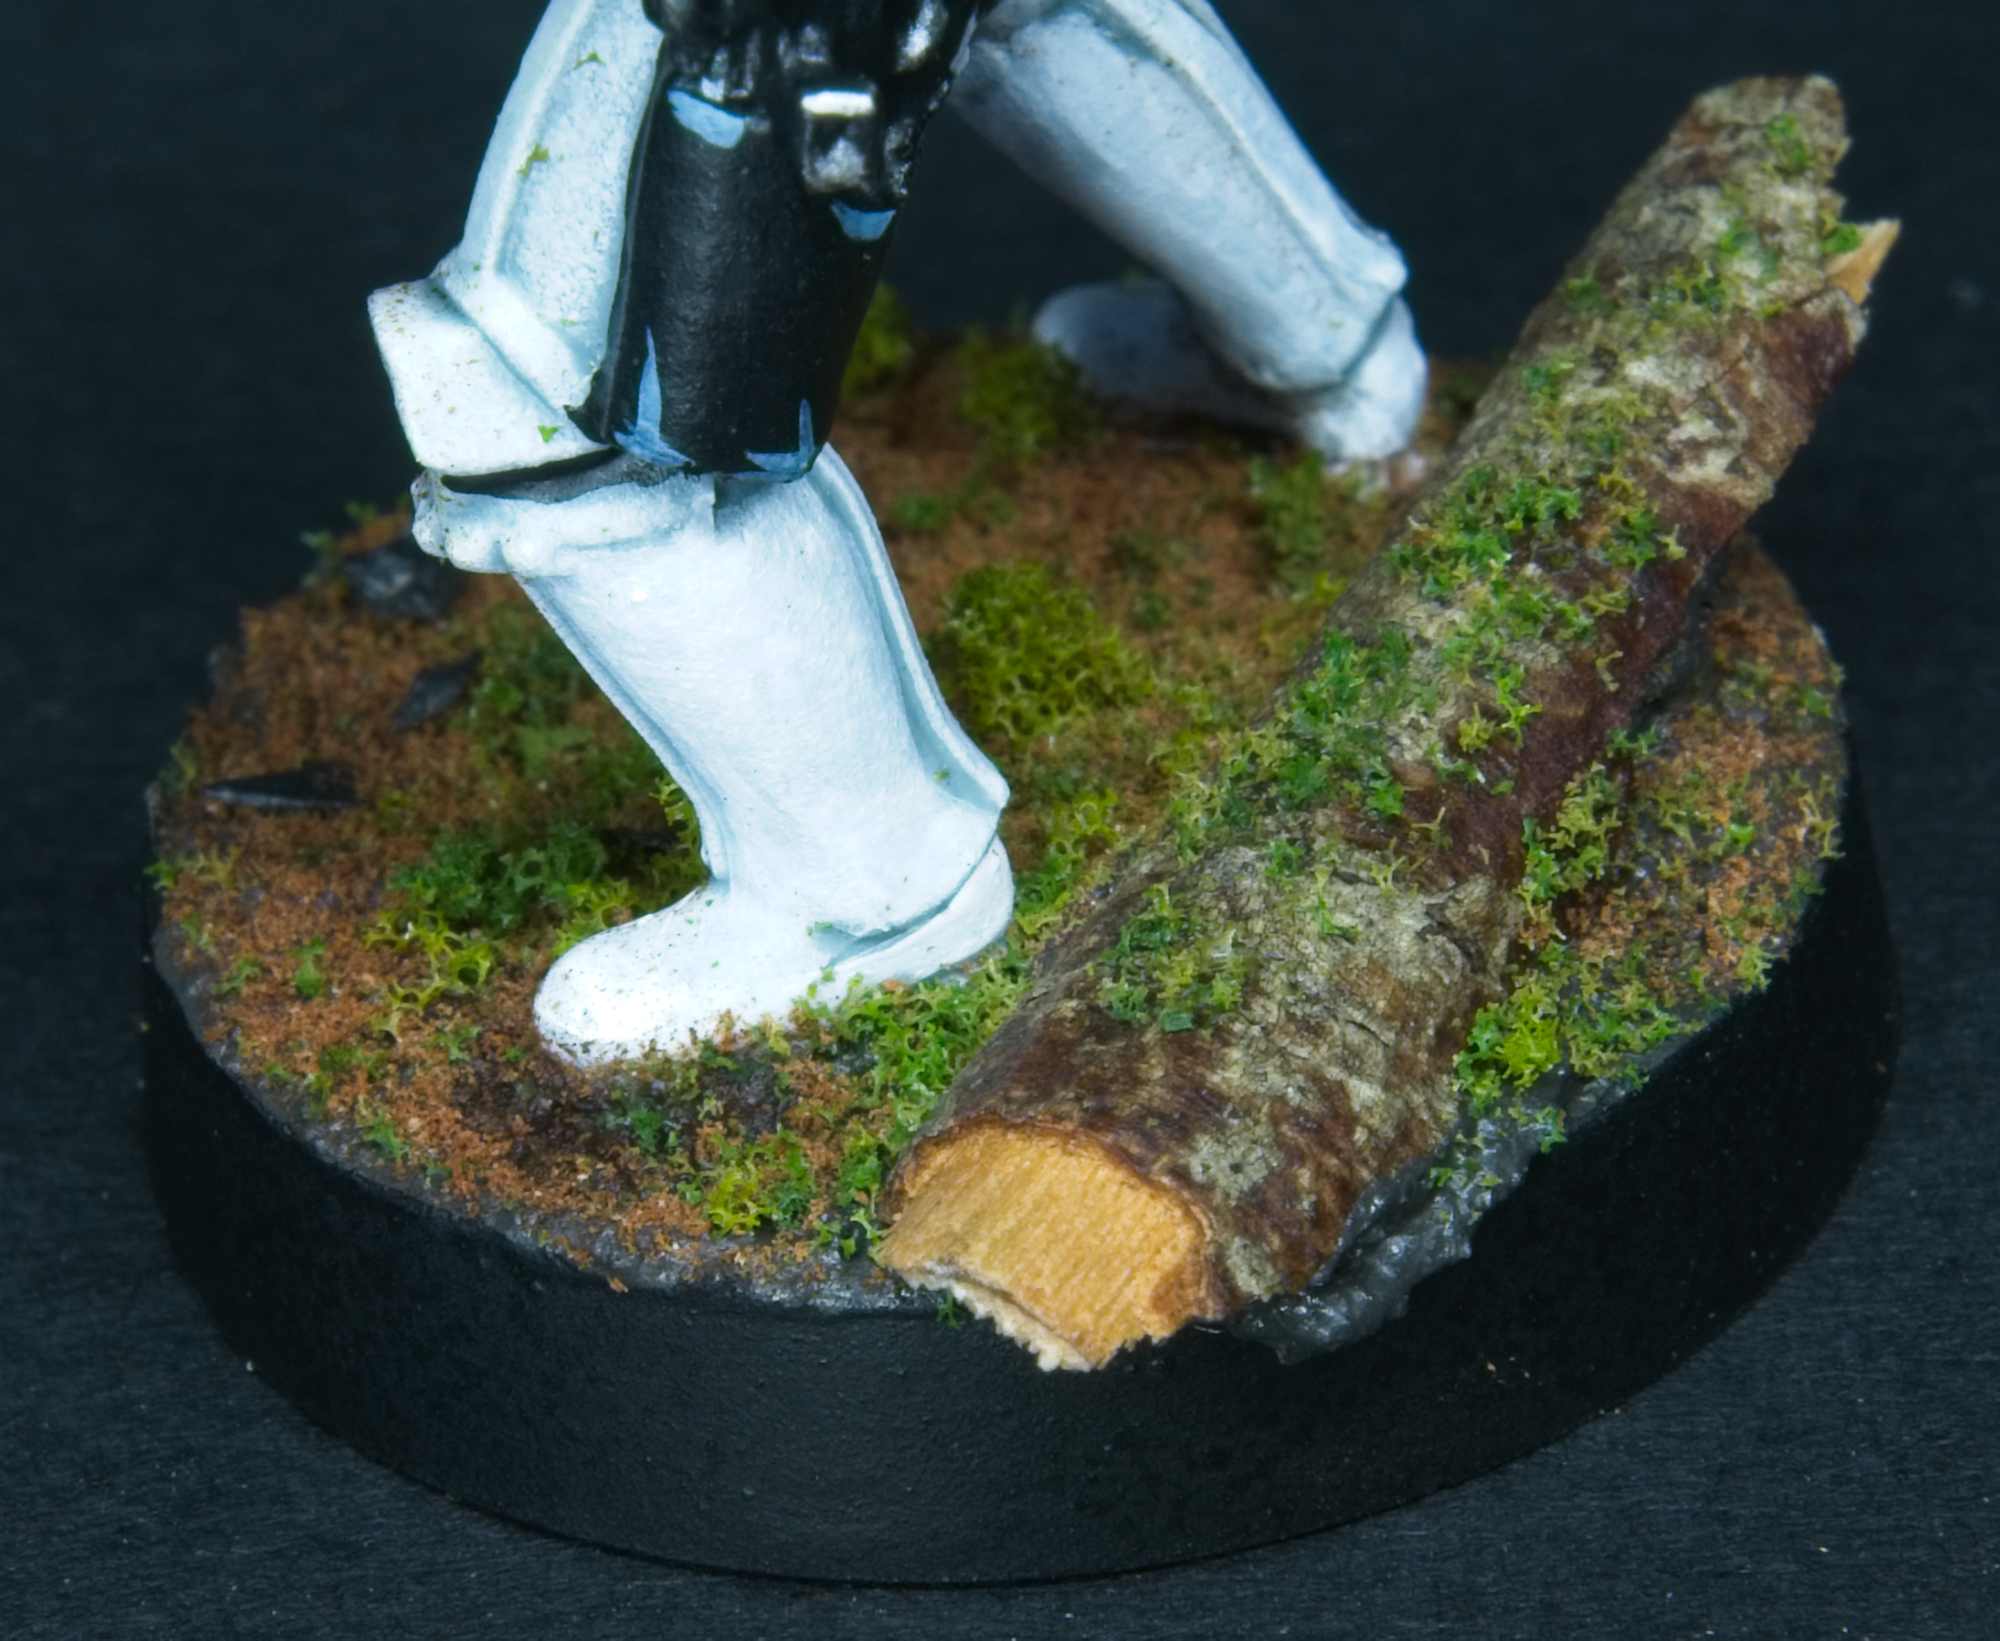
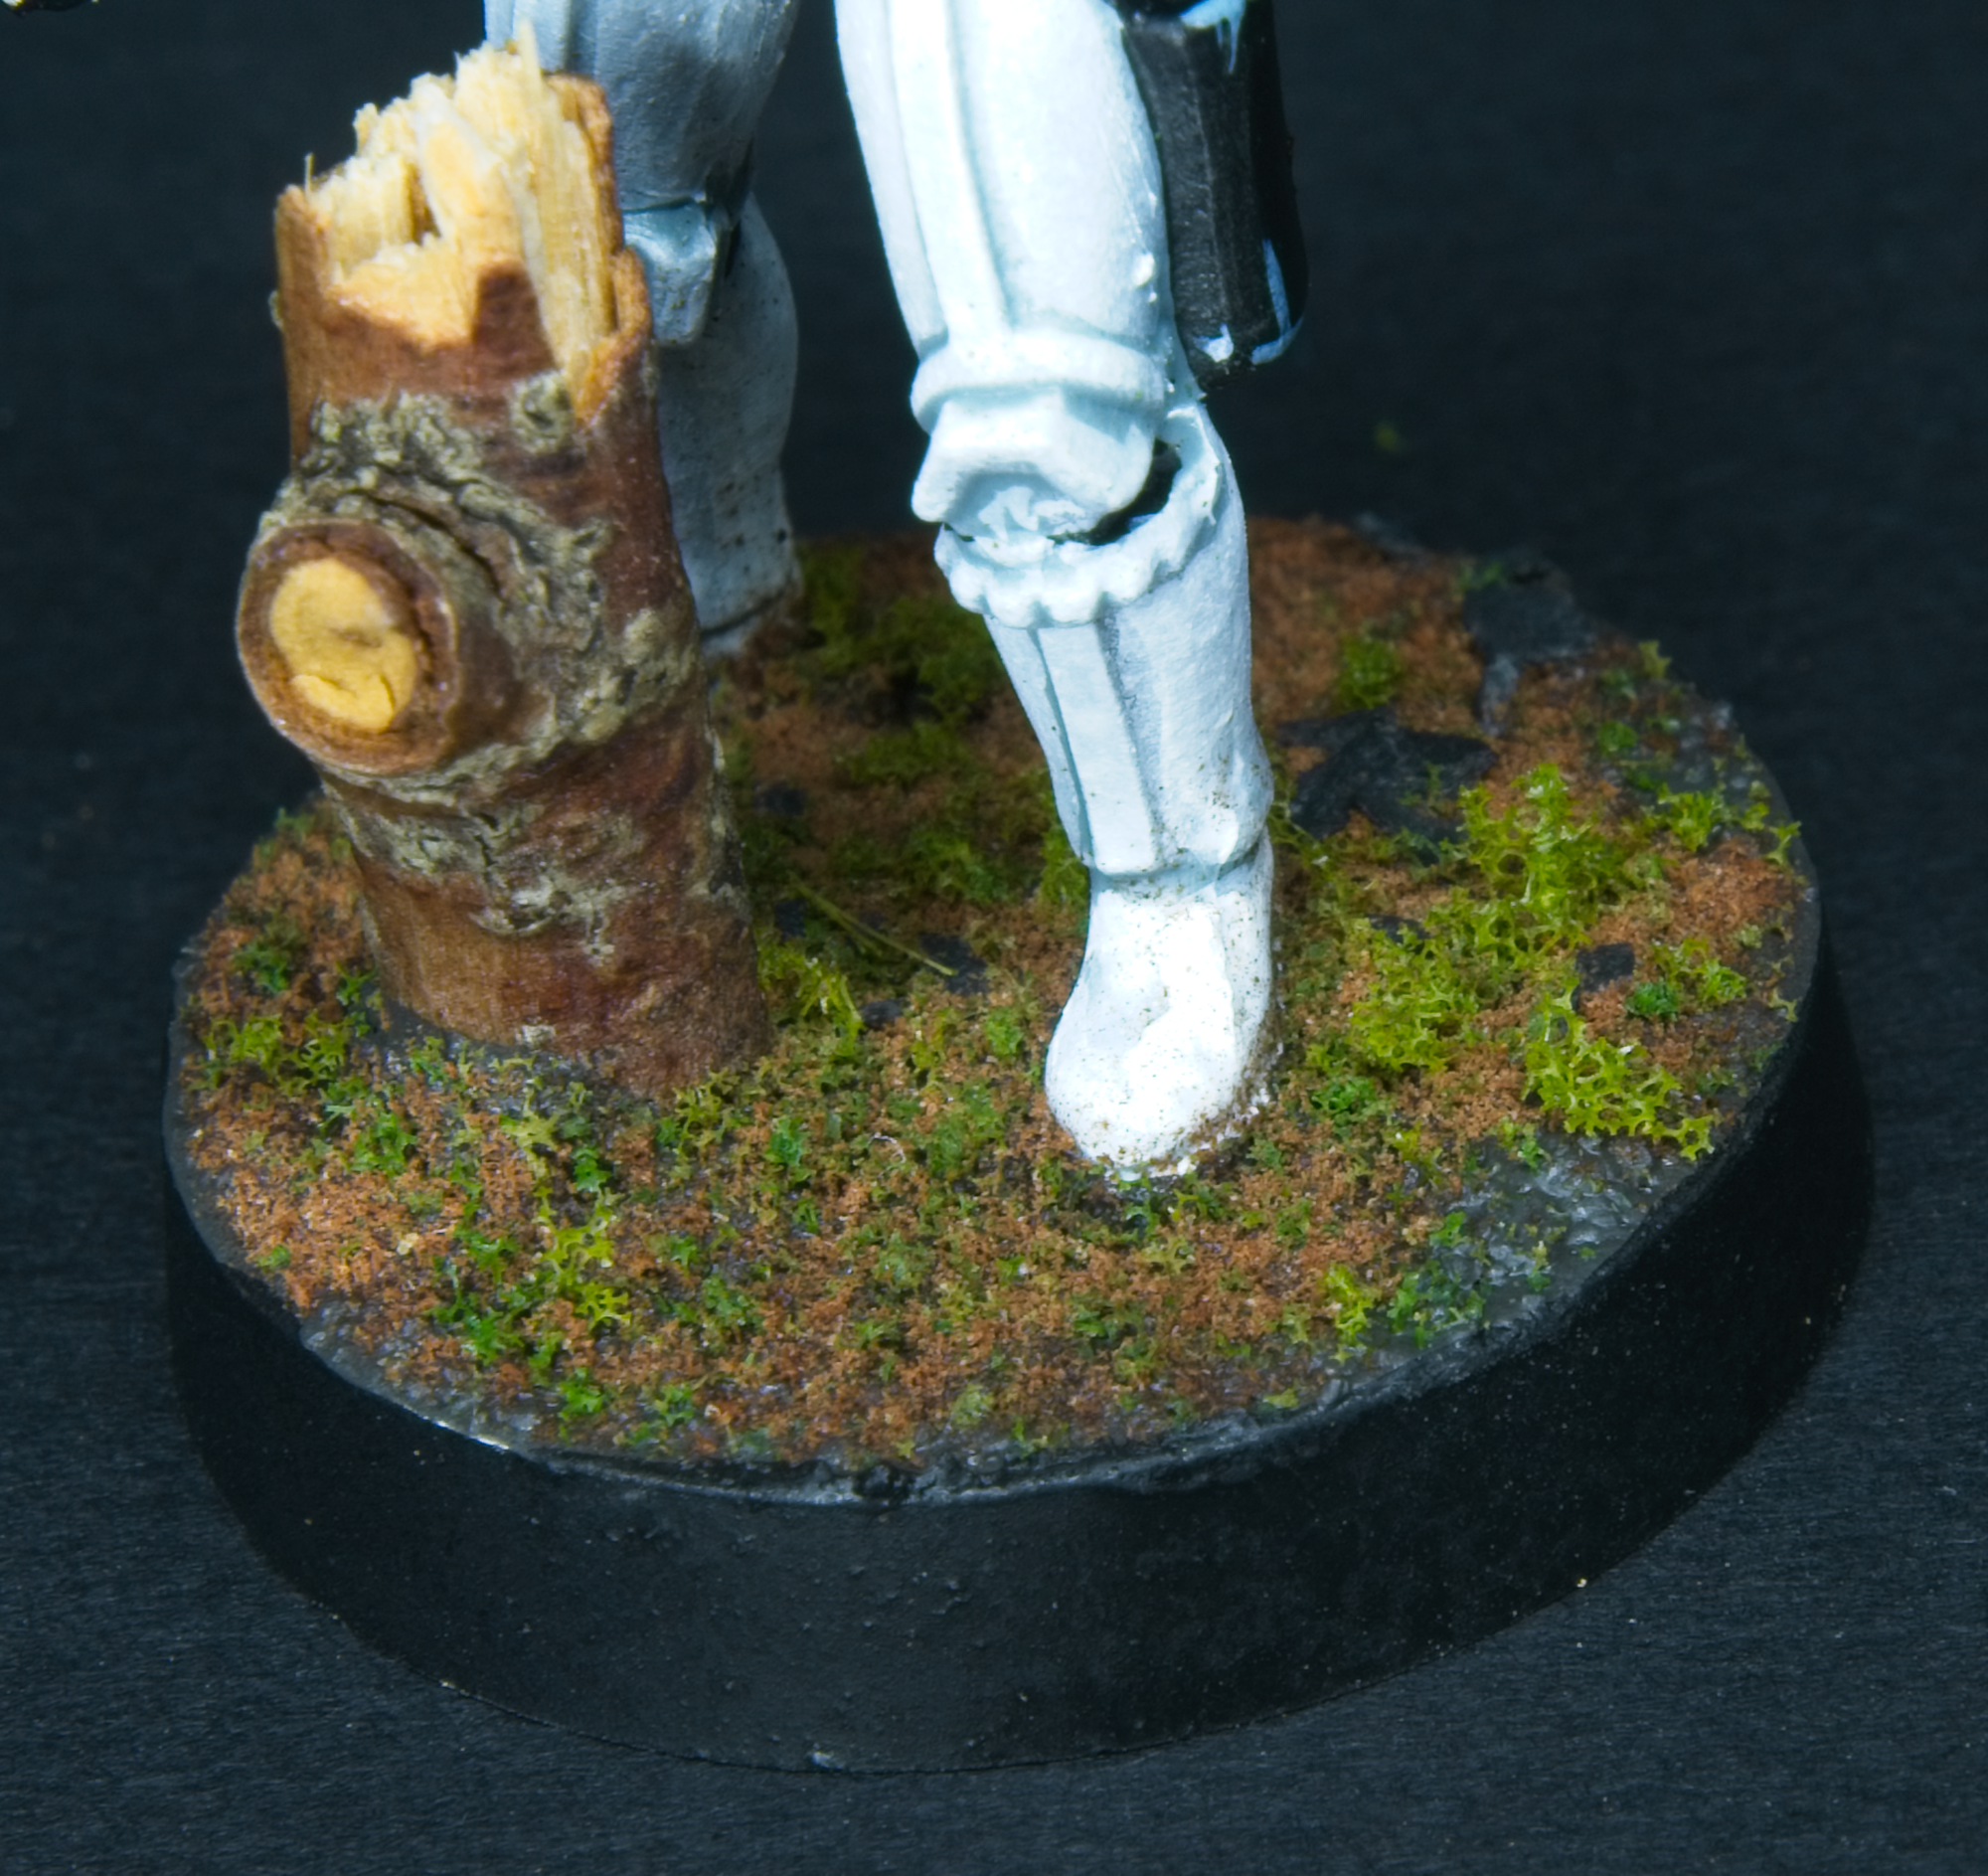
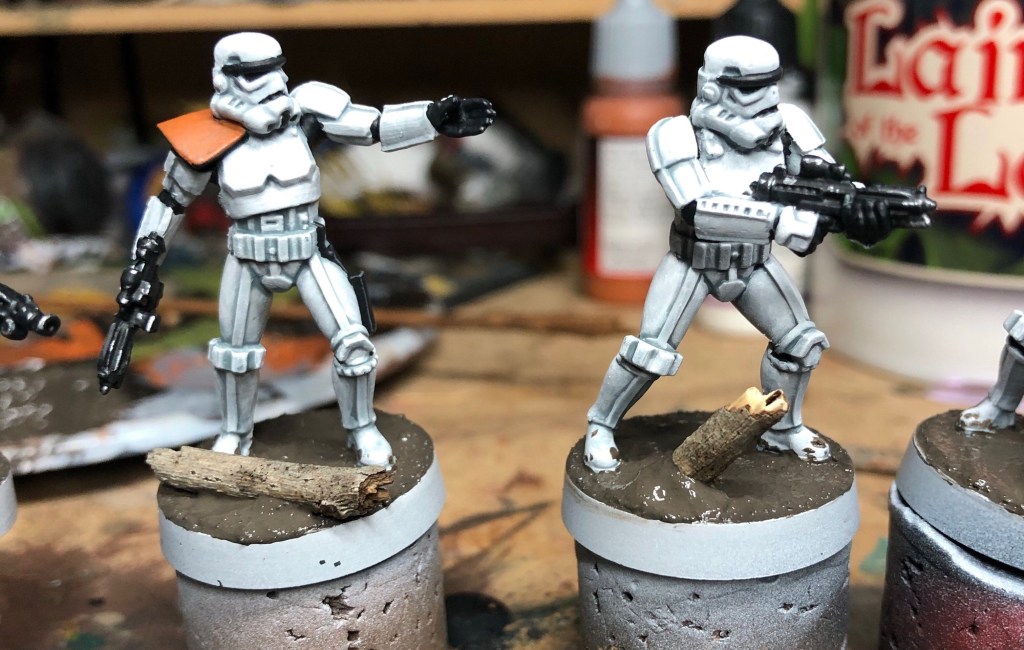
I pushed the sawdust a bit more on these and I’m happy with the result. Here’s some close ups of some of the bases.
Endor bases

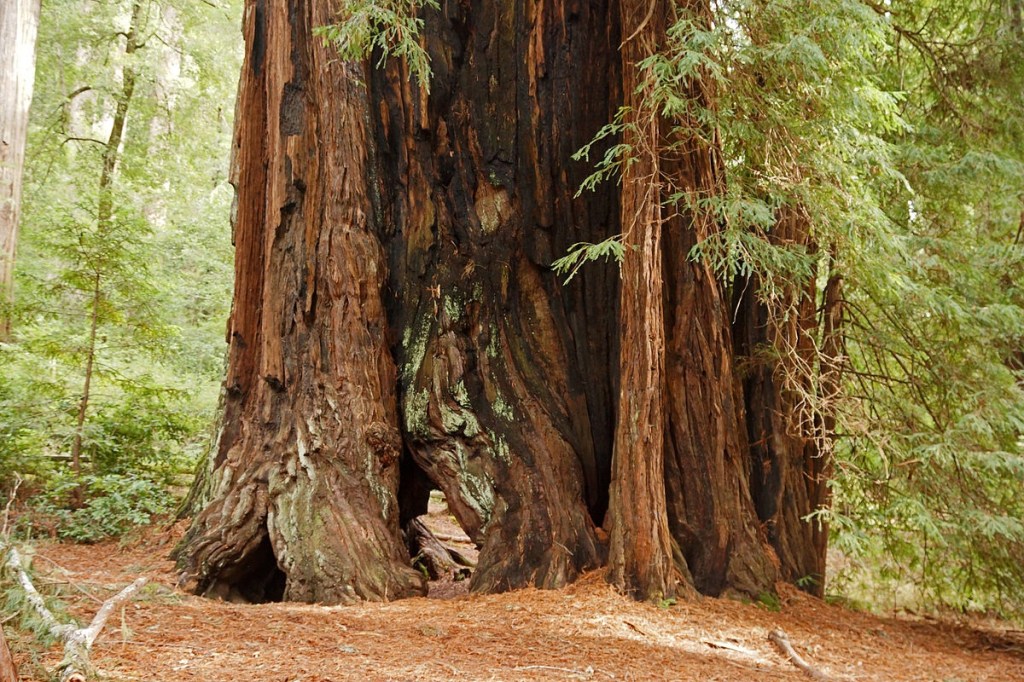
I decided early on that if I was to go imperial forces, I’d want to have the bases themed around Endor. So I looked up a few images if the California redwood forests to get some references.
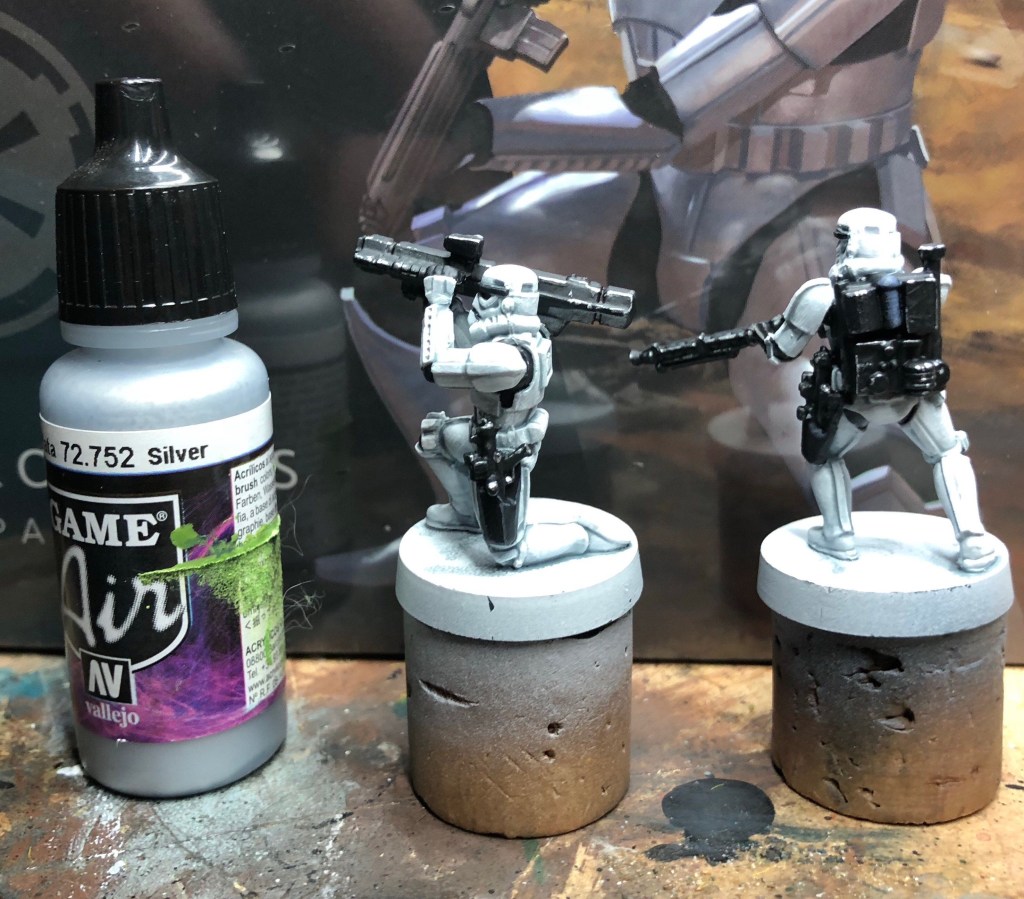
Photo by Allie Caulfield https://www.flickr.com/photos/28577026@N02/6845261959

The photo above really shows the colours I was interested in including: a variety of greens for live vegetation and the red/orange/brown of the dried needles littered all over the ground.

For the greenery I was well equipped, with a variety of flocks at my disposal, but I had nothing for the needles, so I decided to experiment.

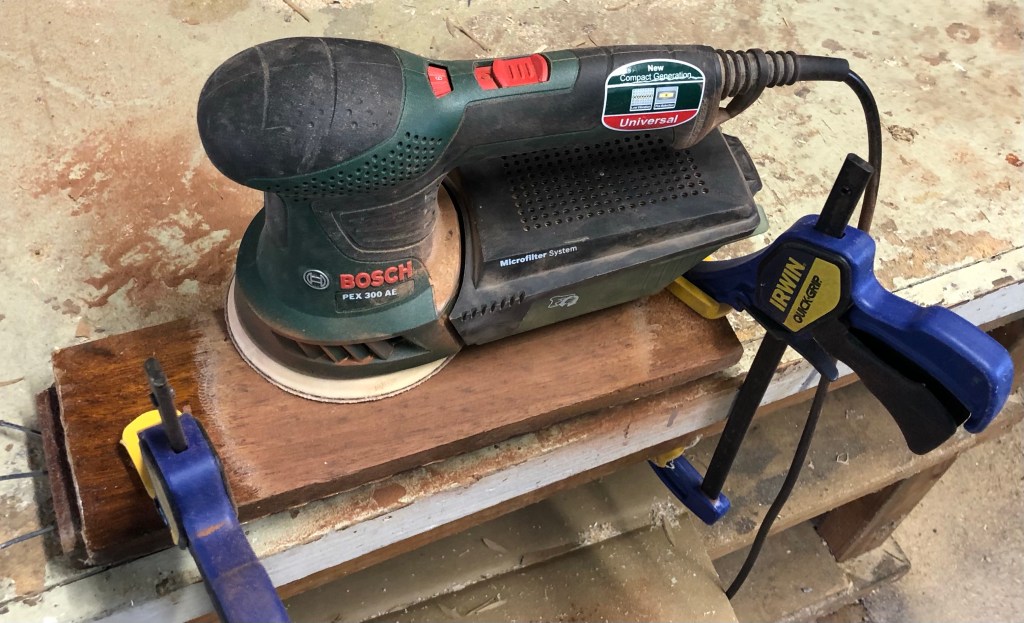
In Western Australia we have a very abundant variety of eucalyptus called Jarrah which has a fairly distinctive red wood. I wondered if sawdust from this wood would be suitable for what I was after. The wood is used a lot on construction and furniture making here and I have offcuts on hand ready to sacrifice for a good cause.

On went the dust mask (don’t breathe this in is good advice for any sanding) and out came the sander. The sander has a handy collection box at the back which made getting enough sawdust quick.

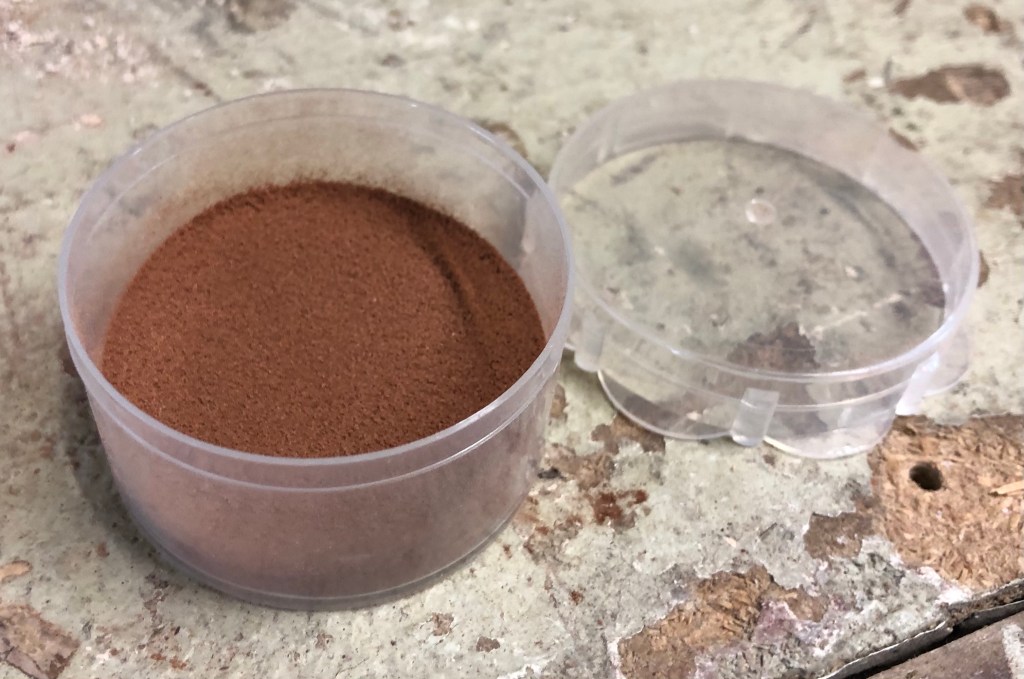
The result is this very fine power which is bang on colour wise I think. And there’s plenty more where that came from (if you live around here).

Onto basing!

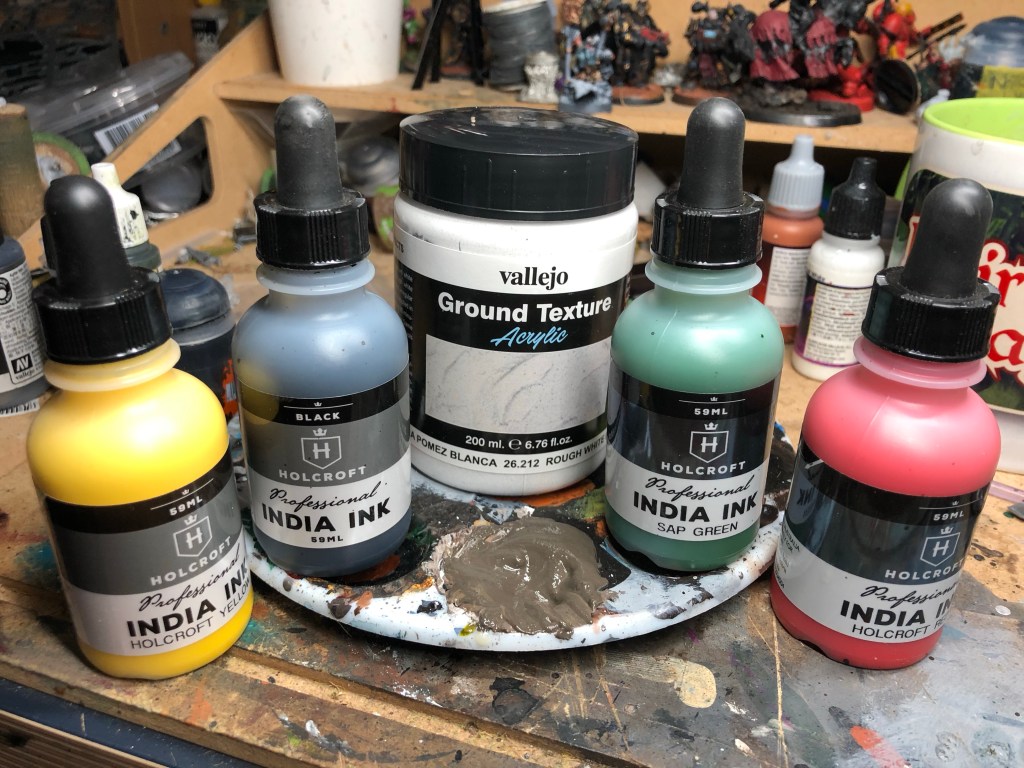
I started the bases with a textured paint I made from Vallejo White Ground Texture and a mix of inks, ratio of roughly one of the palette divet’s worth of texture, to 6 drops black ink, 6 drops red ink, 6 drops green ink, and 2 drops yellow ink.
Spread the mixture all over the bases
I pressed down some sticks while the paste was still wet
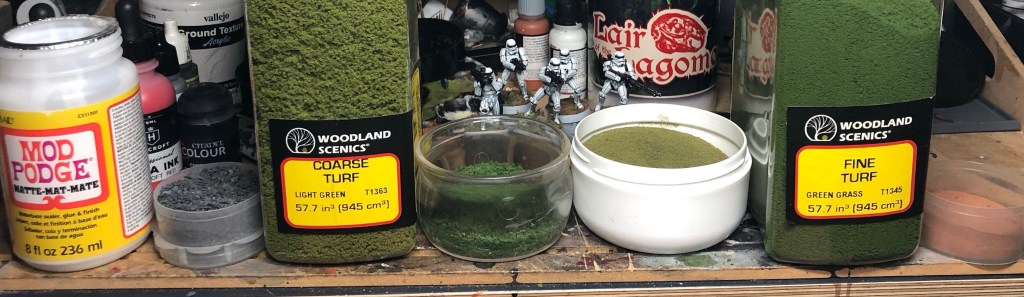
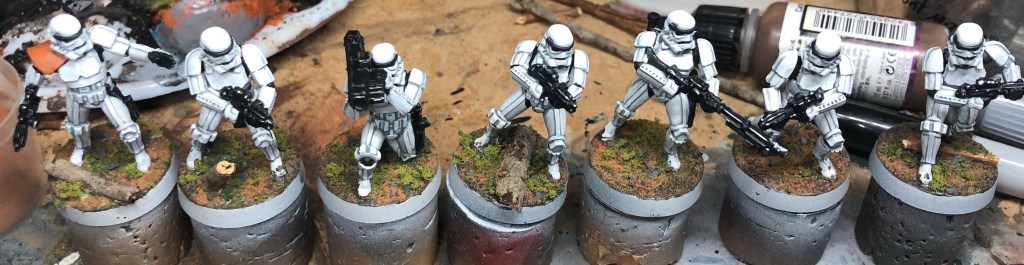
I covered all of the base in watered down mod podge, then successively sprinkled small slate, Woodland Scenics light green coarse turf, darker green medium turf (no idea who makes it, had it for years), Woodland Scenics burnt grass fine turf, Woodland Scenics green grass fine turf and finally an all over coating of the jarrah sawdust
Here’s the effect after this step
And here’s the good camera photo after a coat of Mig matt varnish.

I don’t always varnish my models, but I wanted to anchor down the relatively lightly glued down basing materials. Unfortunately it darkened down the sawdust quite a bit so it lost some of its red effect. On the models where more sawdust got added it retained quite a bit of the red however so that’s a lesson learned, more is better in this case!
Overall I’m very happy with how these bases turned out, I think they managed to look pretty natural and the effect is close to what I was chasing.

Legions of the Emperor!

I have three friends the were very keen to get into Star Wars Legion and it didn’t take much effort to coerce me into joining in.

I went back and forth on whether to get some rebels or the imperials, and it was very close, Fantasy Flight having done some Rogue One models that were very tempting. In the end though, the Imperials having access to the AT-ST model was the tiebreaker and it was time to jump in.

I started off with the instantly recognisable classics: the stormtroopers.

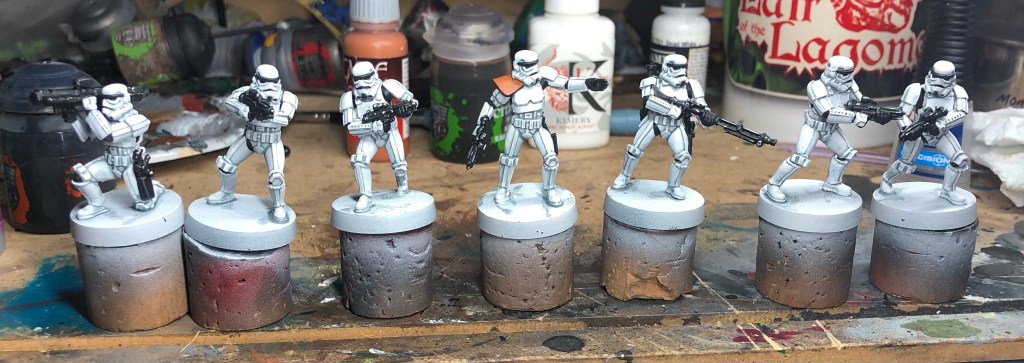
I have a fair few of these to paint (2 starter sets’ worth plus an extra squad so 5 squads all up!) so I made sure to document the process so I can get them all looking alike. I’m not going to kill myself getting them to an amazing standard, I’m aiming for a nice tabletop standard here. The steps I detailed below are pretty quick, I got the full squad to the standard you see in the photo above in a few hours.

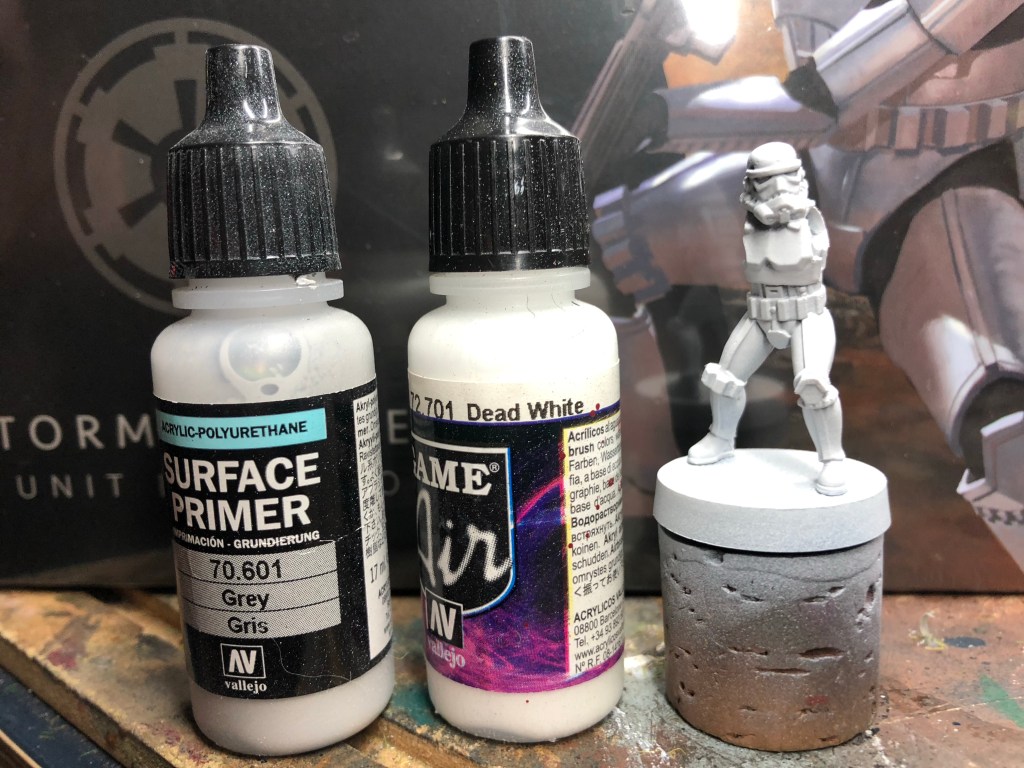
Step 1: Undercoat! I started with an all over spray of Grey Surface Primer from Vallejo, then a zenithal spray of Vallejo Dead White. The effect is pretty subtle, so it might make more sense to not bother with the zenithal step.
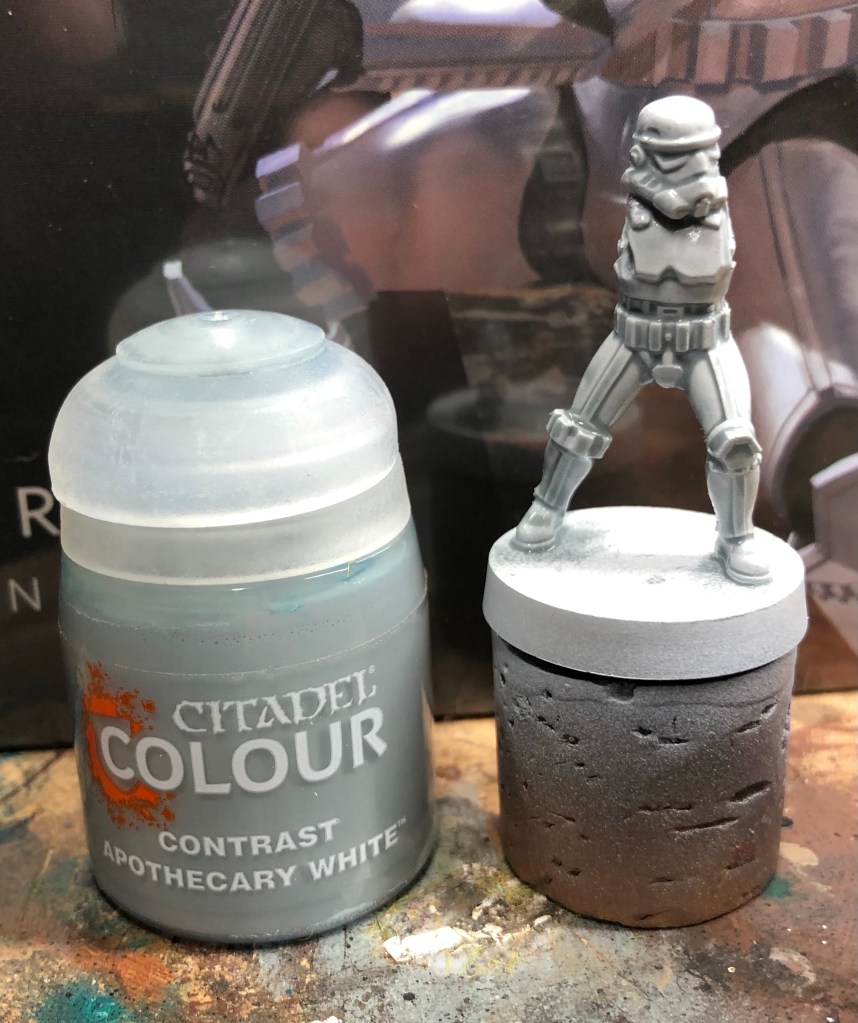
Step 2: Contrast! I’ve been eyeing off Citadel’s Apothecary White since the contrast paints were announced, and I finally get to use it. I covered the whole model, then went back over with the brush to smooth out and soak up areas that were a bit too flooded.
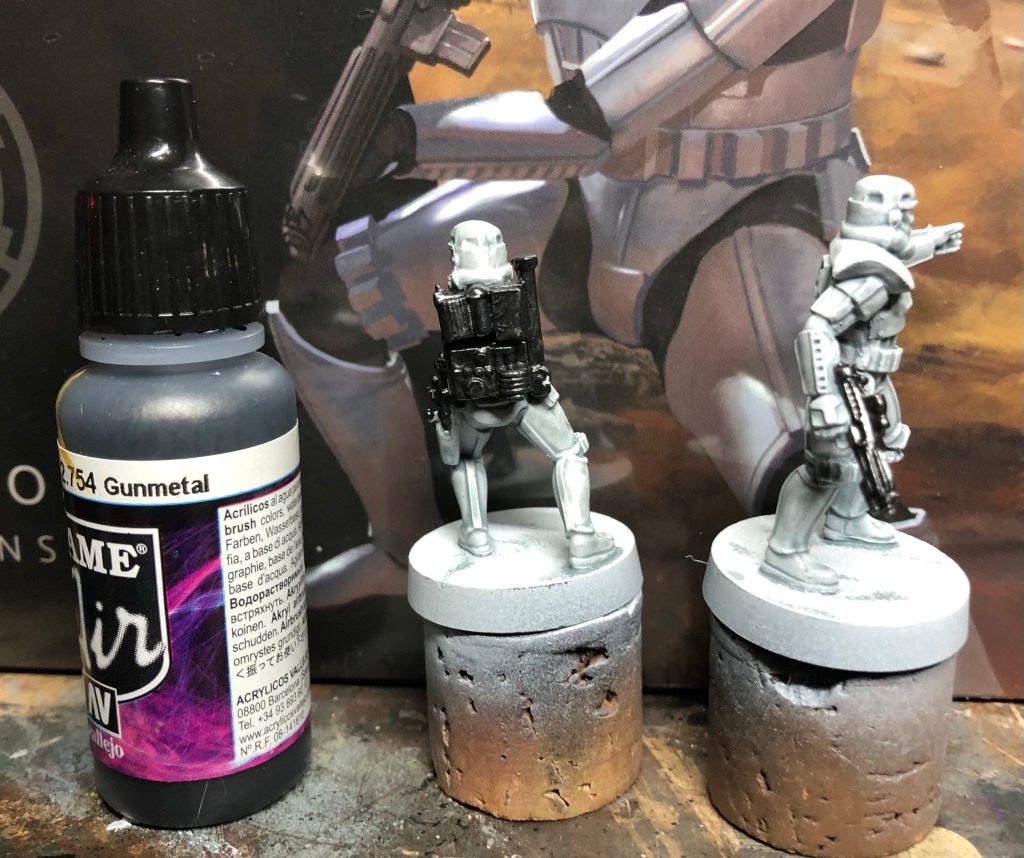
Step 3: I used Vallejo’s Gunmetal for the blasters and the backpack on the DL-19 trooper.
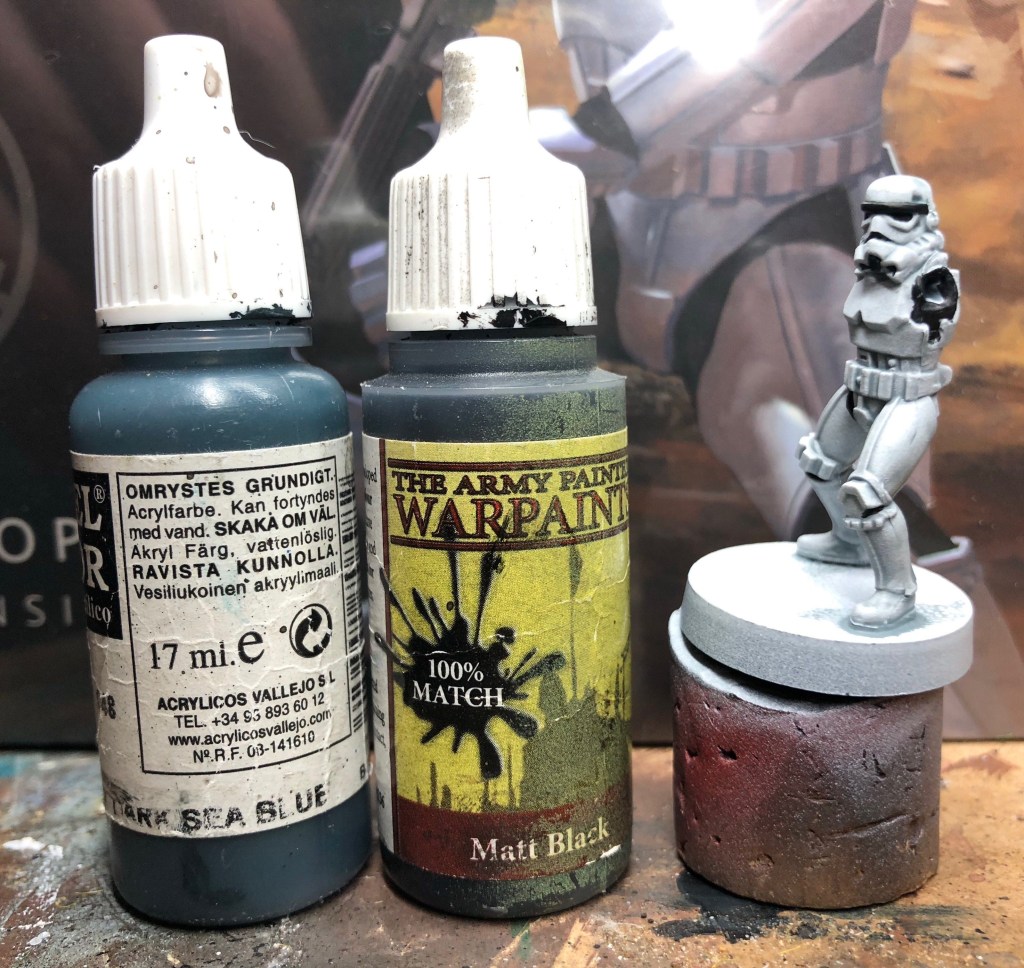
Step 4: I painted the cloth areas in a 50:50 mix of Vallejo Dark Sea Blue and Army Painter Matt Black
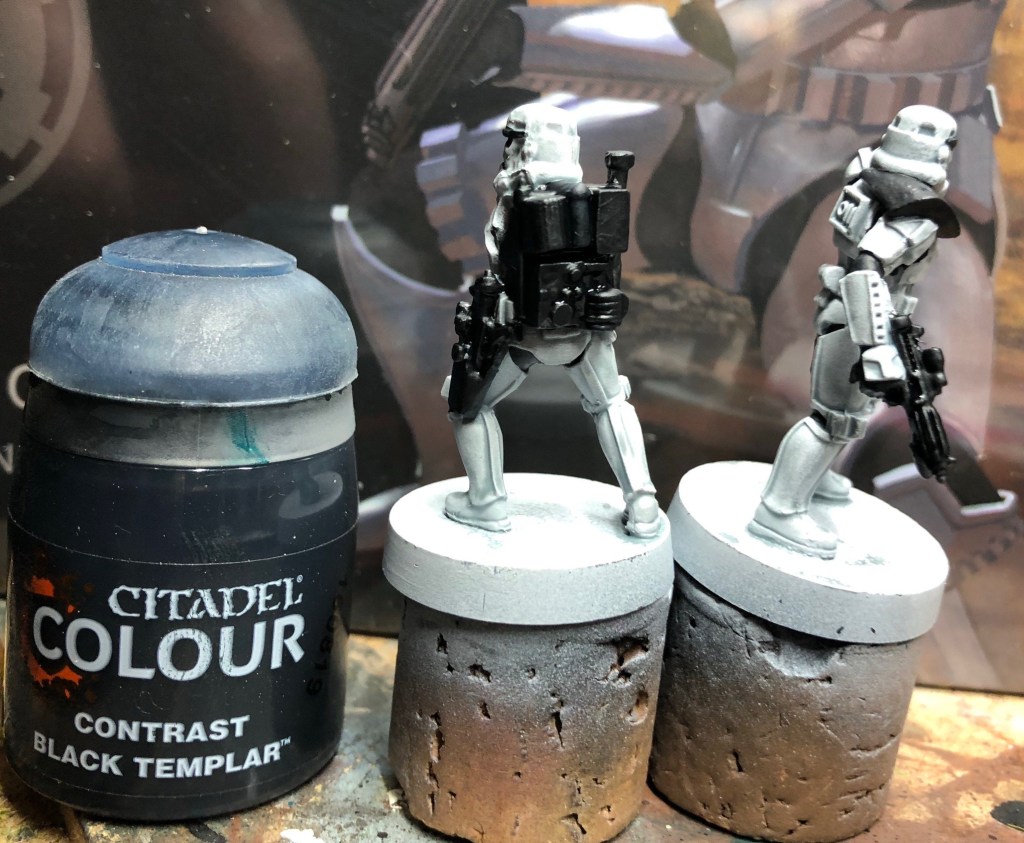
Step 5: More contrast, this time with Black Templar, over all the metallic areas and the cloth areas.
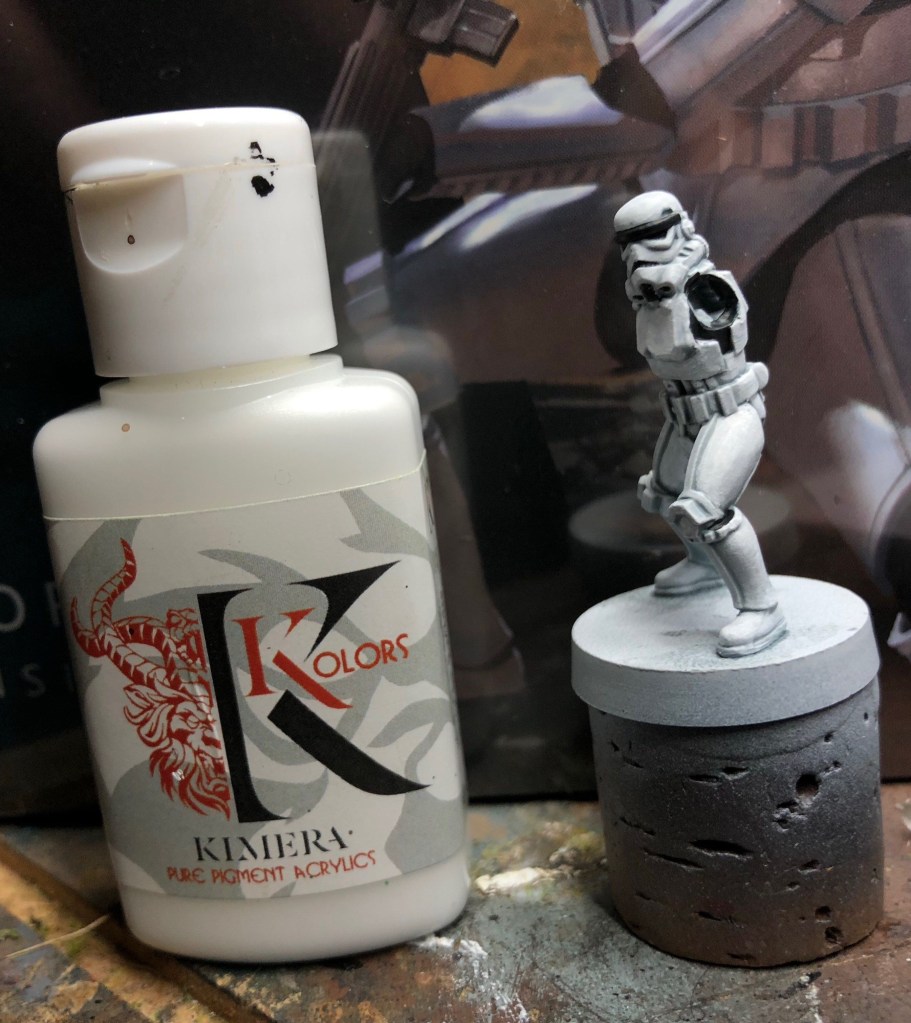
Step 6: The longest step! I repainted the raised areas of the armour with Kimera’s The White, which has a nice heavy pigment so allows me to go much faster on this step.
Step 7: I add chips to all the metallic areas with Vallejo Silver
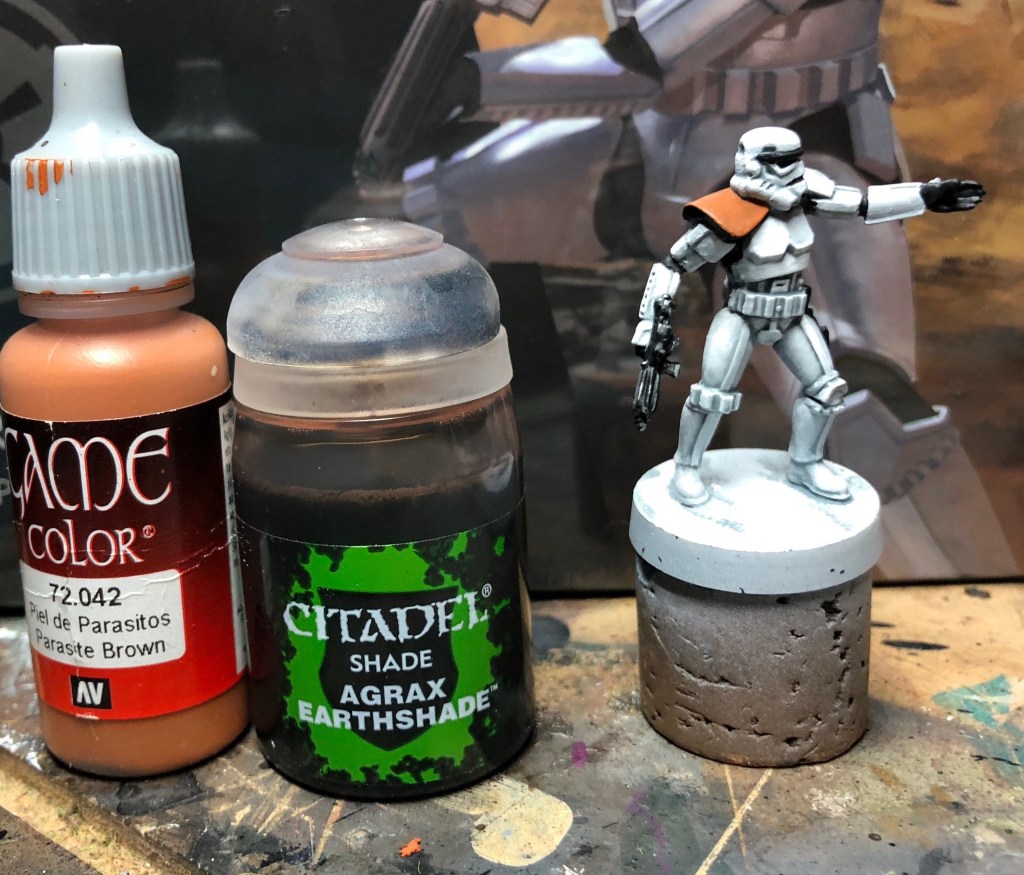
For the squad leader’s pauldron I basecoated in Vallejo Parasite Brown, shaded with Citadel Agrax Earthshade and Highlighted back with Parasite Brown.

Overall I’m happy with how these turned out, the balance between speed and paintjob quality sits about right for me. Next up is basing these models. I have a few thoughts on how I’m going to do that, but I’m still experimenting. The goal is to get a forest floor/Endor look to them, but unlike my necrons I want to avoid a painted base as much as possible. The bases I made for the necrons were my take on hyper green and mossy forest textures as I’ve seen in comics and anime (think Princess Mononoke and the like). For my Star Wars models I’m aiming for a more real-world natural look, based on scenes from the movie and photos of the forest the Endor scenes were filmed in. This means using materials and techniques I haven’t really used much in the past so I’m looking forward to learning an experimenting in that space.

I’ll put up an article when I’ve settled on a methodology.