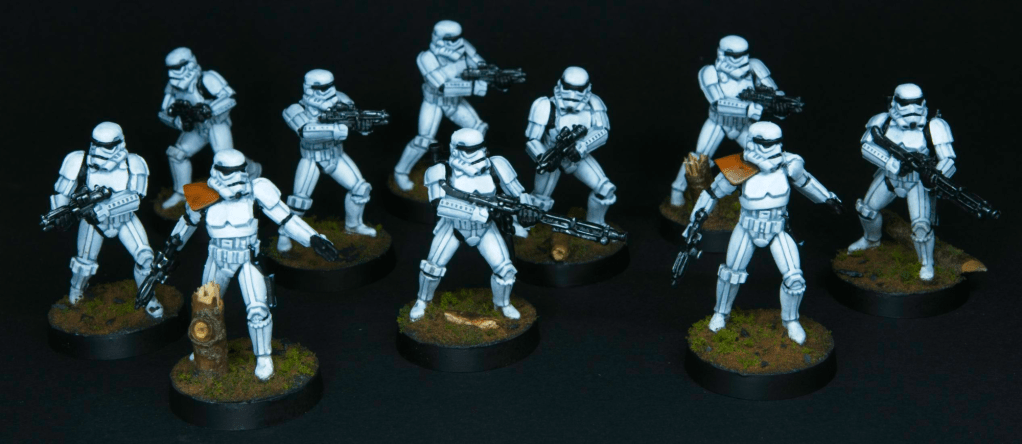
No a legion’s worth, but enough for my first draft 800 point list!
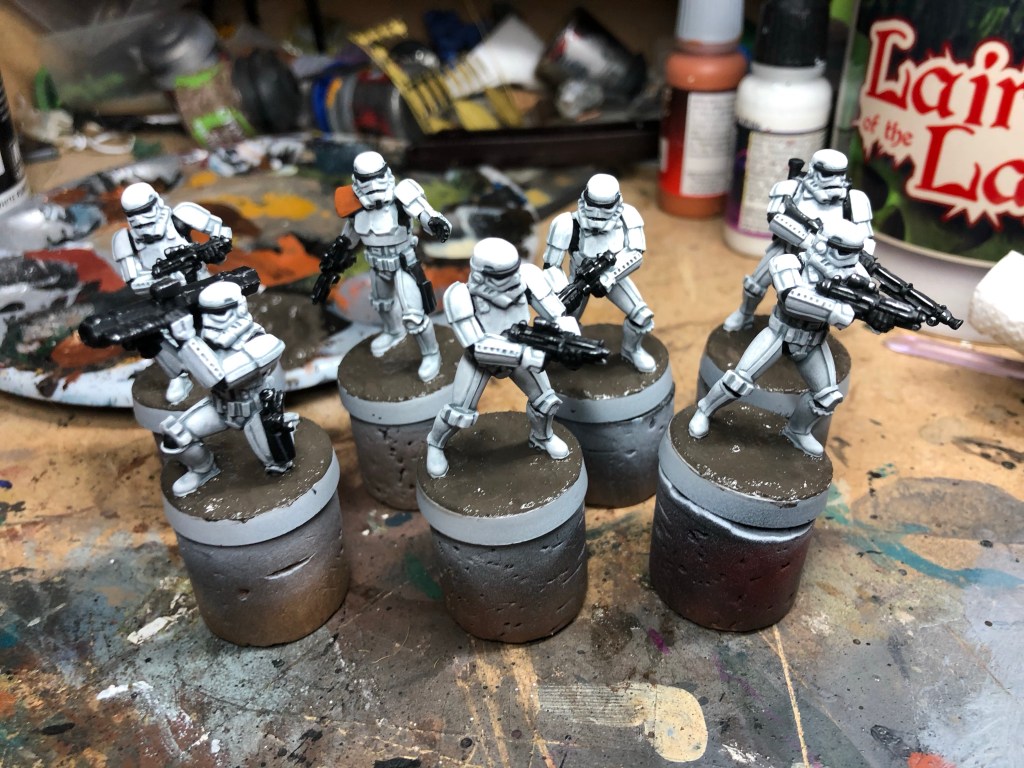
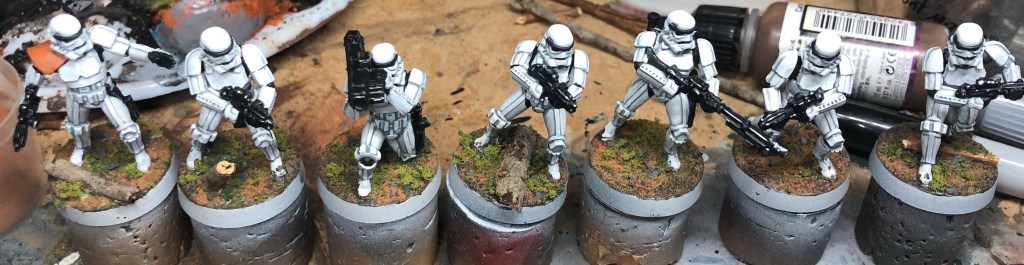
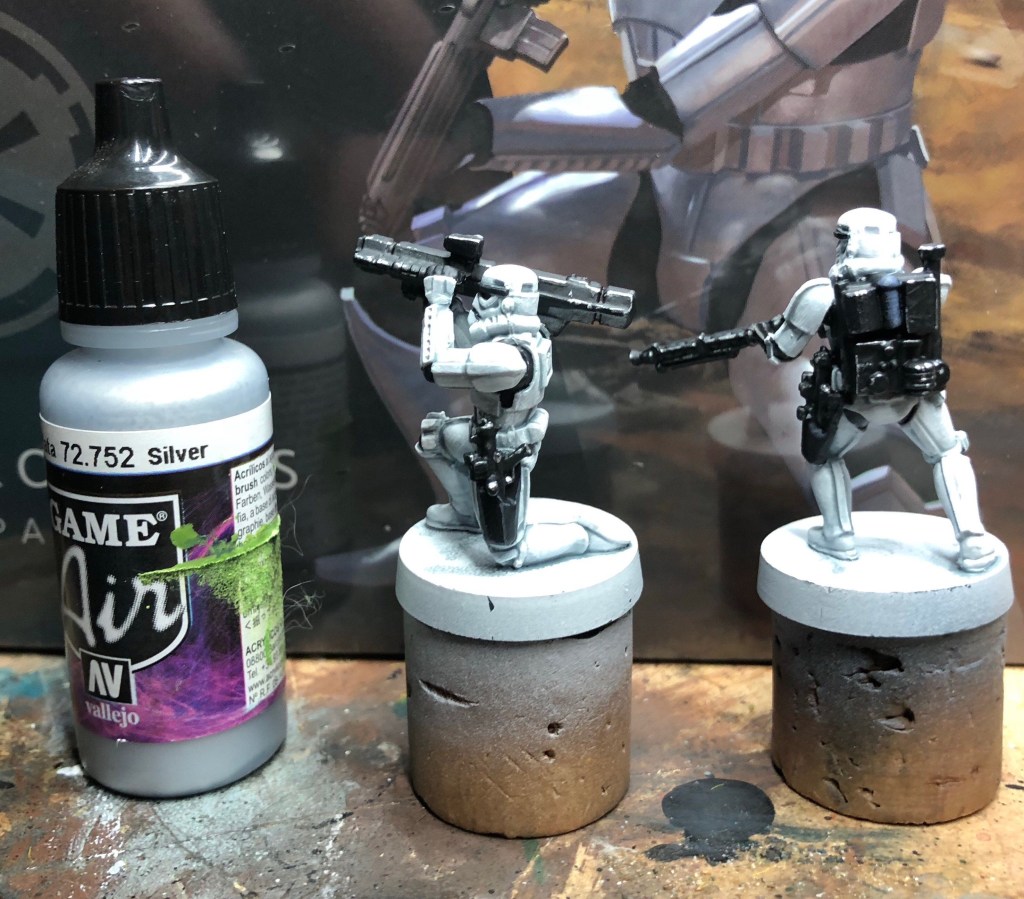
I painted 10 more Stormtroopers, two squads upgraded with a DL-19. This rounds off the three squads I’m planning to take in 800 points. The rest of the force is Vader himself, 3 squads of speeder bikes, and an AT-ST. The bikes are up next on the painting desk!
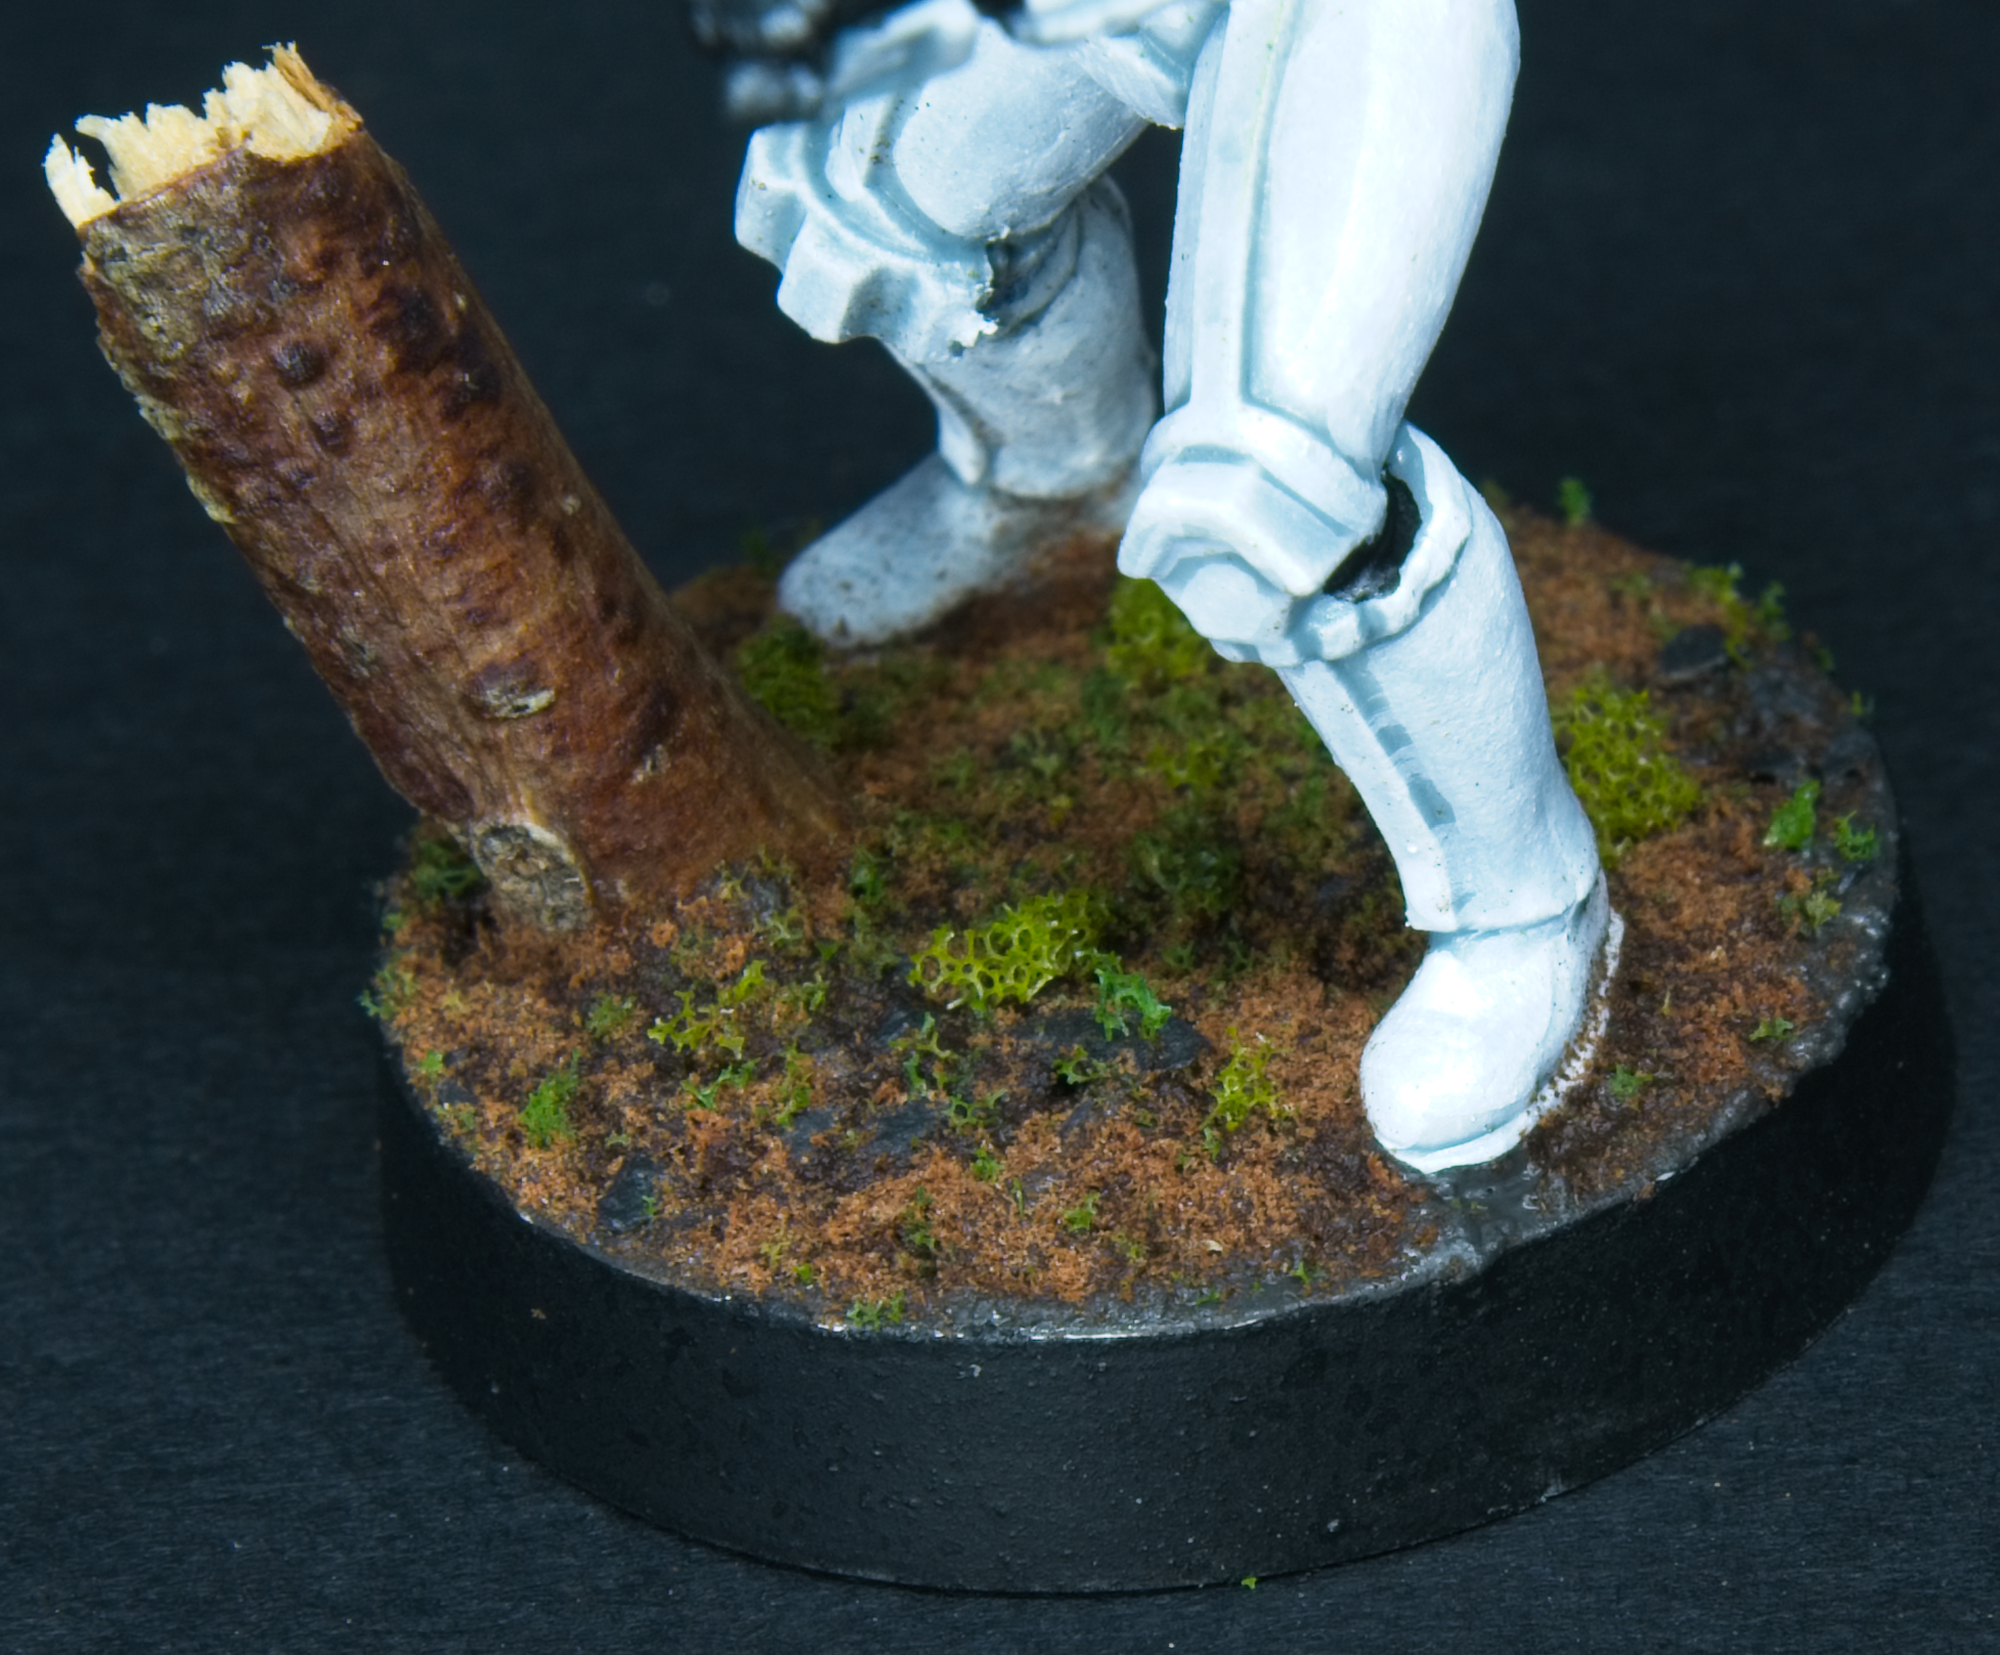
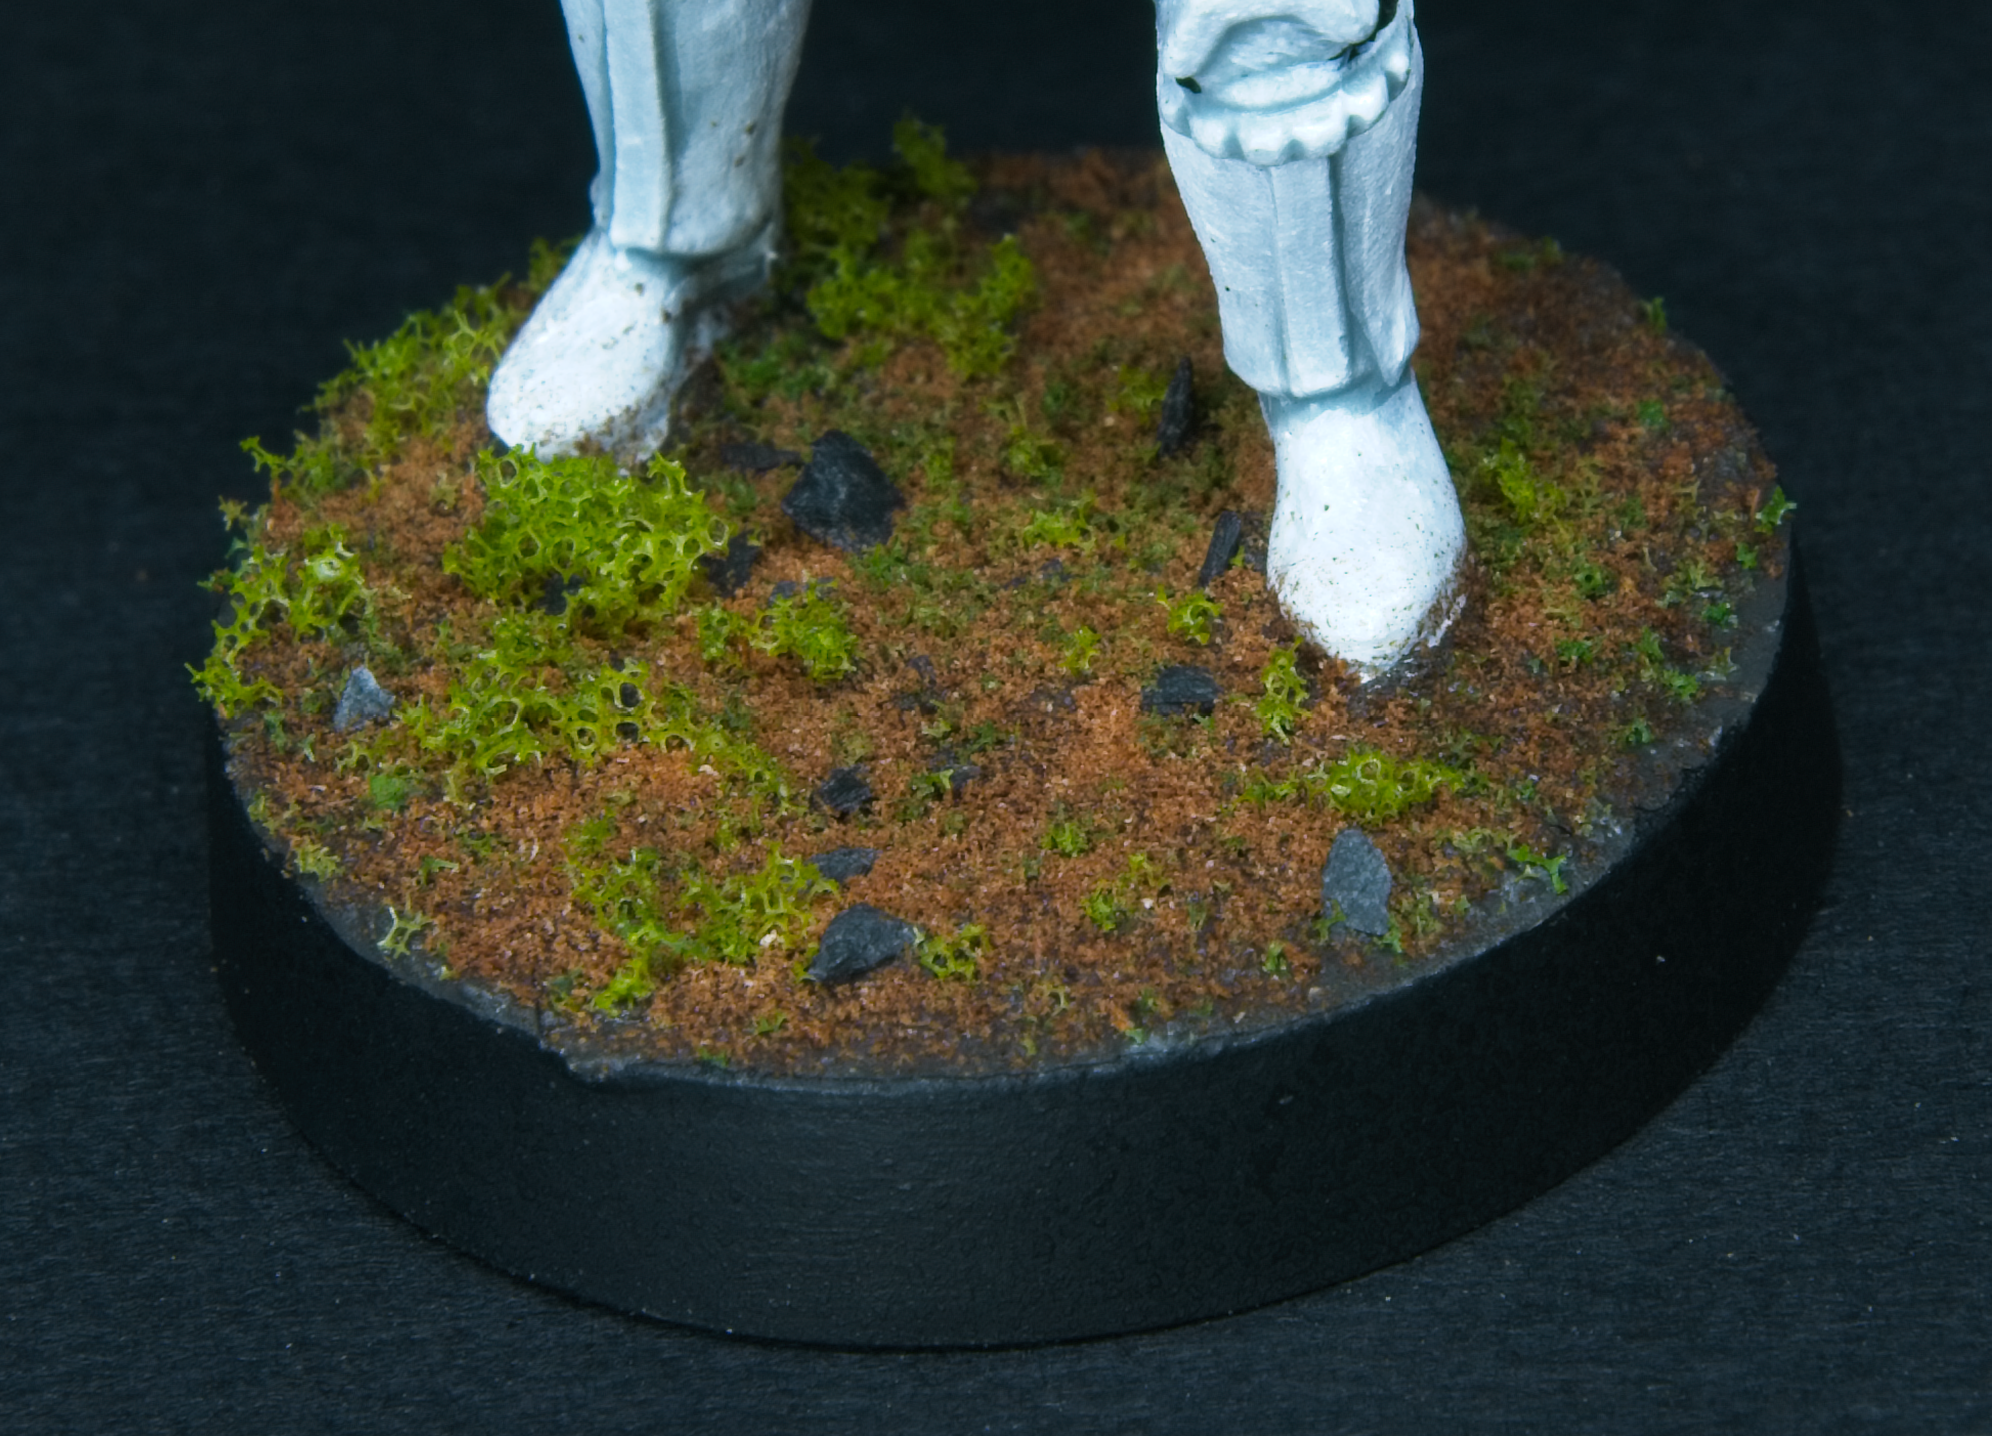
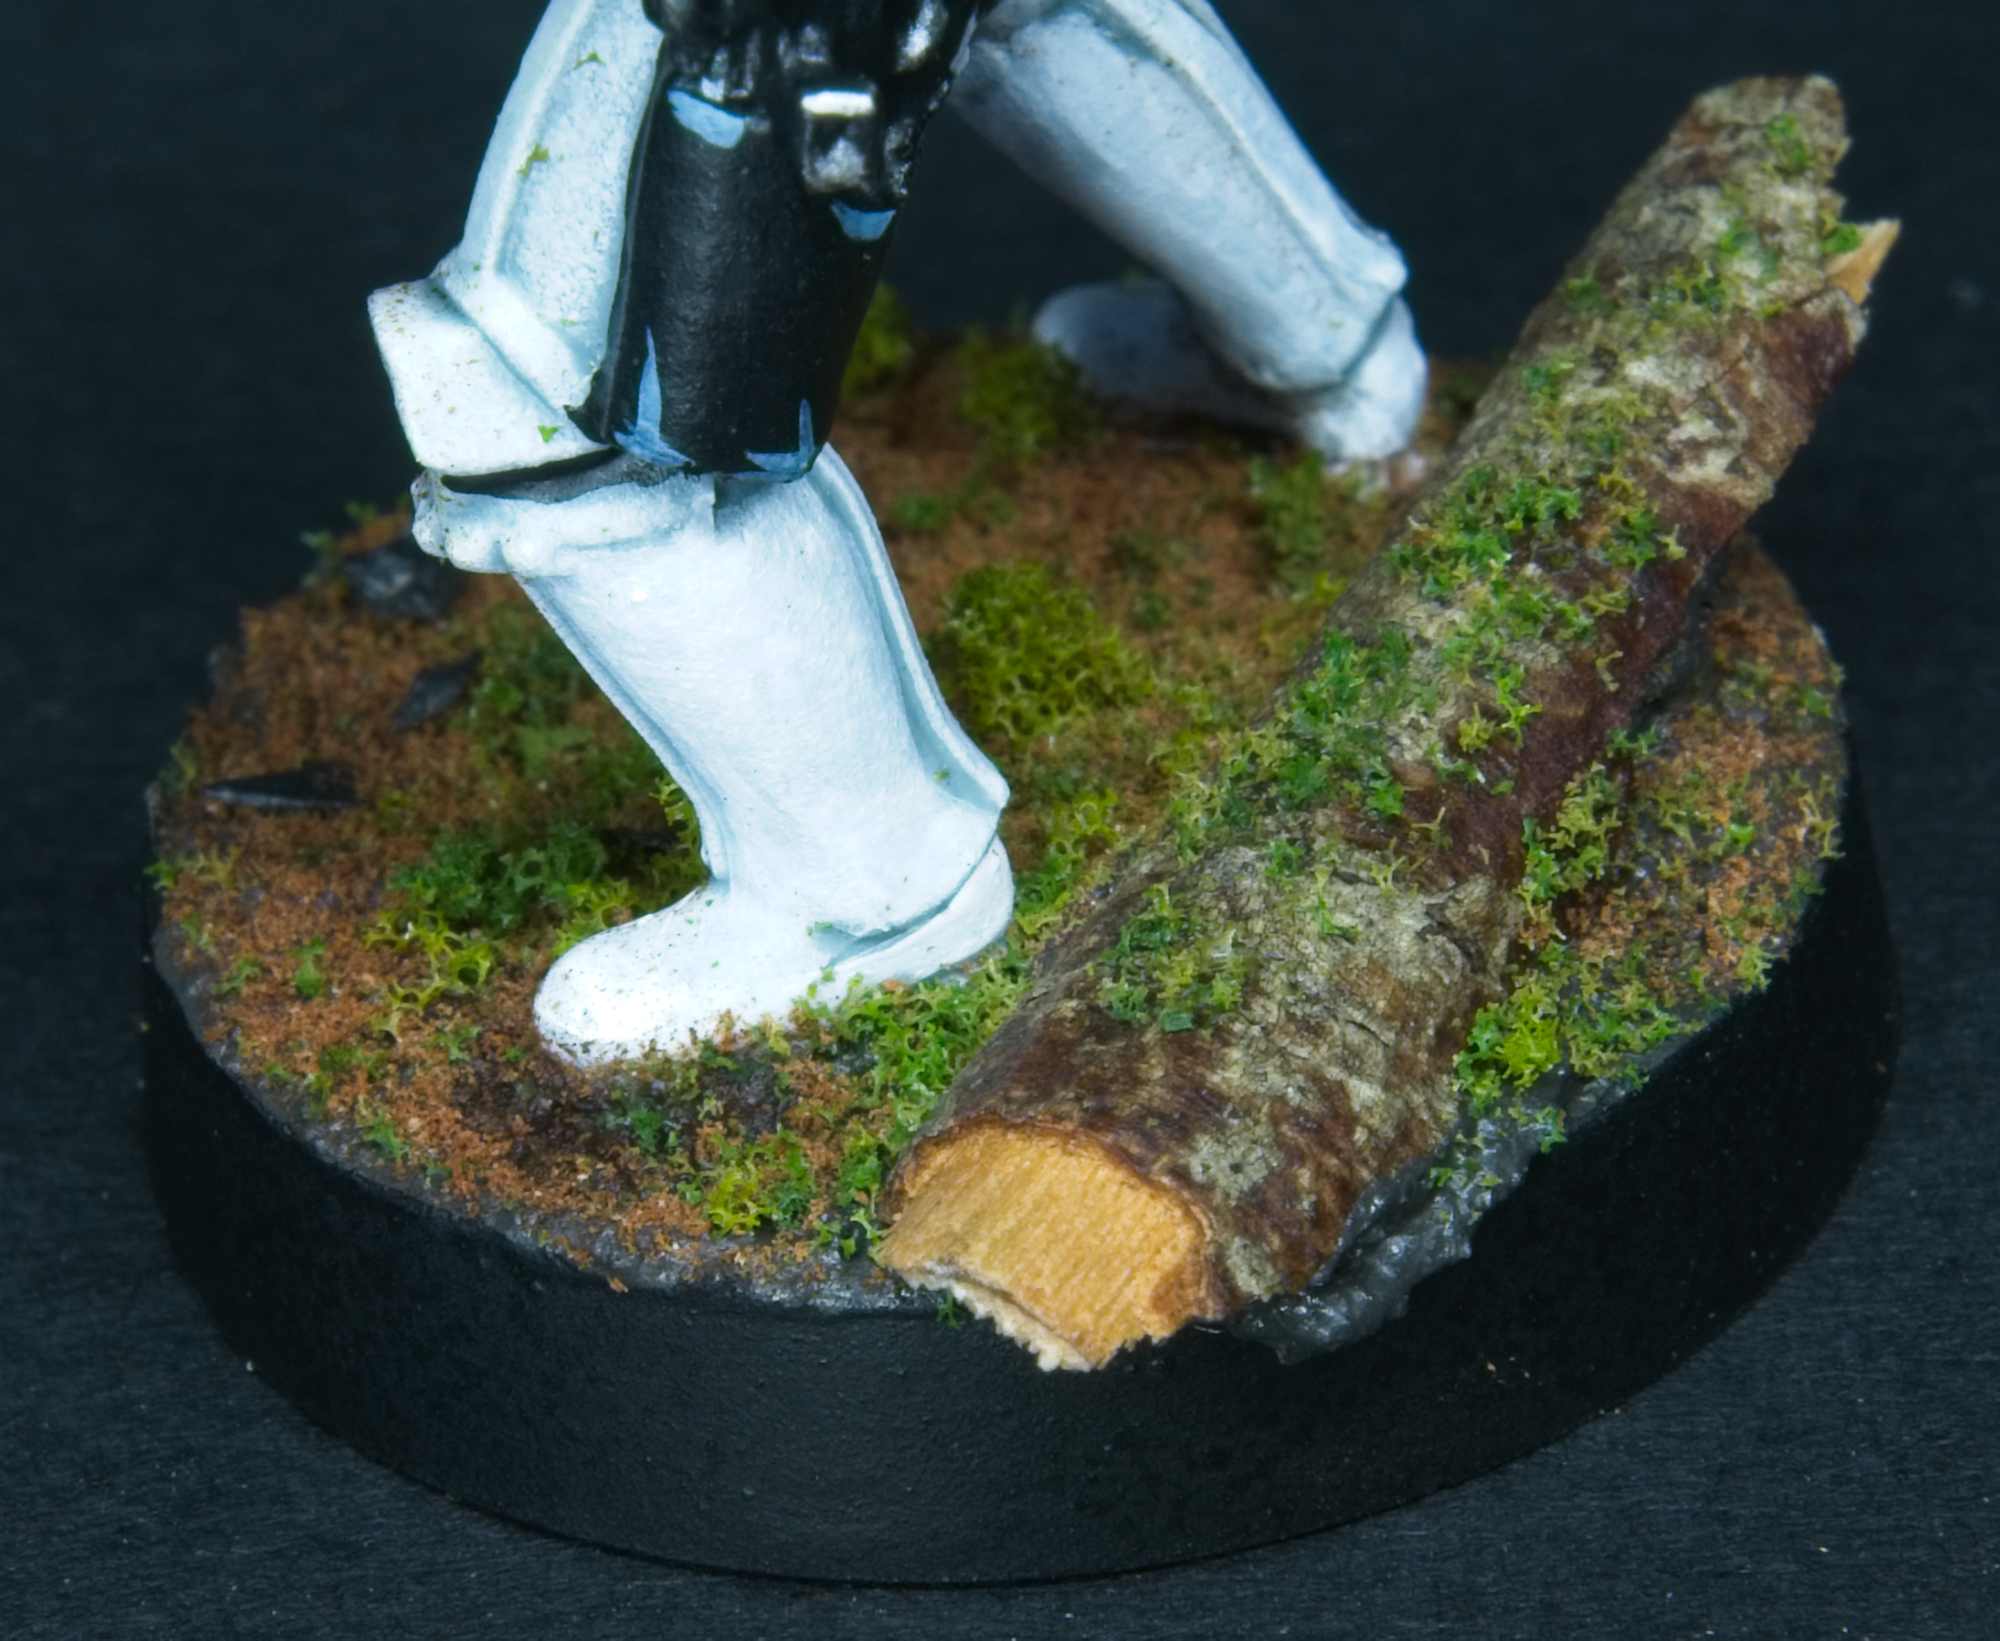
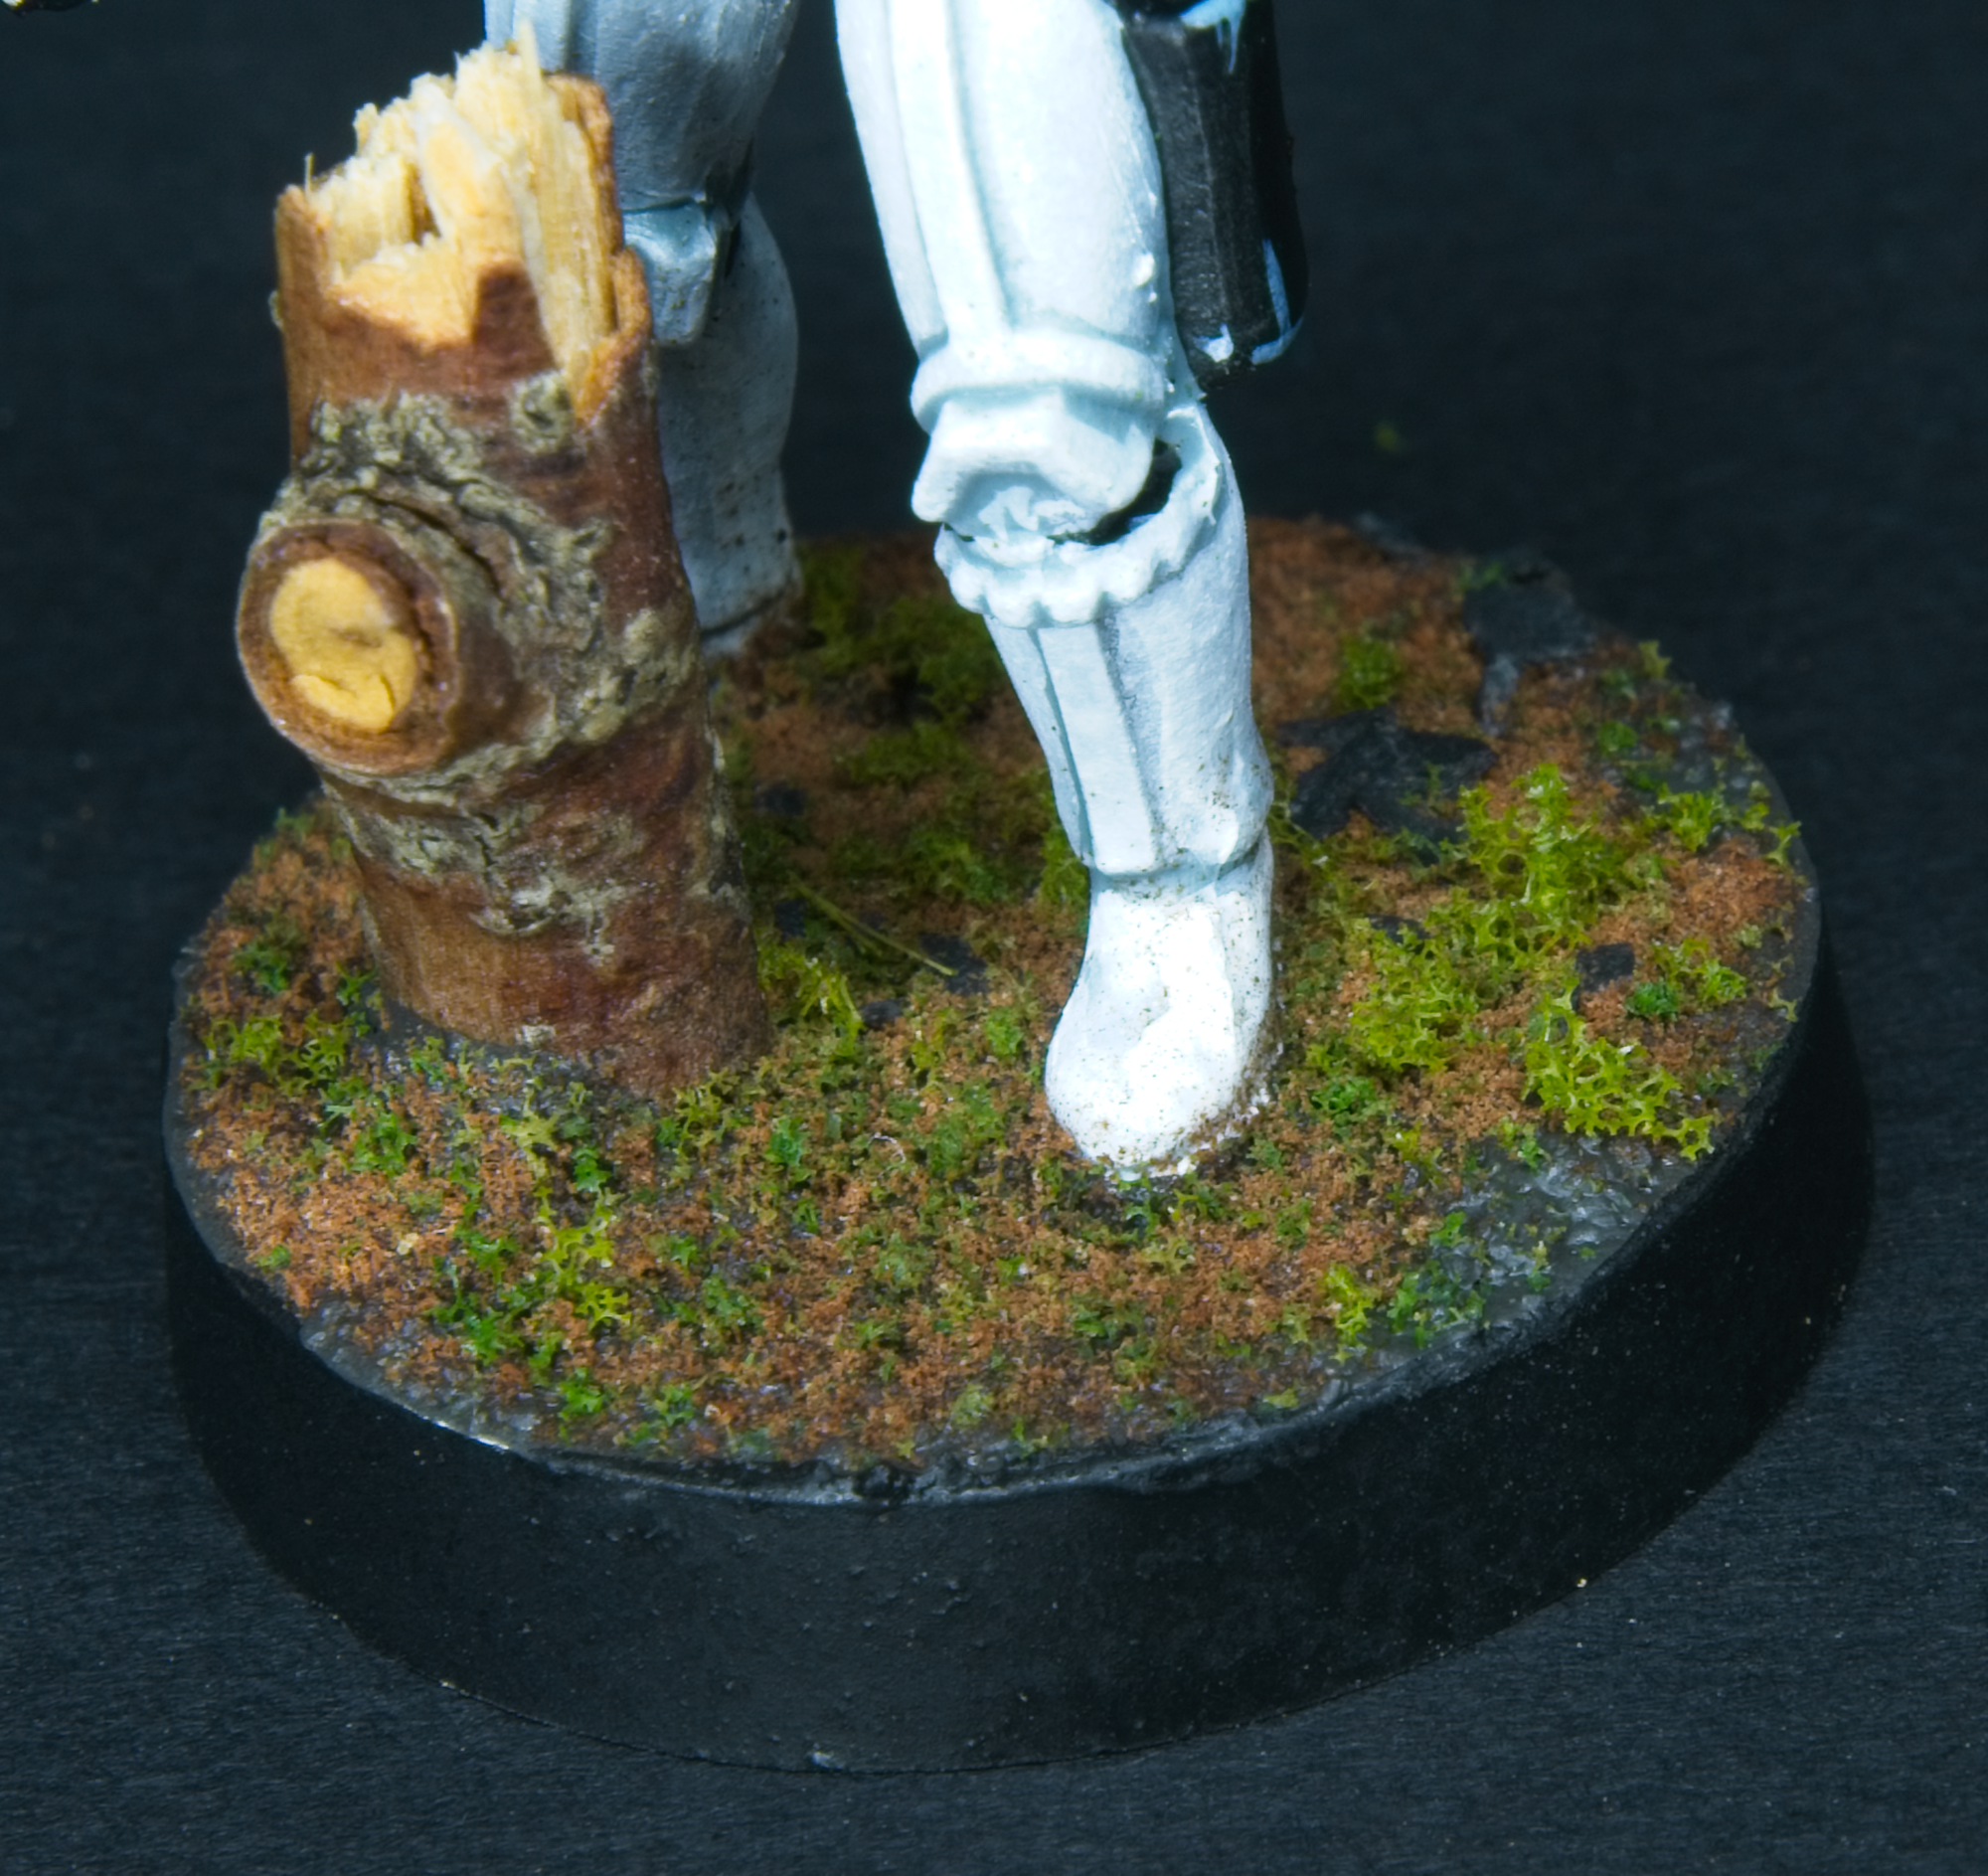
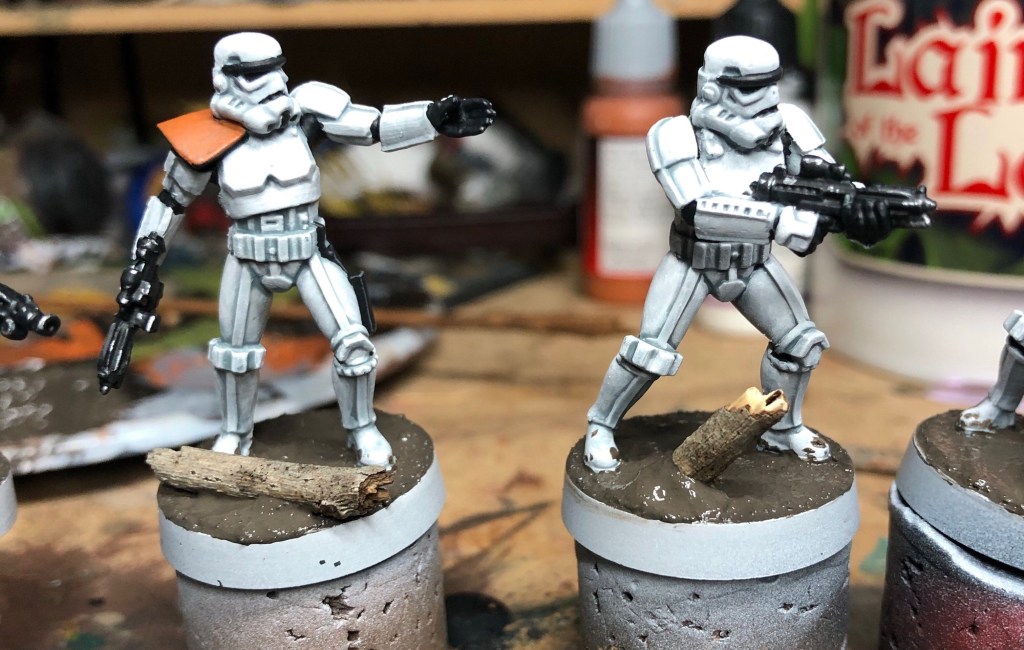
I pushed the sawdust a bit more on these and I’m happy with the result. Here’s some close ups of some of the bases.
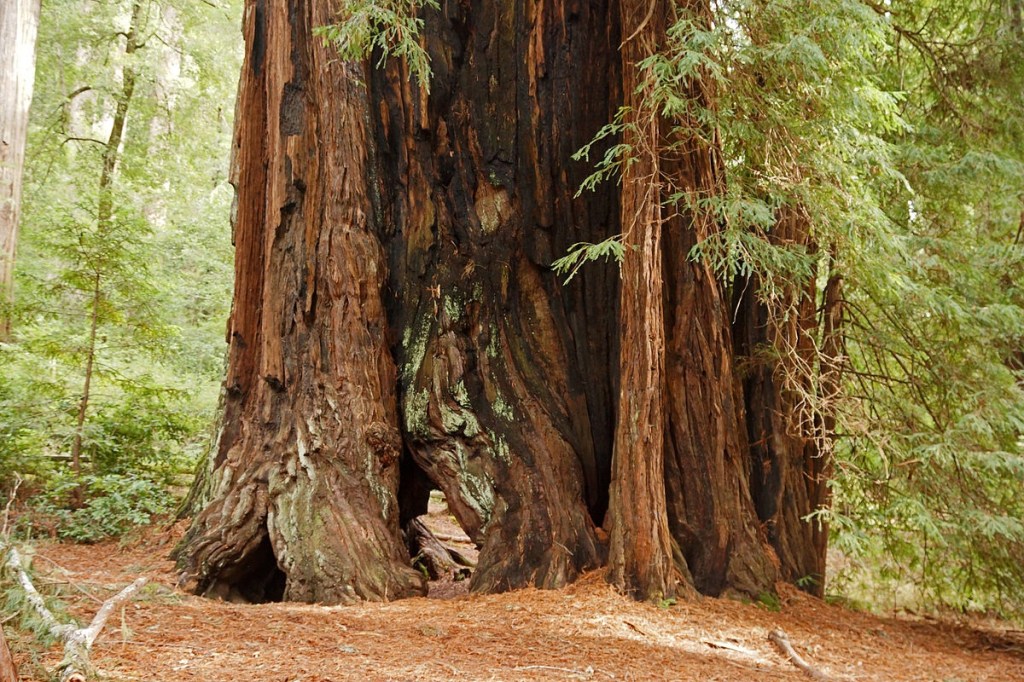
I decided early on that if I was to go imperial forces, I’d want to have the bases themed around Endor. So I looked up a few images if the California redwood forests to get some references.
The photo above really shows the colours I was interested in including: a variety of greens for live vegetation and the red/orange/brown of the dried needles littered all over the ground.
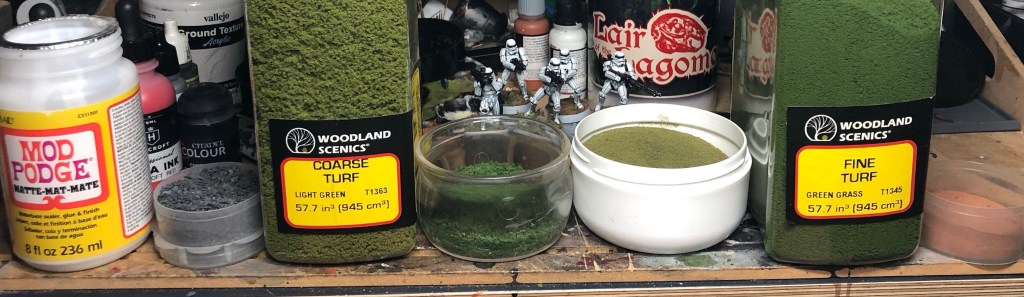
For the greenery I was well equipped, with a variety of flocks at my disposal, but I had nothing for the needles, so I decided to experiment.
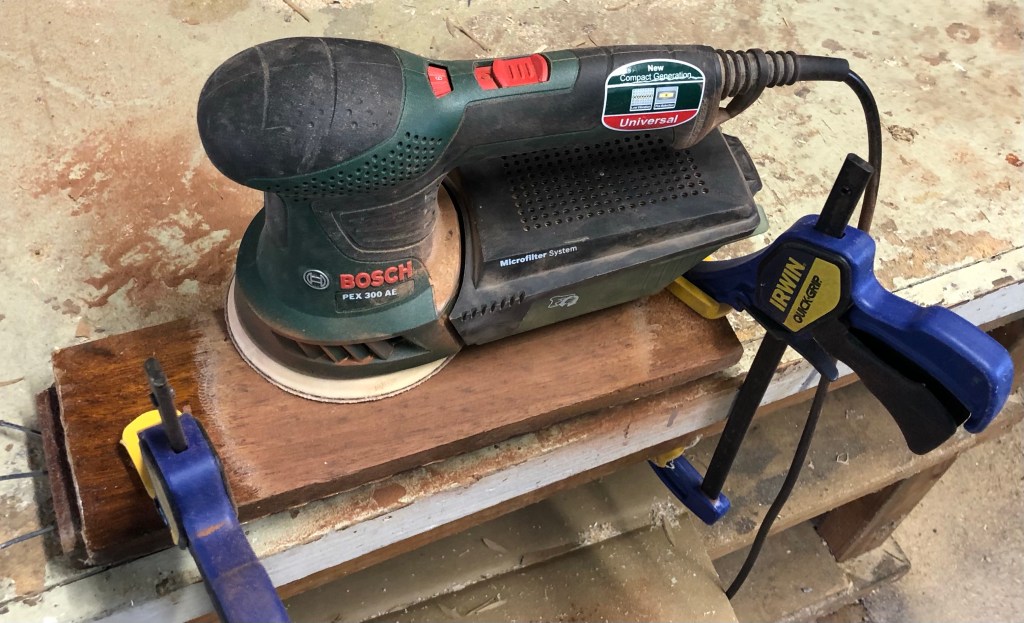
In Western Australia we have a very abundant variety of eucalyptus called Jarrah which has a fairly distinctive red wood. I wondered if sawdust from this wood would be suitable for what I was after. The wood is used a lot on construction and furniture making here and I have offcuts on hand ready to sacrifice for a good cause.
On went the dust mask (don’t breathe this in is good advice for any sanding) and out came the sander. The sander has a handy collection box at the back which made getting enough sawdust quick.
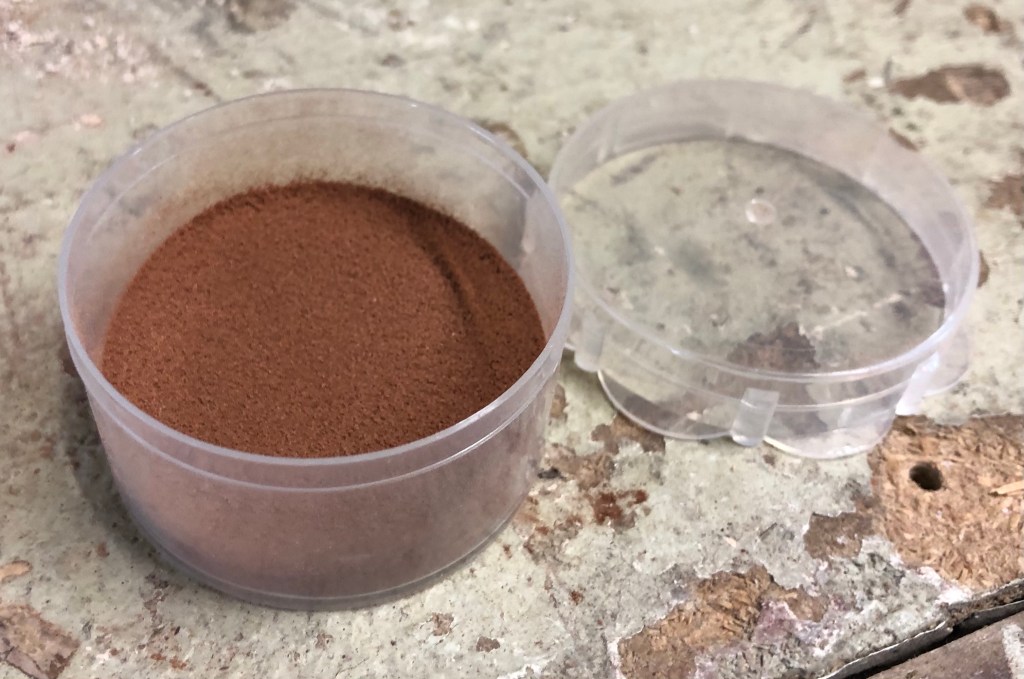
The result is this very fine power which is bang on colour wise I think. And there’s plenty more where that came from (if you live around here).
Onto basing!
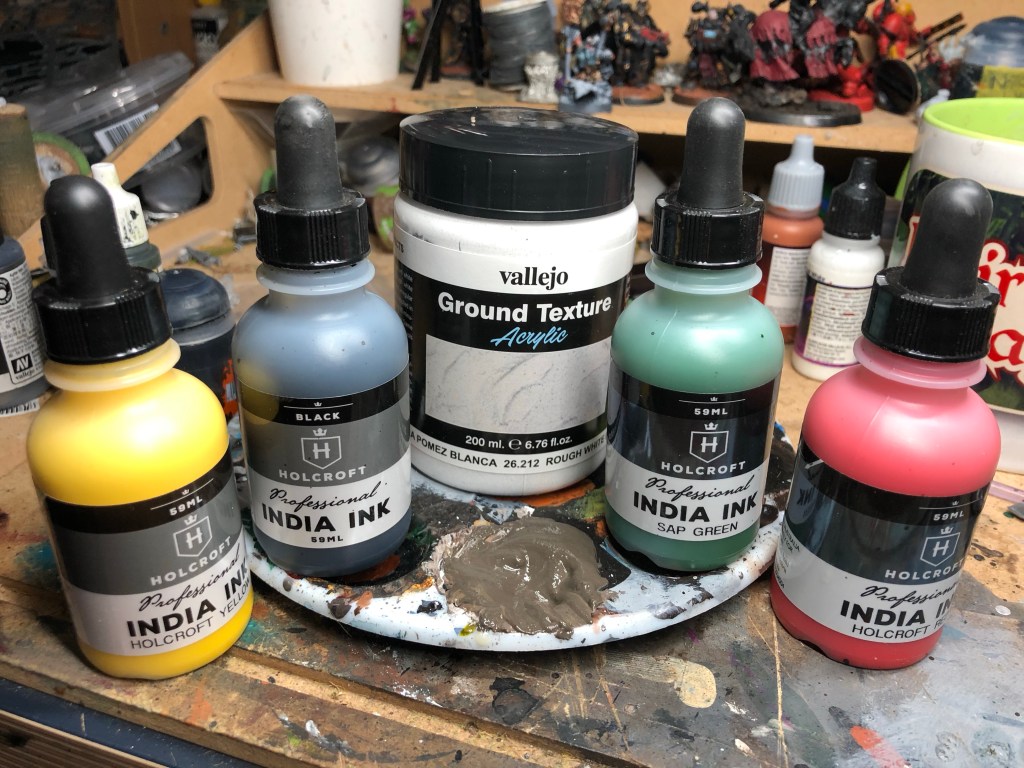
I started the bases with a textured paint I made from Vallejo White Ground Texture and a mix of inks, ratio of roughly one of the palette divet’s worth of texture, to 6 drops black ink, 6 drops red ink, 6 drops green ink, and 2 drops yellow ink.Spread the mixture all over the basesI pressed down some sticks while the paste was still wetI covered all of the base in watered down mod podge, then successively sprinkled small slate, Woodland Scenics light green coarse turf, darker green medium turf (no idea who makes it, had it for years), Woodland Scenics burnt grass fine turf, Woodland Scenics green grass fine turf and finally an all over coating of the jarrah sawdust Here’s the effect after this stepAnd here’s the good camera photo after a coat of Mig matt varnish.
I don’t always varnish my models, but I wanted to anchor down the relatively lightly glued down basing materials. Unfortunately it darkened down the sawdust quite a bit so it lost some of its red effect. On the models where more sawdust got added it retained quite a bit of the red however so that’s a lesson learned, more is better in this case!
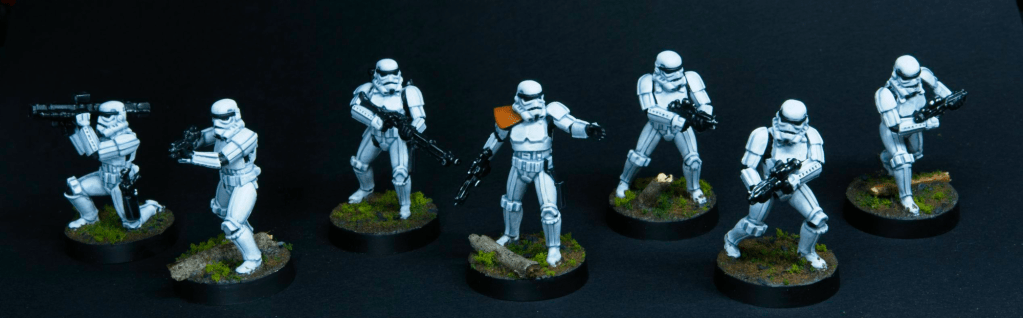
Overall I’m very happy with how these bases turned out, I think they managed to look pretty natural and the effect is close to what I was chasing.
I have three friends the were very keen to get into Star Wars Legion and it didn’t take much effort to coerce me into joining in.
I went back and forth on whether to get some rebels or the imperials, and it was very close, Fantasy Flight having done some Rogue One models that were very tempting. In the end though, the Imperials having access to the AT-ST model was the tiebreaker and it was time to jump in.
I started off with the instantly recognisable classics: the stormtroopers.
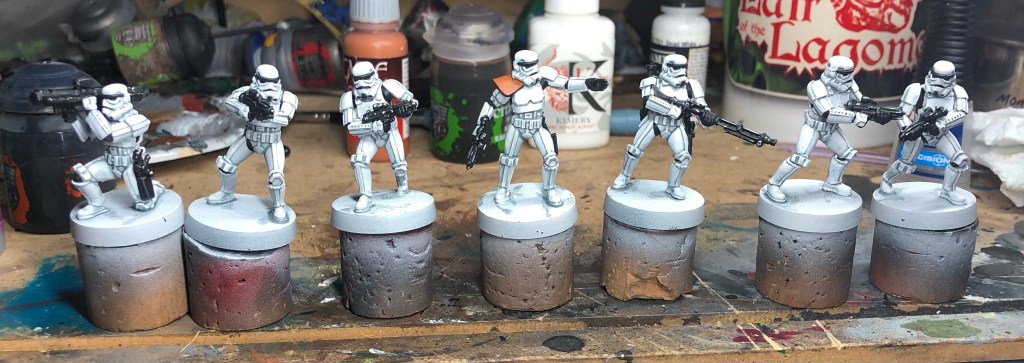
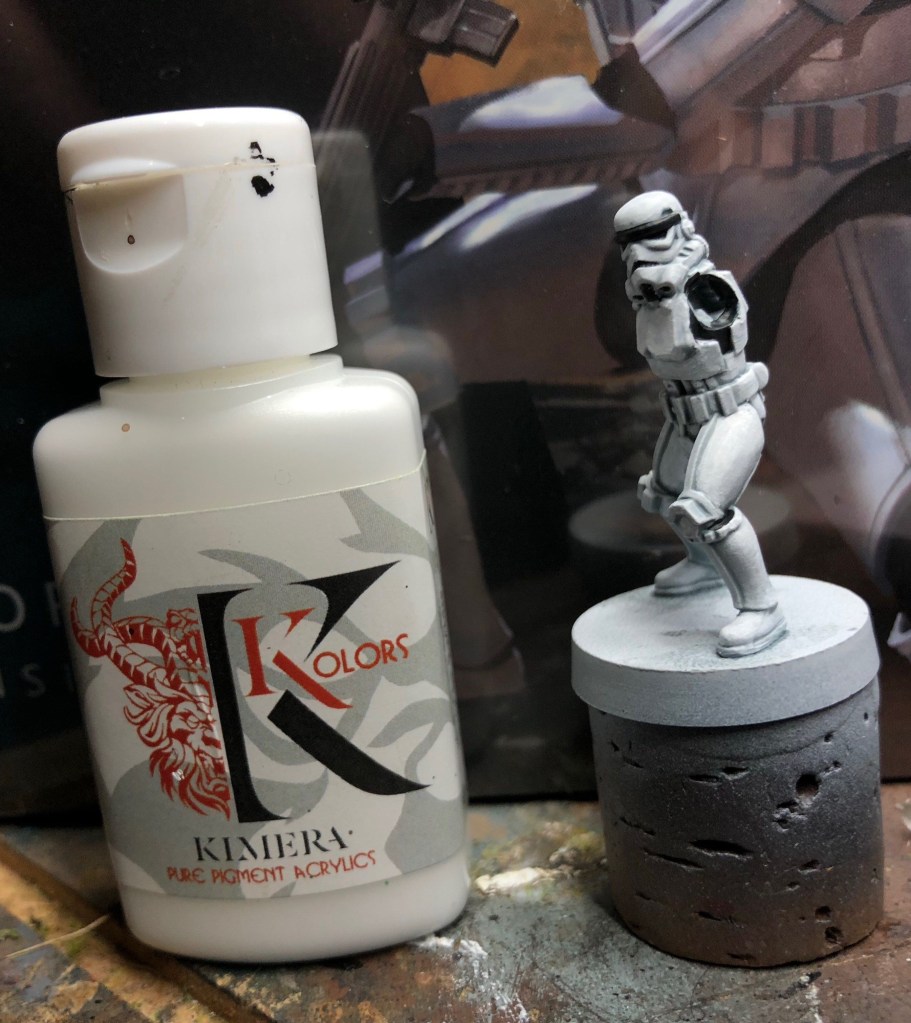
I have a fair few of these to paint (2 starter sets’ worth plus an extra squad so 5 squads all up!) so I made sure to document the process so I can get them all looking alike. I’m not going to kill myself getting them to an amazing standard, I’m aiming for a nice tabletop standard here. The steps I detailed below are pretty quick, I got the full squad to the standard you see in the photo above in a few hours.
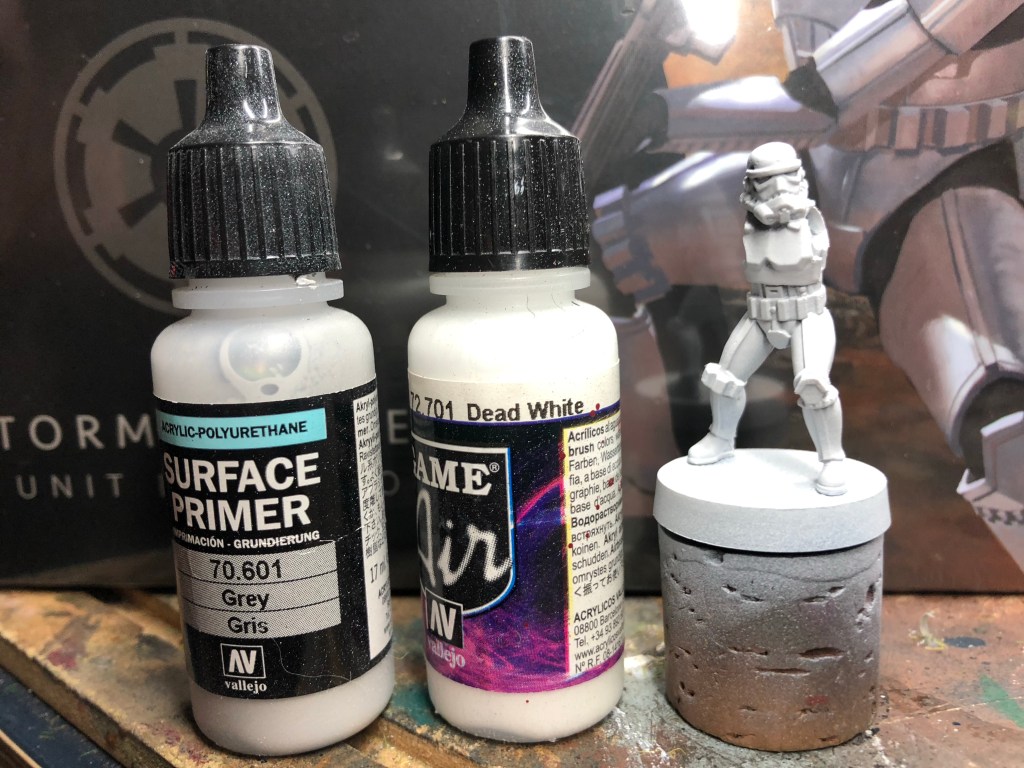
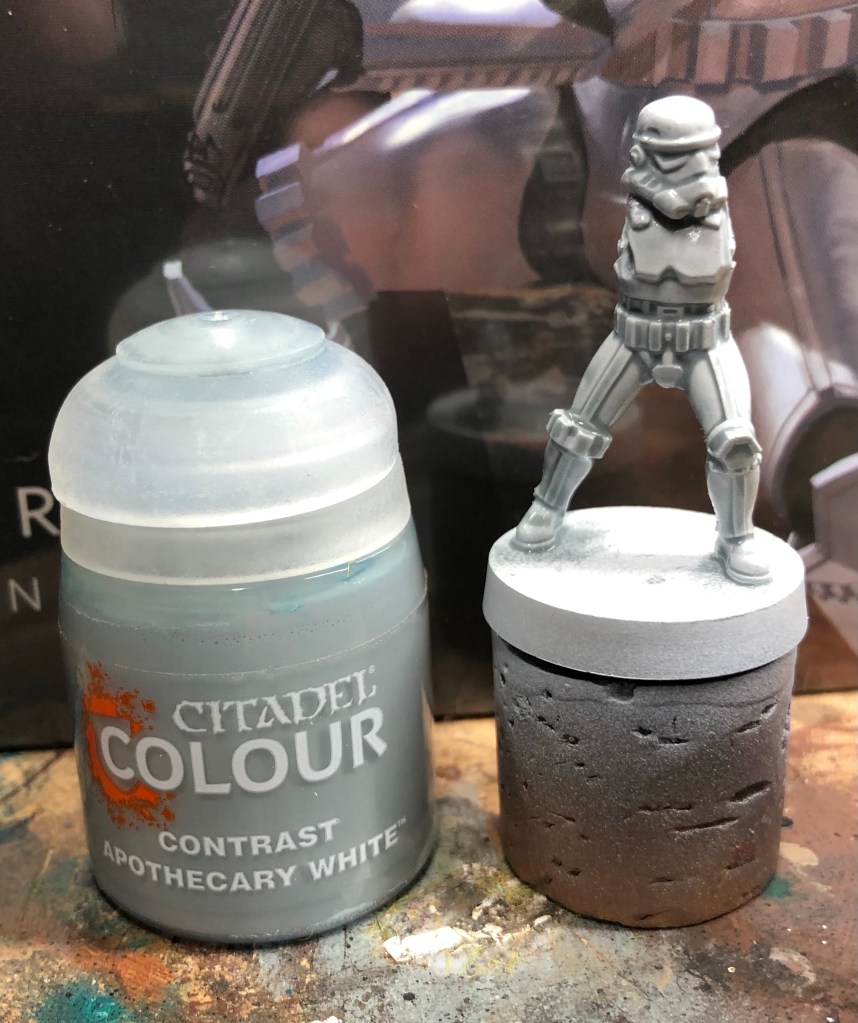
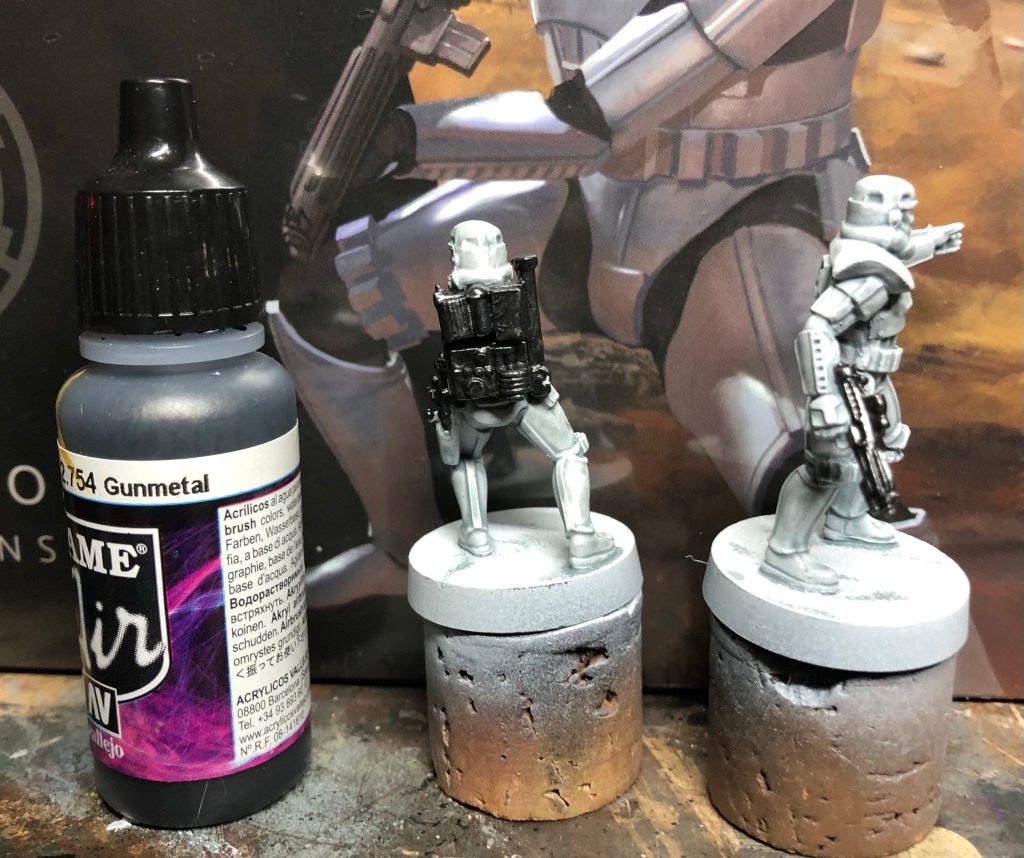
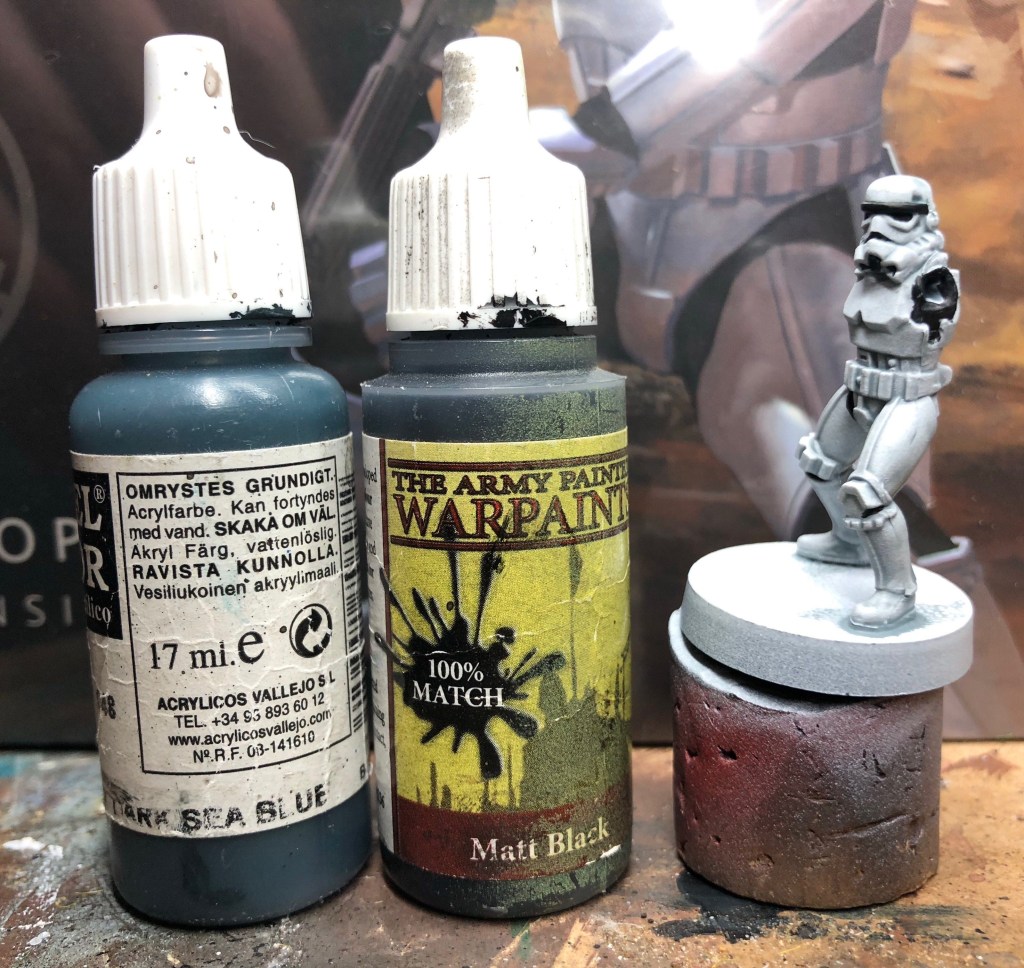
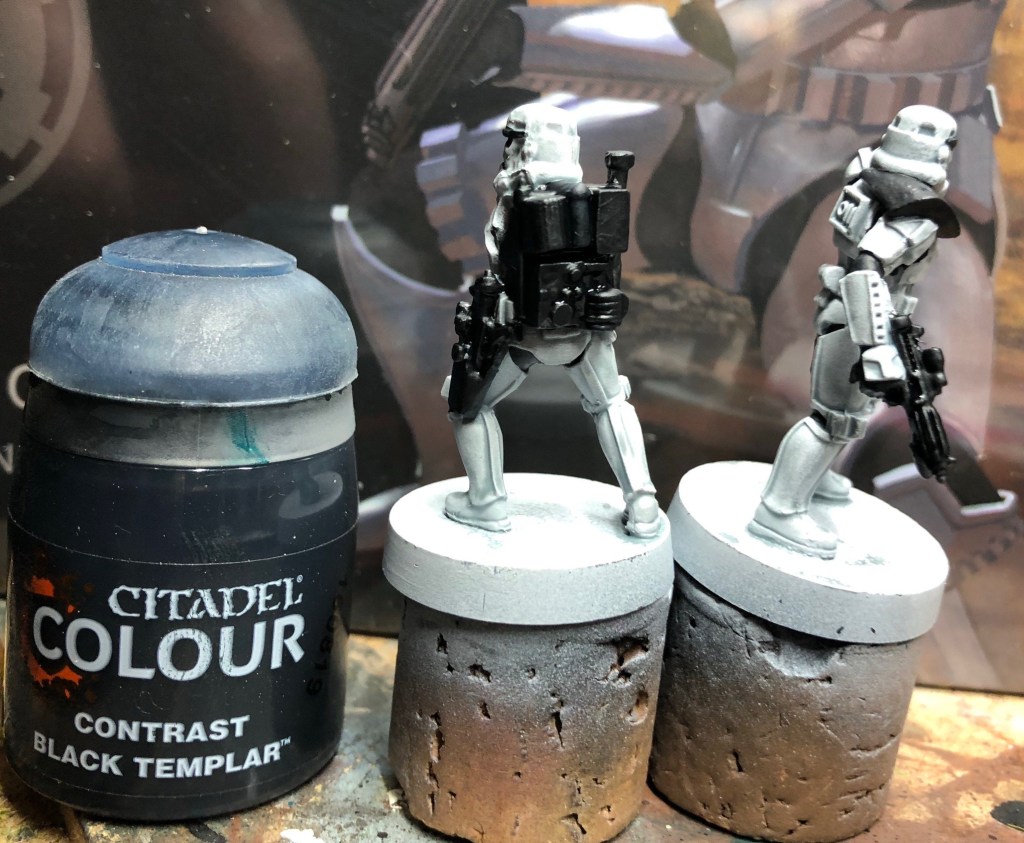
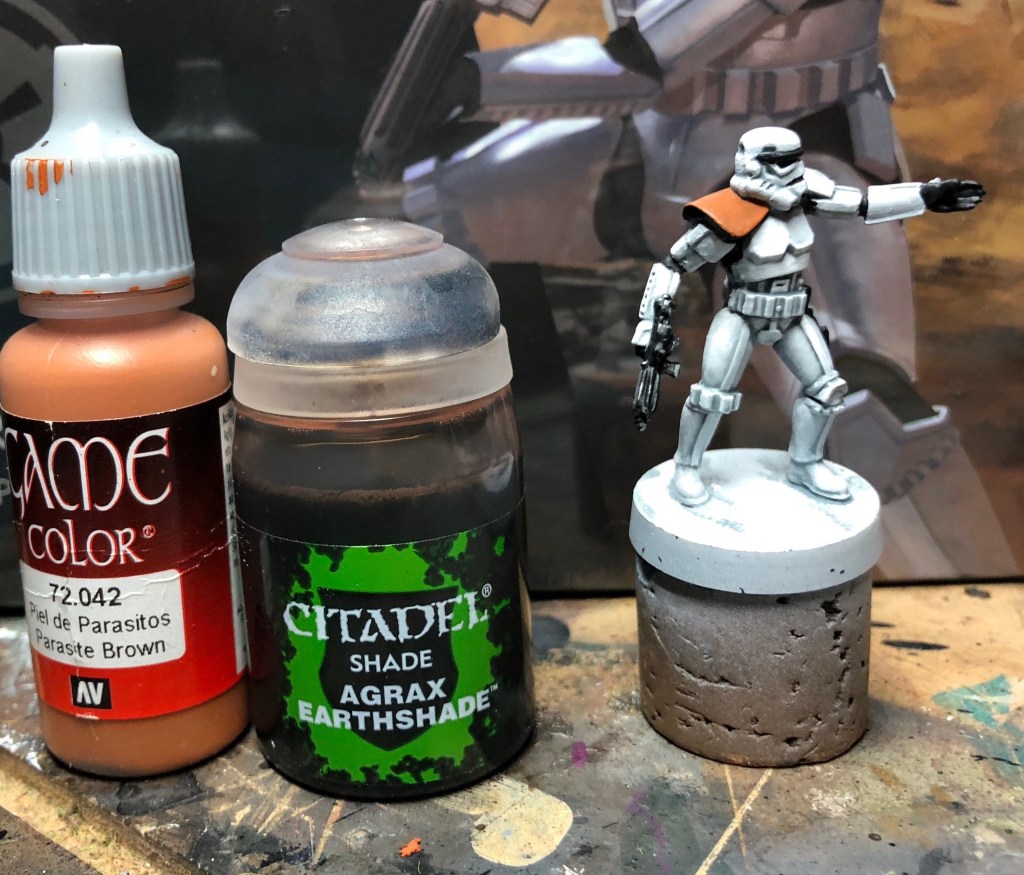
Step 1: Undercoat! I started with an all over spray of Grey Surface Primer from Vallejo, then a zenithal spray of Vallejo Dead White. The effect is pretty subtle, so it might make more sense to not bother with the zenithal step.Step 2: Contrast! I’ve been eyeing off Citadel’s Apothecary White since the contrast paints were announced, and I finally get to use it. I covered the whole model, then went back over with the brush to smooth out and soak up areas that were a bit too flooded.Step 3: I used Vallejo’s Gunmetal for the blasters and the backpack on the DL-19 trooper.Step 4: I painted the cloth areas in a 50:50 mix of Vallejo Dark Sea Blue and Army Painter Matt BlackStep 5: More contrast, this time with Black Templar, over all the metallic areas and the cloth areas.Step 6: The longest step! I repainted the raised areas of the armour with Kimera’s The White, which has a nice heavy pigment so allows me to go much faster on this step.Step 7: I add chips to all the metallic areas with Vallejo SilverFor the squad leader’s pauldron I basecoated in Vallejo Parasite Brown, shaded with Citadel Agrax Earthshade and Highlighted back with Parasite Brown.
Overall I’m happy with how these turned out, the balance between speed and paintjob quality sits about right for me. Next up is basing these models. I have a few thoughts on how I’m going to do that, but I’m still experimenting. The goal is to get a forest floor/Endor look to them, but unlike my necrons I want to avoid a painted base as much as possible. The bases I made for the necrons were my take on hyper green and mossy forest textures as I’ve seen in comics and anime (think Princess Mononoke and the like). For my Star Wars models I’m aiming for a more real-world natural look, based on scenes from the movie and photos of the forest the Endor scenes were filmed in. This means using materials and techniques I haven’t really used much in the past so I’m looking forward to learning an experimenting in that space.
I’ll put up an article when I’ve settled on a methodology.