

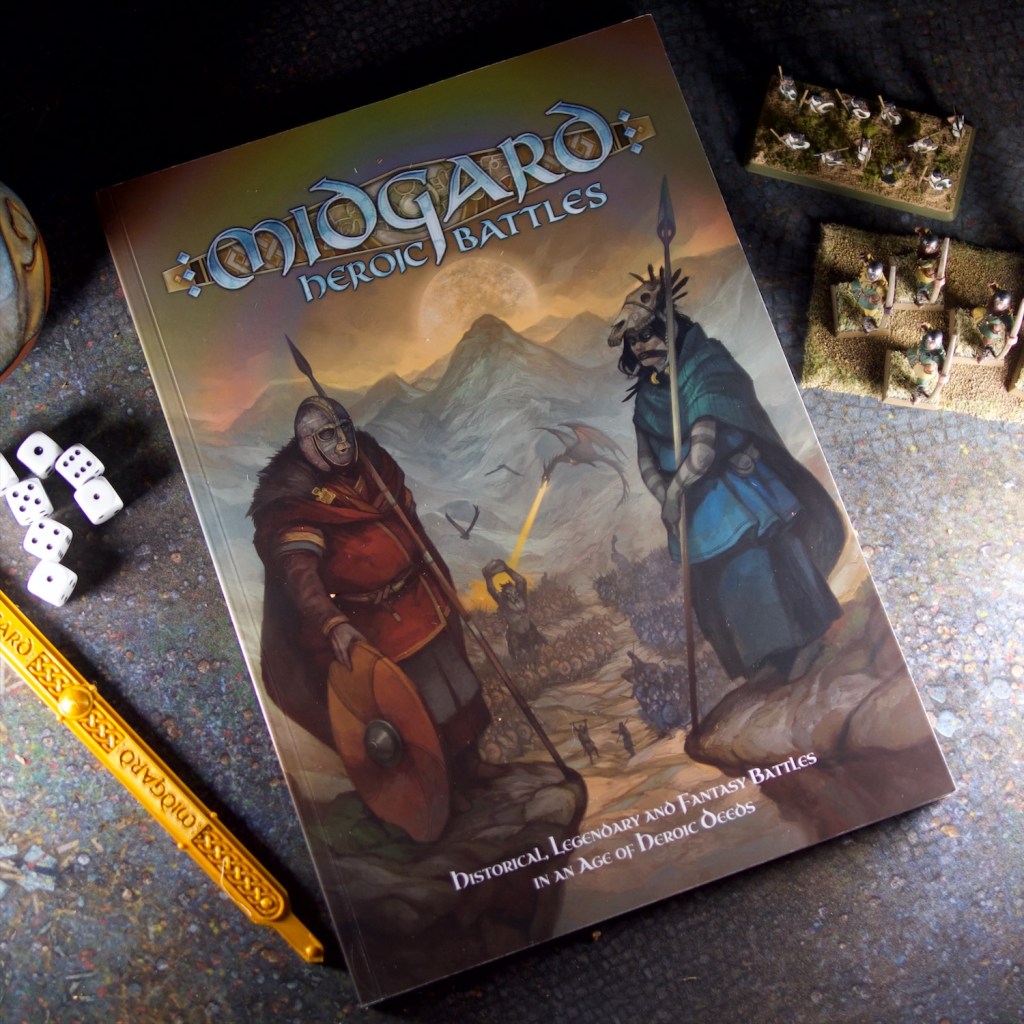
I noticed last post that I was starting to mention aspects of Midgard Heroic Battles that I’d never really explained and felt that a review post for the game might be in order. Clearly if you’ve seen my other posts you’ll know this review will be a positive one, but I think it provides some useful information about the game for players that might be interested in picking it up.
What is Midgard Heroic Battles?
Midgard Heroic Battles (Midgard from now on!) is a set of rules for playing out battles in any setting that can be described as having the following characteristics:
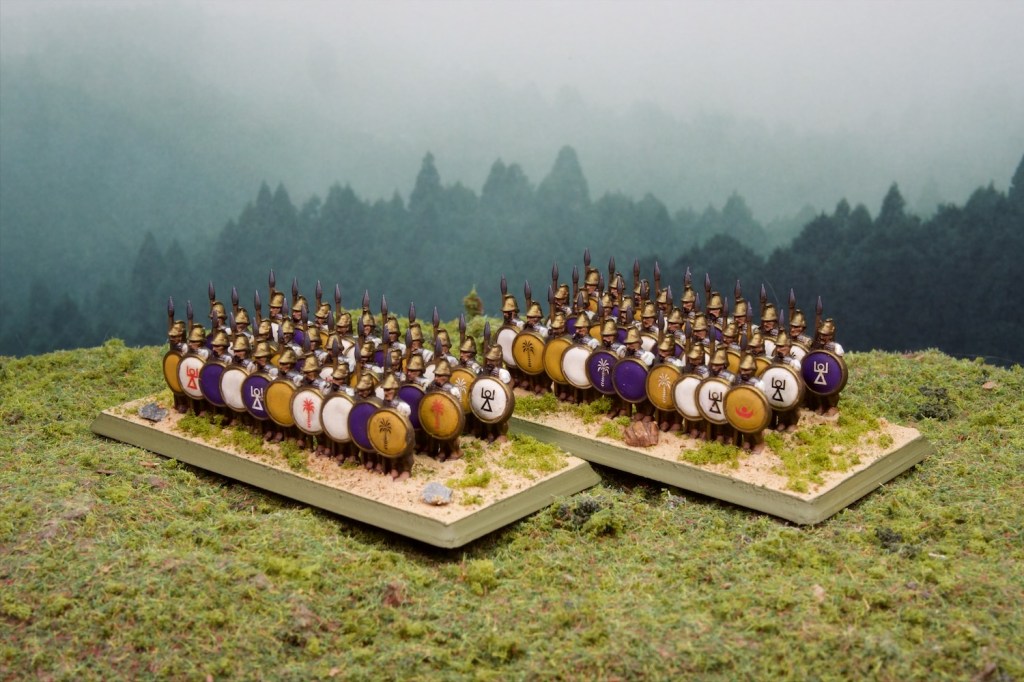
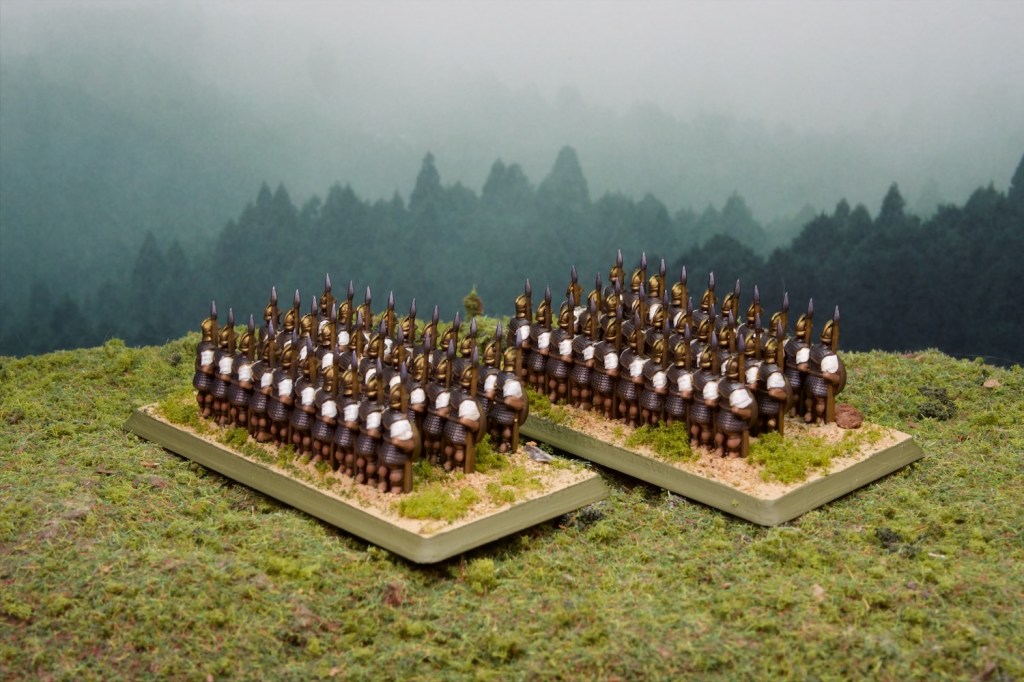
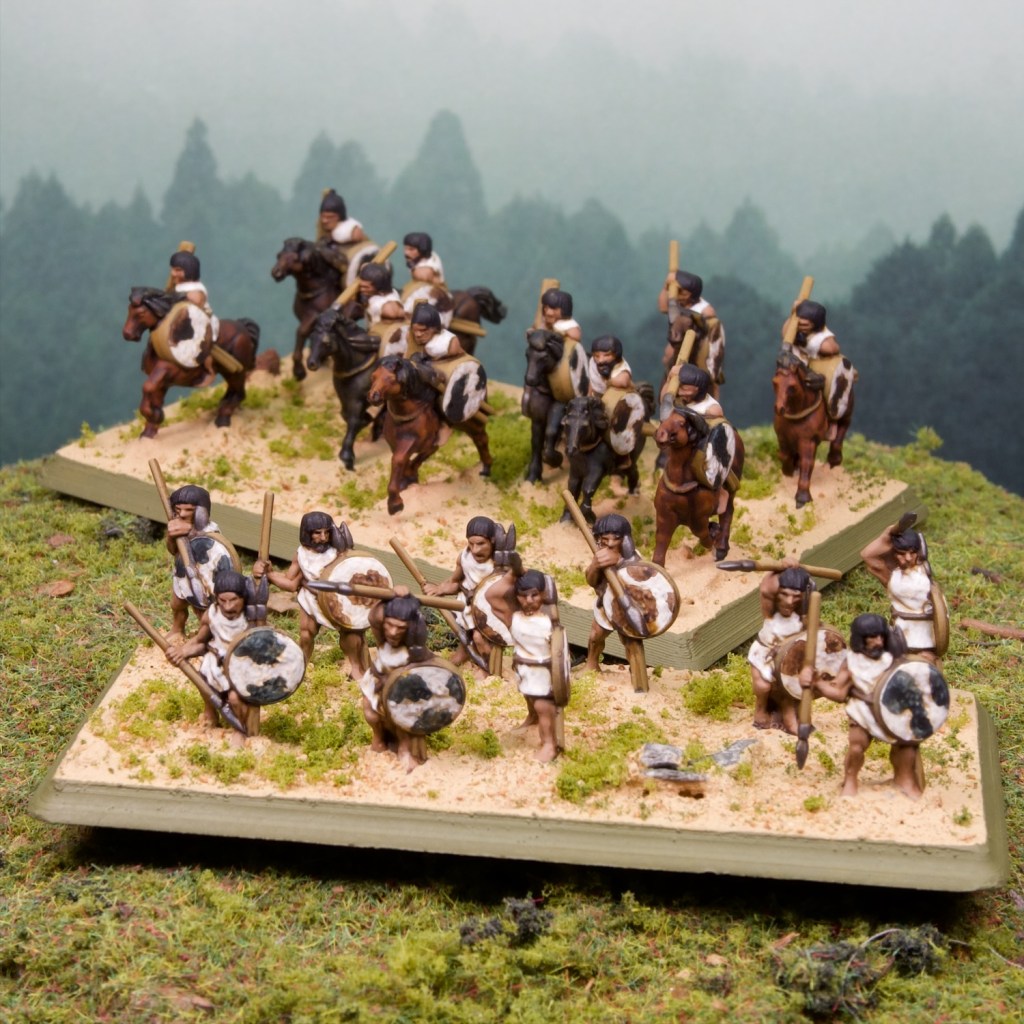
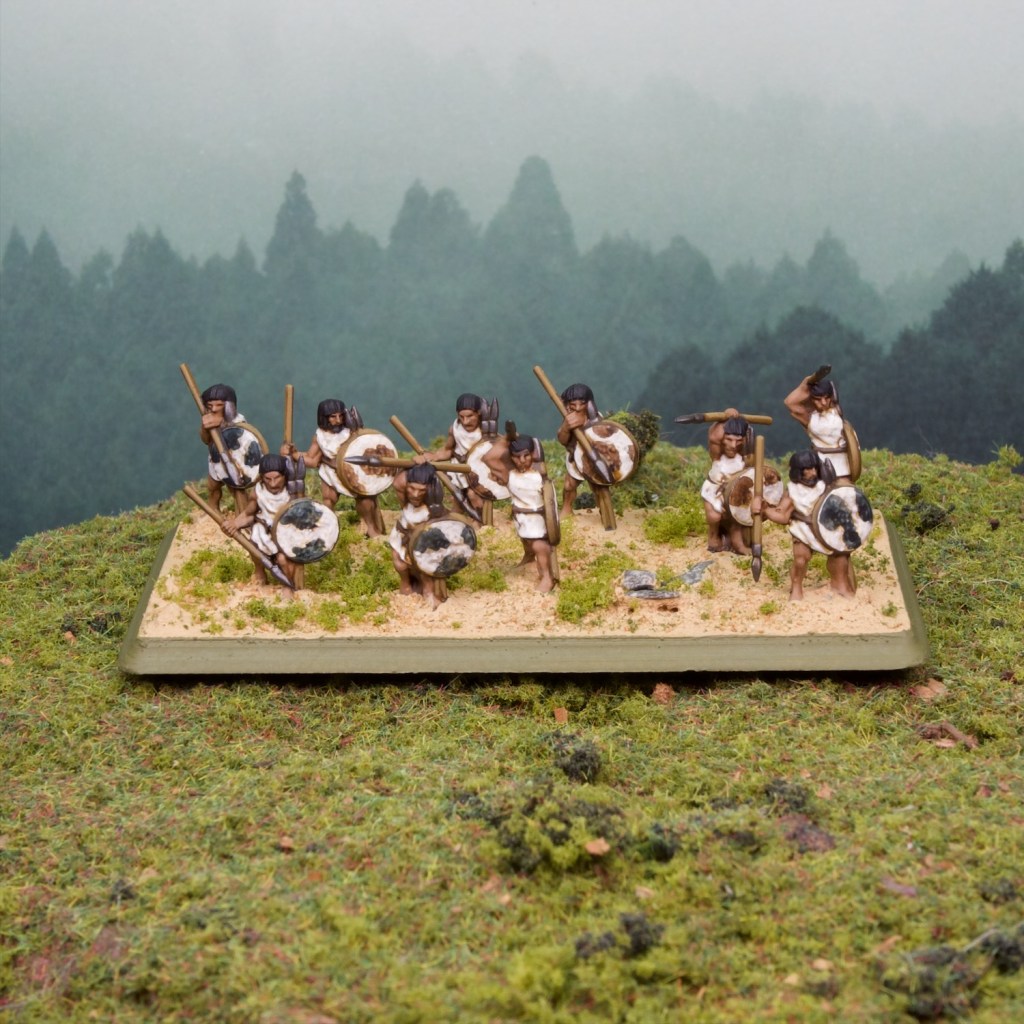
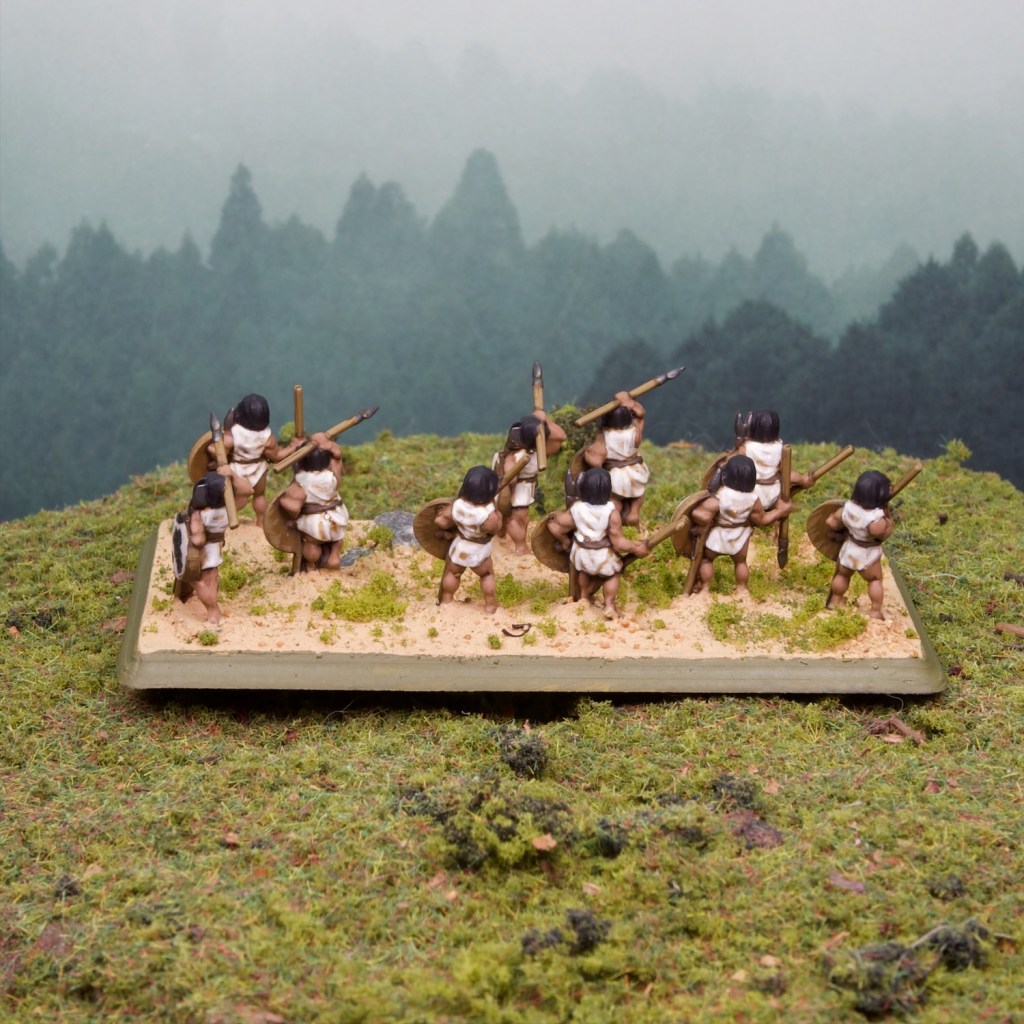
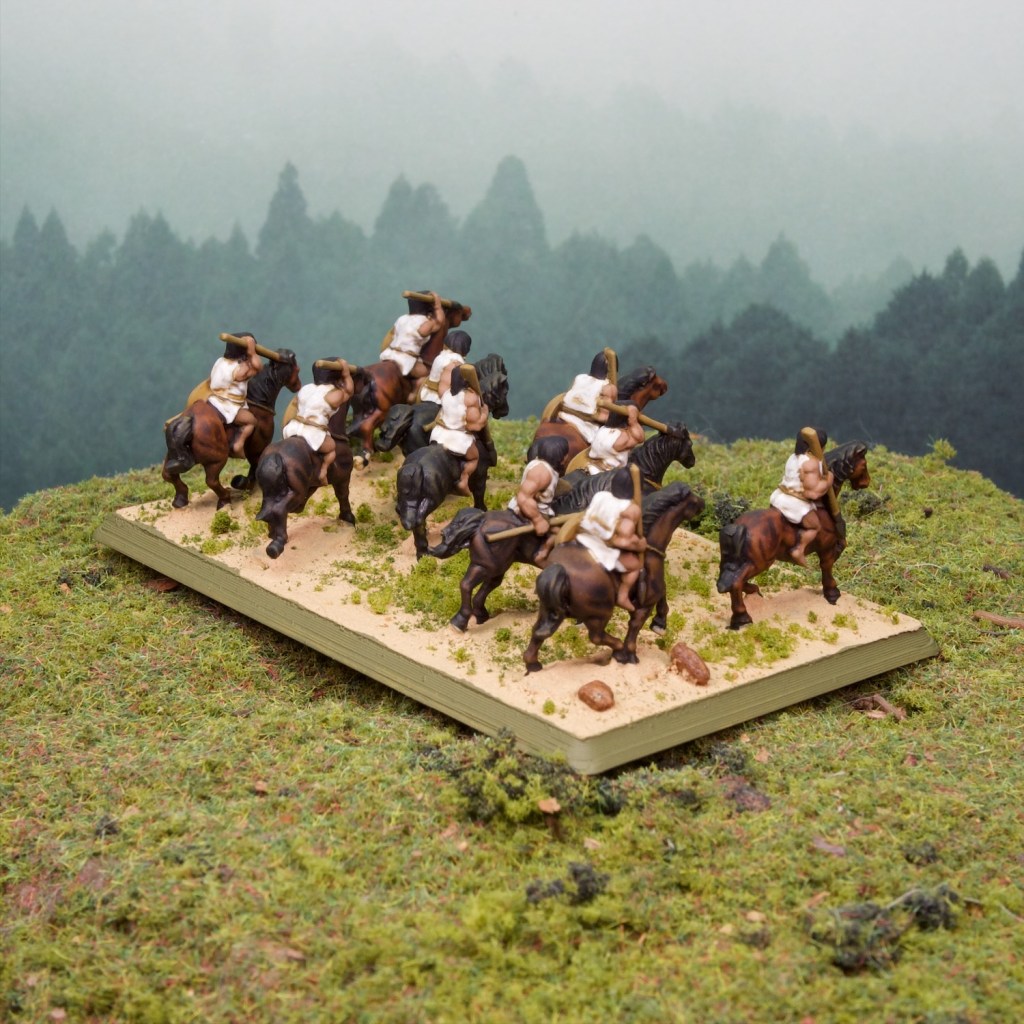
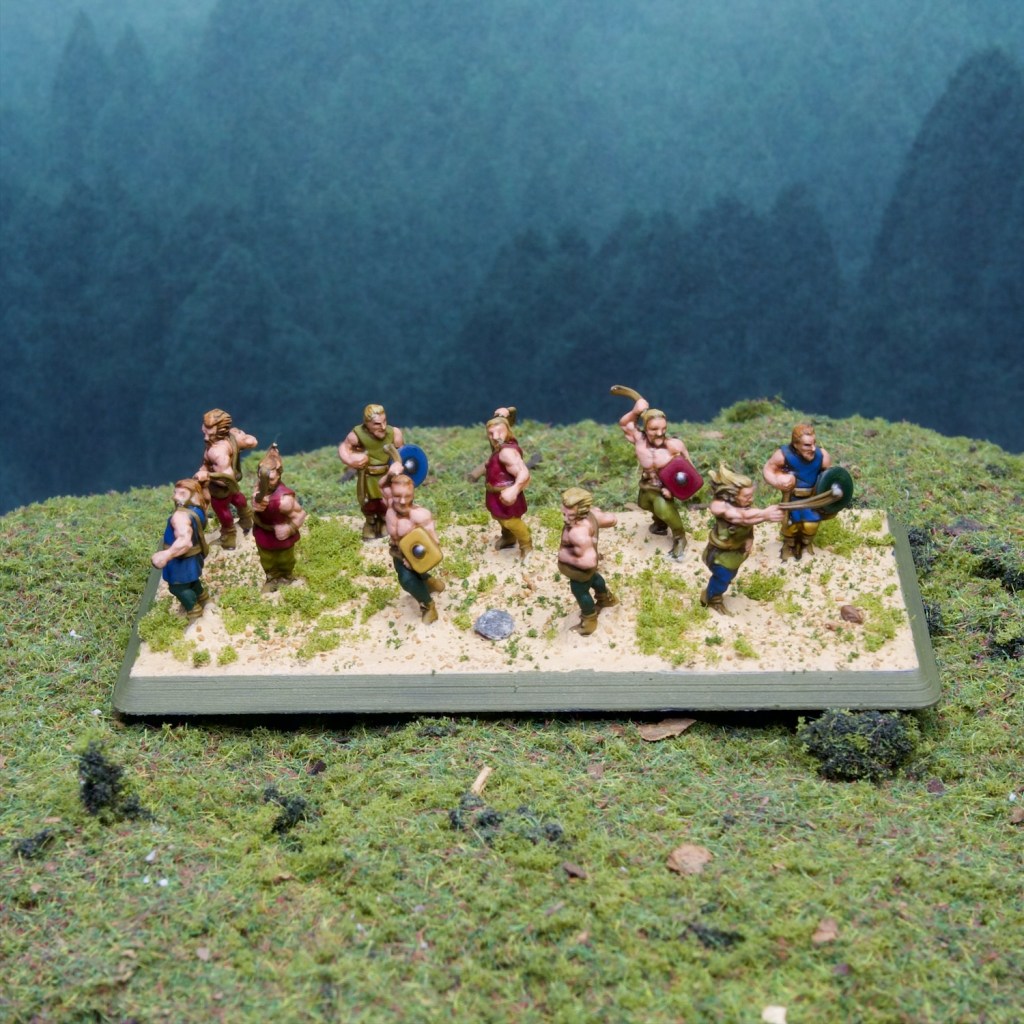
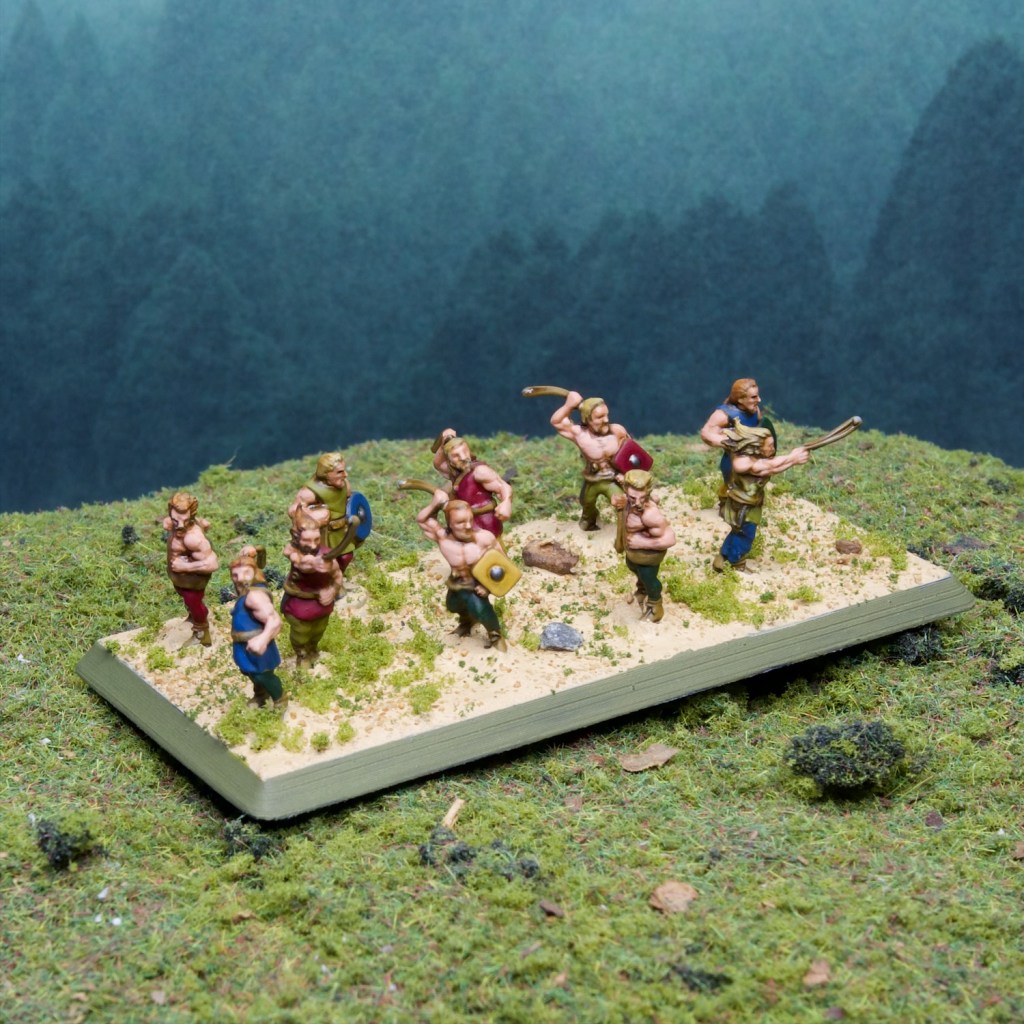
- Battles are fought mostly by ranked up regiments of close order fighters wielding spears/swords/axes/etc, supported by cavalry and skirmishers (and sometimes monsters/elephants!)
- Shooting is helpful but not the primary way to win a battle.
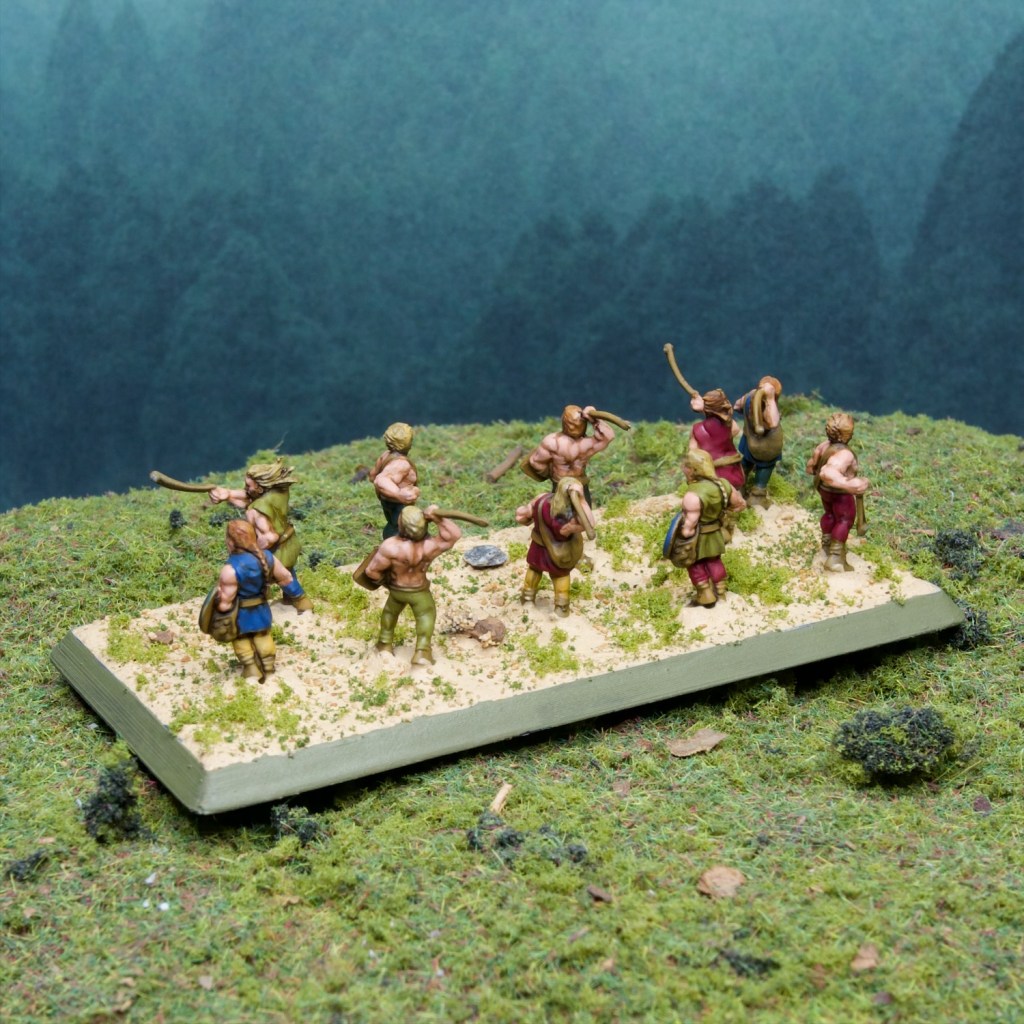
- Most importantly, leaders lead from the front. They are found where the melee is thickest, performing mighty deeds (or dying mighty deaths!) that will be sung of by the bards for aeons to come.
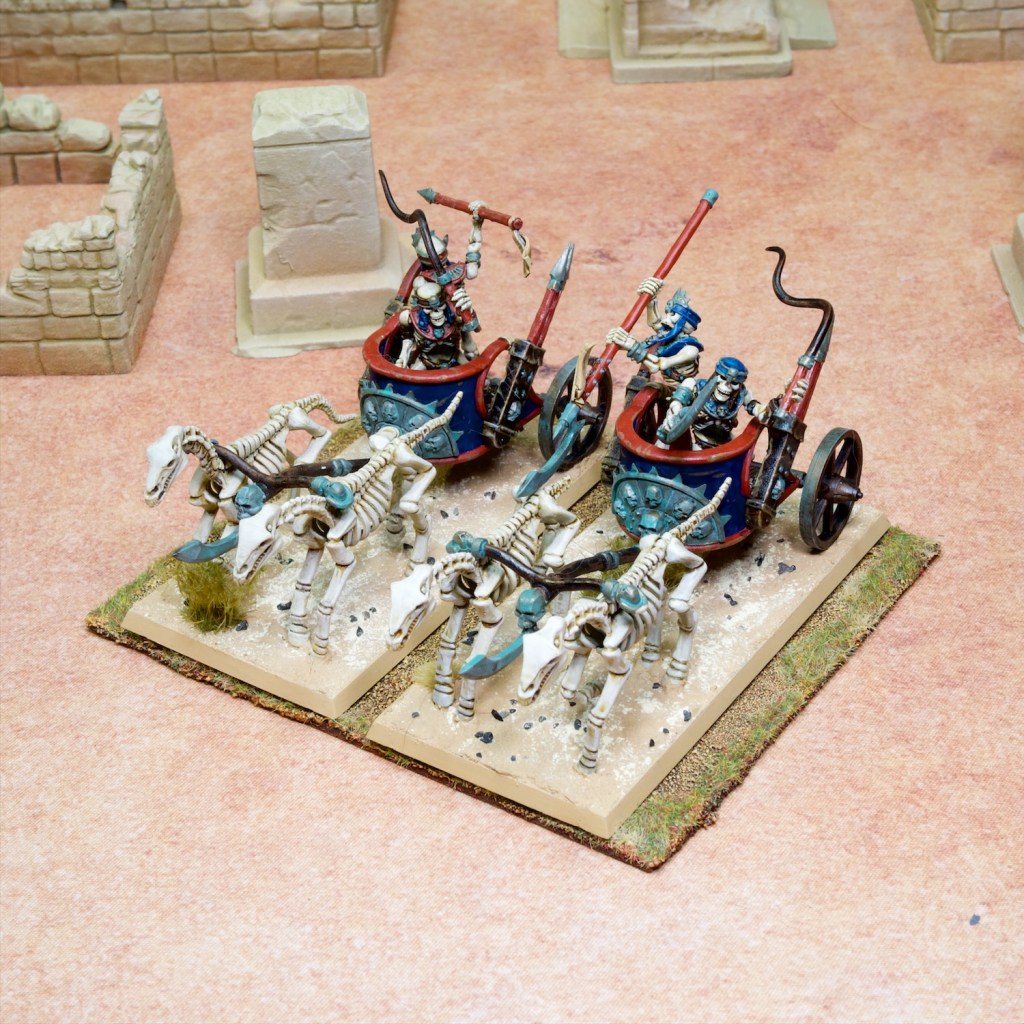
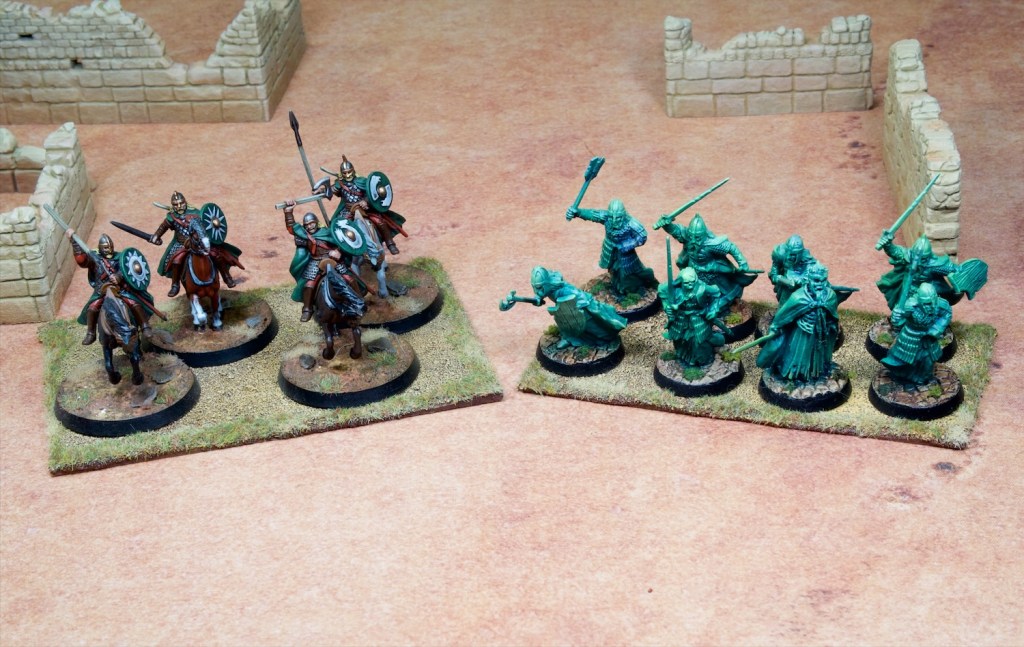
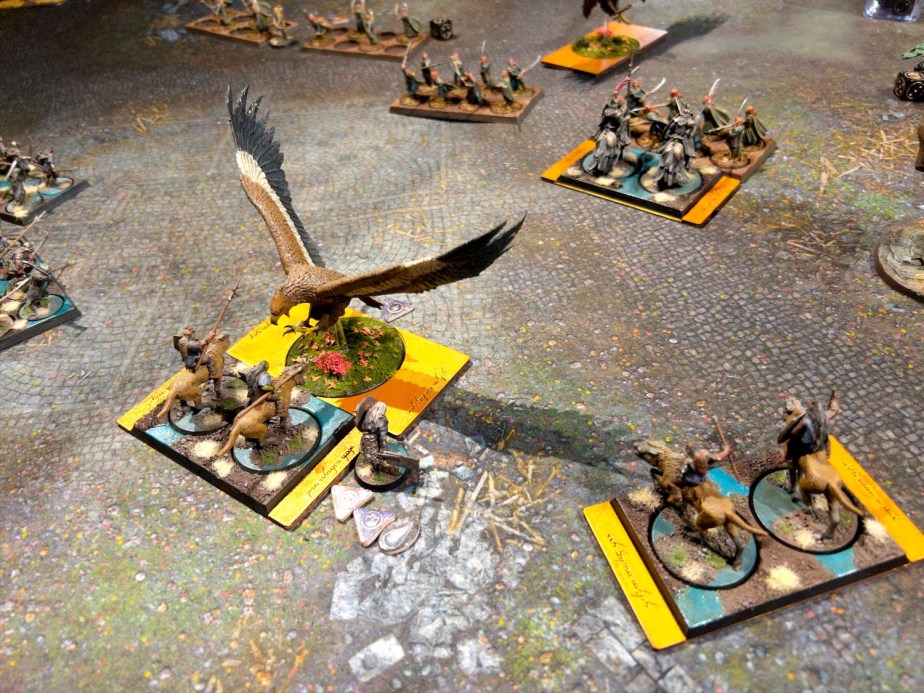
This covers quite the range of historical eras (roughly antiquity all the way to sometime in the Middle Ages when leaders decided to focus on strategy over feats of arms), but also covers a swathe of fantastical settings (Tolkien’s Middle Earth being a prime example).
In addition to this broad applicability setting-wise, Midgard also is a scale agnostic system that handles whatever your collection can throw at it. I achieves this through its adaptive measurement system (the spear throw) and flexible list building.
The spear throw
The spear throw (ST) is the basic unit of measure of the game. Pretty much everything in the game is measured in multiples of STs, for example units are always 1ST wide, cavalry move 2ST per move, short bows can fire arrows 3ST away etc. A ST does not have a fixed length; how long a ST is depends on the scale of the miniatures you use. For 28mm miniatures, the suggested ST is 12cm long (which lets you fit 8-10 miniatures on your 1ST wide base), while for smaller miniatures (say 15mm or less) the suggestion is to use an 8cm ST. This is a purely subjective choice, driven primarily by how you like your units to look on the tabletop. Want wider units? Use a larger ST.
By using this abstract measure, the rules do something quite clever, which is to provide ranges for all kinds of things in the game while never committing to a fixed measure. No need to do some on the fly measurement conversions (“this bow shoots 20 inches at 28mm, we’re playing at 15mm so it should shoot 10.71 inches!”), just get/make a measuring stick of your chosen ST and you can measure everything you need for the scale you’re playing at.

Here is the first hint of what the game is trying (and therefore not trying) for: this is a game that is not aiming to be particularly suitable for random pickup games at a club or say for playing tournaments. It is important that both sides in a game use the same ST length. Unlike in a Warhammer-style ruleset which mandates all aspects of the game and therefore provides a common standard for all gamers to align to, Midgard requires pre-agreement on the ST the game will be played at. Considering the ST affects the bases of all the units on both sides, that is not an inconsiderable hobby hurdle to overcome if one gamer has based their army on 8cm bases and the other on 12cm.
The List-building
Midgard provides a set of generic profiles (such as Heavy Infantry, Skirmishers, Light Cavalry, etc.) which can be modified by changing their equipment (e.g. adding or removing armour), and the addition of traits which modify the behaviour of the units (e.g. impetuous can force the unit to charge).
Much like STs this list building is a cooperative activity and not done in a vacuum. The maximum armour for most units is 4, which might represent a mail and a shield for a dark ages game, or full plate armour in a later medieval game. What’s important here is that relative to each other, both sides in a game are consistent. This again indicates tournament play is not the point of Midgard, it would be hard to coordinate a room full of players to achieve this.
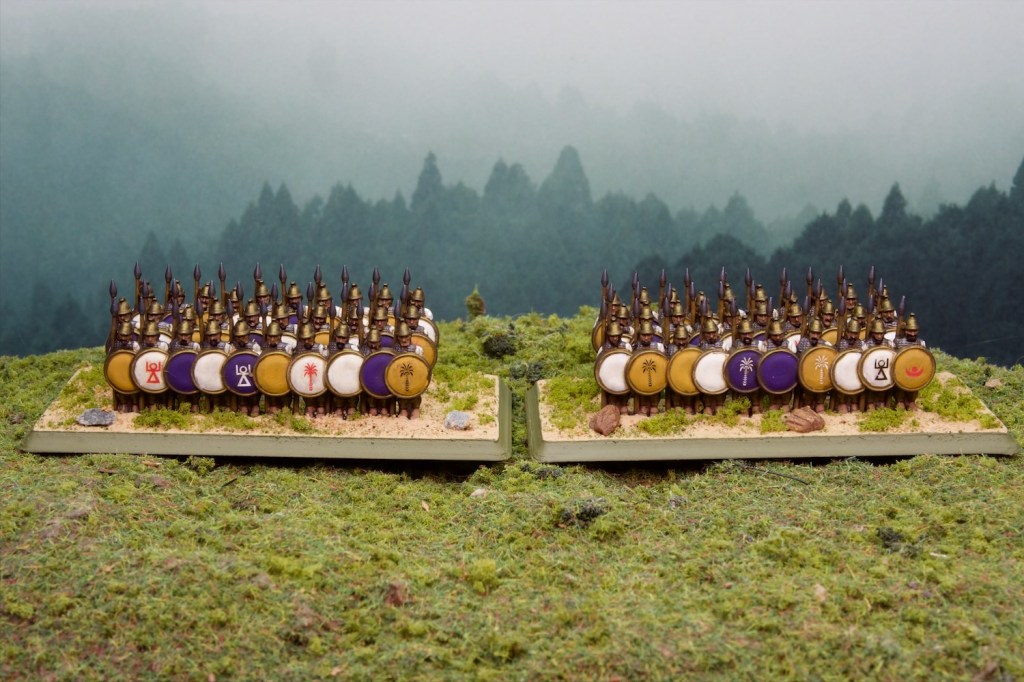
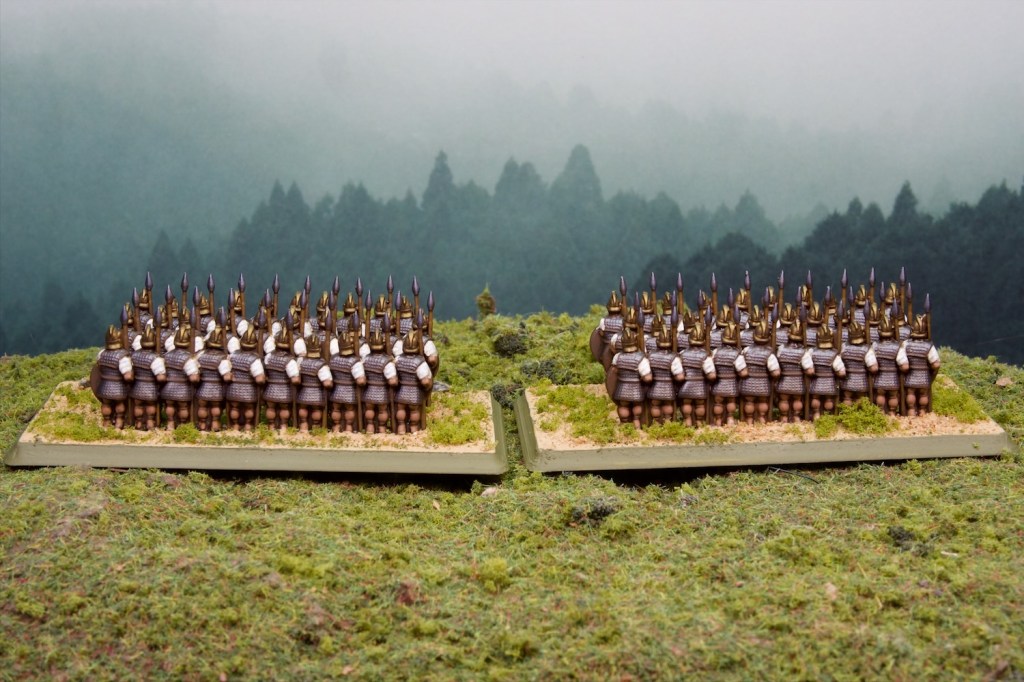
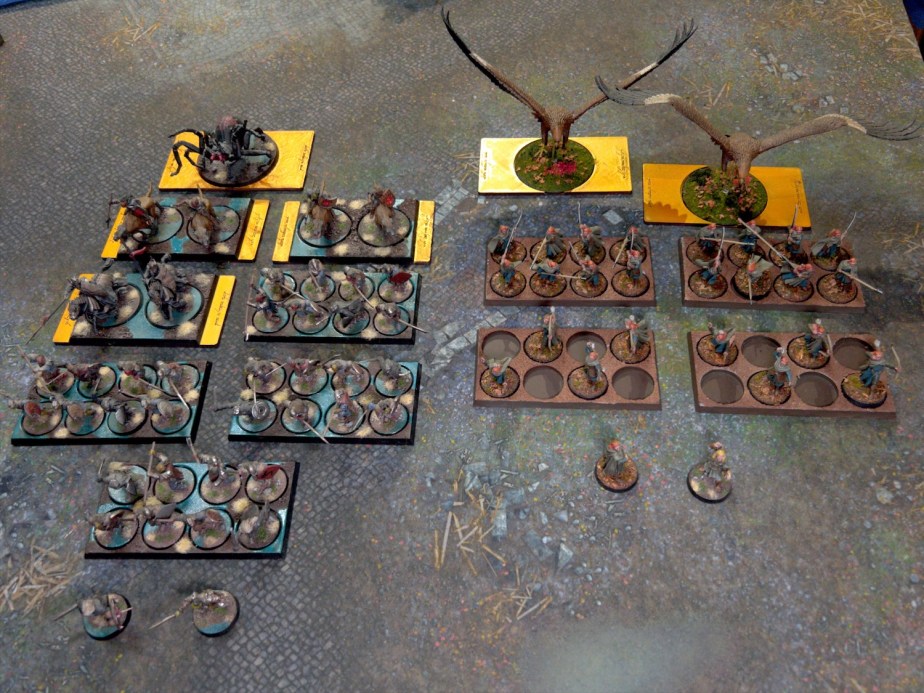
What you get as a result is an extremely flexible list building system that is capable of representing all kinds of troops, whether historical or fantastical. I’ve been able to create fun and evocative profiles for my Middle-Earth miniatures, my Warhammer miniatures, and my emerging Punic Wars collection so far.
The author provides a number of lists in the back of the rulebook, as well as many more on his website https://mogsymakes.net/resources-for-midgard-heroic-battles/ alongside some great list builders that make putting armies together a breeze.
As a result of the above, Midgard feels more like a framework for creating games than a simple self-contained game. While it is possible to just get the models required to field some of the armies in the back of the book and play a game as is, the real power of the game in my opinion is to provide an easy way to get your collection on the table and playing fun games with it.
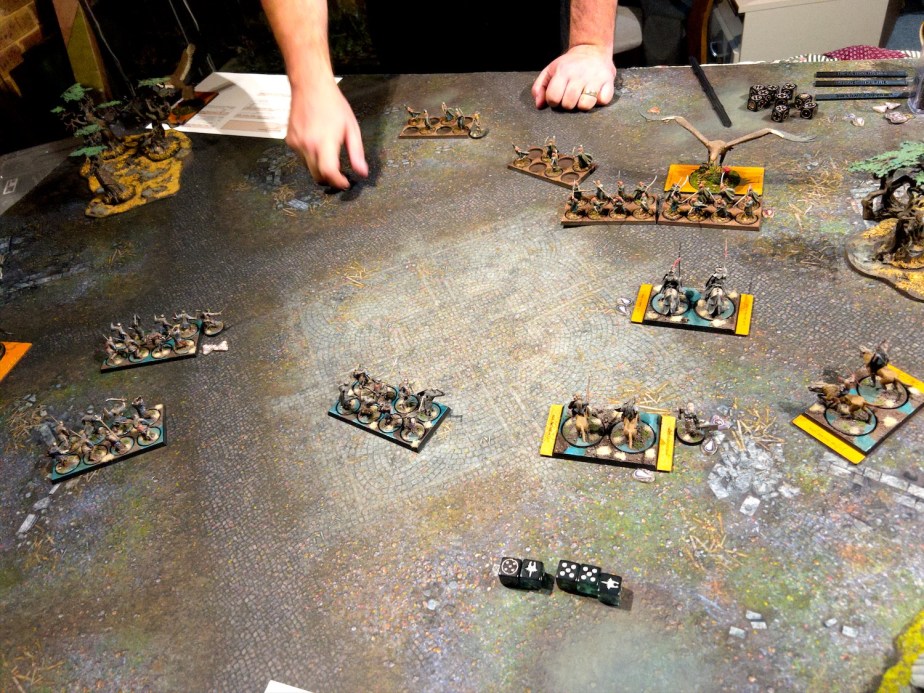
Midgard Gameplay
“This flexibility is nice, but once I have chosen my ST and made my army lists, what’s the actual game like?”

The answer is Midgard is a very fun rank and flank ruleset, that is fast to play, easy to pick up, but hard to master. In its pages you’ll find rules for the usual array of restricted ranked unit movement rules (a staple of the genre), shooting and combat. All of these are quite streamlined compared to what I’m used to from Warhammer and other such systems. Generally all combat/shooting die rolls require you to get a 5 or above (no complex comparison tables here), and modifiers halve the size of your dice pool rather than modify the target number. This makes for some rather quick combat resolution, and keeps the game going.
The only other die roll to remember is the command die roll, which is used for situations where a unit may not do what it is told (e.g. holding still instead of pursuing a fleeing unit), similar to leadership tests in Warhammer. Just as combat rolls, this is a set number and never changes (again speeding things up!).
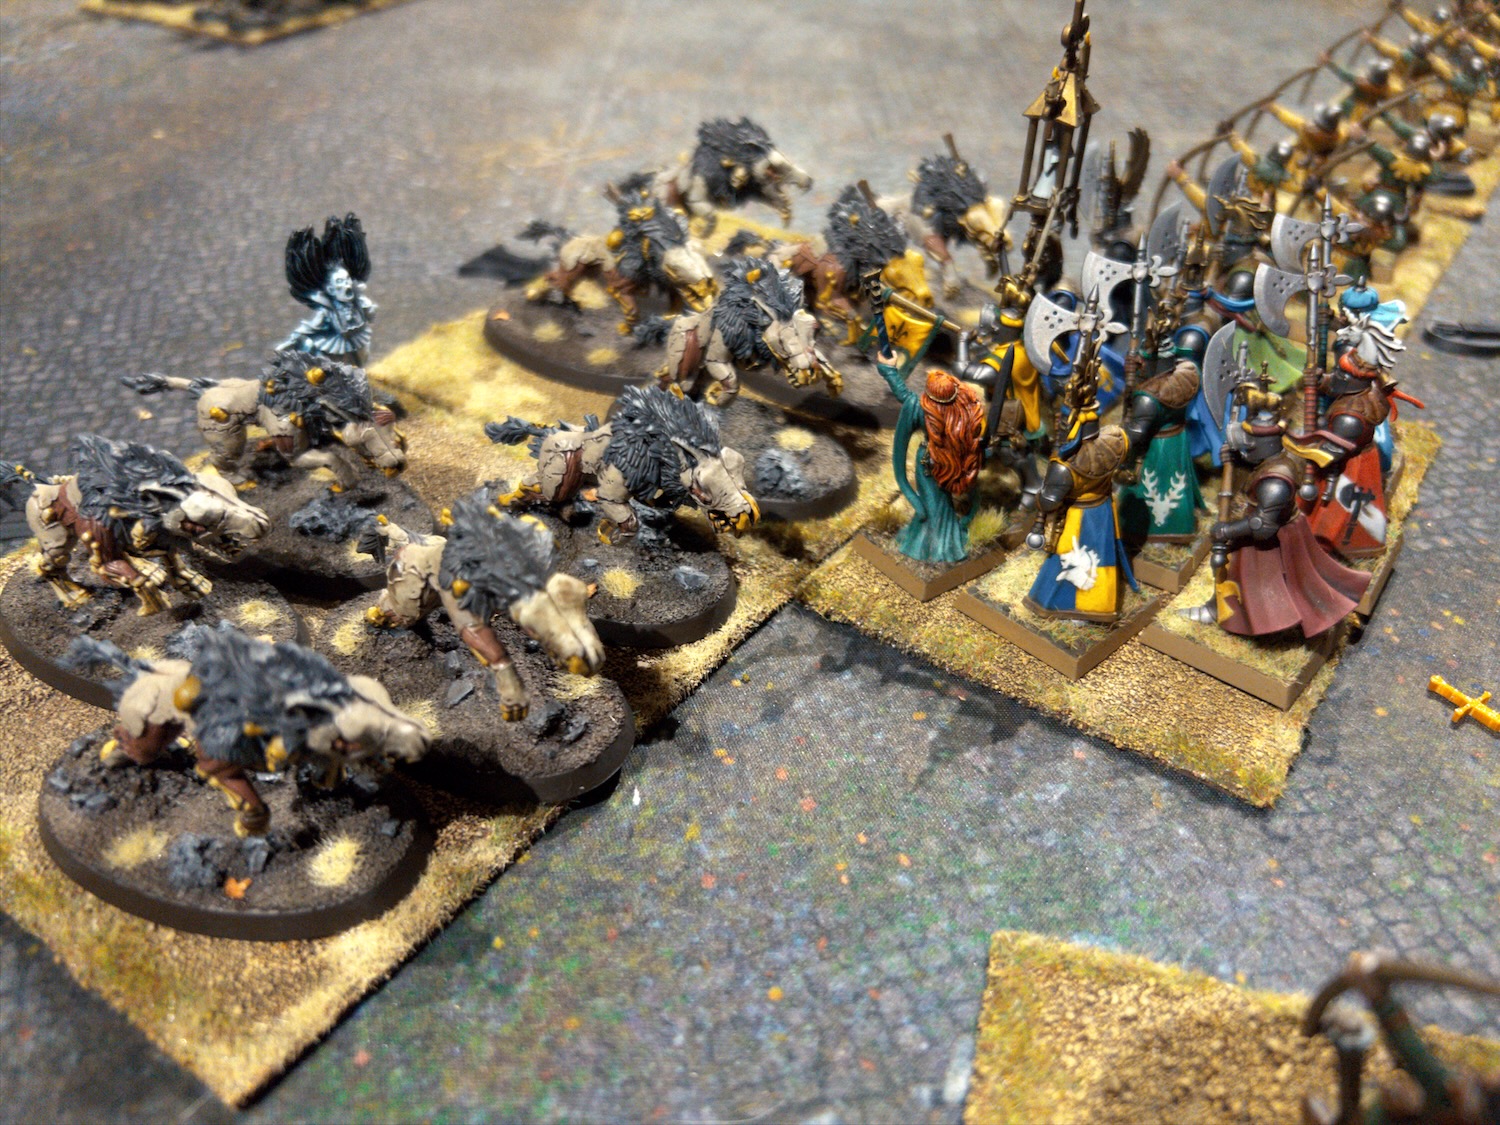
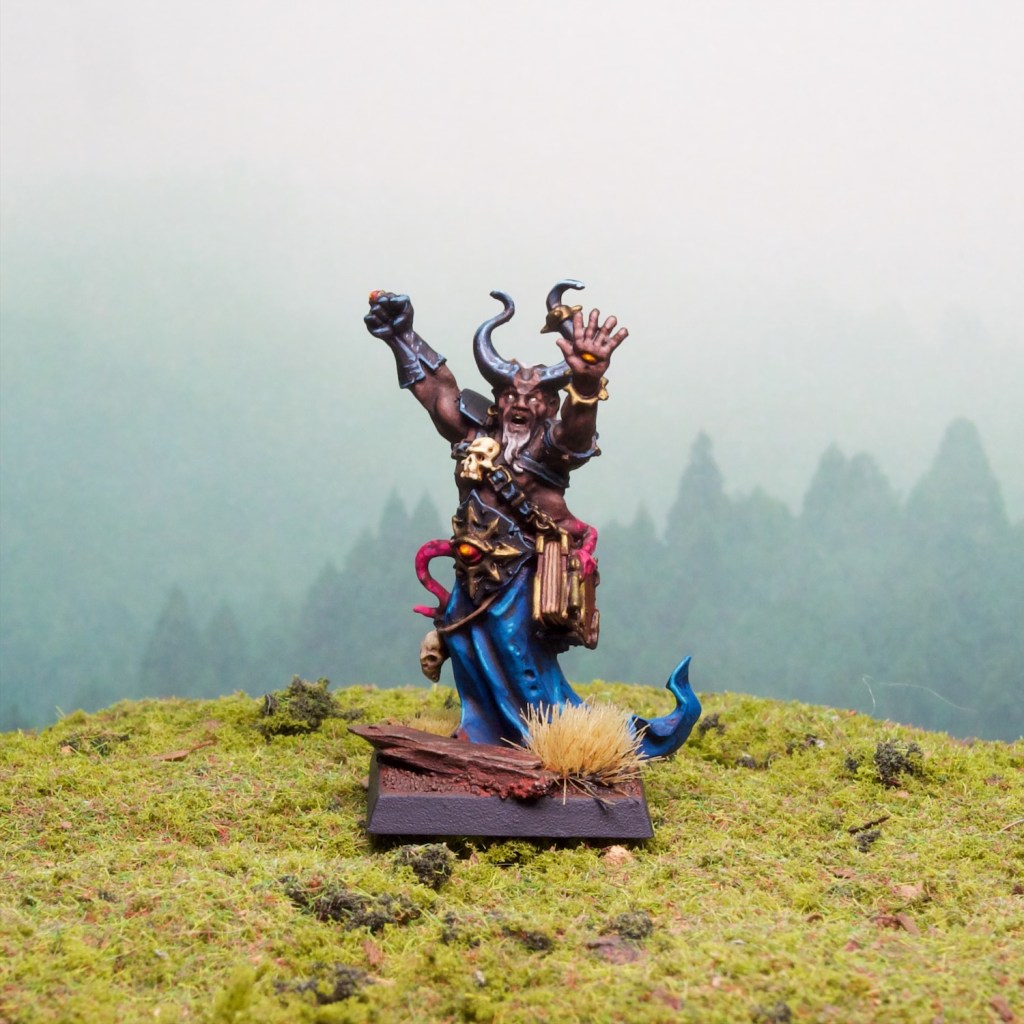
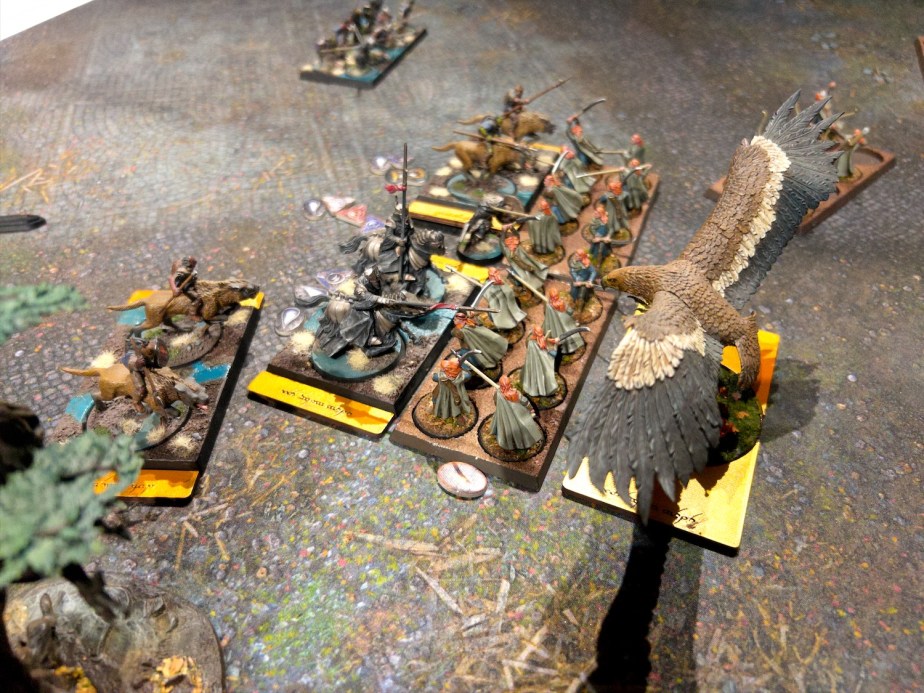
Heroes matter greatly in the game, leading your troops and assisting them by using a resource called mighty deeds. Heroes get these according to their level and can spend said deeds on making units re-roll failed command tests, get extra attacks, cast spells, and most shamefully to keep themselves safe.
Framing all these rules is the reputation system. This pool of tokens represents the morale of the army, and grows with the acts of bravery of heroes and shrinks when losing units or when heroes bring dishonour upon themselves. If your reputation is at or below zero at the end of the turn, your army breaks and you lose the game.
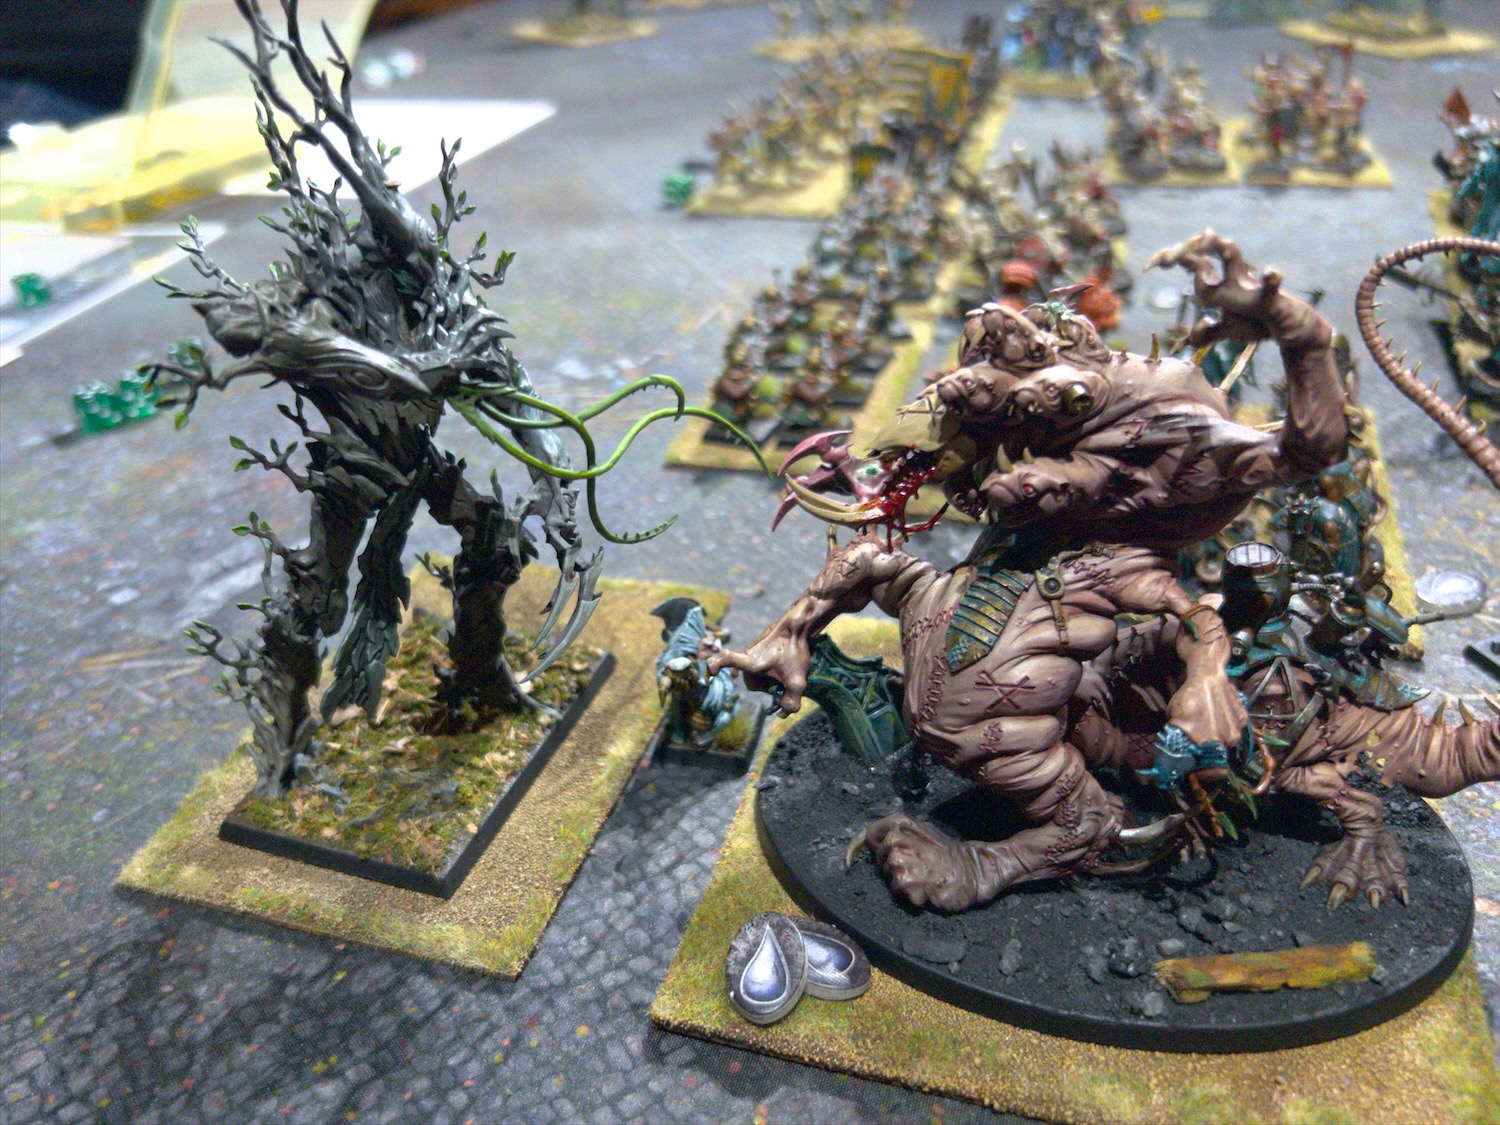
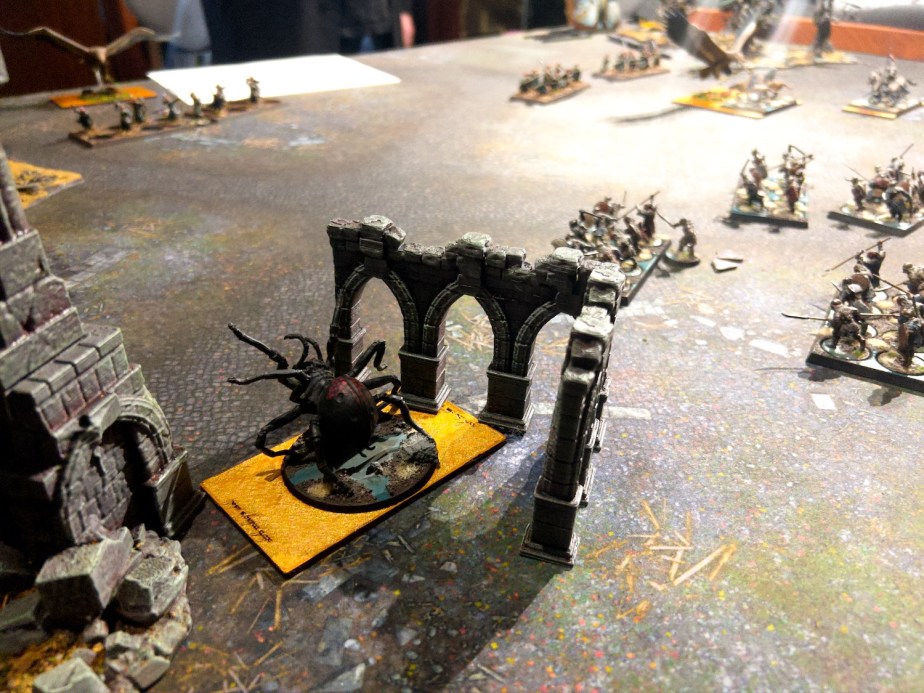
This resource drives the behaviour of the players in a really fun way: as their reputation drops, players have no choice but to dive in and try to regain the upper hand through desperate actions with their heroes. This is magnified when an army’s reputation drops to zero during a turn, as they have until the end of the turn to get it back above zero, which makes for some extremely fun (and cinematic!) moments where heroes lead wild charges in the forlorn hope of reinvigorating their side.
Who Is Midgard For?
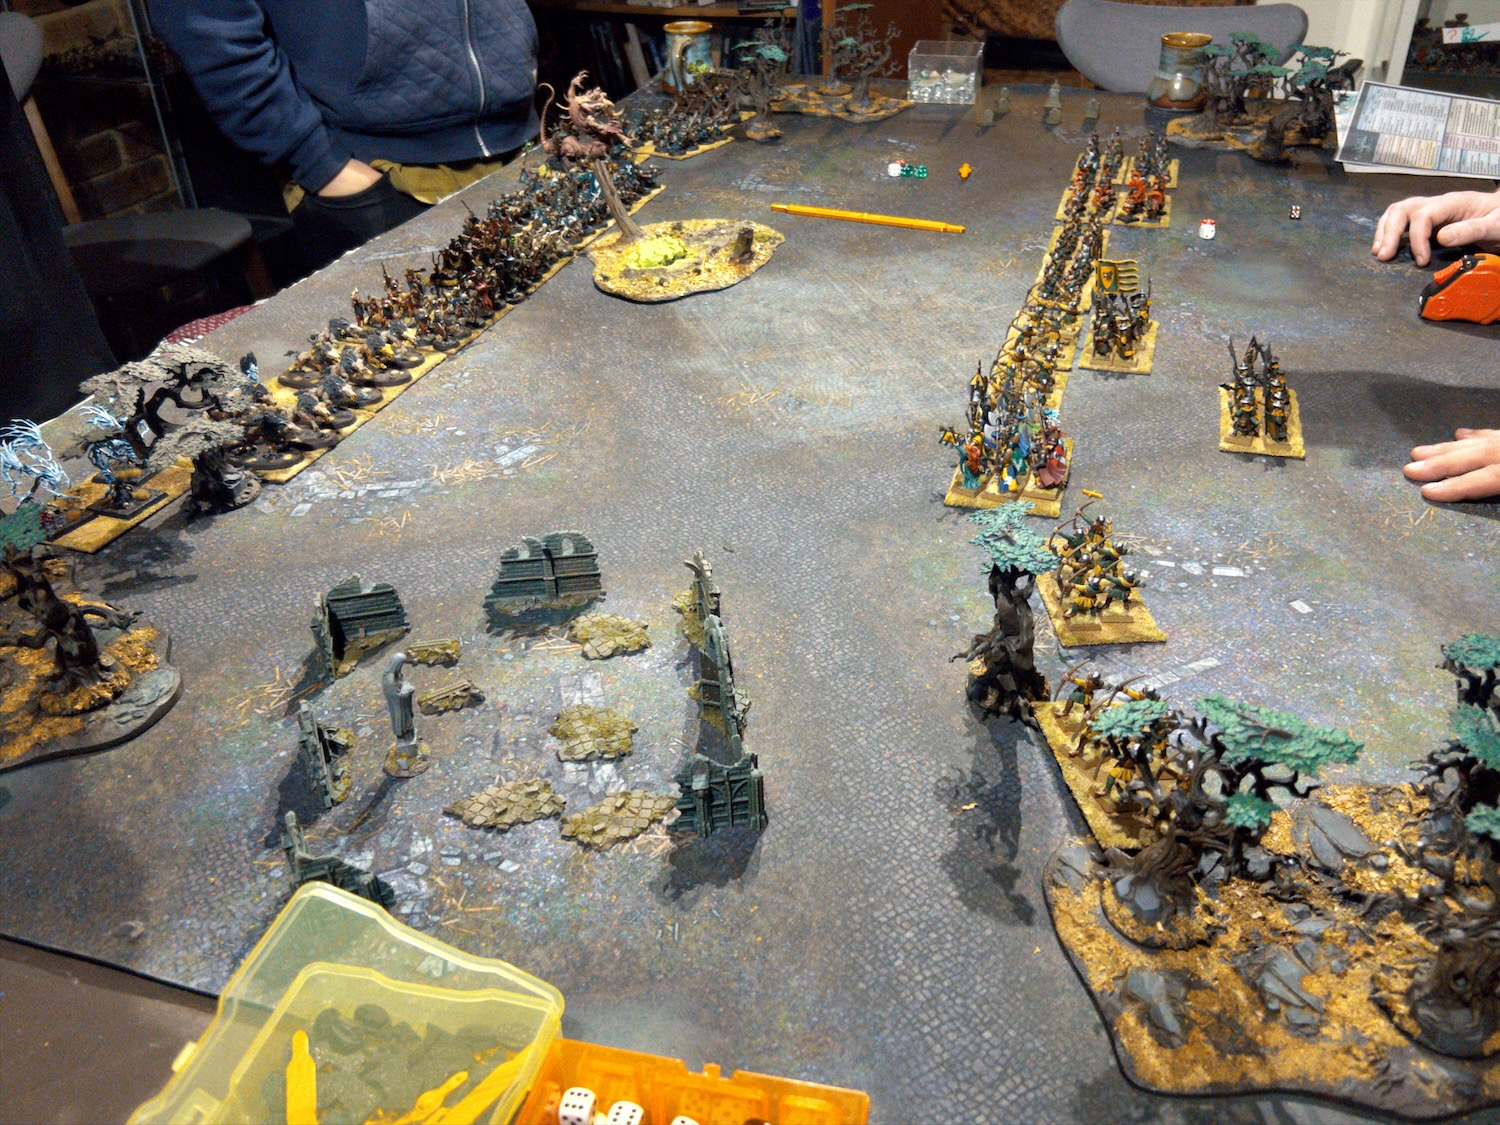
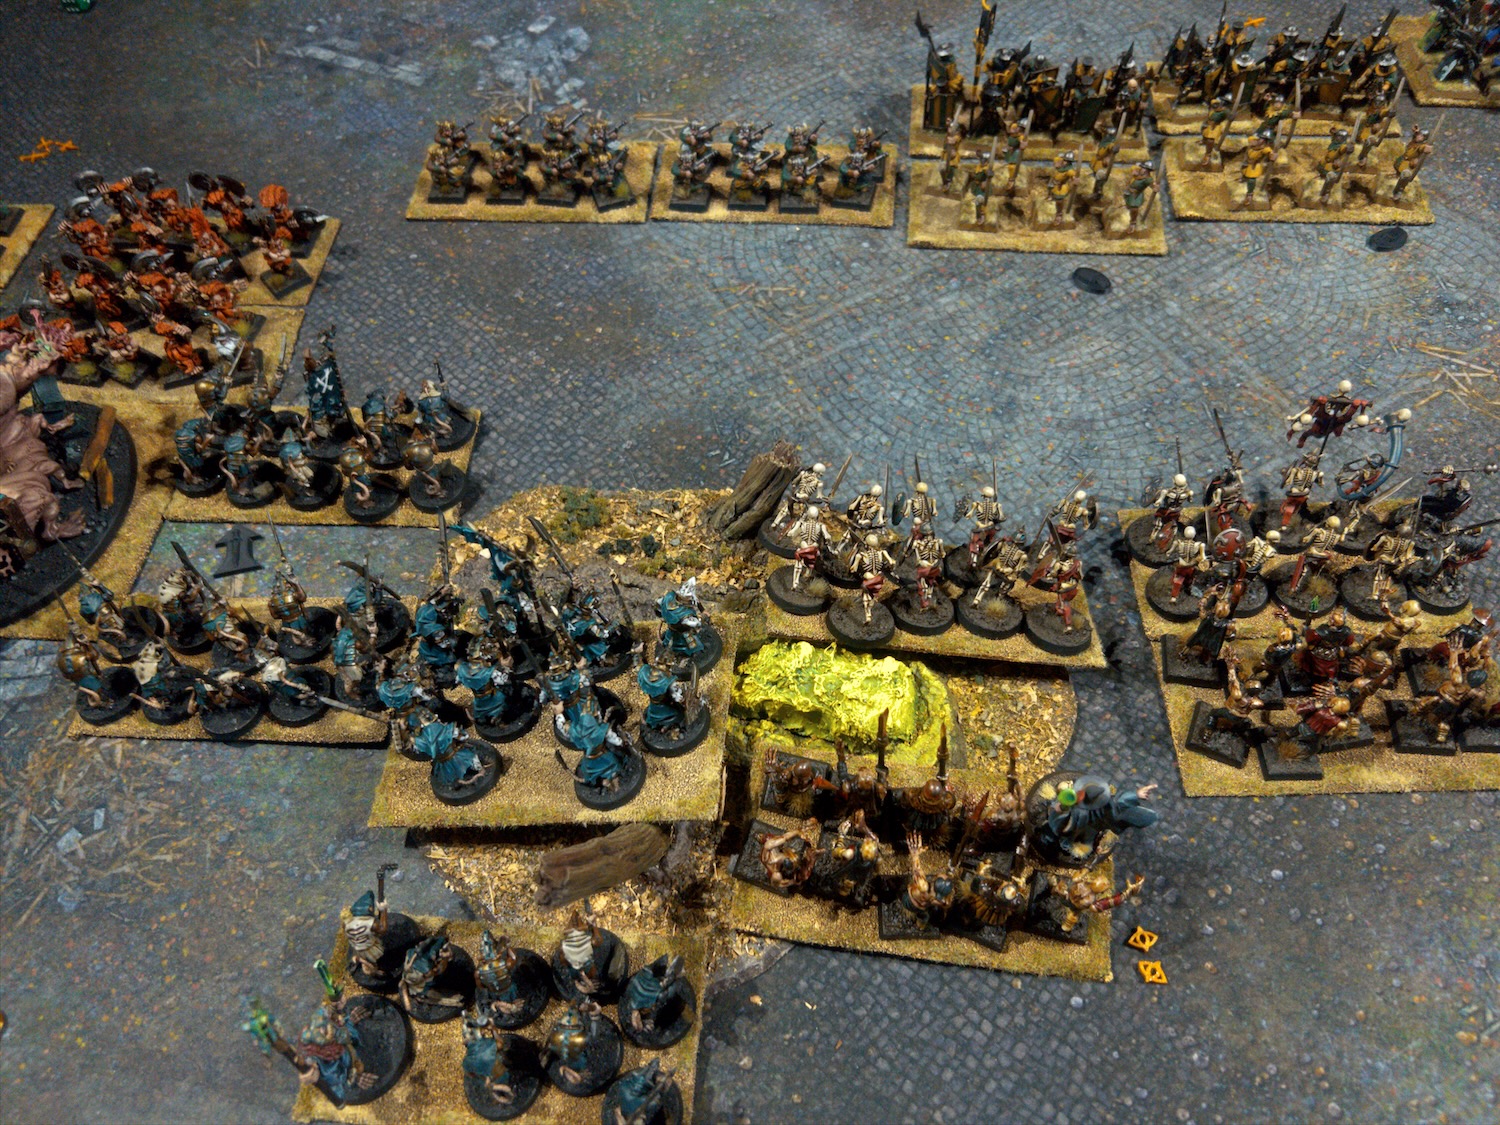
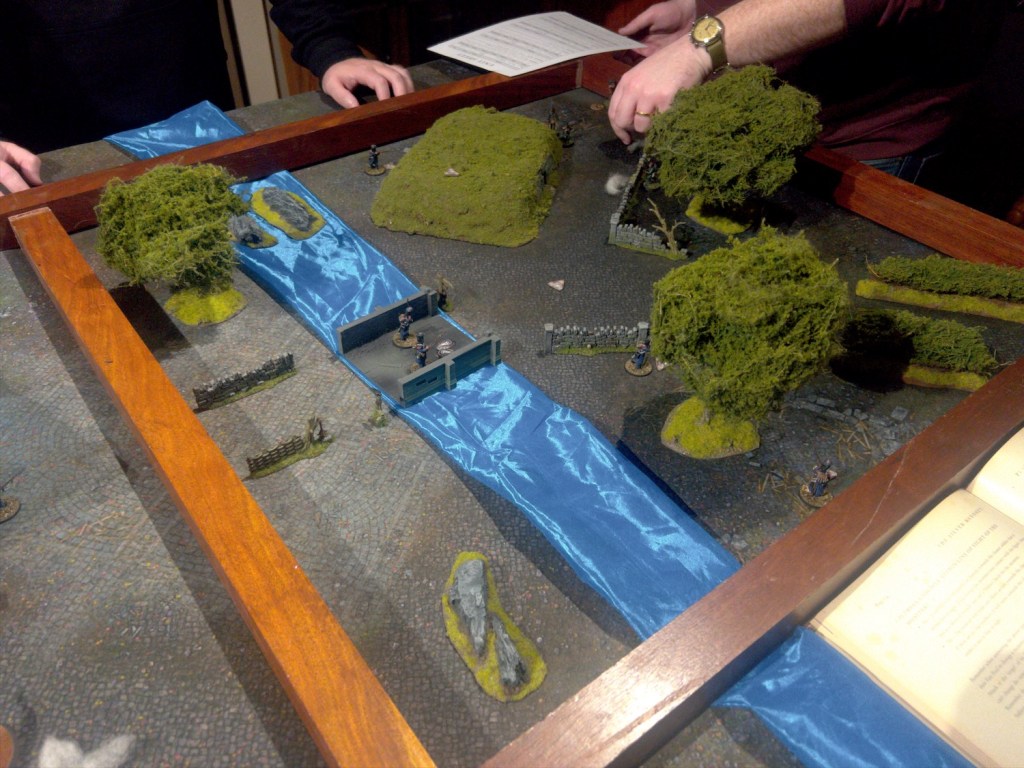
As highlighted above, Midgard is not a tournament game, and is probably not particularly well suited to a pickup game scenario against unknown opponents at a club or other. What Midgard excels at is creating fun narrative games where the two sides and a scenario are created specifically for those games. This is really good for convention games where the game is set up and the players join in, and I’ve found it excellent for games with my game group, where I’ve set up a scenario for two forces and invited my friends over to play it out.
I’m not sure I would have known what to do with Midgard 10 or so years ago, as I was very much in the playing tournaments and pickup games paradigm, with armies specifically created for an edition of a game, ready to play against anyone with an army for the matching system. In some ways that’s an easier way to go as there is no need to coordinate anything for a game (beyond a time and a place), everyone is following the same set of rules and can just show up with their legal army. If that’s how you want to do most of your gaming then Midgard might not be for you.

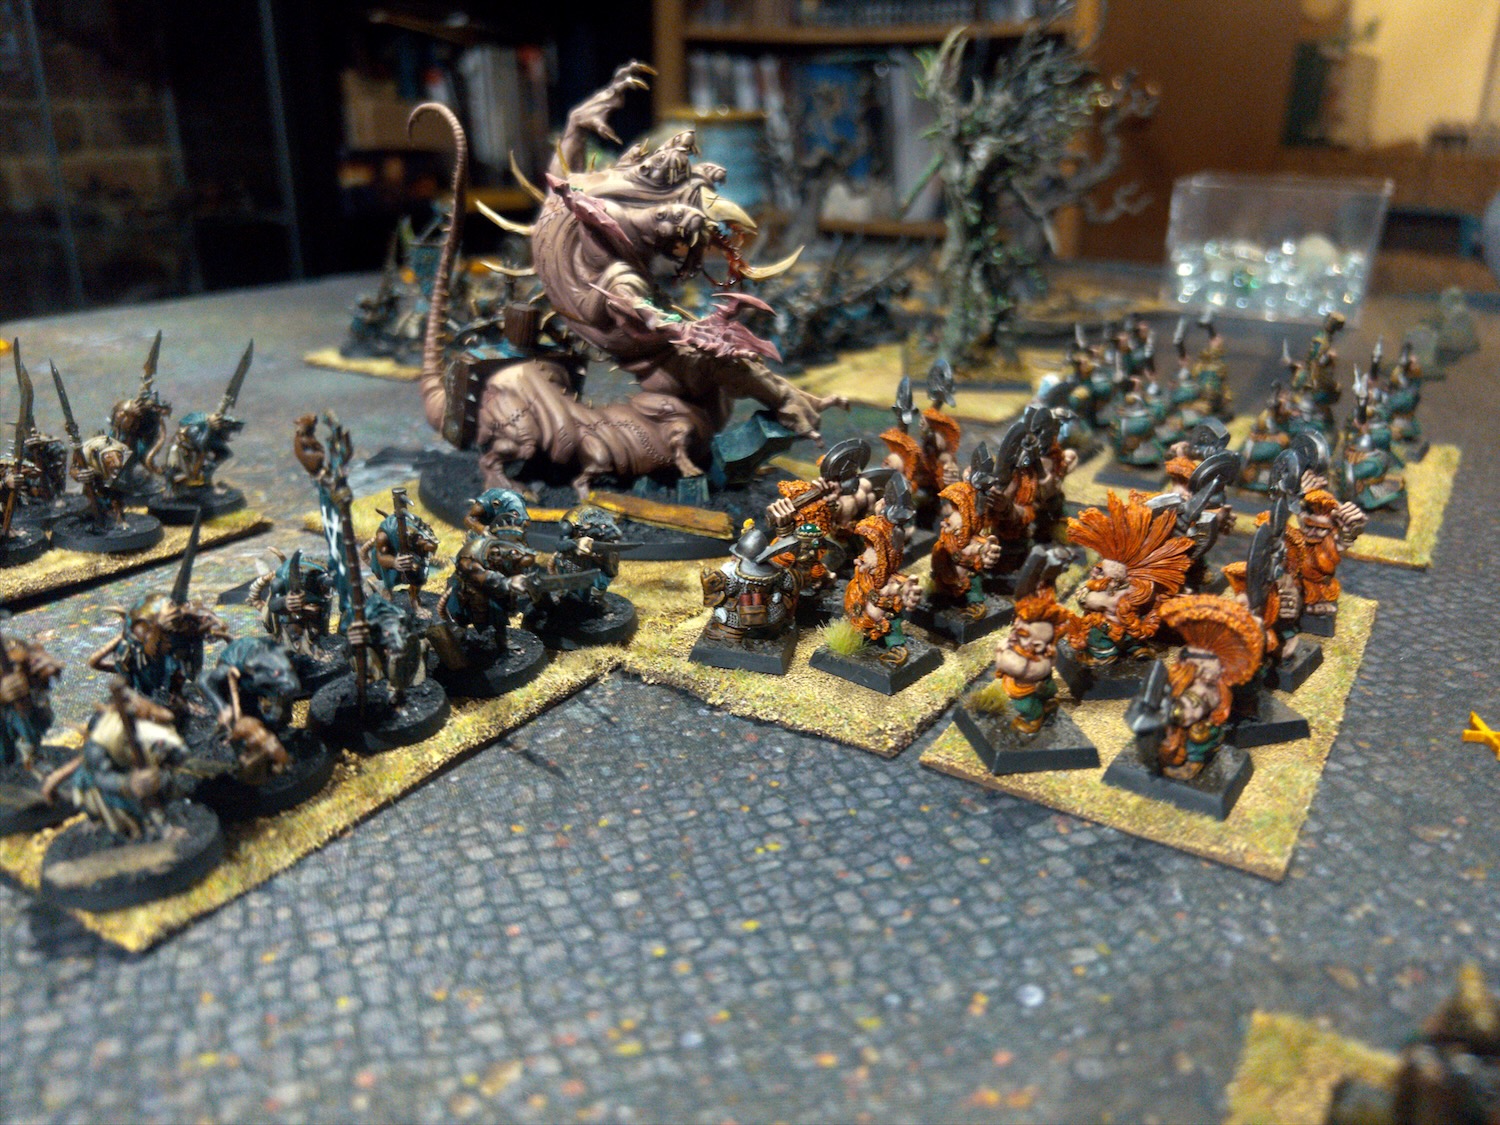
I have much less time for gaming these days and find that what I really want to do when I do is to get a group of friends together and play a big fun game. Midgard helps me do that in quite a few ways. First, it’s easy to play – I know that friends that aren’t regular wargamers will have an easy time picking it up (recently one of said non-wargaming friends corrected me on the rules multiple times during a game!). This really broadens the pool of players, and I’d recommend Midgard for teaching new players a wargame. Second, while building lists sounds like a lot of work, I think building lists for Midgard is much faster and easier than building lists for Warhammer – even with the need to keep both sides somewhat consistent. Third, the game is fast to play. The rules stay out of the way of the action, and games with hundreds of models can take as little as a few hours to play through. Finally, the game lets me use my whole miniatures collection. While I have some armies that are legal armies in other systems, I have some that are too small or out of date and haven’t seen play in many years. Midgard with its flexible list building system has had me scrounging through my cases (which has been a great trip down memory lane), thinking up scenarios for all kinds of settings.
If the above sounds like a good time then I heartily recommend you check out Midgard. It’s likely to be the most played game by far in my group this year, and I look forward to finding out what else we can do with it.


