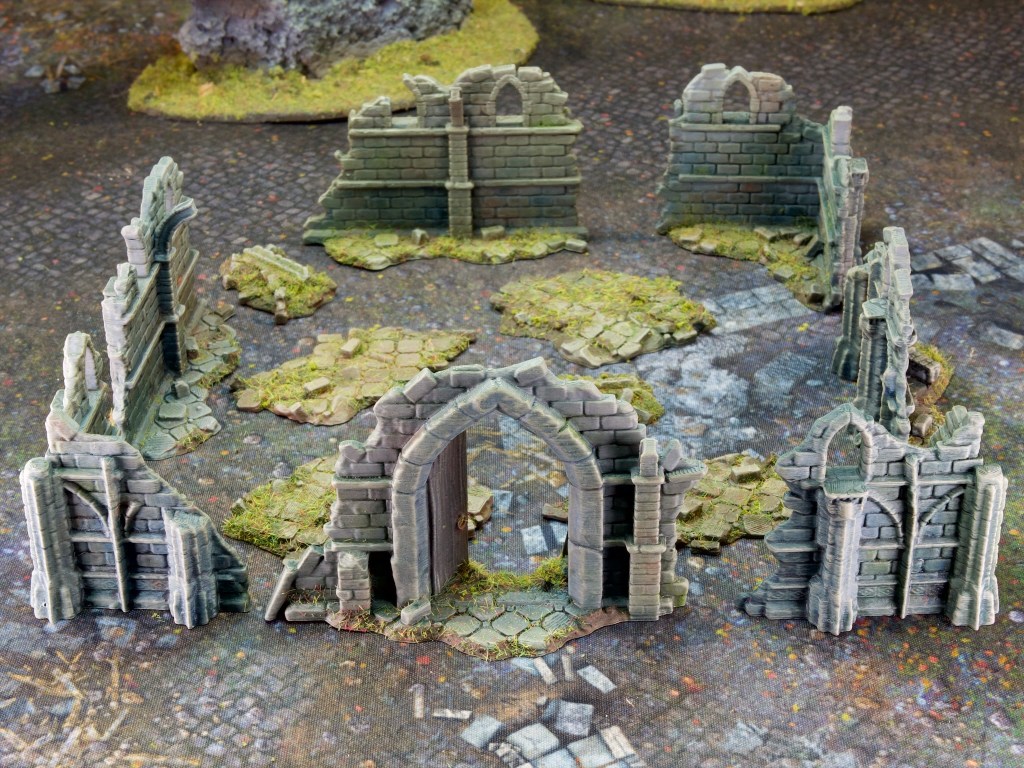
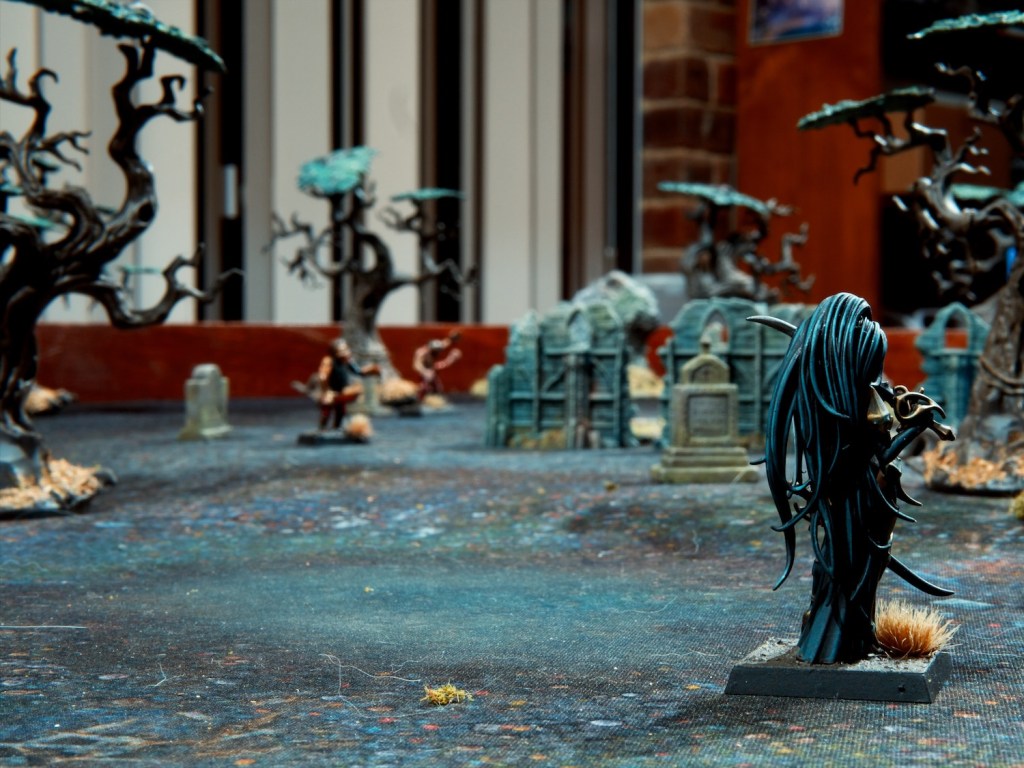
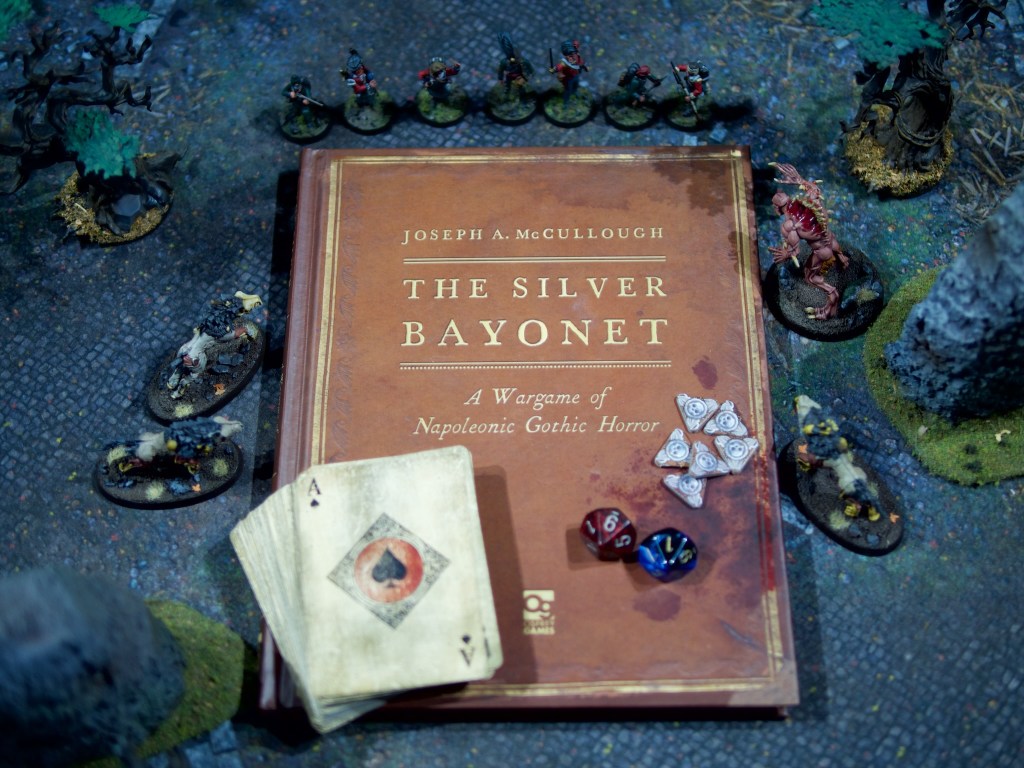
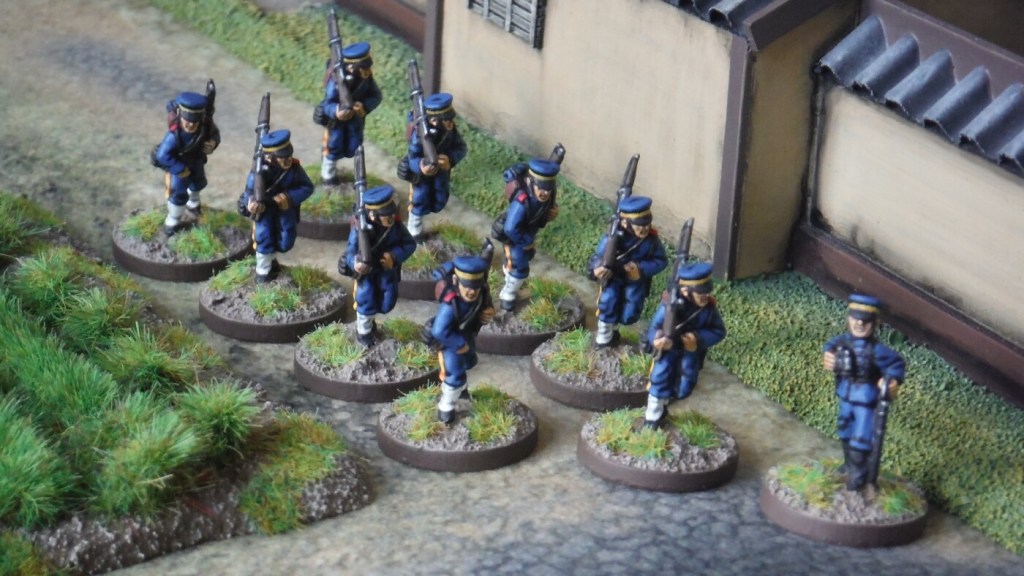
My foray through the Silver Bayonet solo campaign continues and in this mission my hapless British unit tries to have a good night’s sleep after their close call in the ruined chapel. As all good horror fans know however, sleeping in the woods is asking for trouble and trouble indeed finds the sleepers!
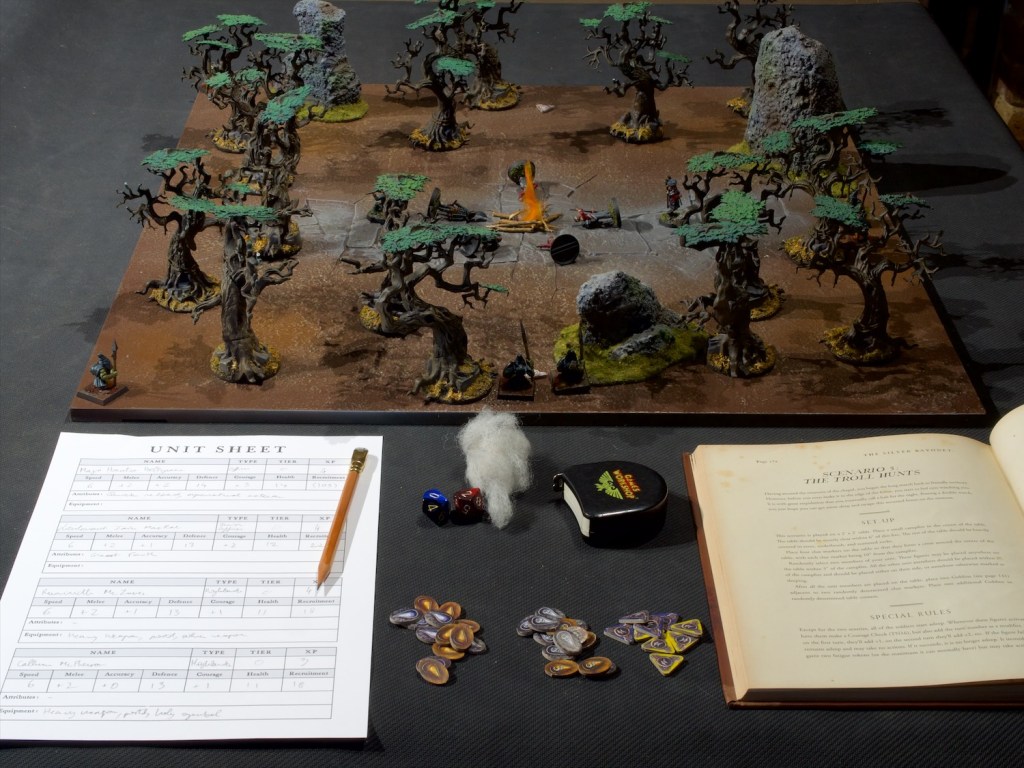
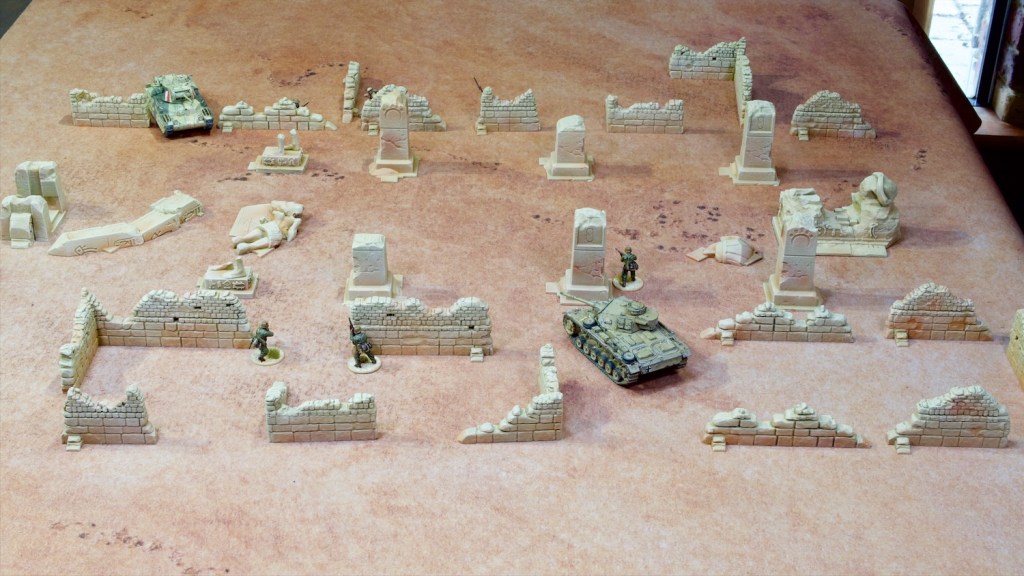
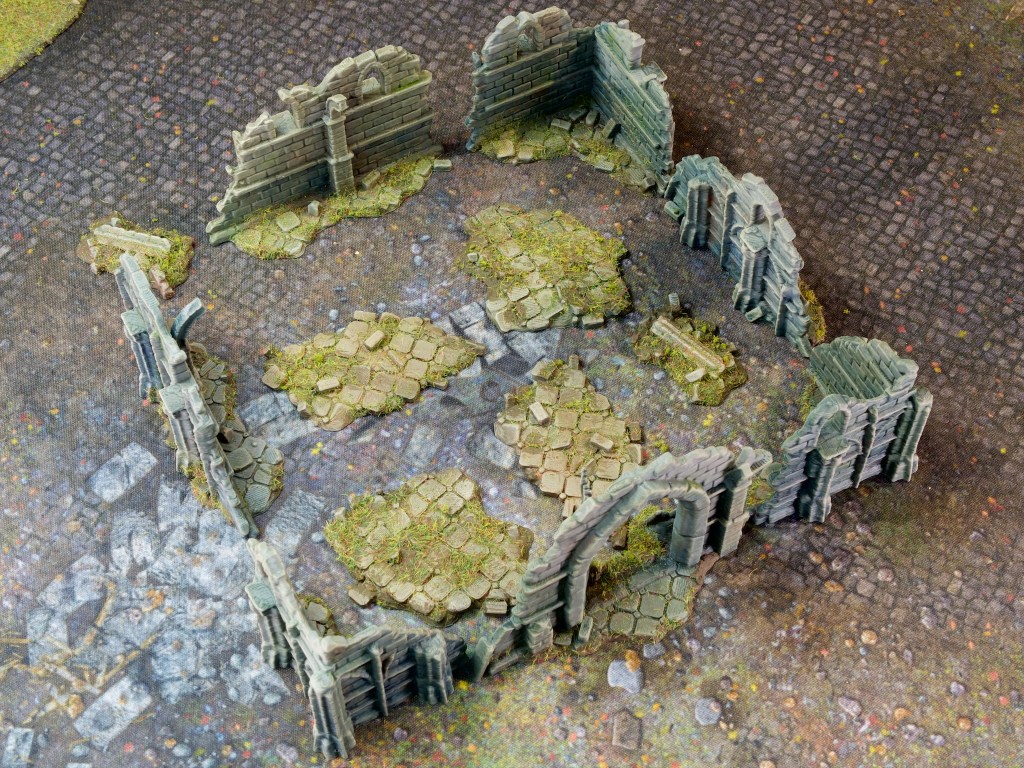
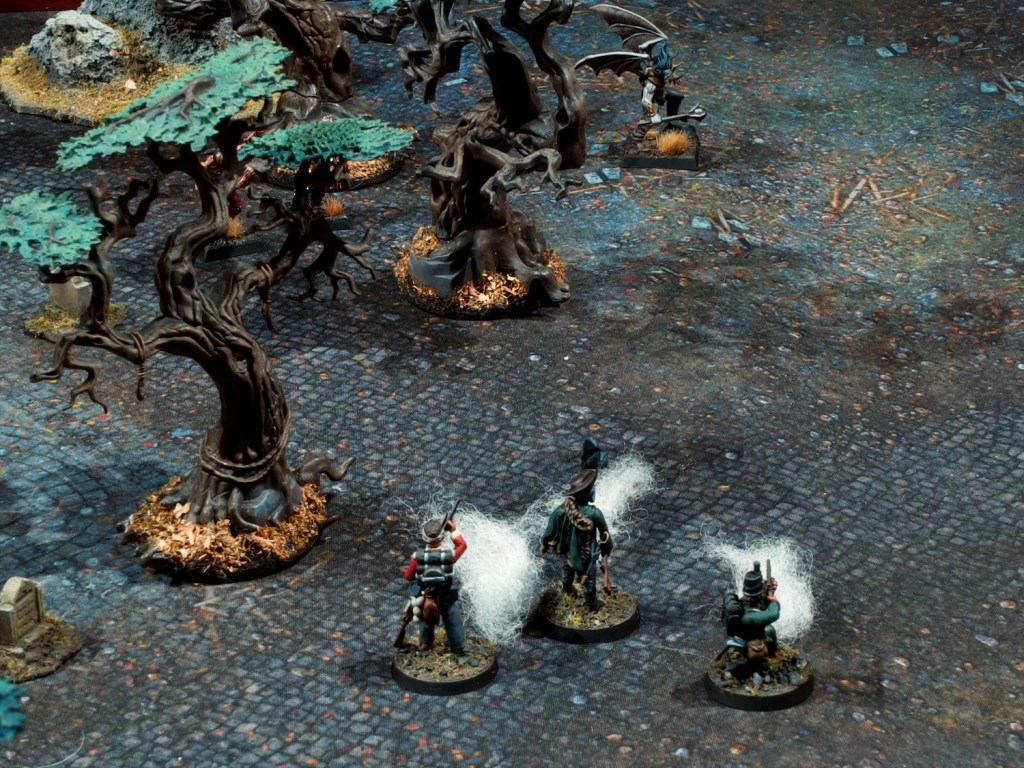
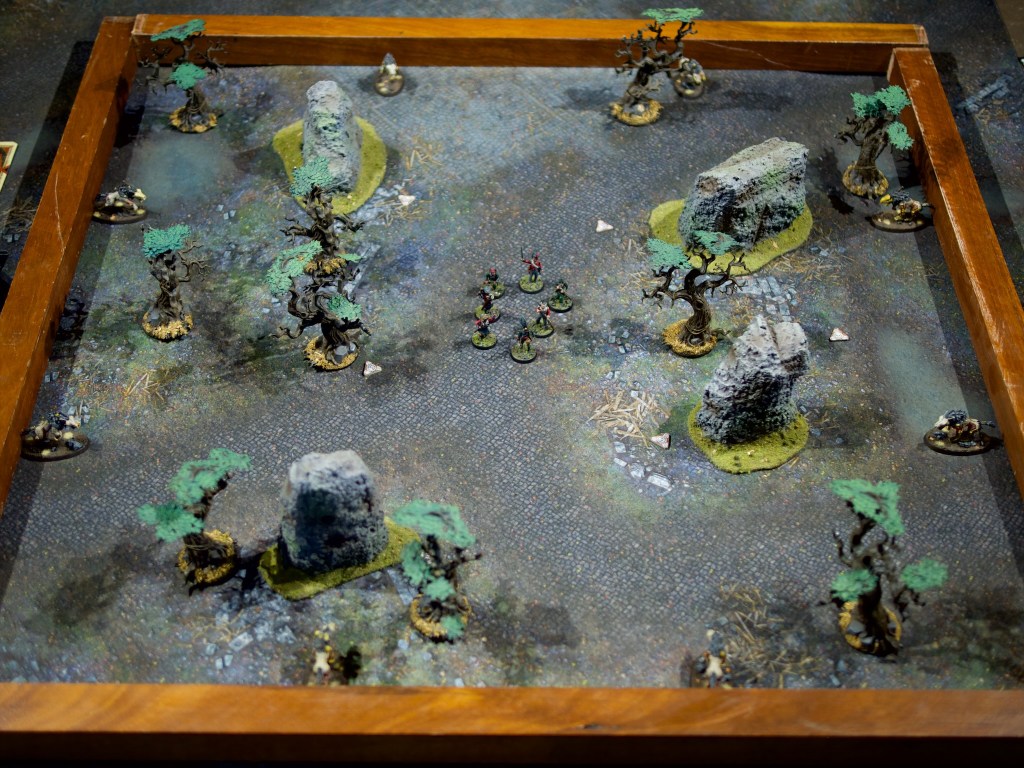
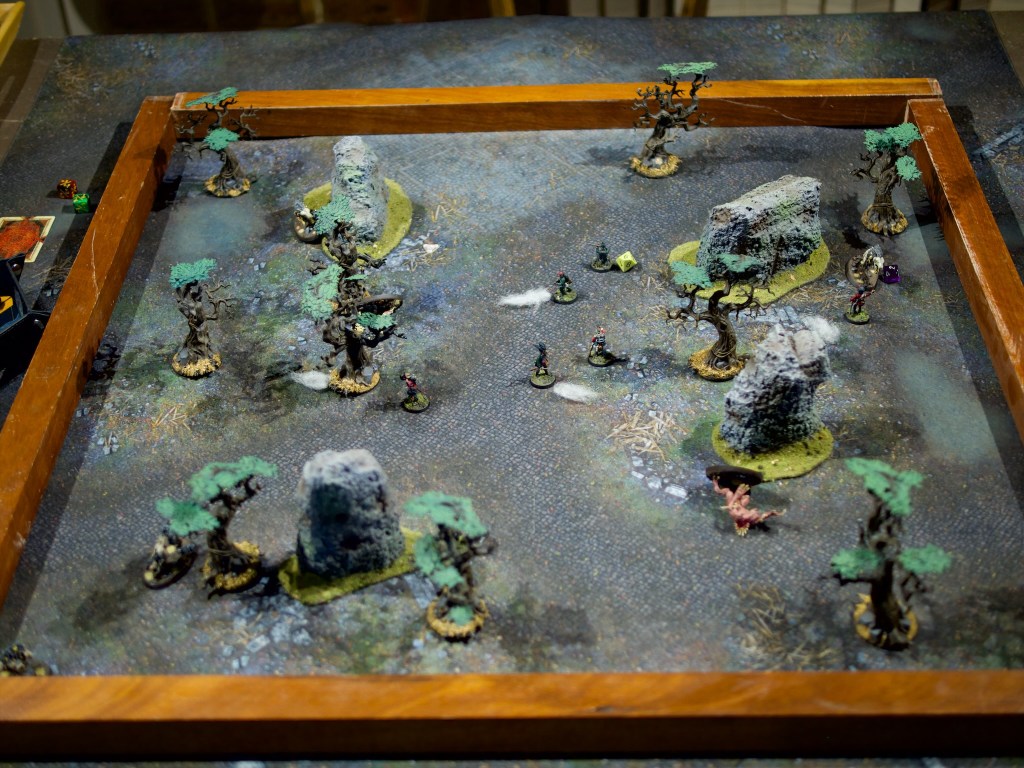
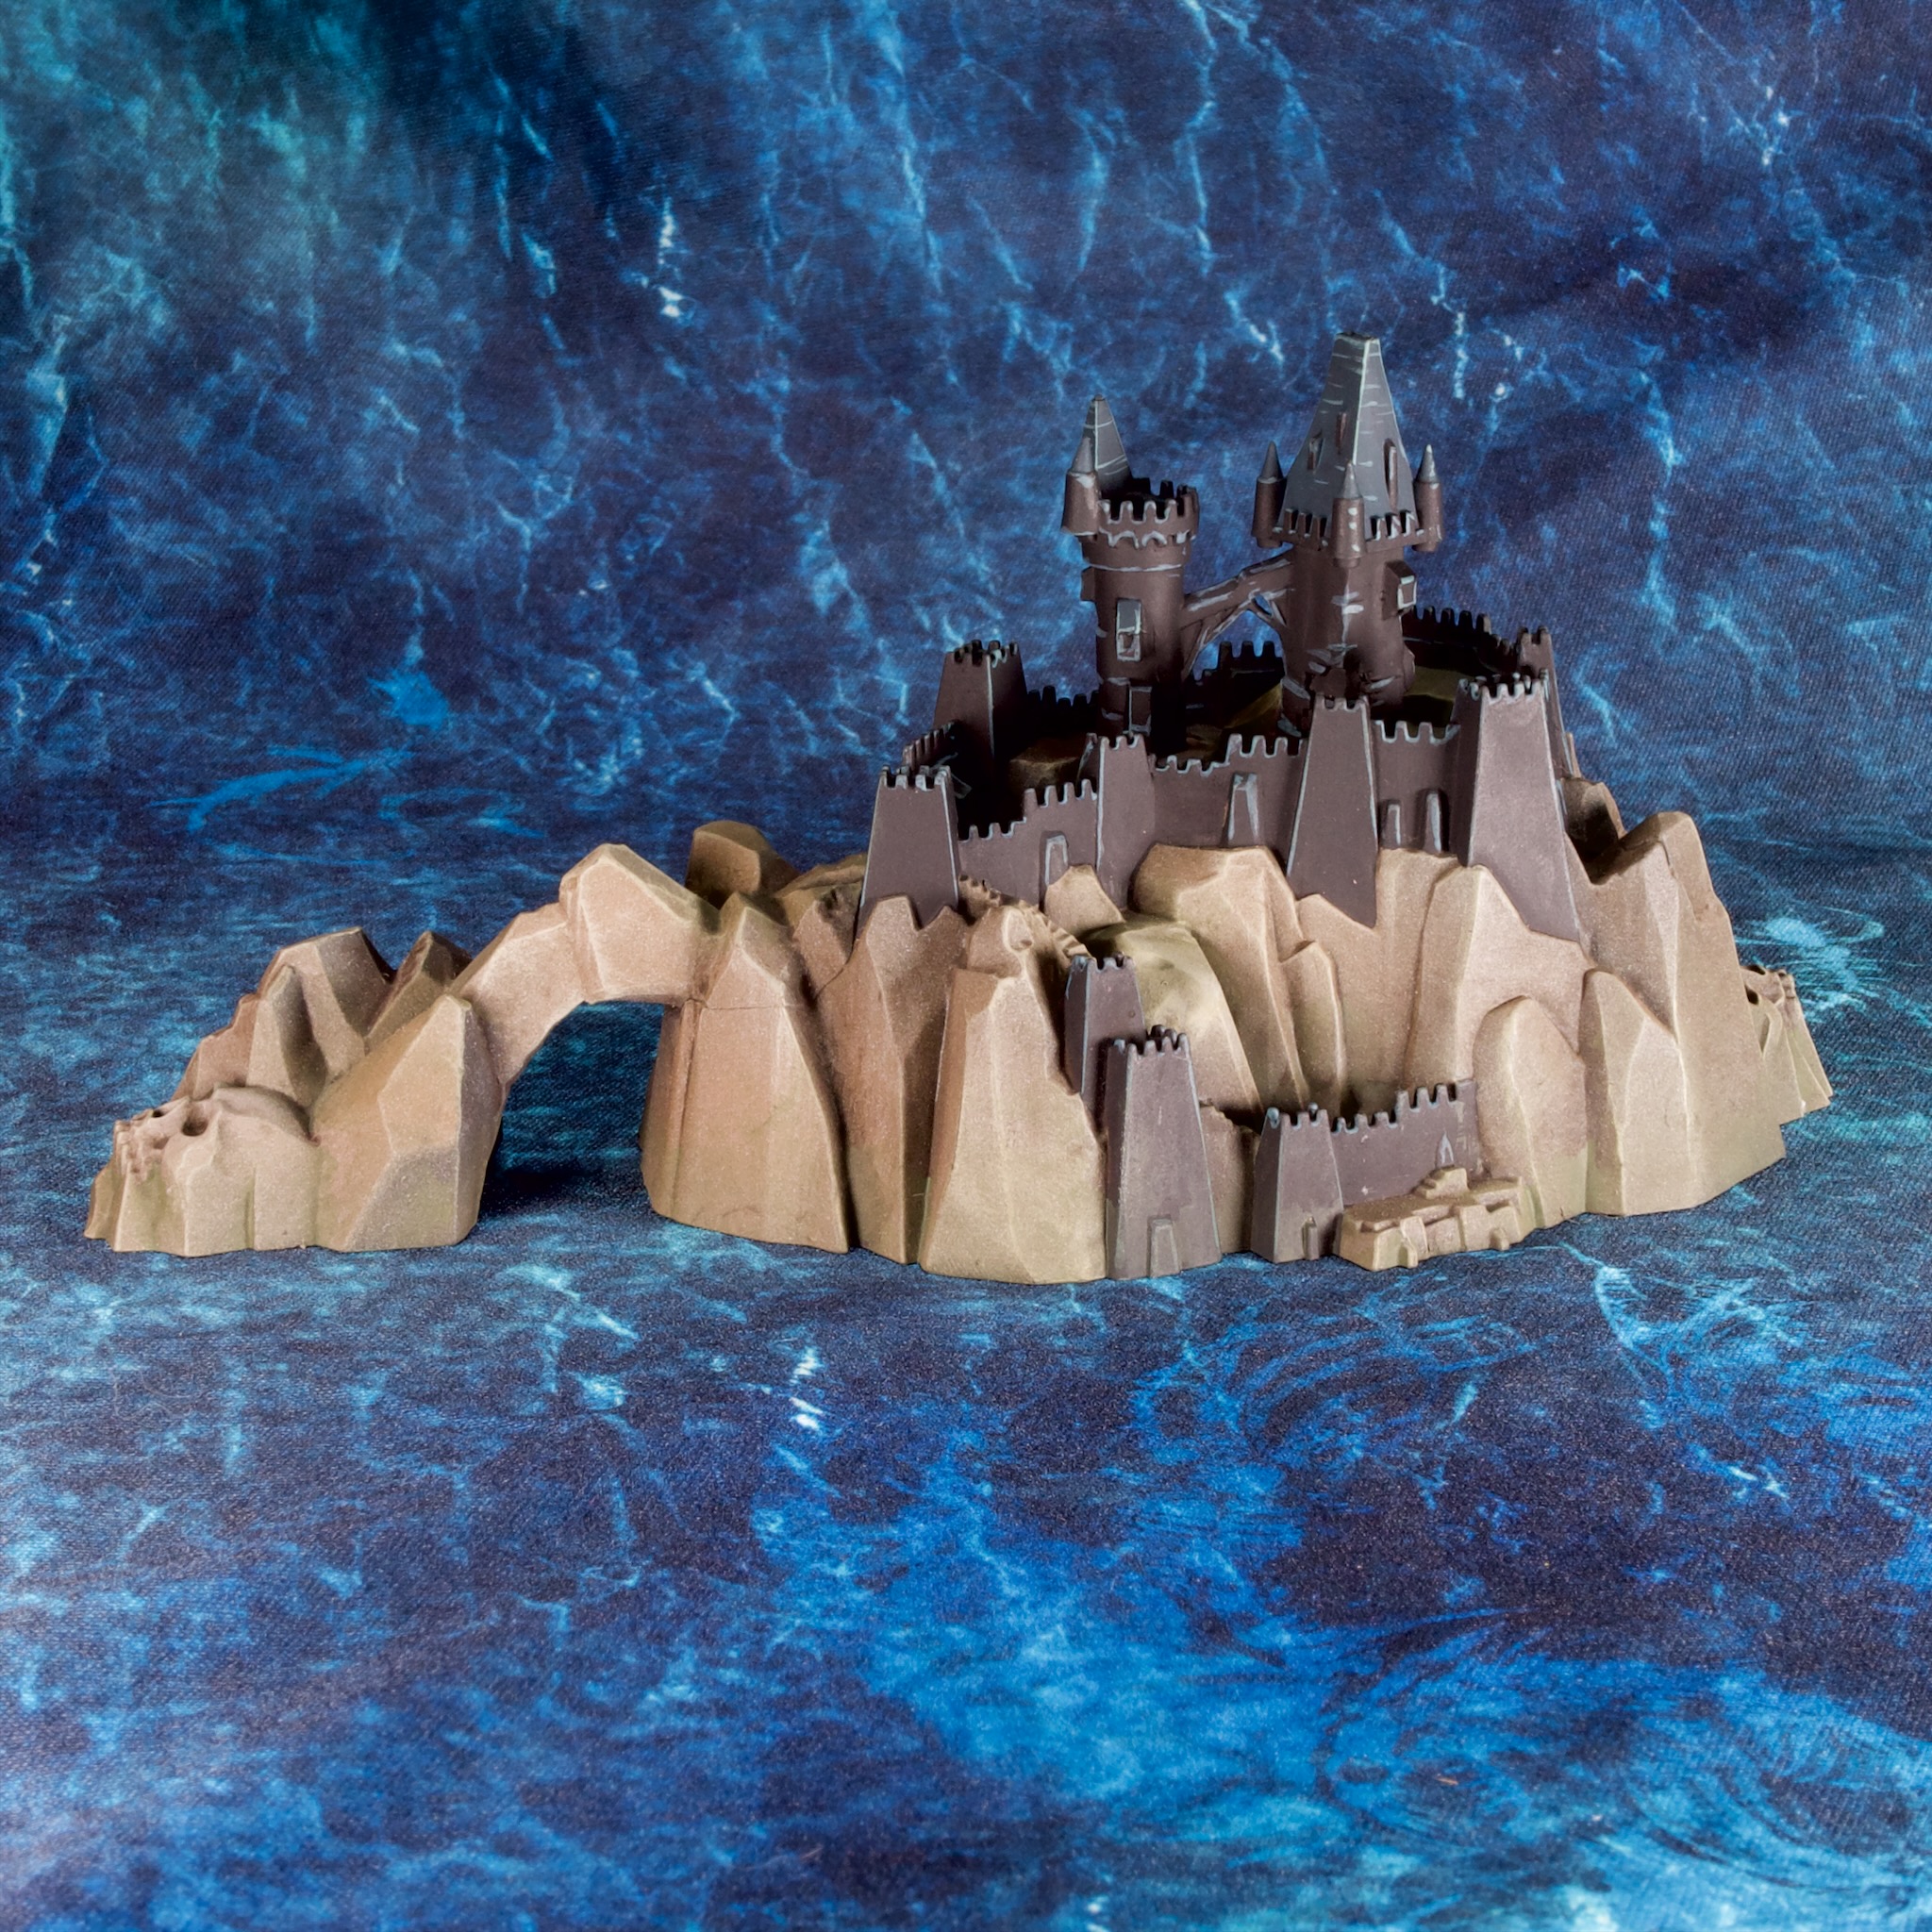
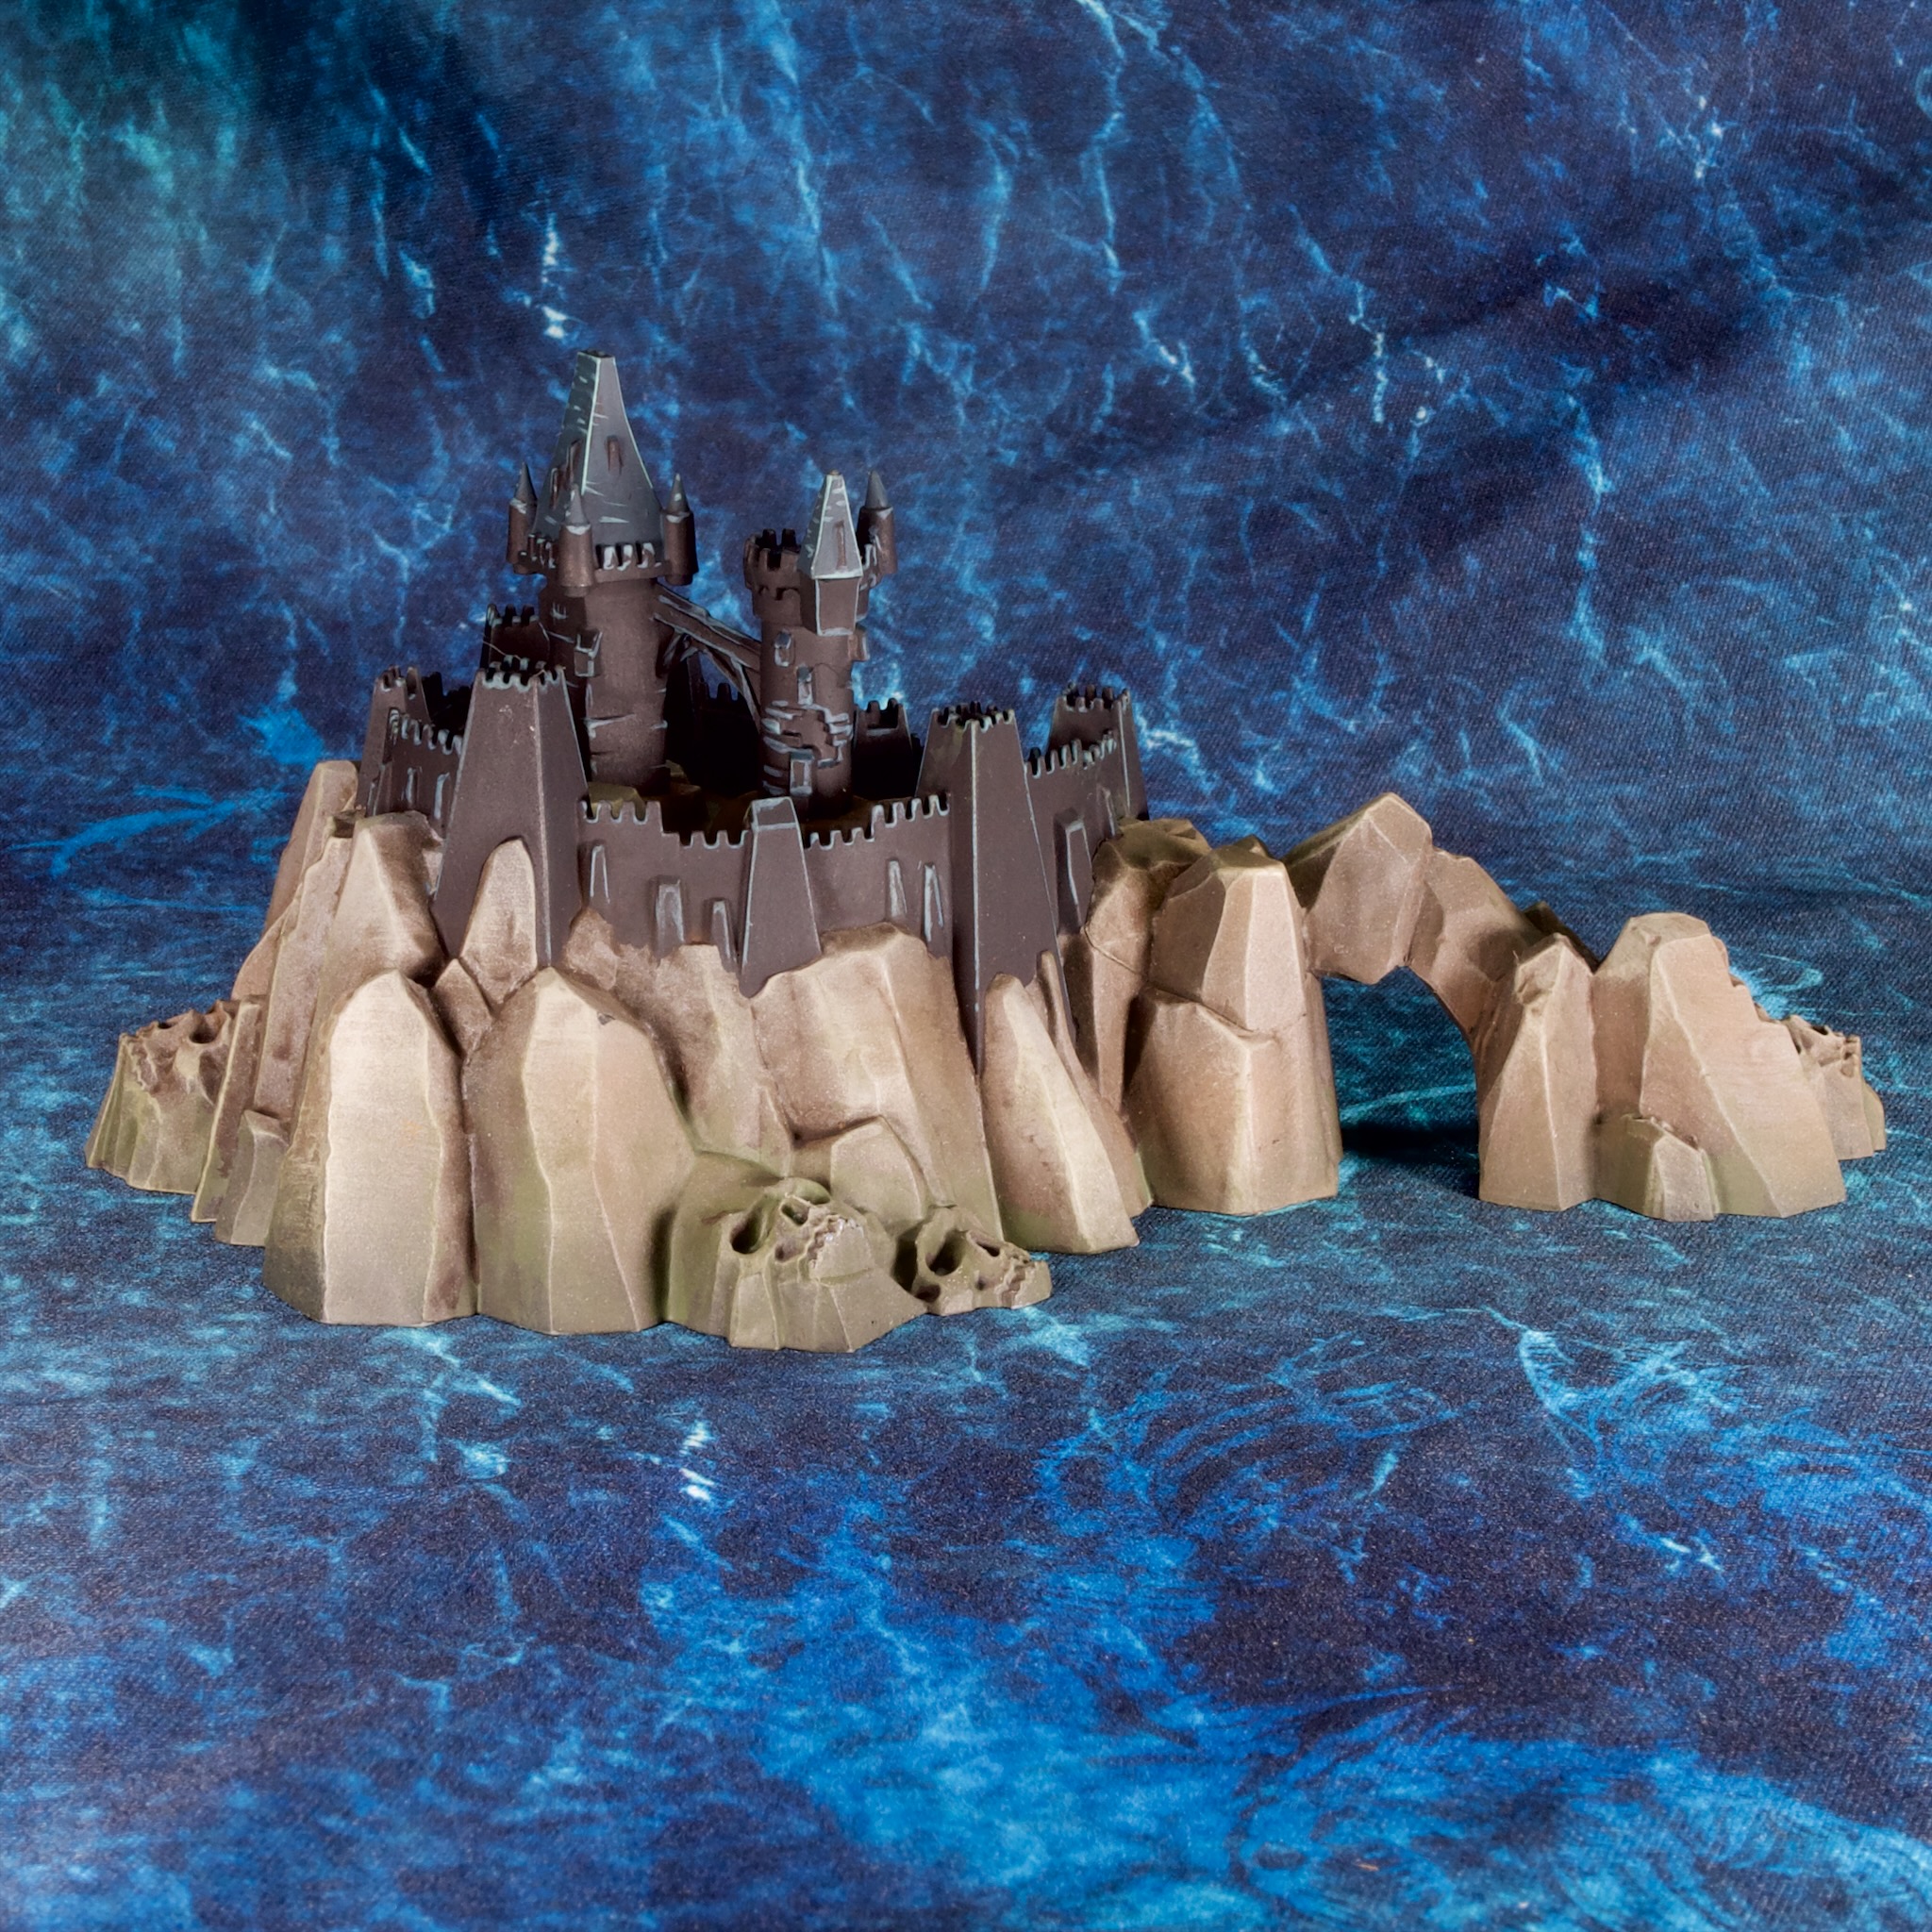
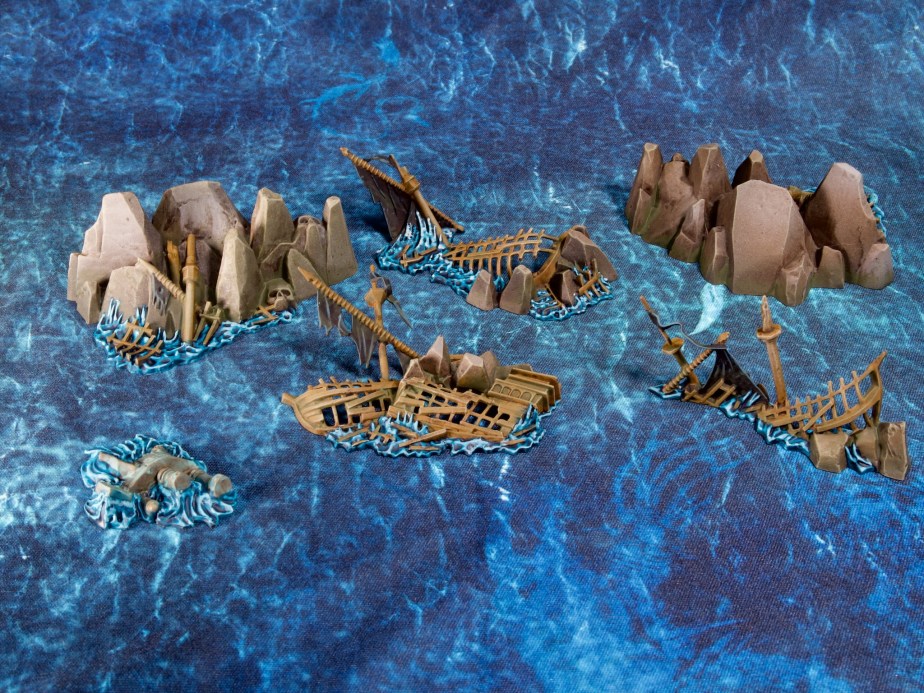
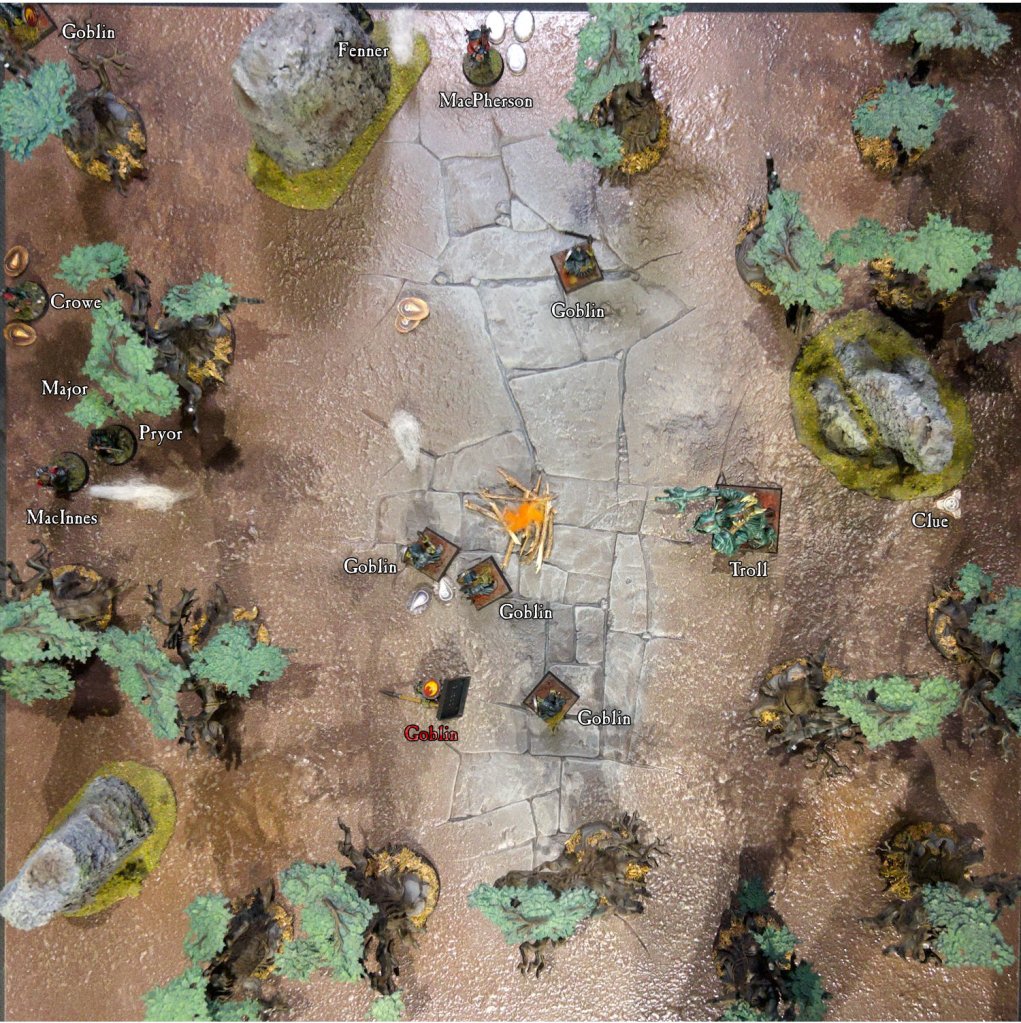
This mission is played on a 2’x2′ table, and rather than marking off an area of my 6’x4′ mat as I’ve done for the last two games, I decided to break out a panel from my Citadel realm of battle board which doesn’t see much use these days (neoprene mats are just so convenient!).
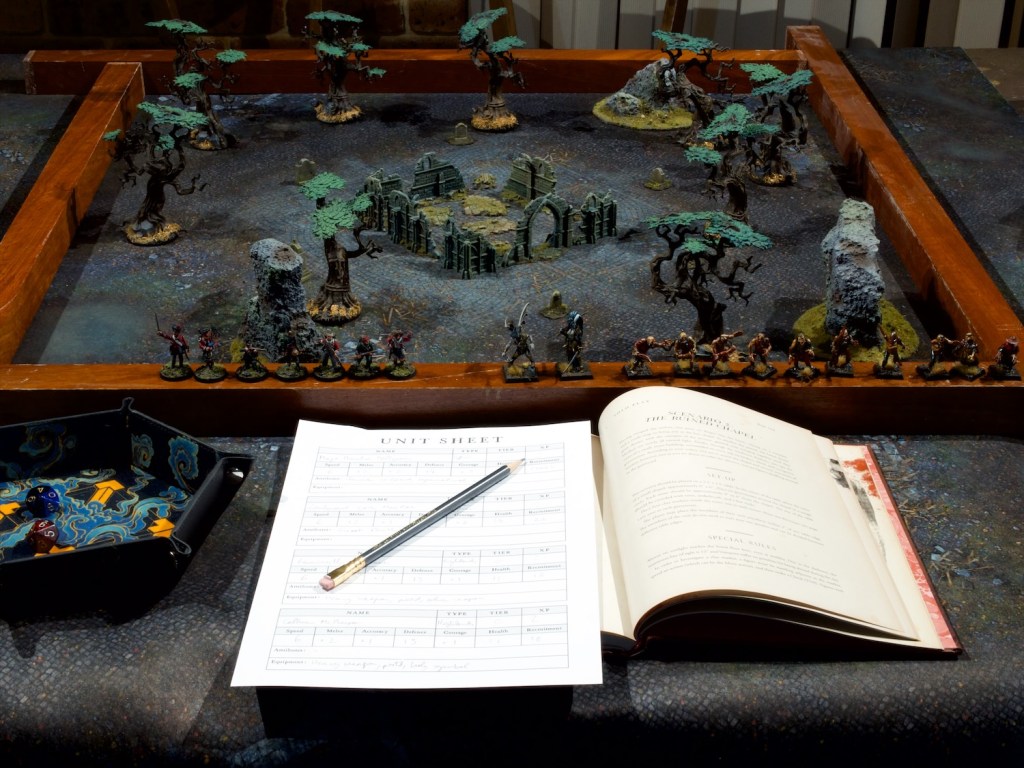
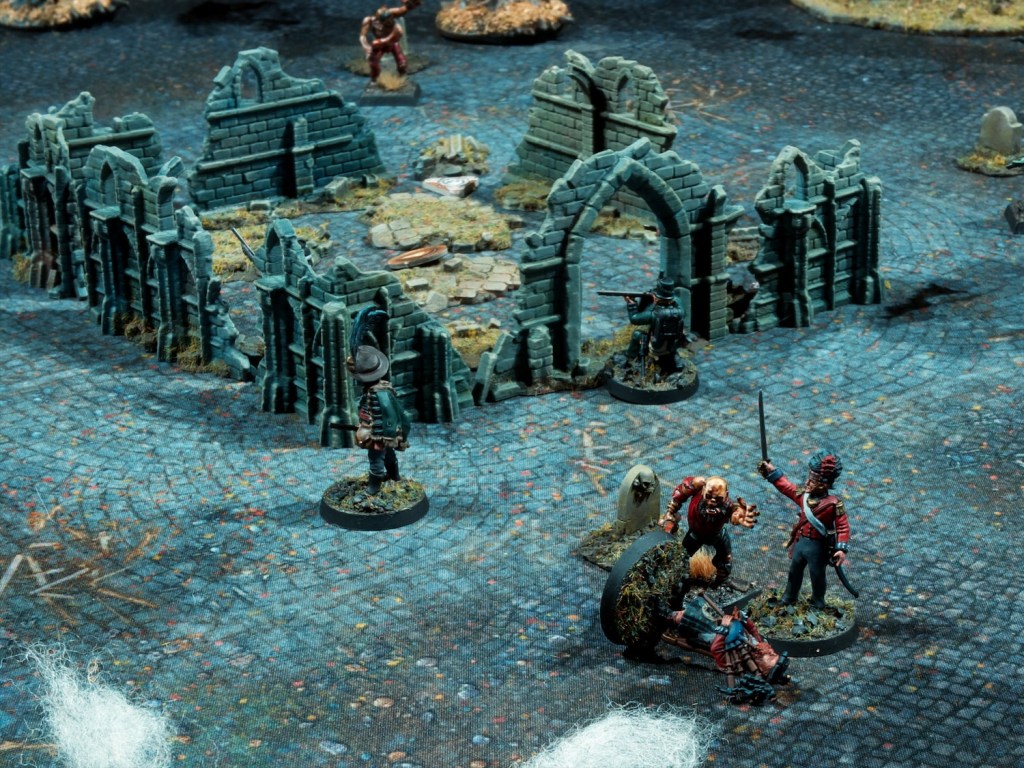
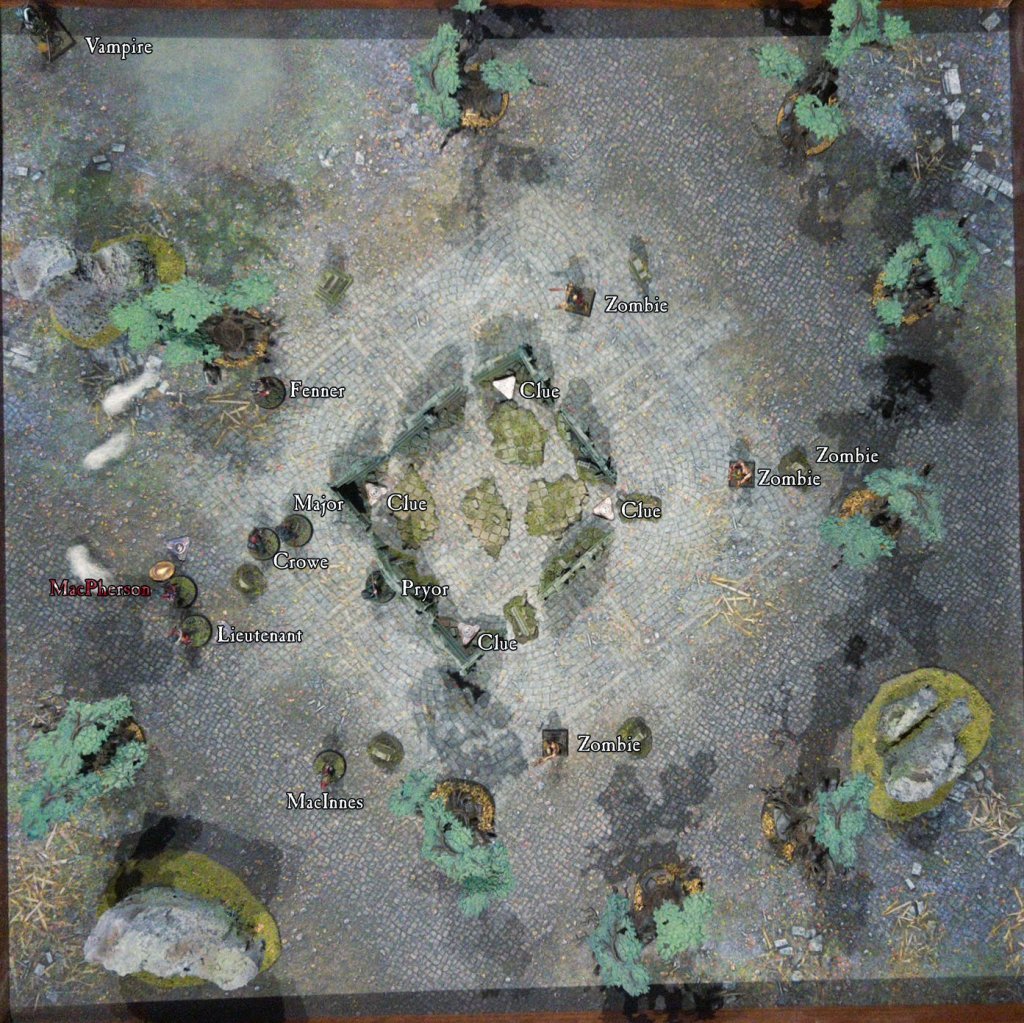
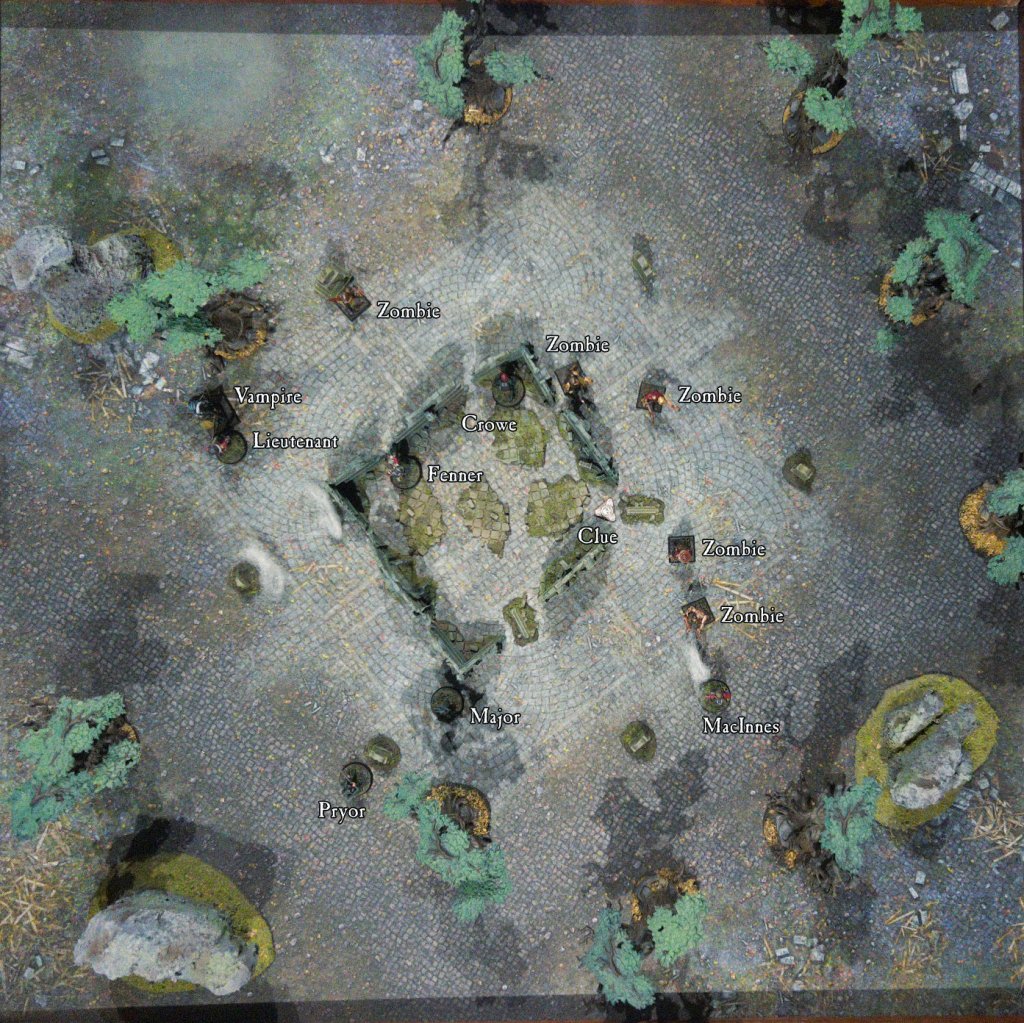
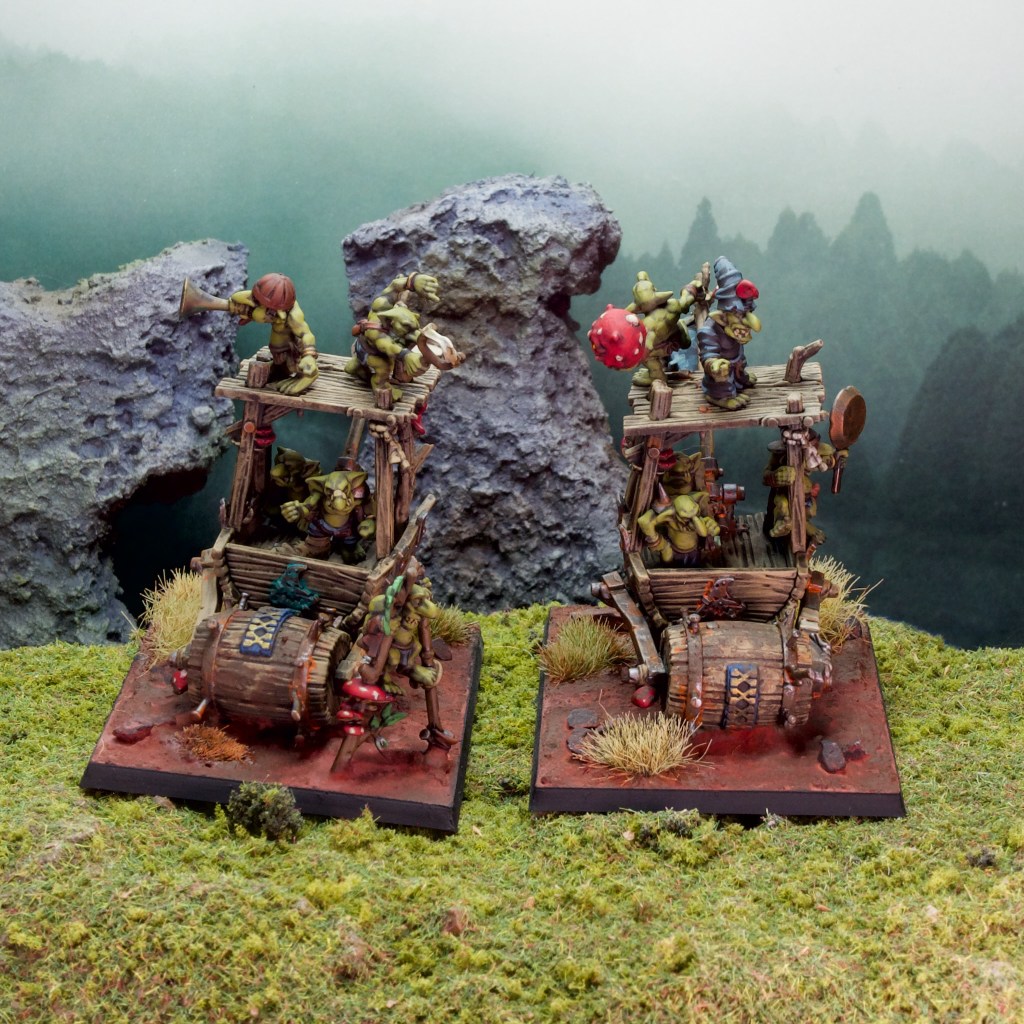
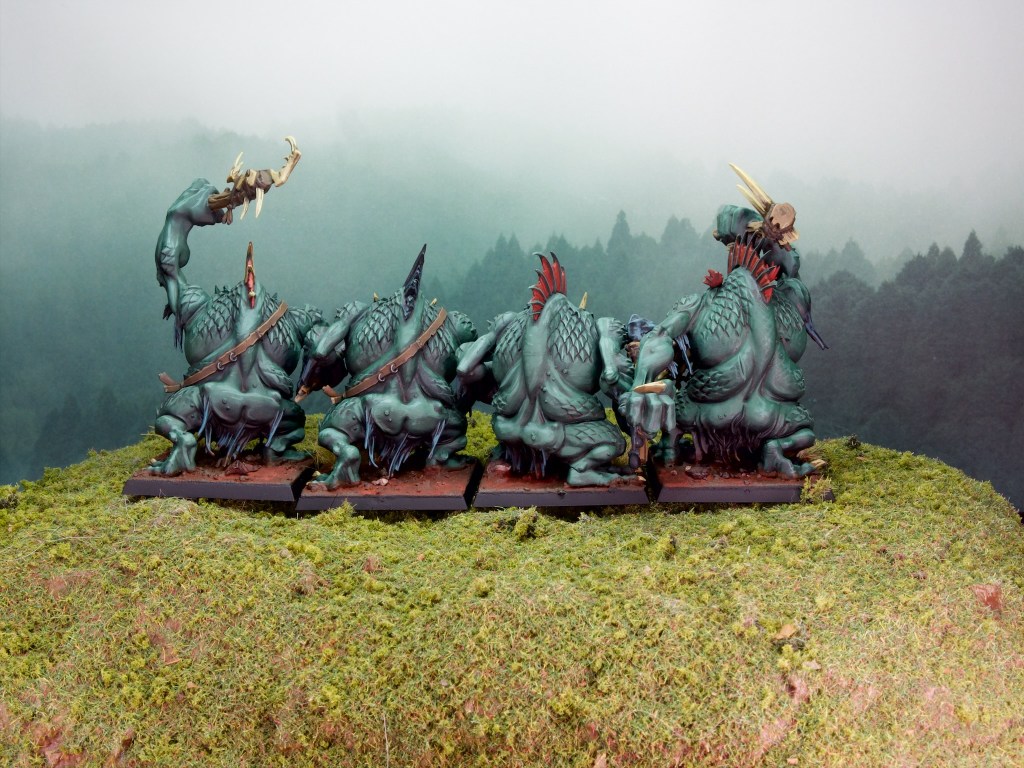
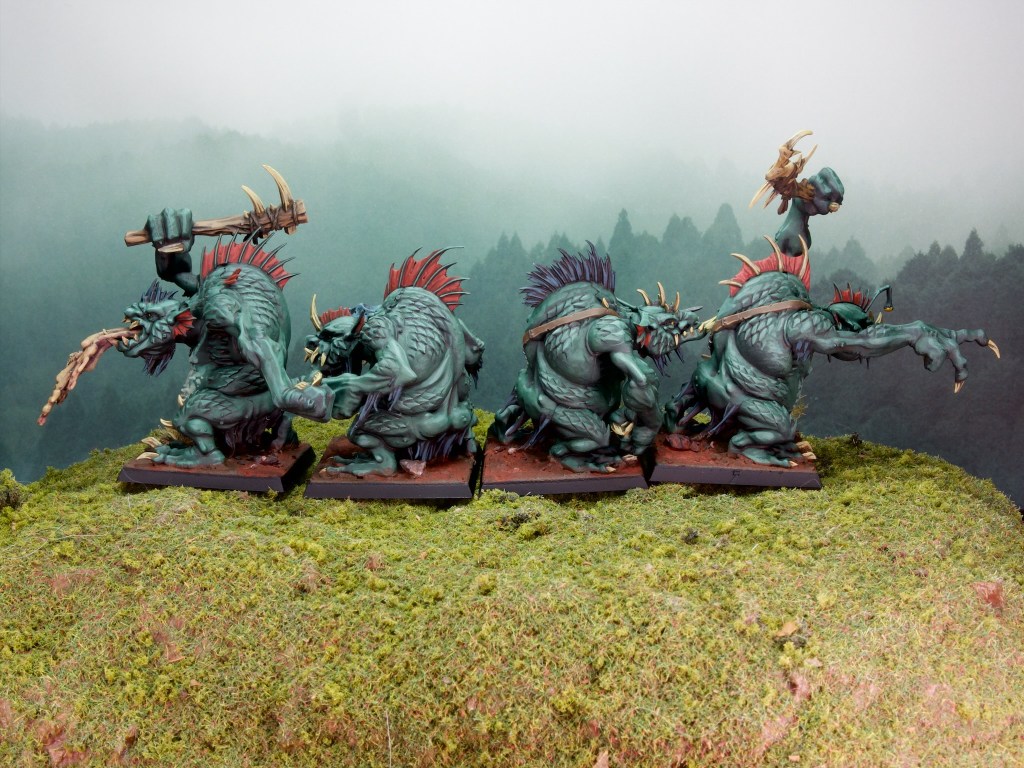
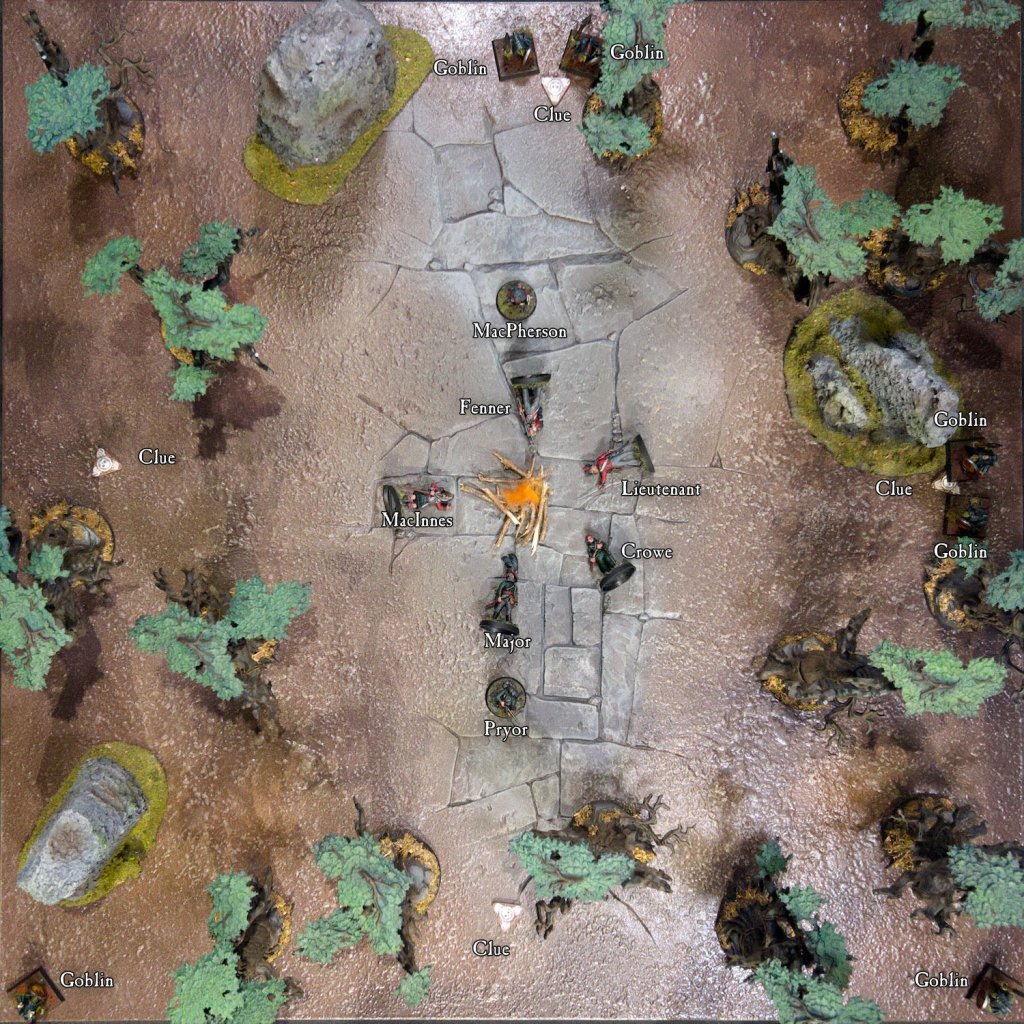
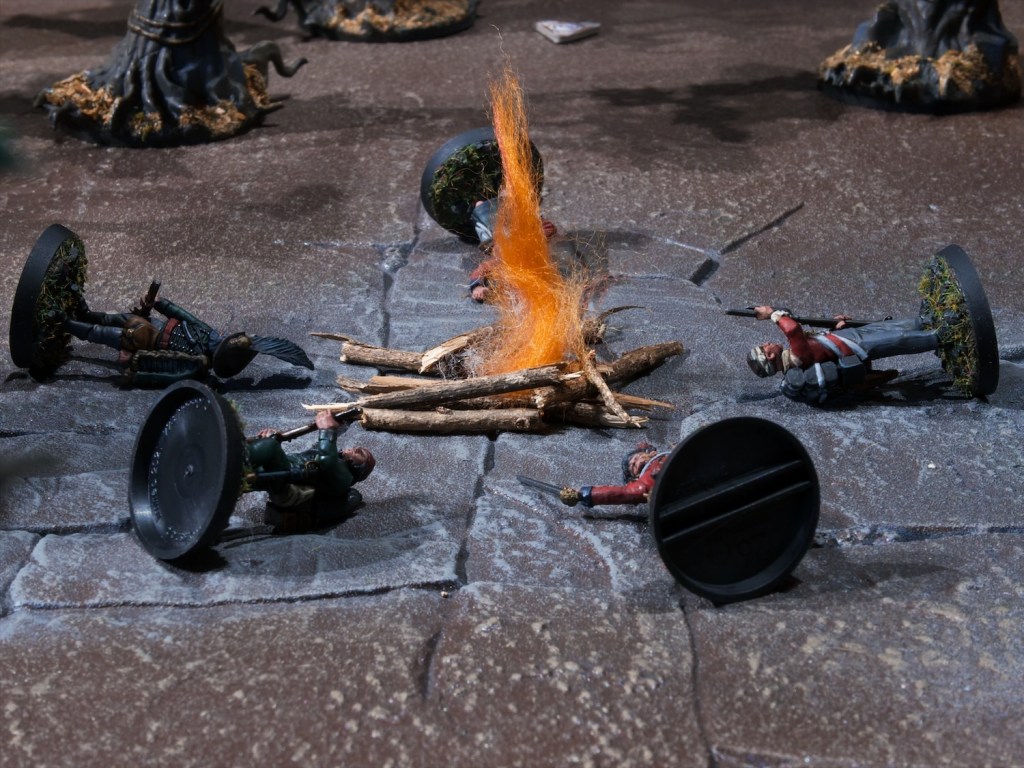
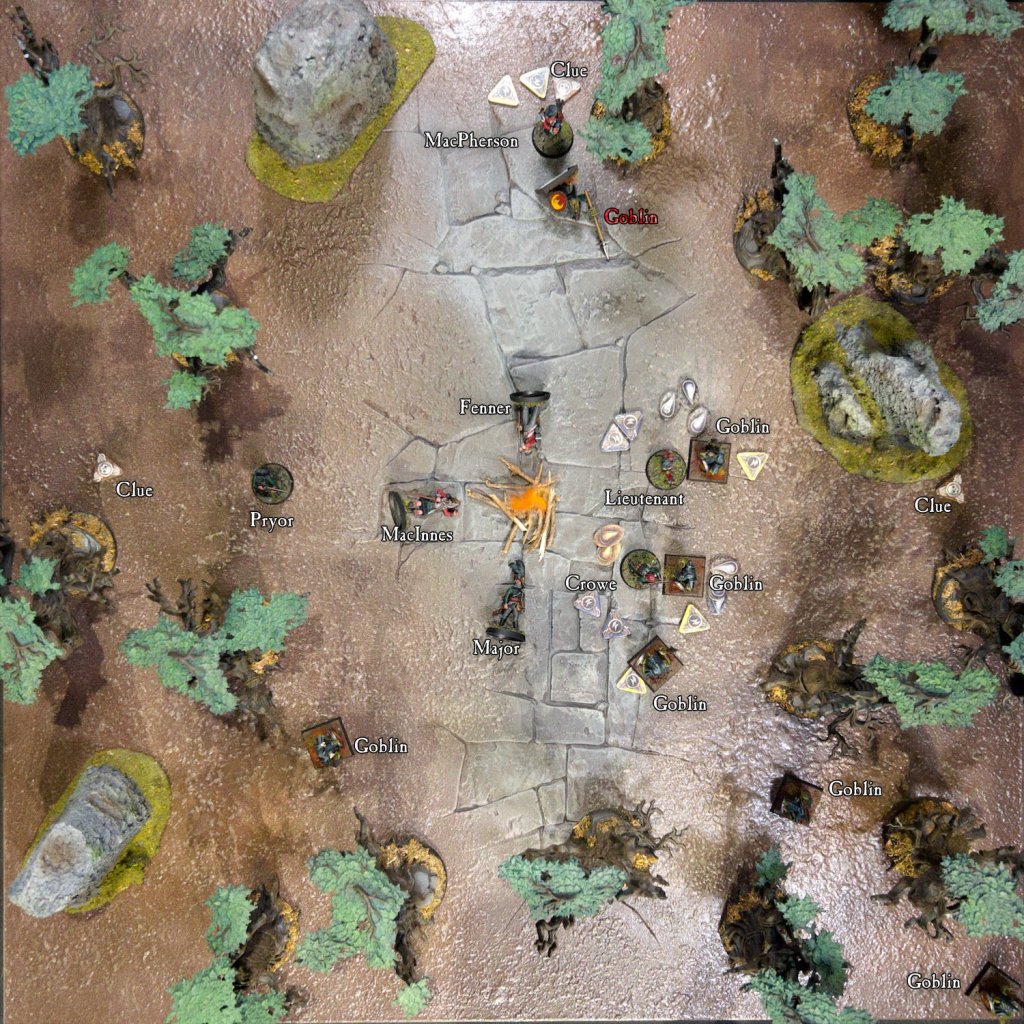
The scenario setup has two randomly selected sentries standing guard while the rest of the unit is asleep around a campfire. There are four clue markers set up close to the outside of the table, two of which have goblins close to them with a further two goblins appearing at two randomly selected table corners. The sleeping figures need to roll each turn to see if they wake, or if a monster attacks them they automatically wake. Either way once a figure wakes it gains fatigue tokens which negatively affect its defense and melee ability for the turn.
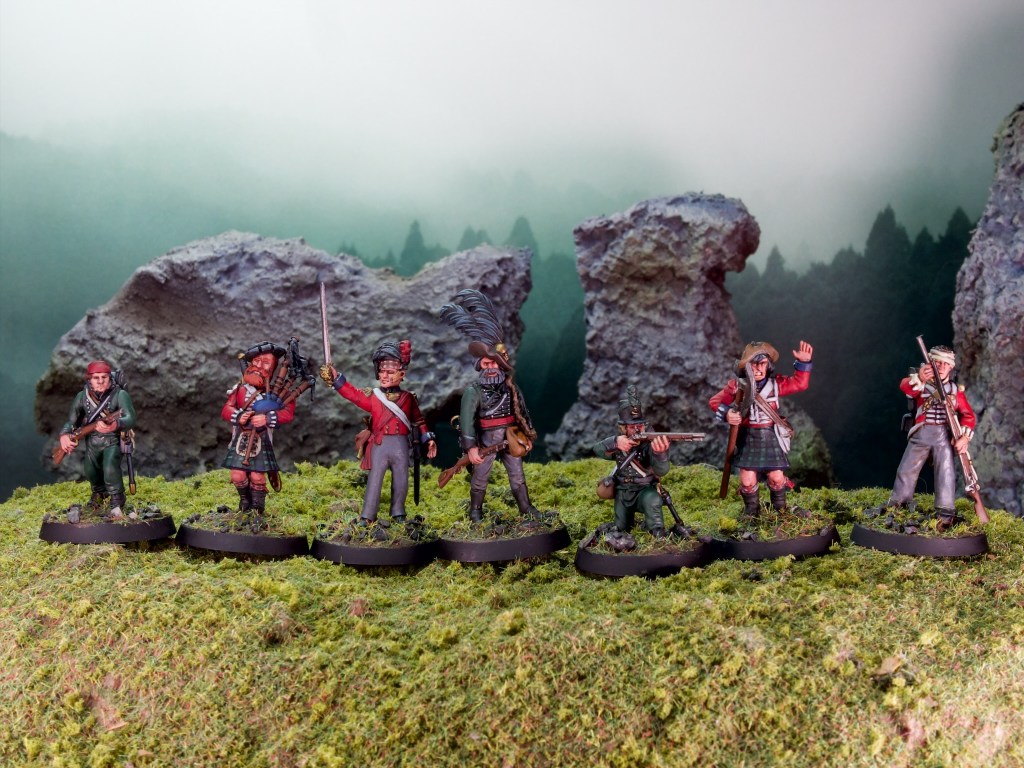
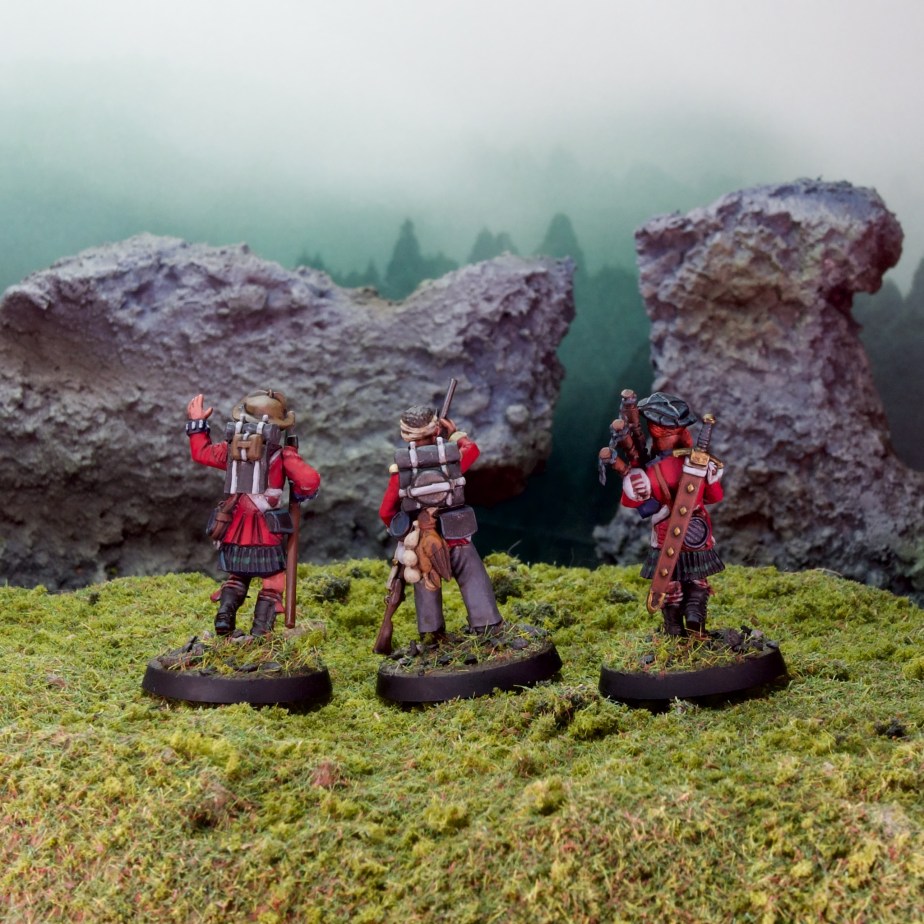
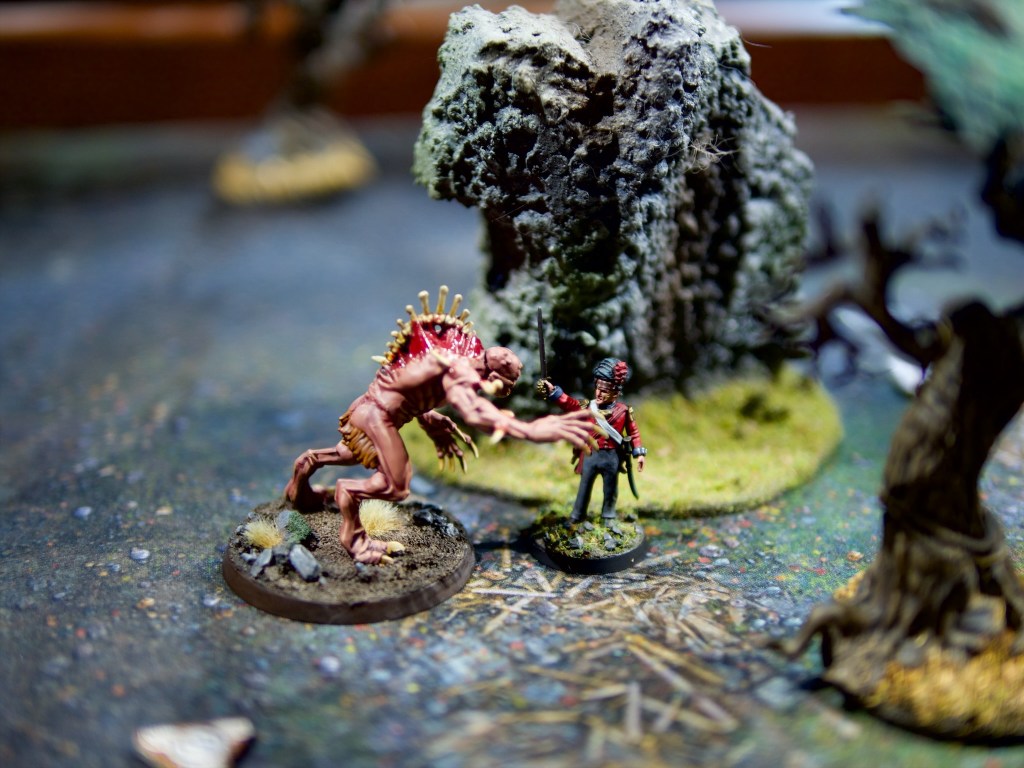
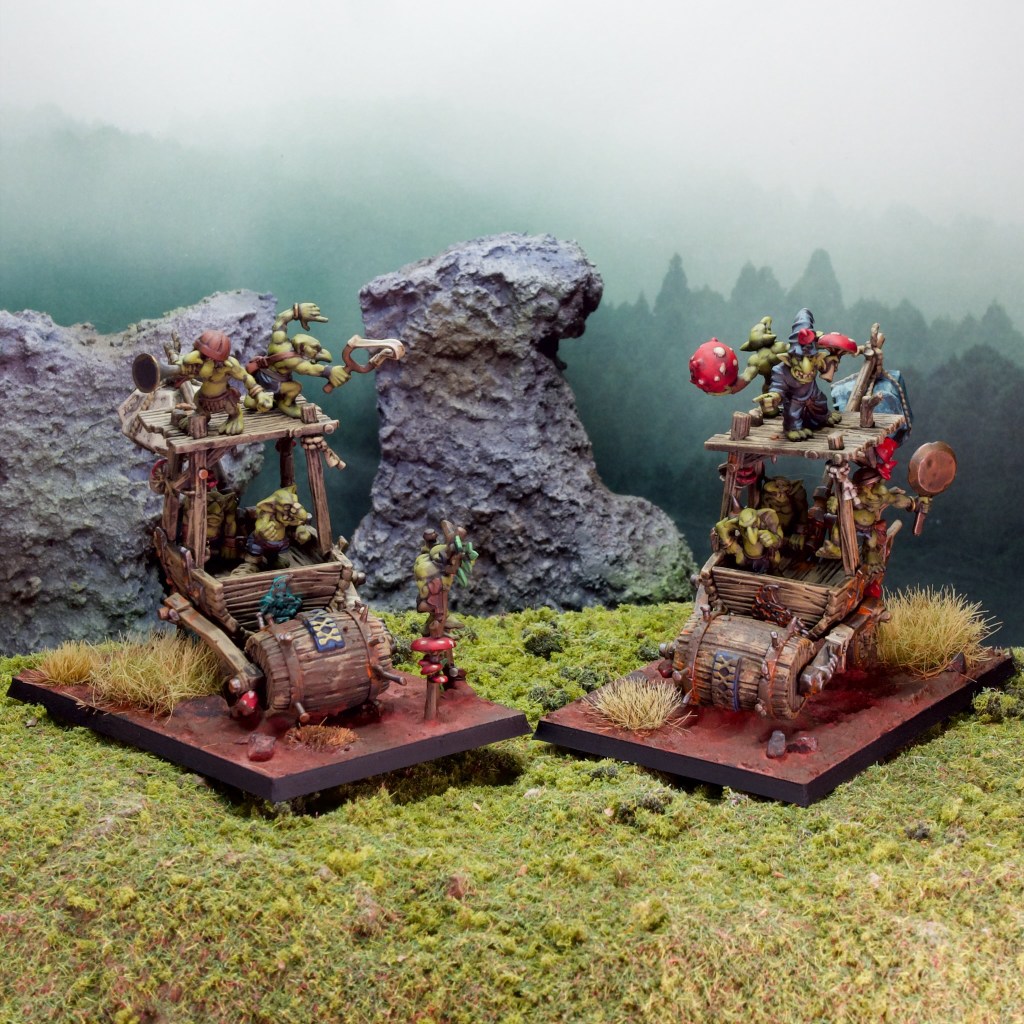
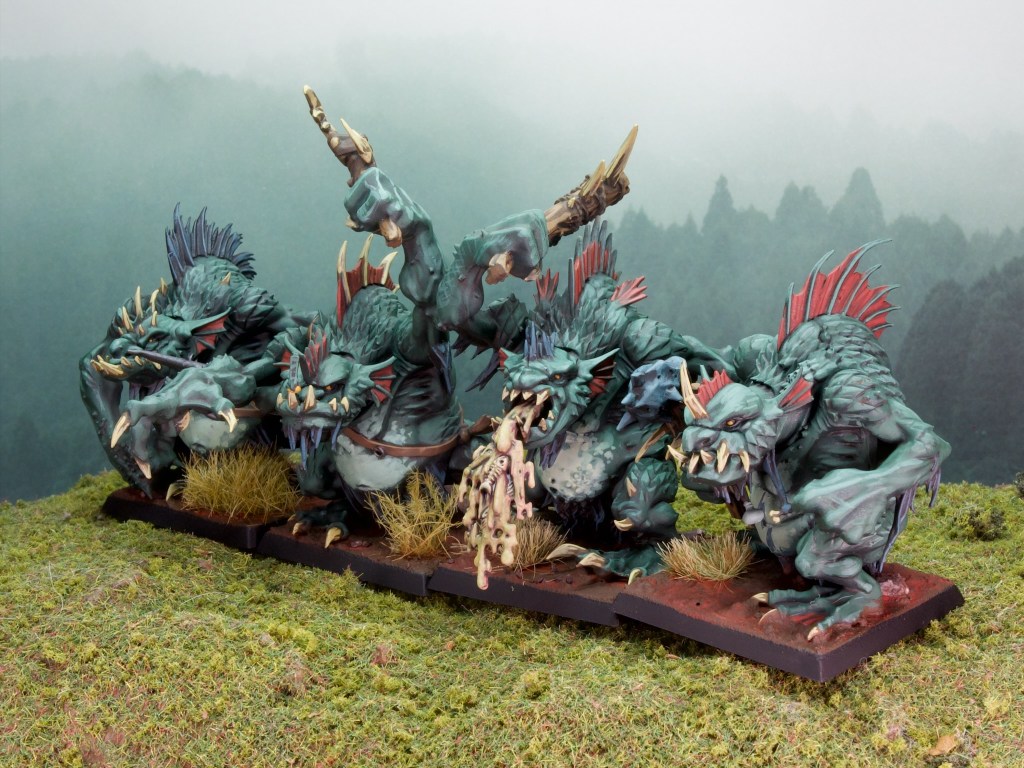
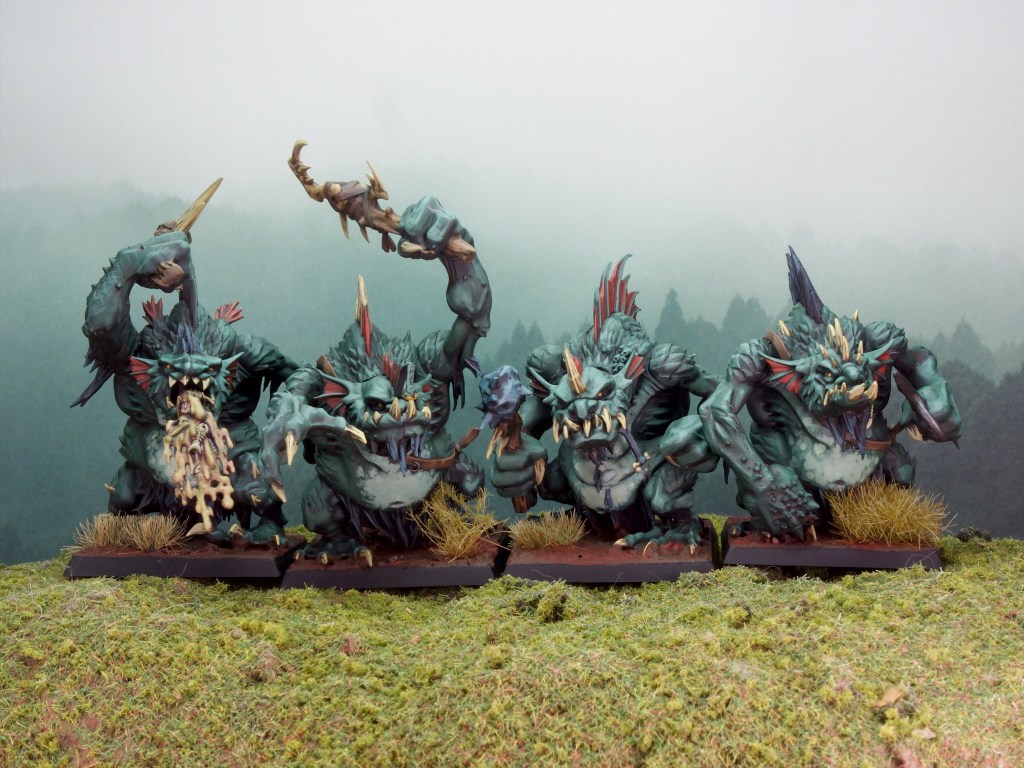
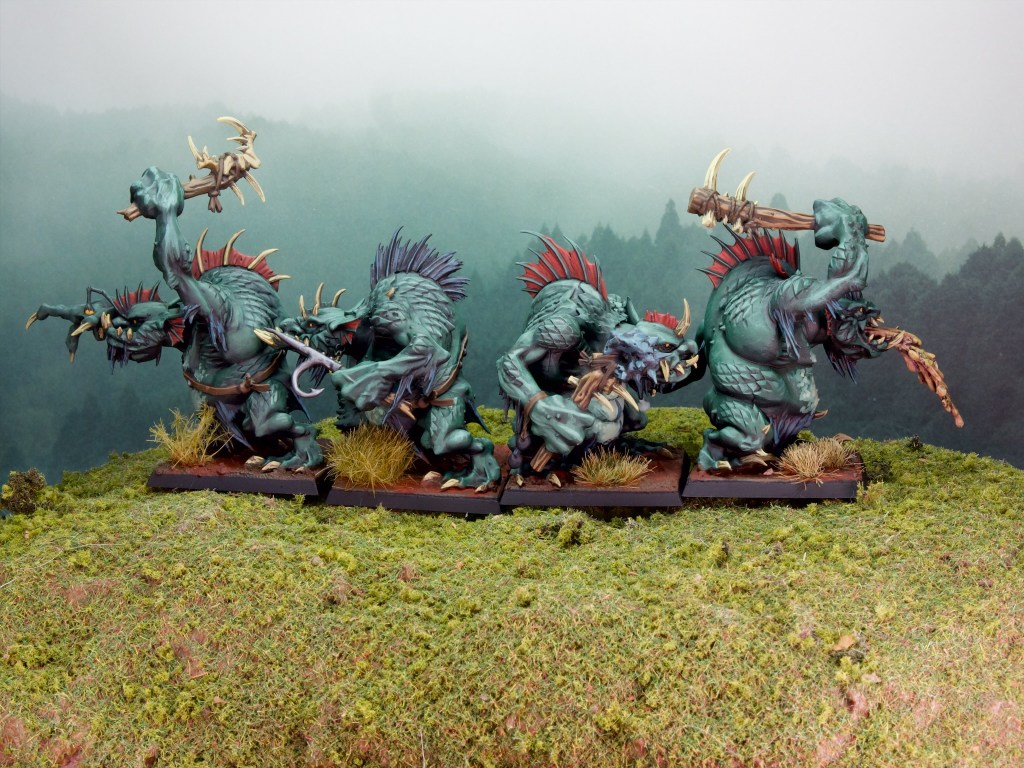
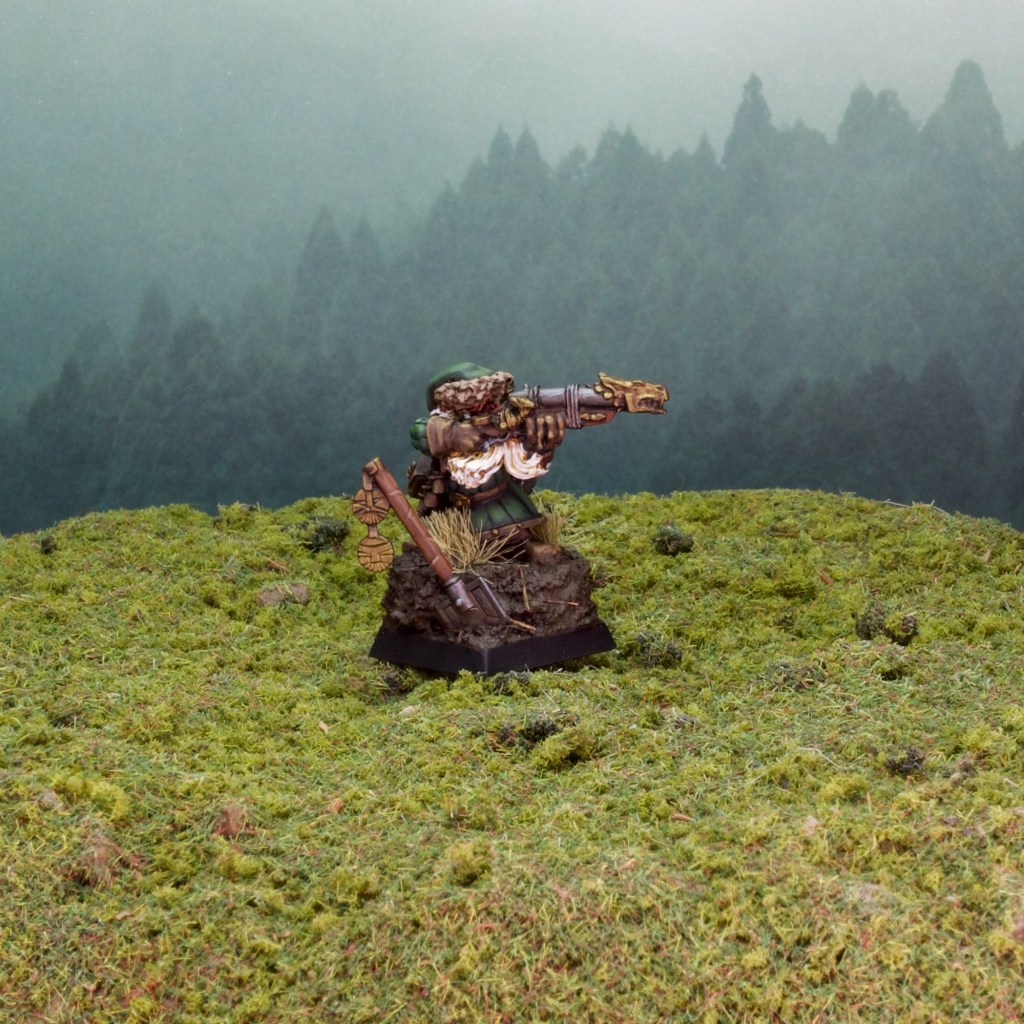
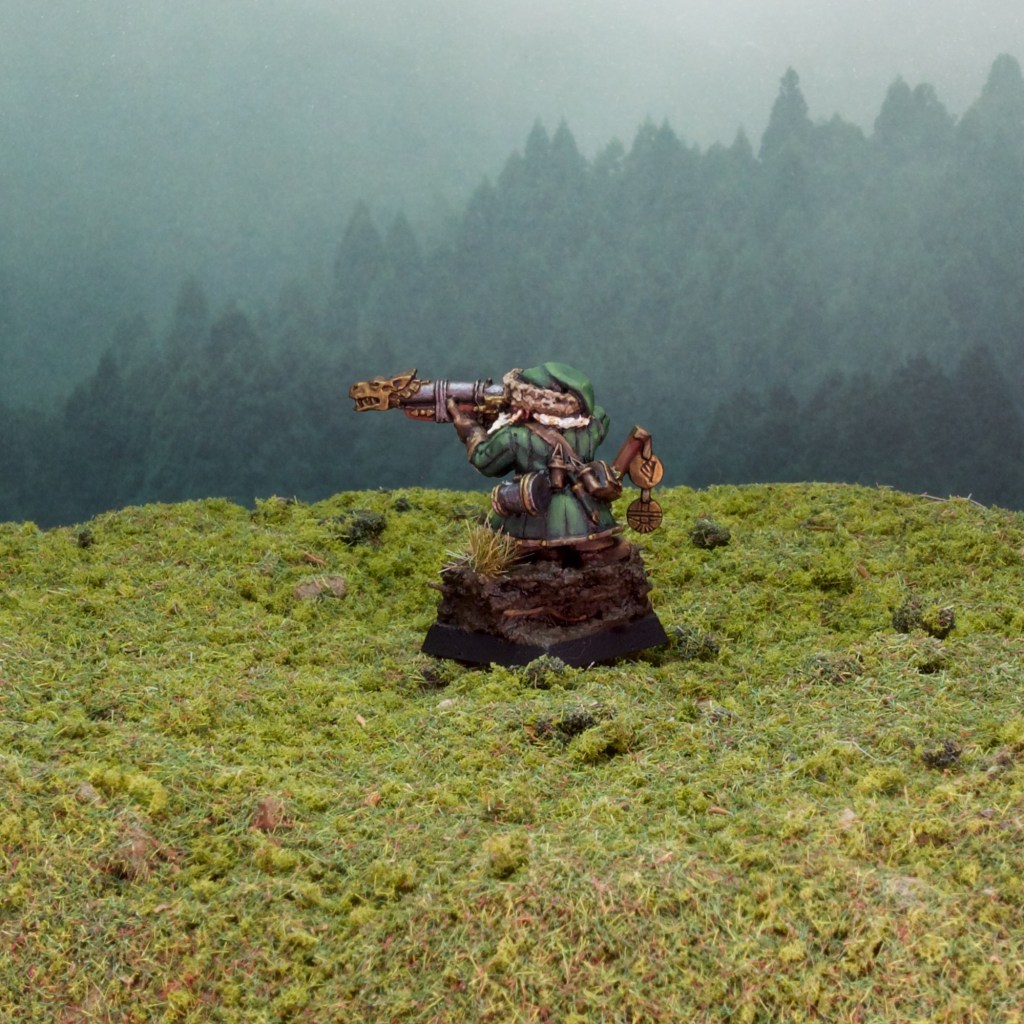
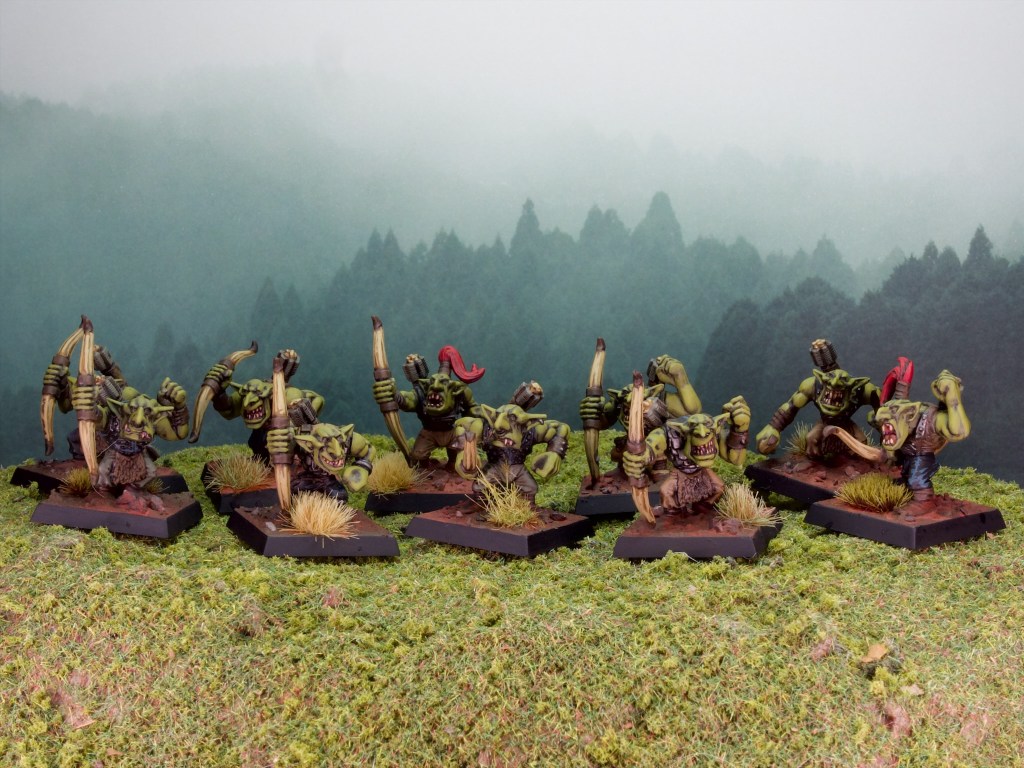
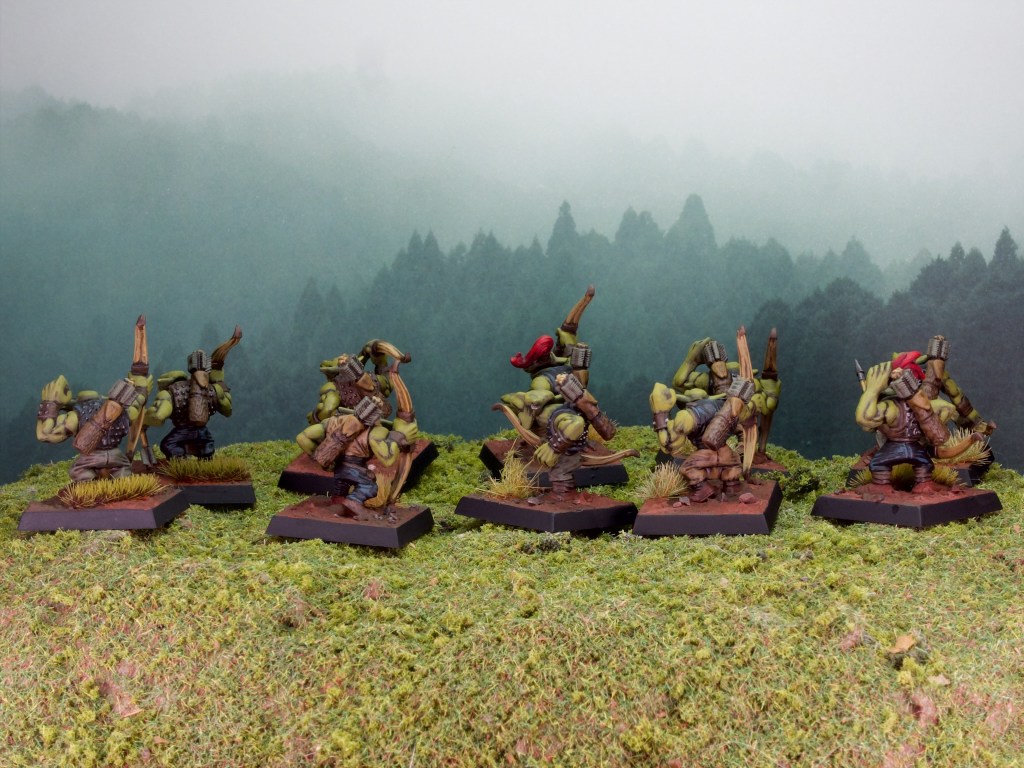
Goblins are very tricky to deal with in the game, they have very high defense, they make mechanical devices fail when close, they are hypnotic meaning voluntarily attacking them is tough, and they have damage reduction (negated by cold iron). They are repulsed by holy symbols, which give them penalties to hit, so MacPherson’s bagpipes should help keep them at bay to some extent!
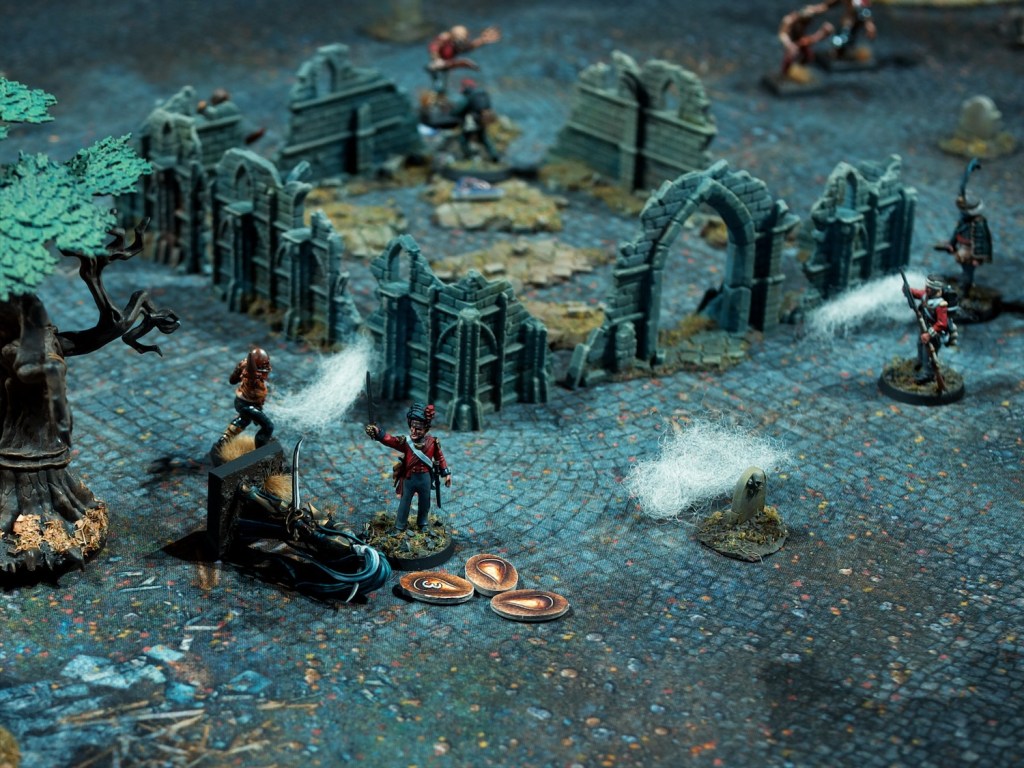
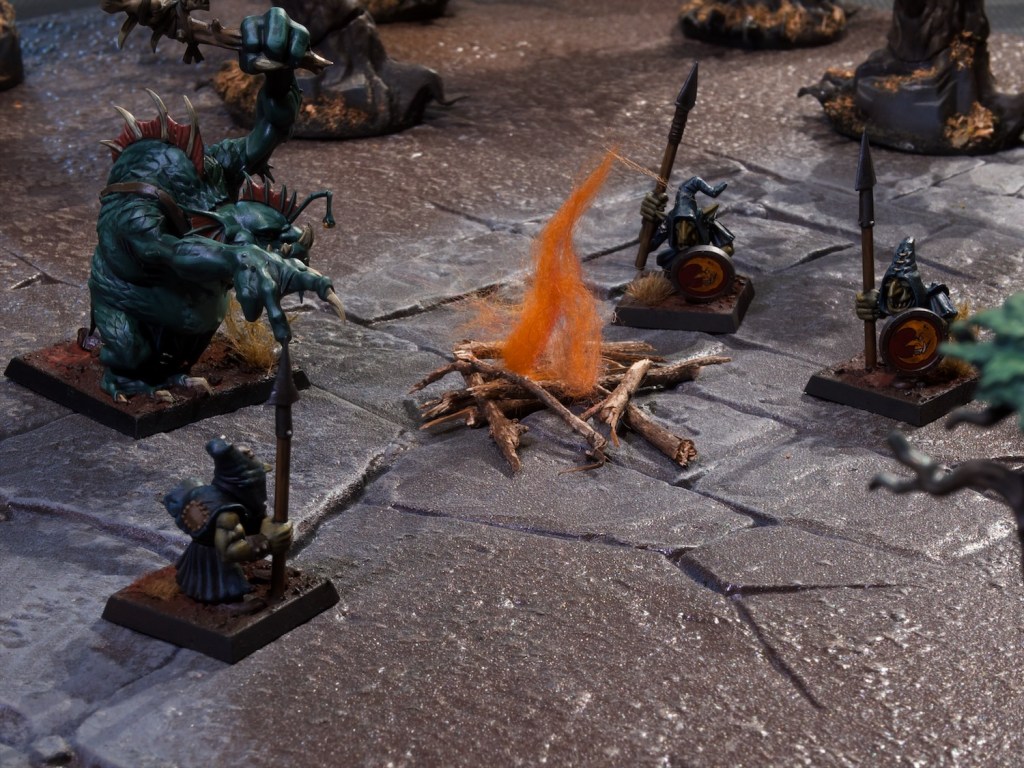
I didn’t have a campfire model on hand, so some twigs from the garden and some orange wool from Bolt Action vehicle damage markers did the trick!
Turn 1
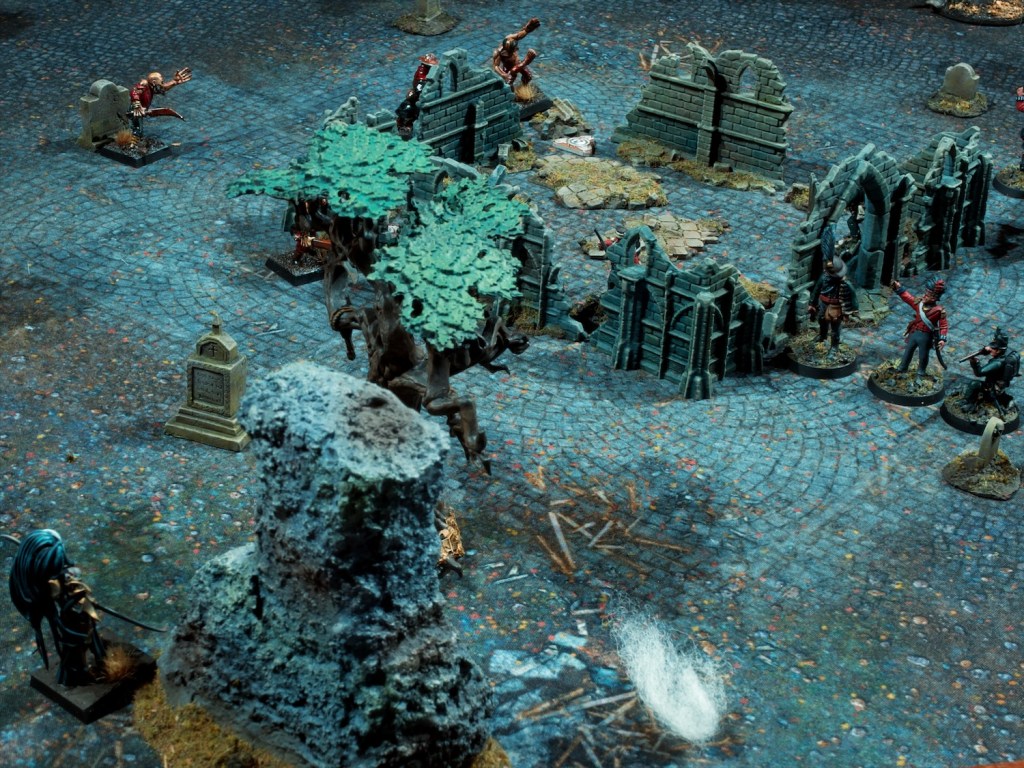
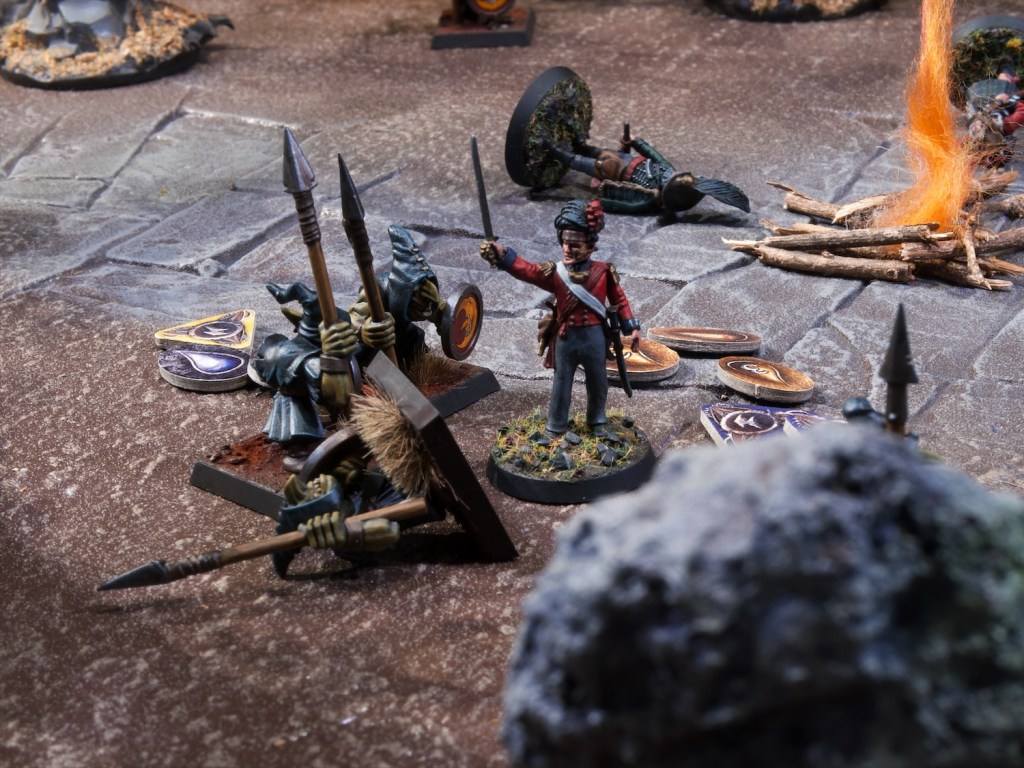
The sentries burst into action, with Pryor moving towards the closest clue and investigating it – finding a gold ring which allows me to add a skill or power die to my fate pool (I choose power). MacPherson tries to shoot the closest goblins but finds his pistol won’t fire. Clearly the creatures have some power over mechanical devices! He attacks instead and scores a solid hit. The goblin misses on its attack back, clearly disturbed by the bagpipes. The Major stirs but fails to wake. The goblins near MacPherson swamp him but his pipes affect them and they both miss. On the other hand he rolls amazingly and hits both with his attacks back, killing one.
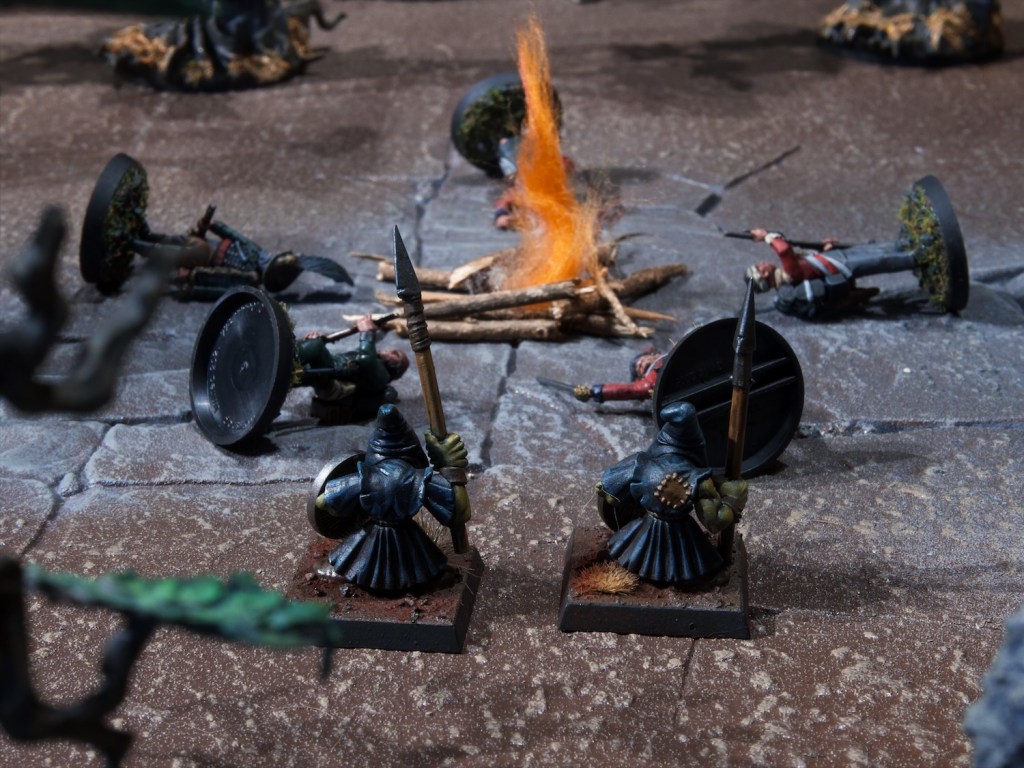
The rest of the goblins close in on the sleeping forms which all fail to wake! At the end of the turn another goblin enters the table.
Turn 2
MacPherson and Pryor are still the only two awake at the start of the turn. MacPherson continues his rampage, disposing of the second goblin. Pryor sprints towards a second clue. The major keeps slumbering. The goblins next to the camp reach Lieutenant MacRae and Crowe and attack them, waking them. Very luckily for me (given both men are fatigued) the only goblin attack that hits only deals small amounts of damage. Even more lucky, MacRae hits his opponent back and Crowe hits one of the two goblins attacking him. The other goblins close in on the camp fire, and my sleeping figures all fail to wake. MacRae attacks on his turn, misses and the goblin strikes nastily, prompting me to burn a fate die to reduce the damage. Another goblin arrives onto the table, things are looking pretty grim.
Turn 3
MacPherson runs to the rescue of the Lieutenant and Crowe, charging the closest goblin. His attack misses, but so does his opponent’s strike back. Crowe is one of the only models in posession of cold iron shot so I really need him to be able to fire which he cannot do if he’s close to them due to their disruptive aura. For that reason he moves back and takes a shot but misses. The Lieutenant then dives in the gap and takes on Crowe’s attackers. He misses and so does the goblin.
The goblin on MacPherson attacks, misses (those bagpipes!) and MacPherson misses right back. MacRae is in for a bloodier fight: the first goblin attacks, hits him for low damage, and MacRae’s strike back kills the goblin (after I spend my skill die re-roll). The second goblin hits him, dealing 10 damage, which would take MacRae out! I spend my second power die to reduce the damage – this keeps MacRae in the game. MacRae scores a solid hit back. The third goblin also hits MacRae and this time it’s too much for the brave Lieutenant and he collapses. The last goblin charges the Major, waking him by scoring a solid hit. The Major tries to strike back but misses, still bleary-eyed.
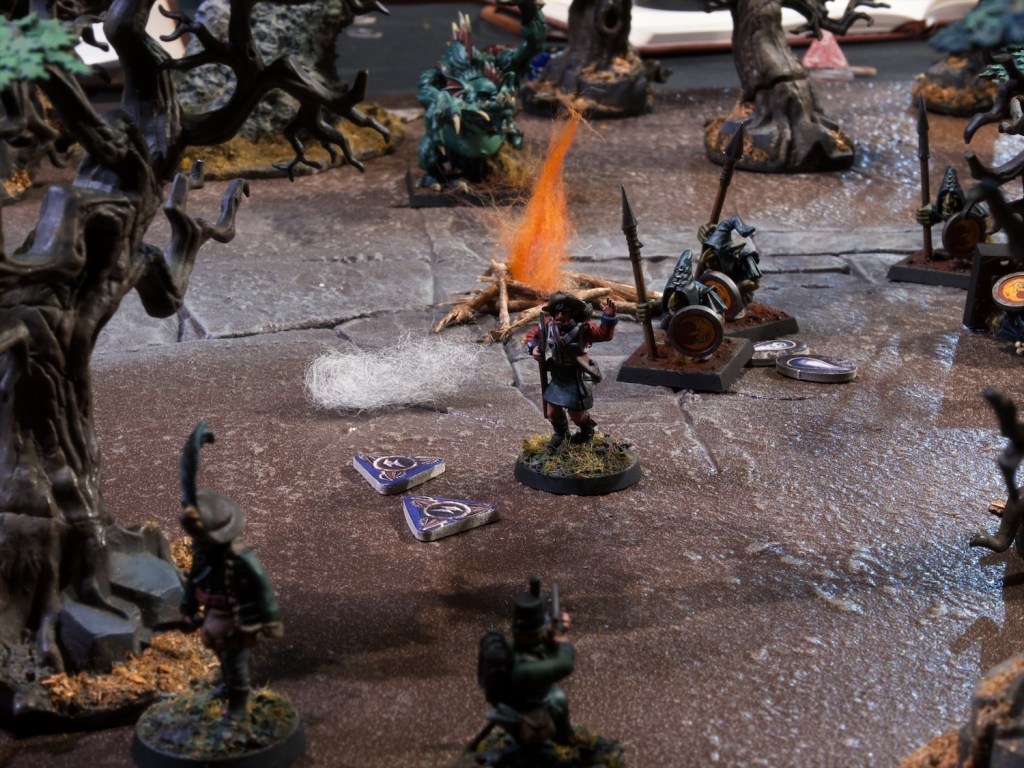
Pryor investigates the clue he was moving towards last turn and finds some nice dry wood which he lights up, never know when something will need to be set on fire! Fenner finally wakes up and moves to investigate the clue to the north. He finds a bag of iron nails that he promptly loads into his musket. The Major moves away from his attacker and fires his rifle at it, hitting and heavily wounding the goblin. MacInnes sleeps on.
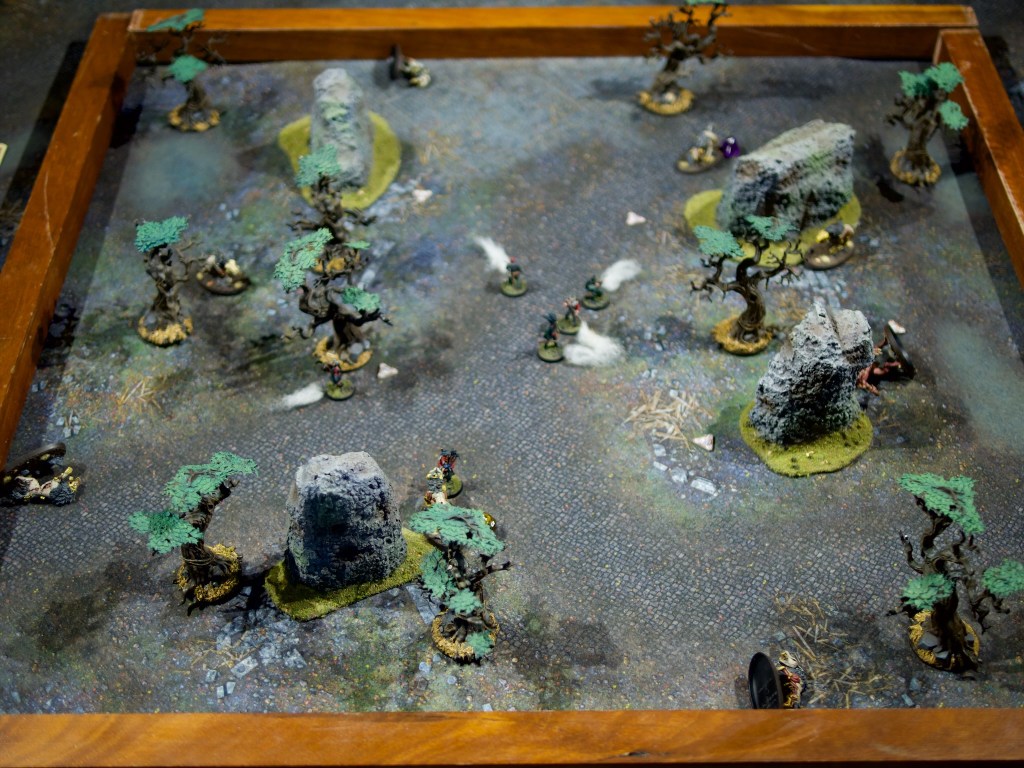
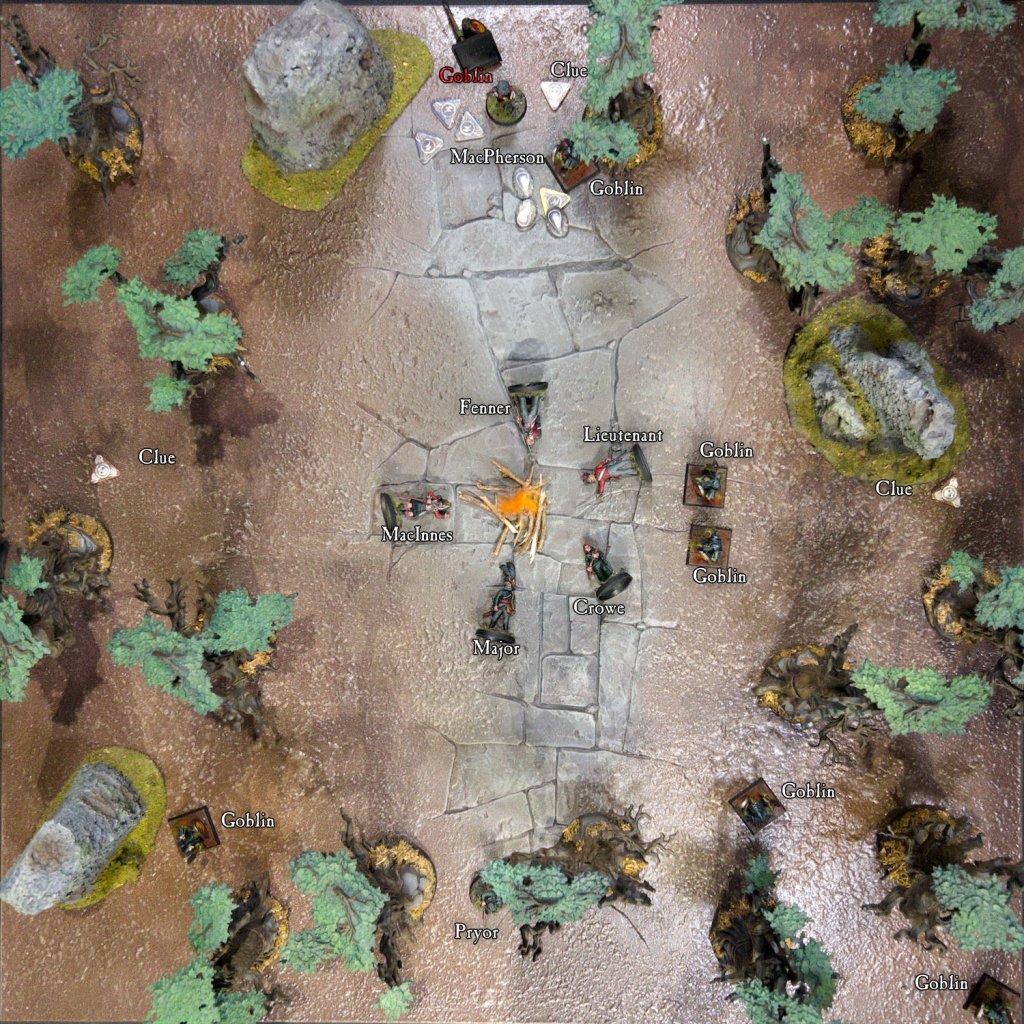
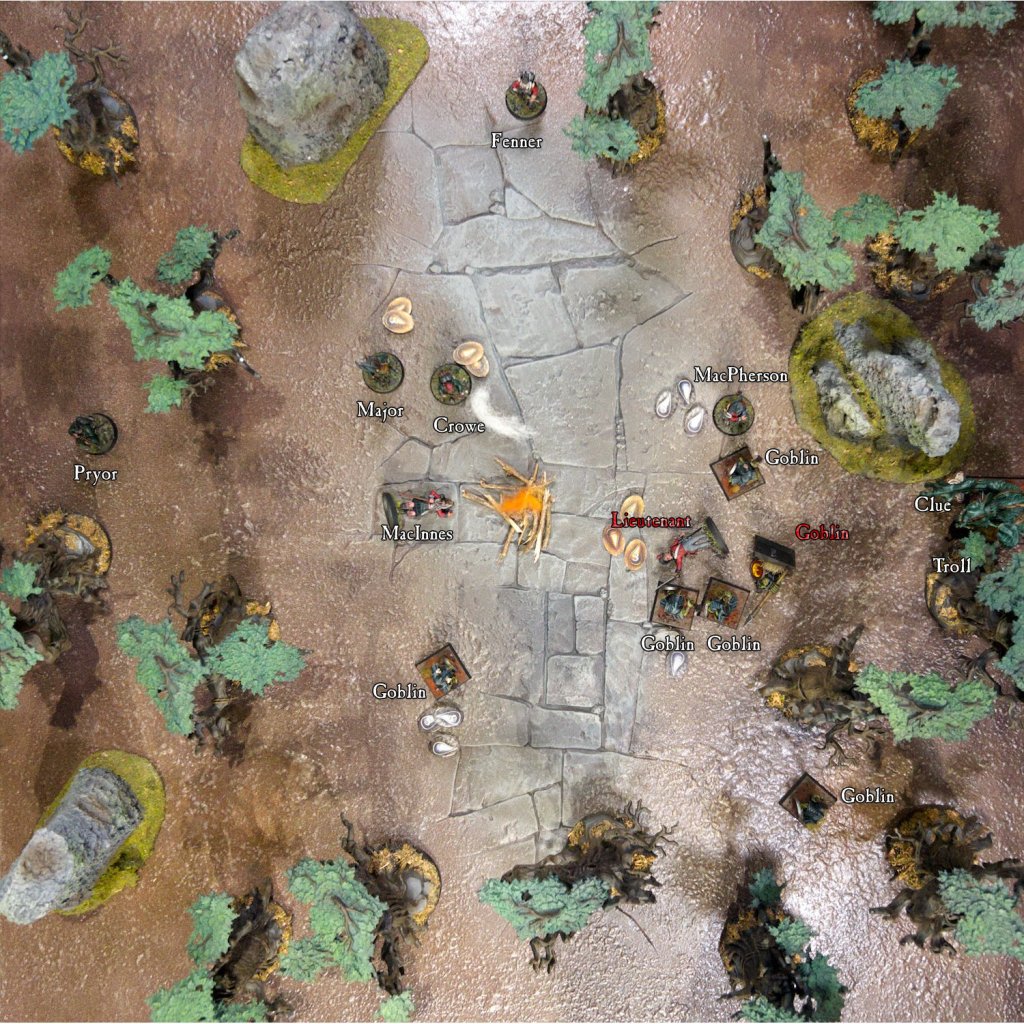
A large troll walks onto the eastern edge of the table.
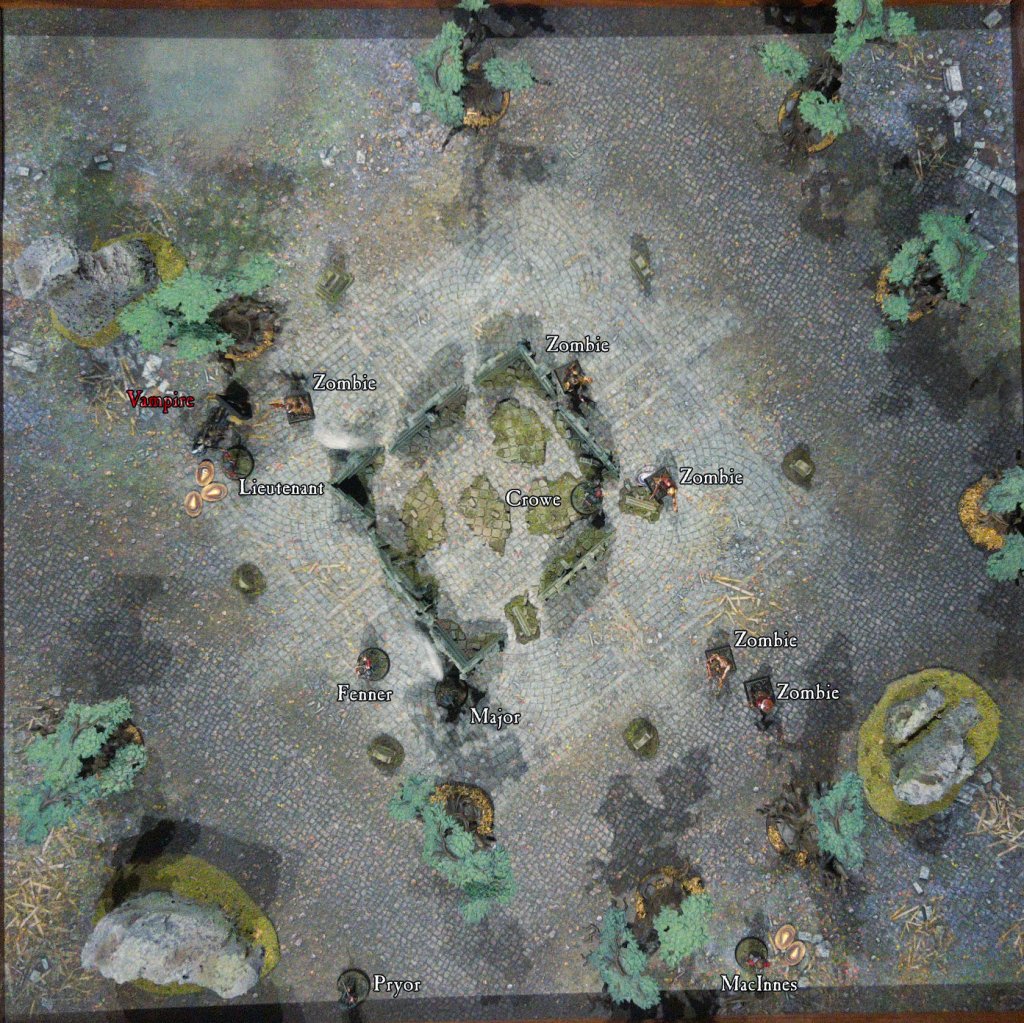
Turn 4
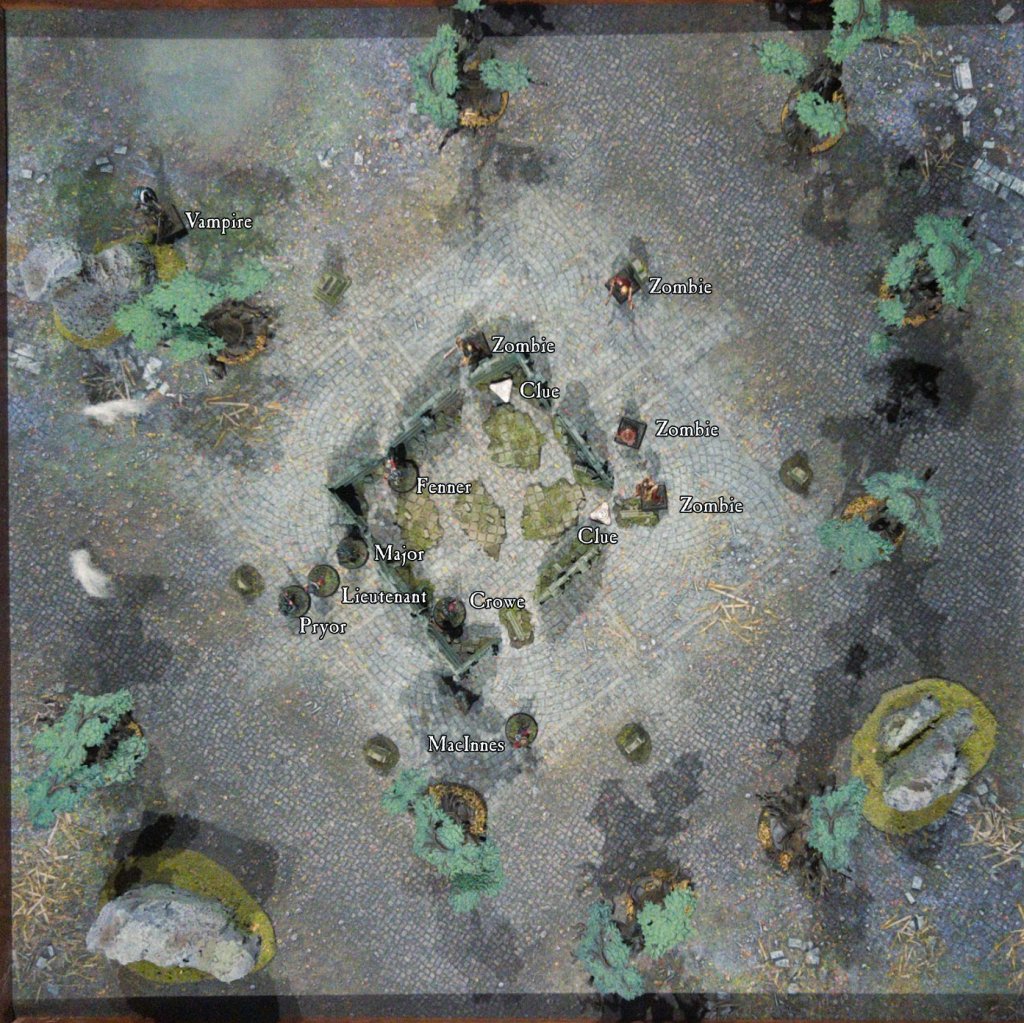
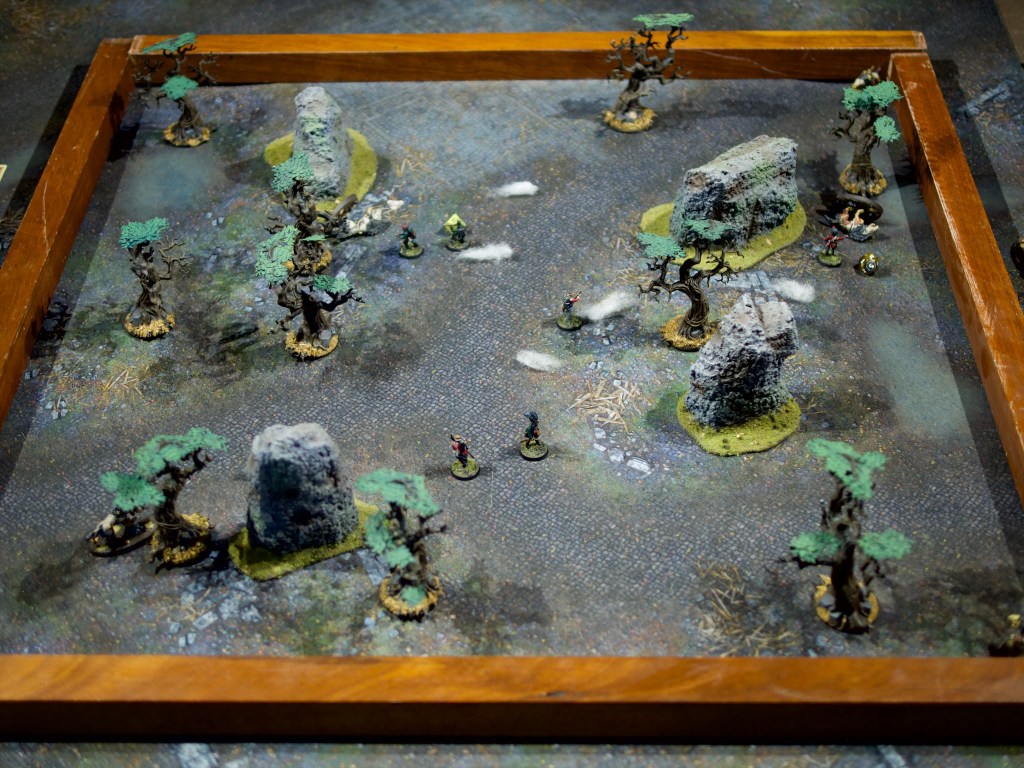
At this stage, the Lieutenant is down, a troll is approaching, and the goblins have been cleared from the North-West corner of the board. Time to clear out!
MacPherson sprints away from the goblins. Crowe walks away and reload his rifle with some cold iron shot. The Major does a quick reload and fires at the closest goblin but misses. He then also moves away. Most goblins are now out of range of attacking anyone so they just follow the unit members. One goblin is in range of MacInness and rushes him, waking him up with a close miss. MacInnes reads the room and moves back rather than attacking back. The troll approaches the campfire, picks up a rock and throws it but misses.
Fenner moves back and fires his iron nails at the closest goblin but misses. McInnes legs it away from the goblin, fires his pistol and also misses. Crowe moves back and reloads.
Another goblin enters from the North East corner.
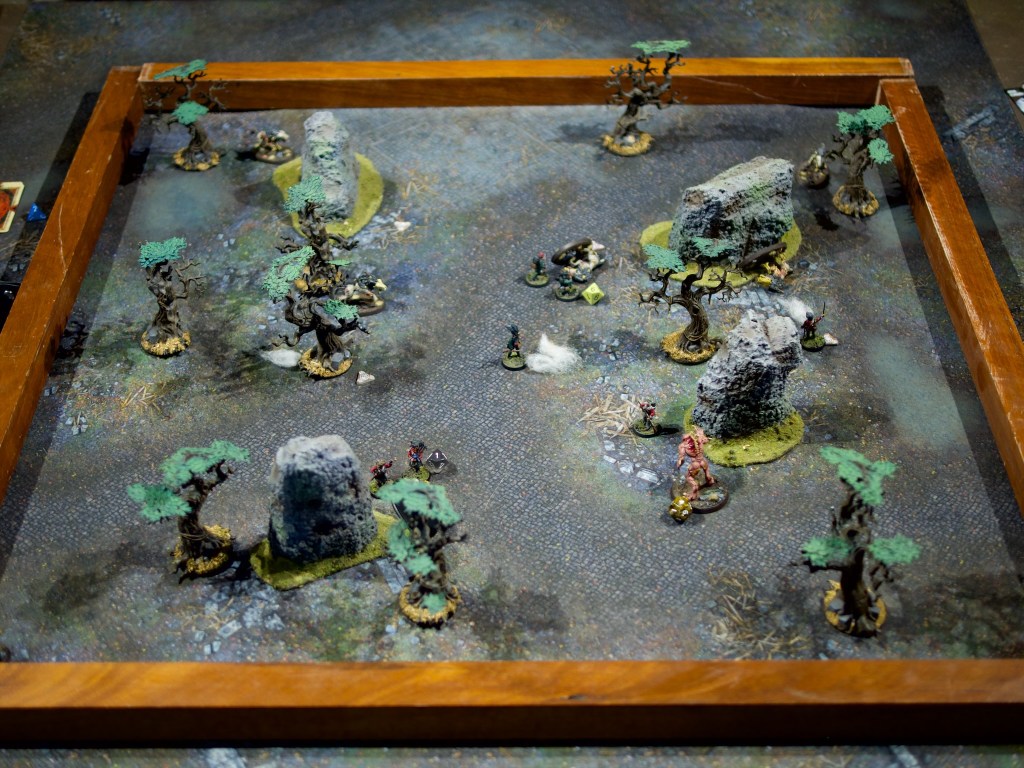
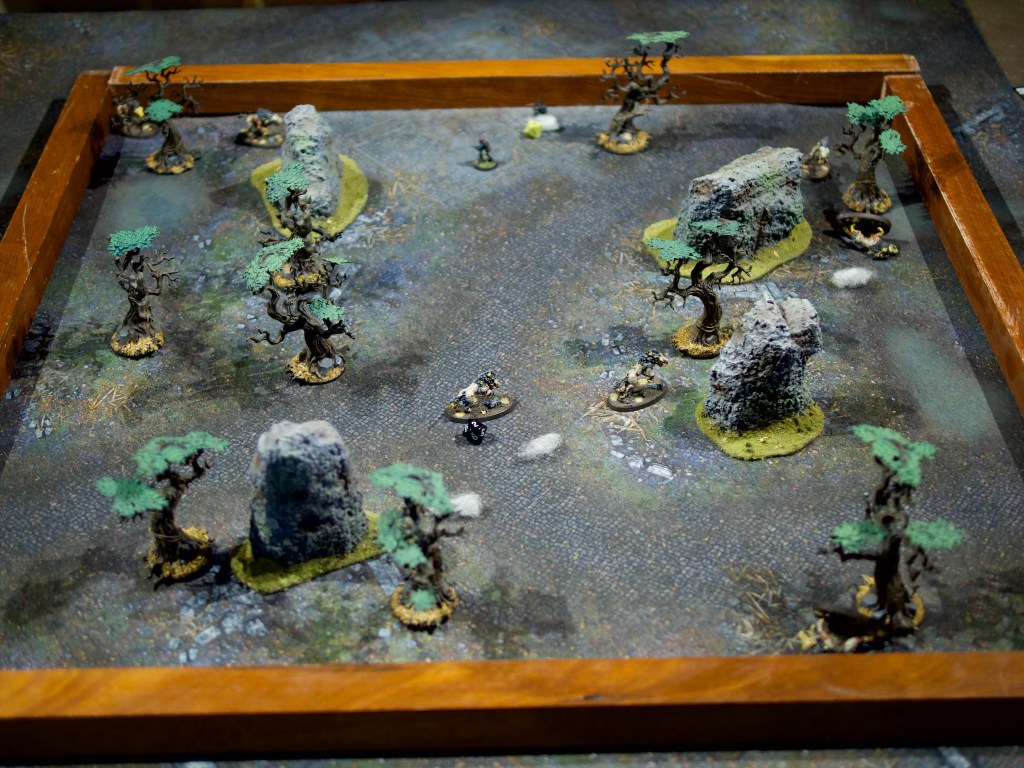
Turn 5-6
These turns are rather uneventful, the unit moves back and finally off the board, taking pot shots at goblins and the troll but no more real damage is done.
After the game I rolled on the injury table for Lieutenant MacRae and he picked up a permanent injury for his troubles, with a nasty leg wound that reduces his move by one.
This mission felt like the hardest by far, the goblins are really tough! I didn’t even brave tangling with the Troll, that felt like a good way of losing half my unit. This game is quite interesting, I achieved most of the objectives (investigating 3 clues, killing 3 goblins, getting 6 unit members off the table), but it still felt like losing as I unceremoniously scampered off the table. It’s a great bit of atmosphere through mechanics I think.
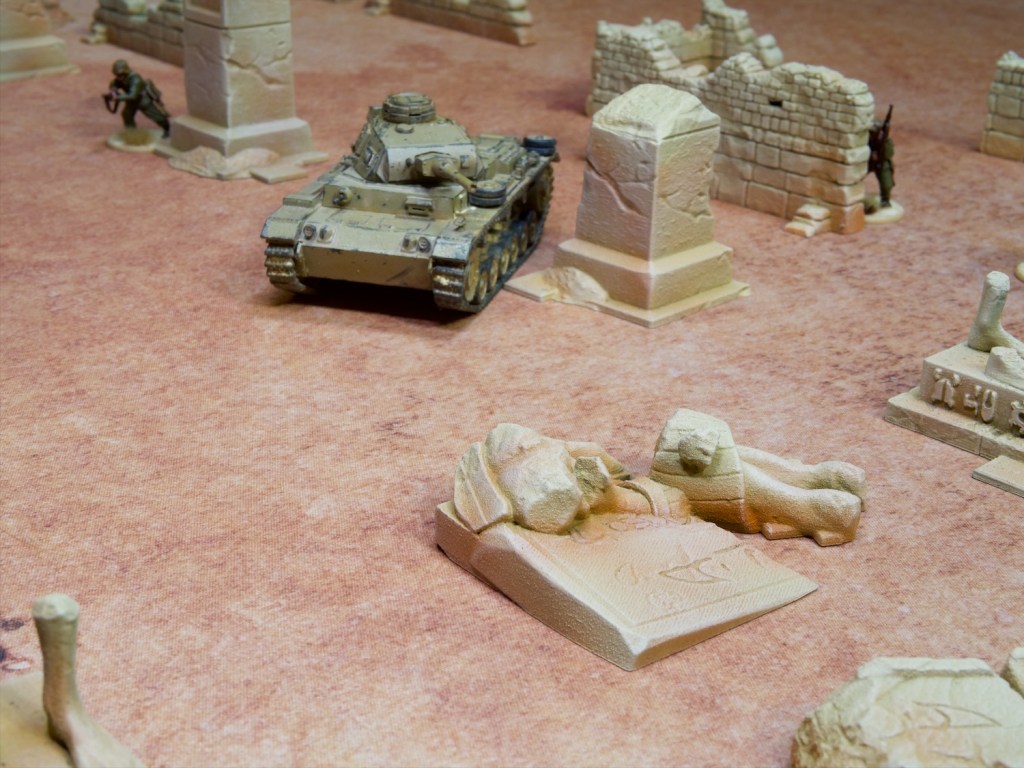
There’s one more solo mission left in the main rulebook which I’ll run through soon I think. As I mentioned last post I’ve been enjoying this game enough that I’m preparing a new unit for the Egypt supplement, so will continue solo missions in a different setting after that.