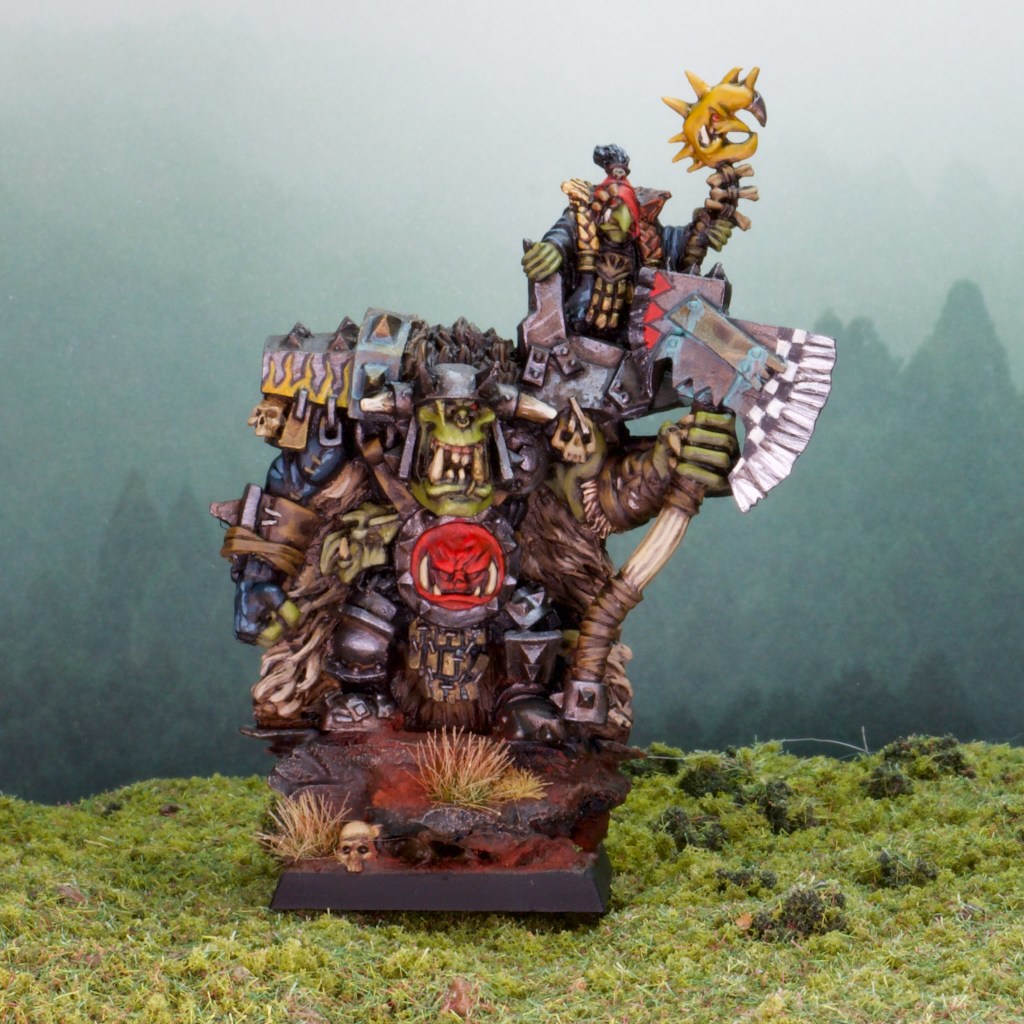
Back this week with more models for my Orcs and Goblins army: some Goblin Wolf Riders!
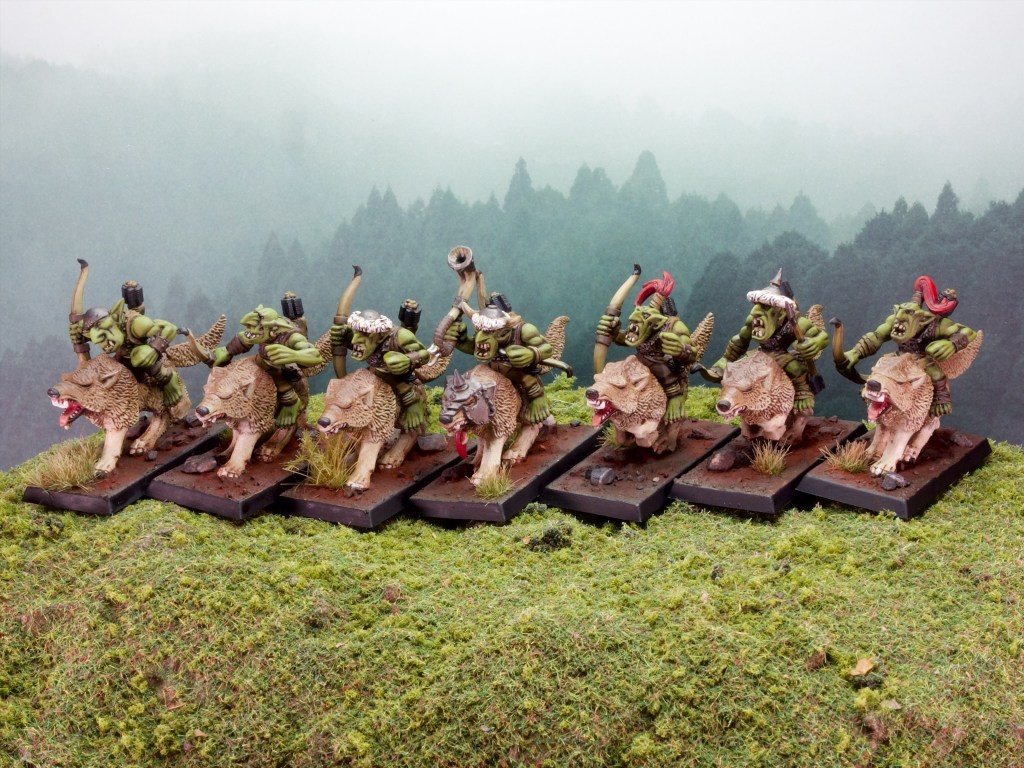
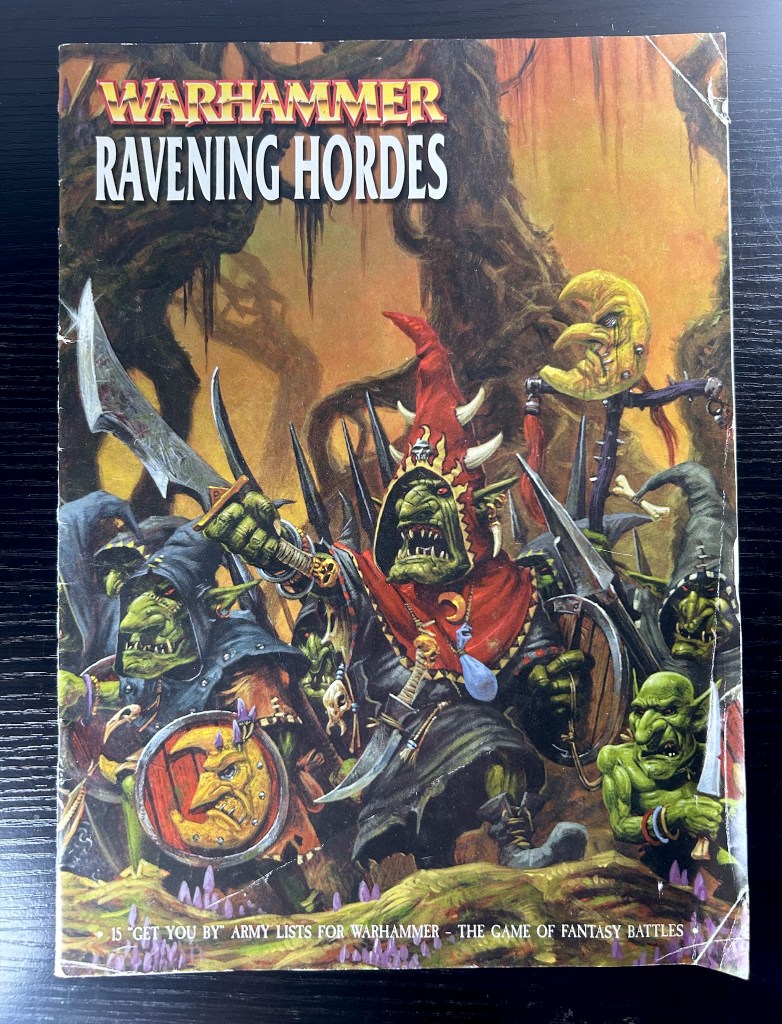
These are classic models (late 90s I believe!), which have been re-released as part of the current set of Warhammer Old World releases. This might be laziness on GW’s part, but I’m loving the fact you can buy some of these models without having to go through exorbitant eBay prices! These are the models that were current when I started the hobby, and couldn’t afford them at the time so this is very much an exercise in nostalgia for me!
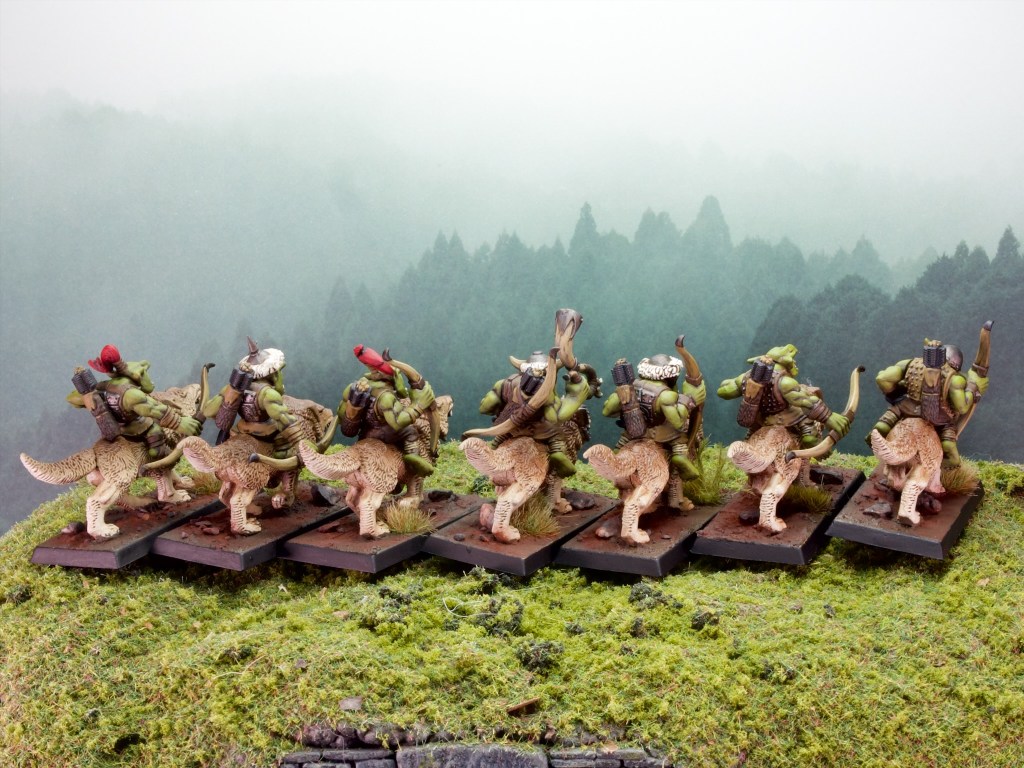
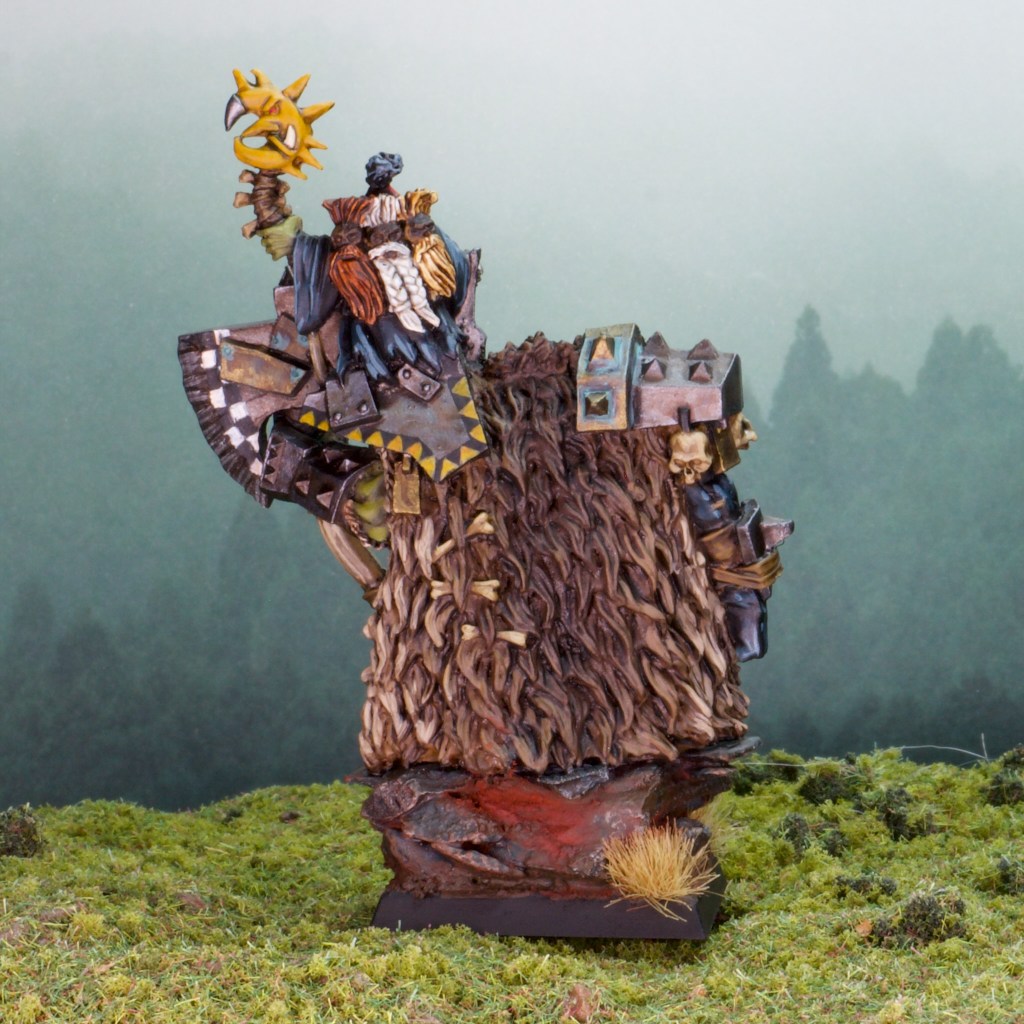
I really enjoyed painting these, the goblin riders are so characterful and the old style “big” detailing is a joy to paint. For the wolves I tried something a little bit different. I really wanted a nice gradient on the furs so I basecoated them using the airbrush, starting with a cream colour all over then doing narrower and narrower bands of darker browns over their backs. I chickened out of doing highlights over this gradient so I decided to use oils to shade the furs so I could wipe them off of the raised areas. You can see the effect in the photo below.
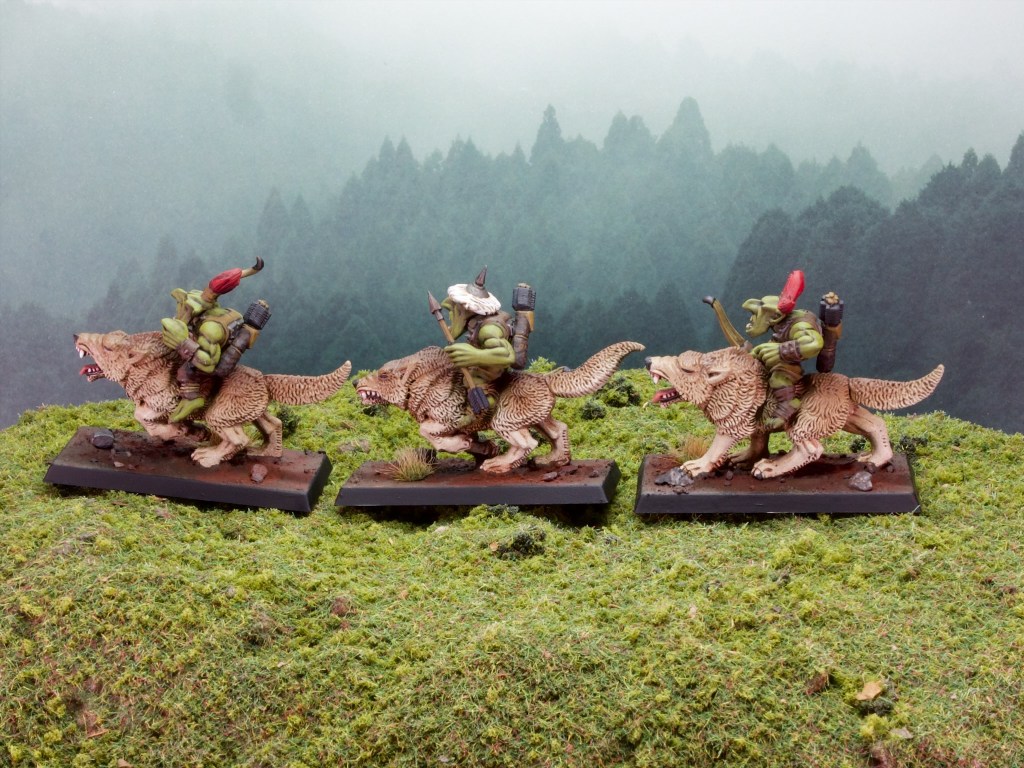
I think that worked out pretty well, it’s not quite as clean as properly highlighting things, but it is much more expedient which is exactly what I’m after when painting army models. I have a second unit of these to paint up for the army, so I’ll be reusing the technique although I will be changing the colours to have some grey wolves for those.
For the Goblins themselves, I reused the recipes I laid out last post for the Warboss, so check that out if you’re interested!
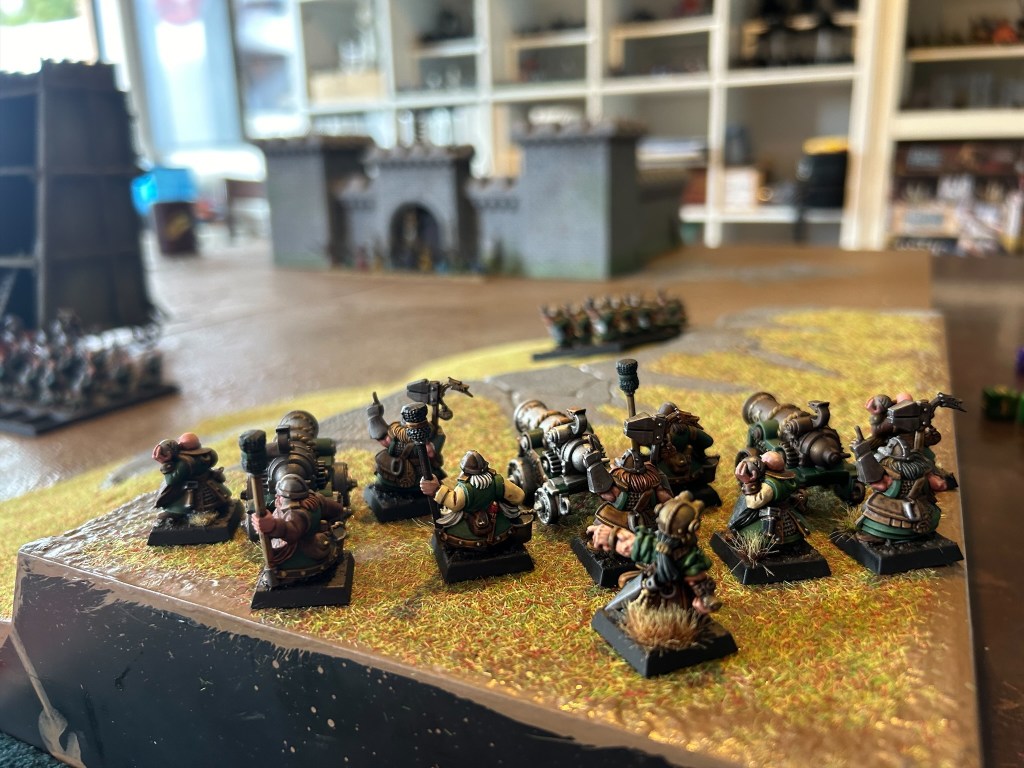
Now I promised a couple of posts ago to post some photos of the first games of our Border Princes campaign and promptly forgot to include them in the last post, so here they are, better late than never!
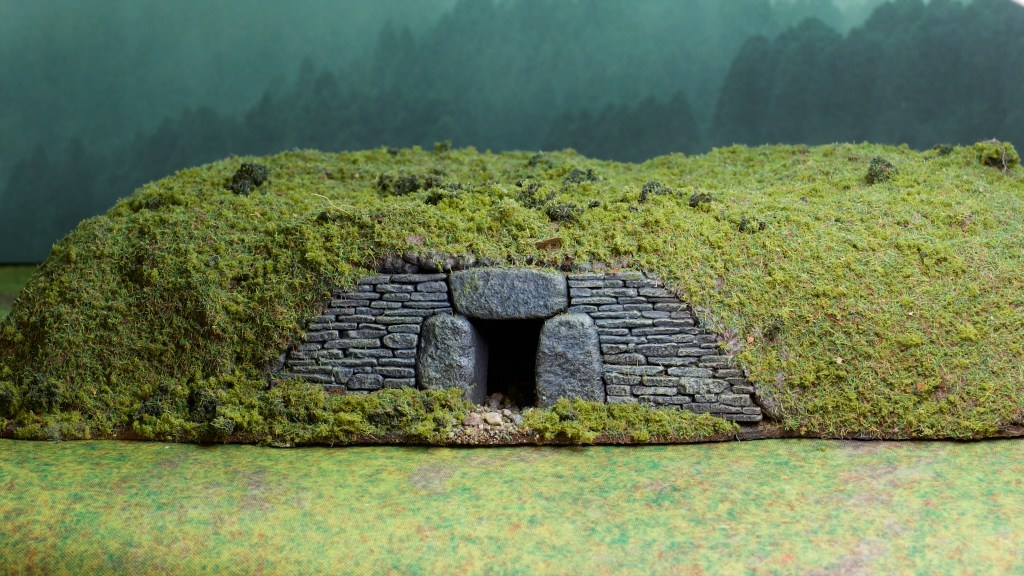
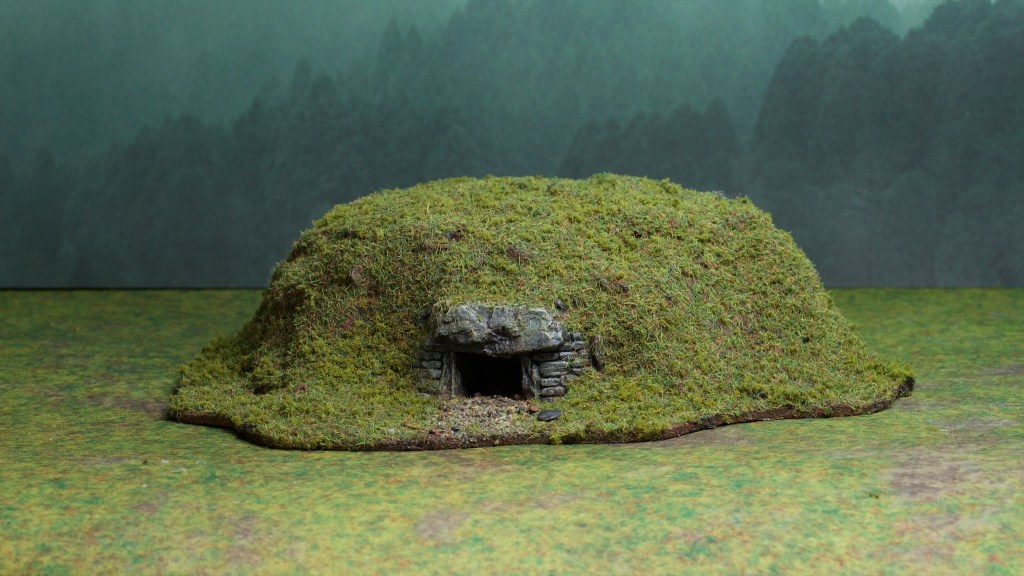
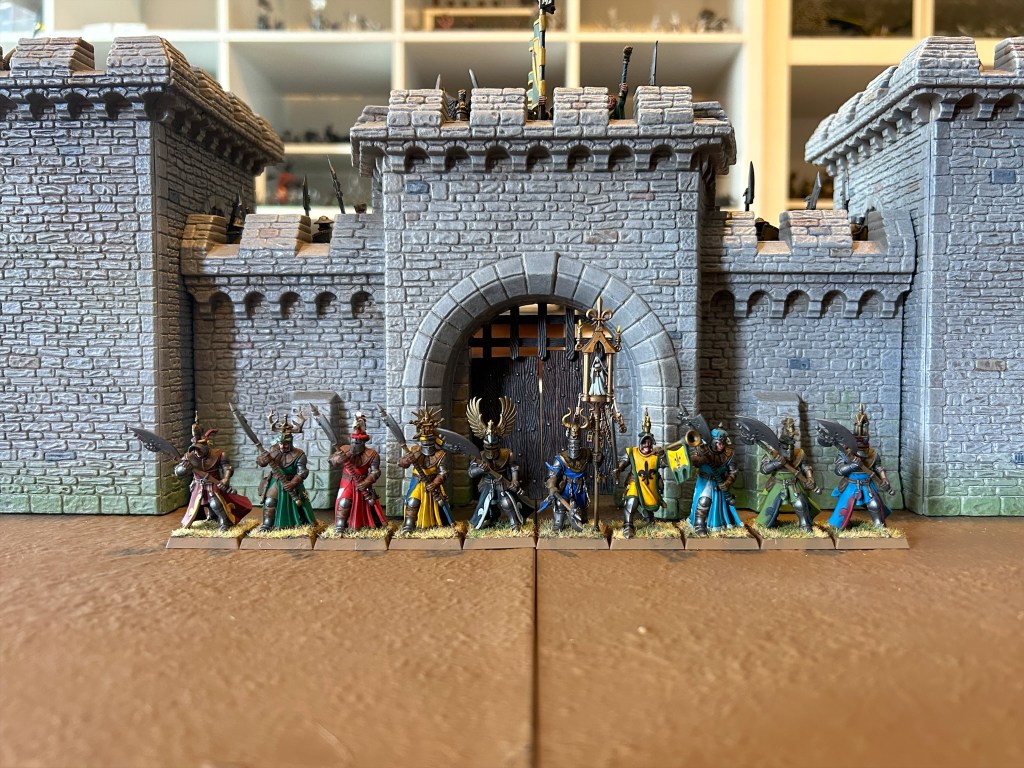
If you remember the last update, my Dwarfs were attacking the Fortress at the center of the map, defended by the Bretonnian force I’d painted up for this purpose. As I was the attacker, one of the other players stepped in to play the defenders and we had a siege game!

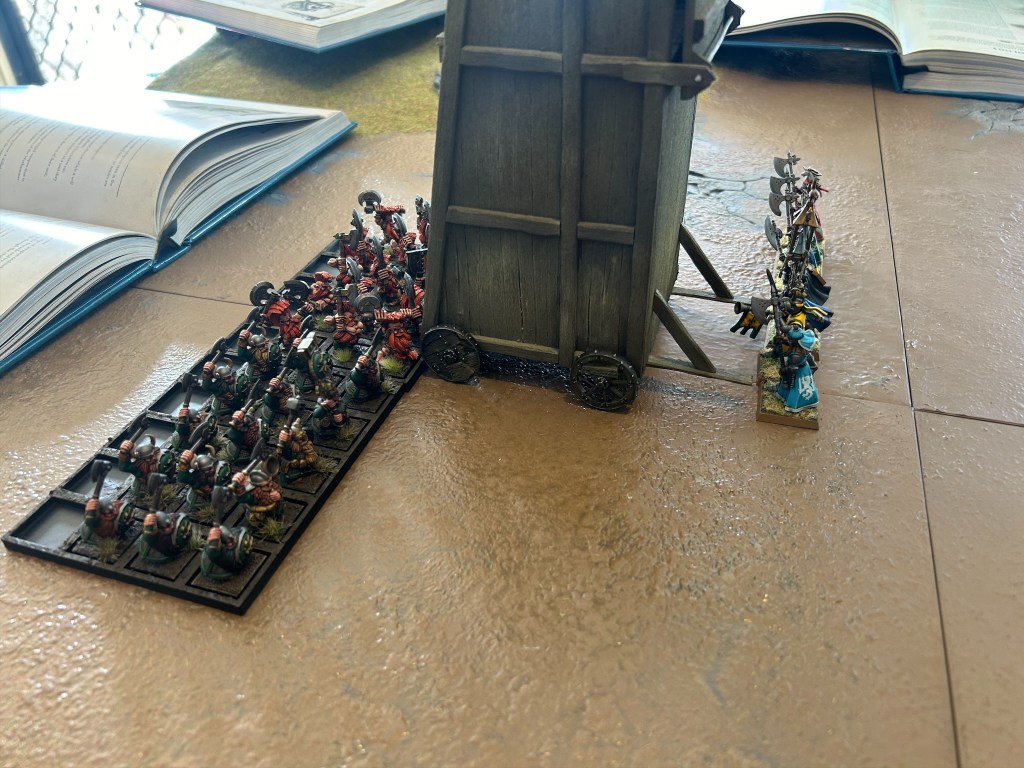
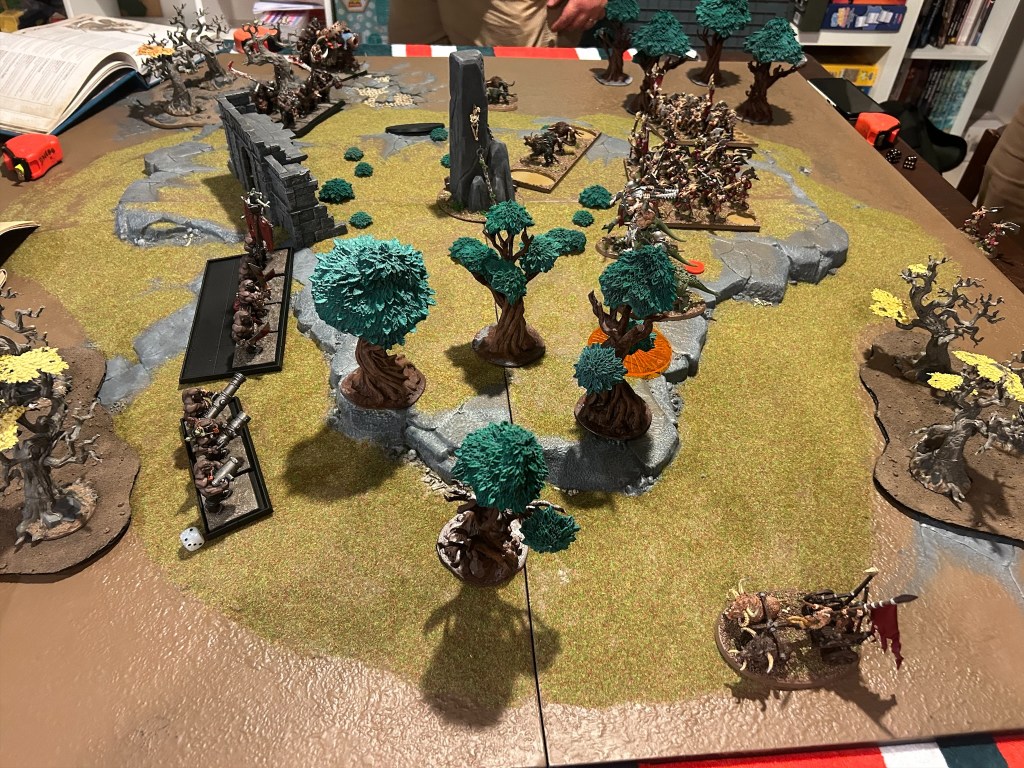
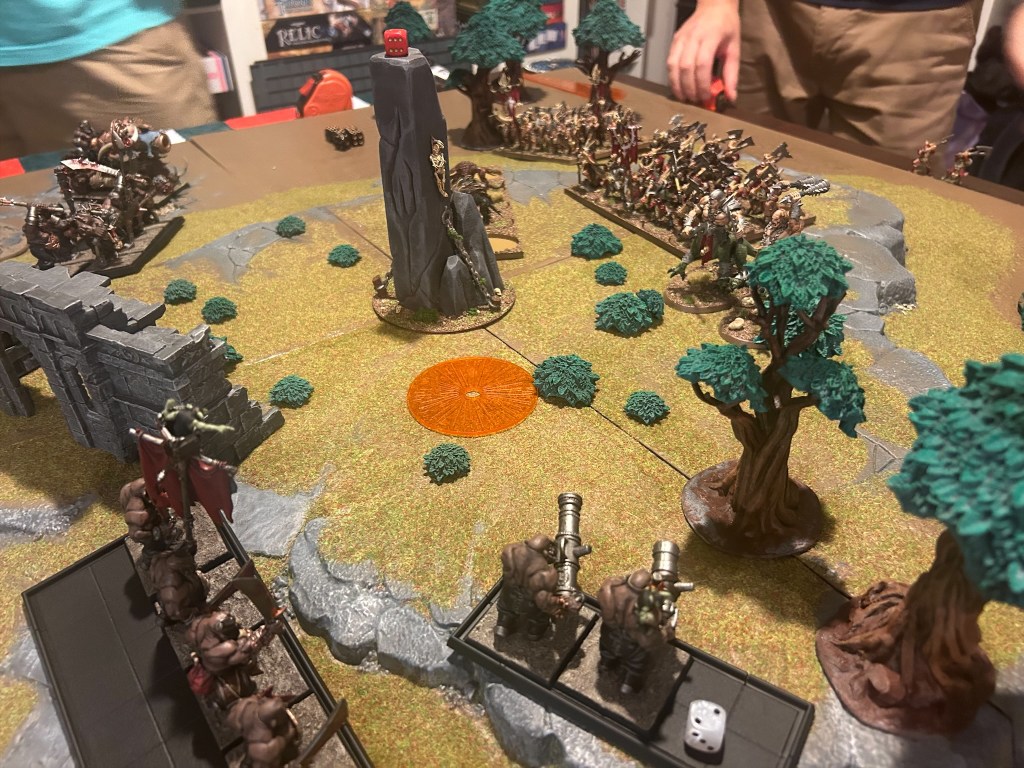
The initial setup: two blocks of dwarf infantry pushing the siege tower and ranged units on the hill. On the defending side the walls are occupied by archers and men-at-arms, and surprising the attackers the unit of knights deployed outside the walls!
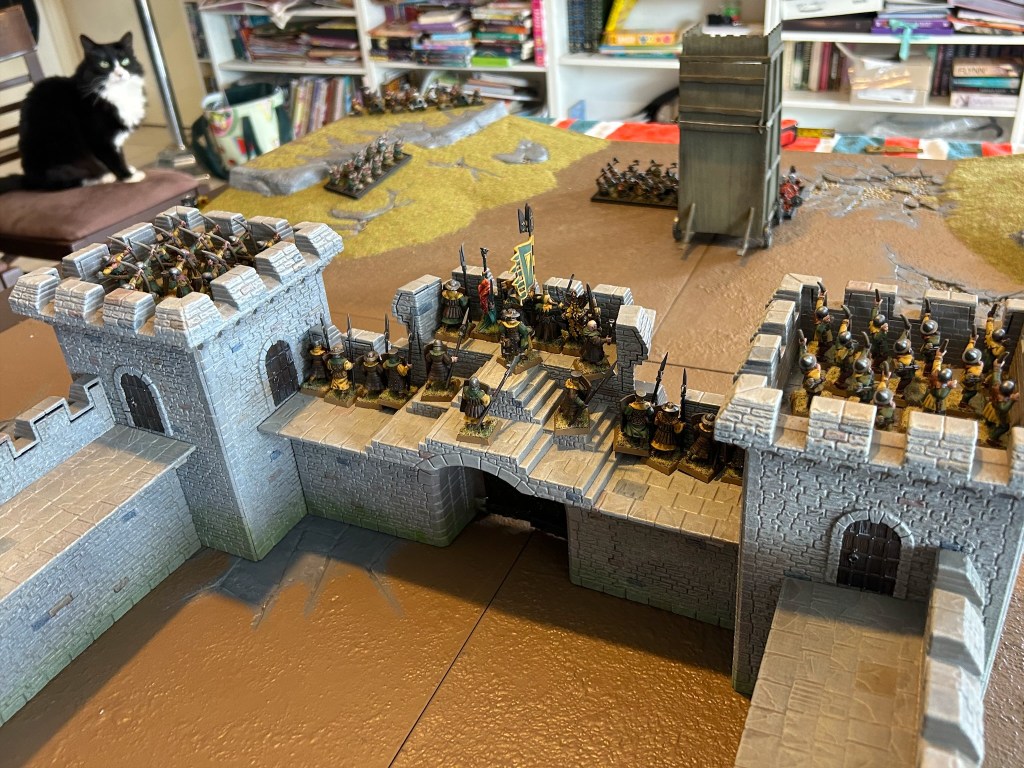
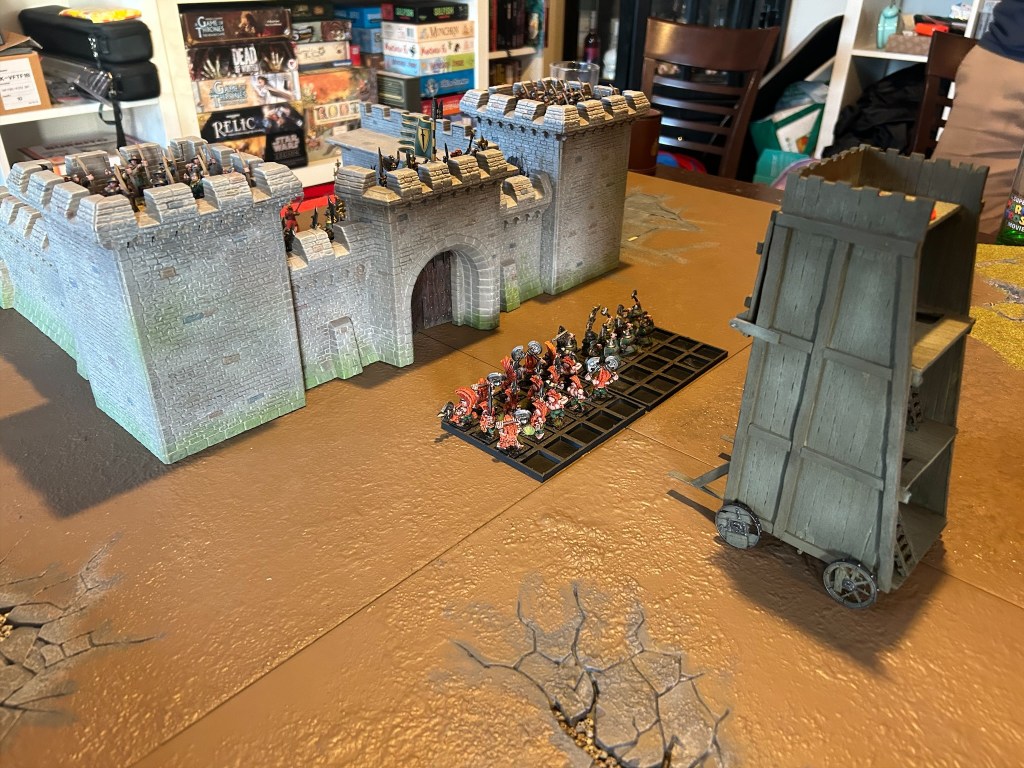
The cannons started shooting the gates, failing to do much and one of them misfired even with the engineer there to give it a re-roll! Luckily it only had to skip a turn, losing a war machine this early in the game would have been dreadful! The Siege tower was pushed forward by the dwarf infantry. On the defending side the knights advanced, resolved to chop that siege tower to scrapwood with their axes! On the walls the archers started shooting at the siege tower and managed to inflict some damage to it (presumably some critical ropes cut!). The following turn the knights managed to close in on the tower and almost destroyed it in combat!
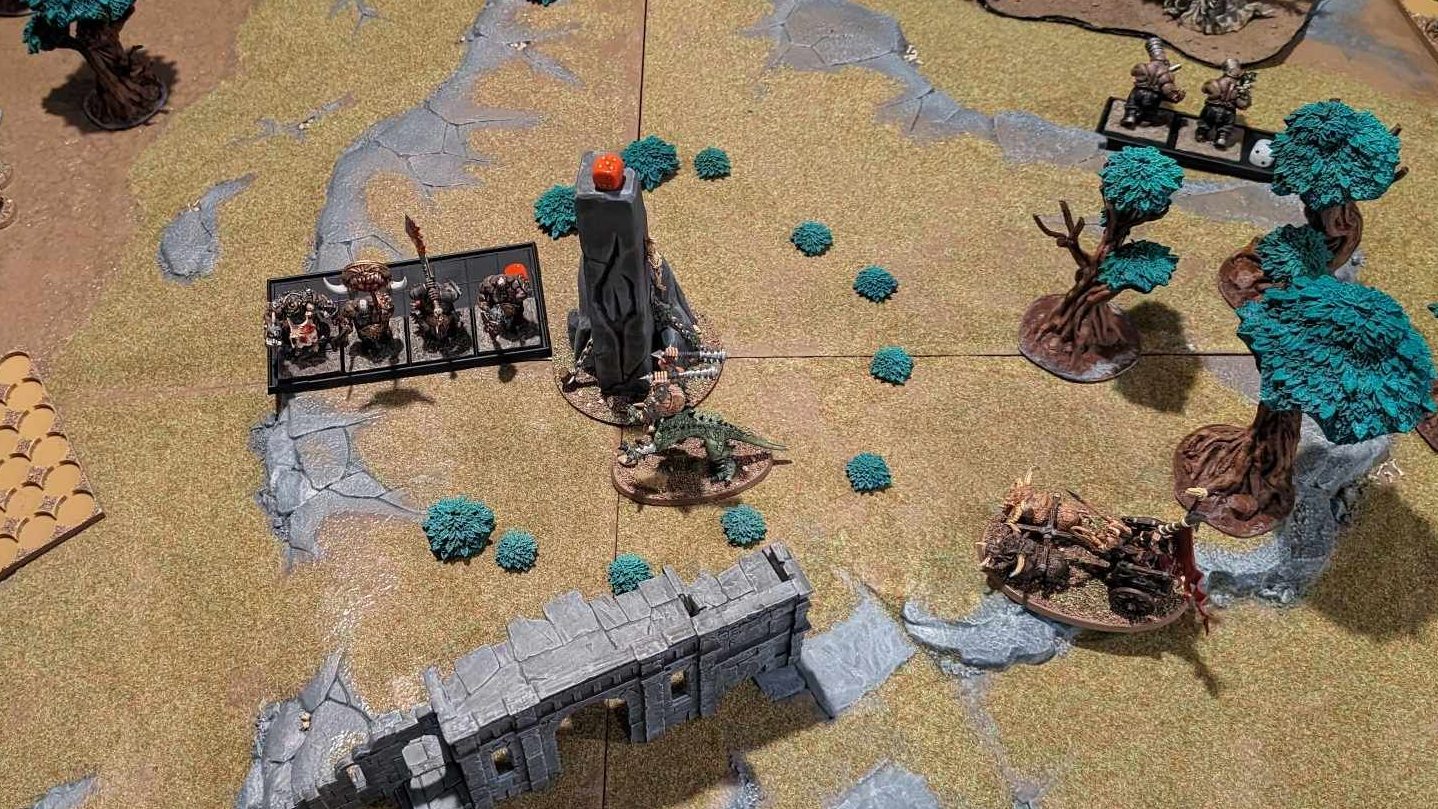
The dwarfs did not take kindly to this attempt to cut down their handywork and retaliated, closing in on the knights. The Demon Slayer and his rune axe made short work of the knights, but the damage was done, the siege tower on a single wound was more of a liability than anything else at this stag. The dwarfs abandoned it, taking a page out of the Knight’s book and deciding to use their own axes on the fortress gate.
Under a hail of arrows the Dwarfs approached the gatehouse and got to work hacking down the gates. The cannons had finally started doing some damage to the gates and the rune axe of the Demon Slayer crashed through the wood of the gates soon enough.
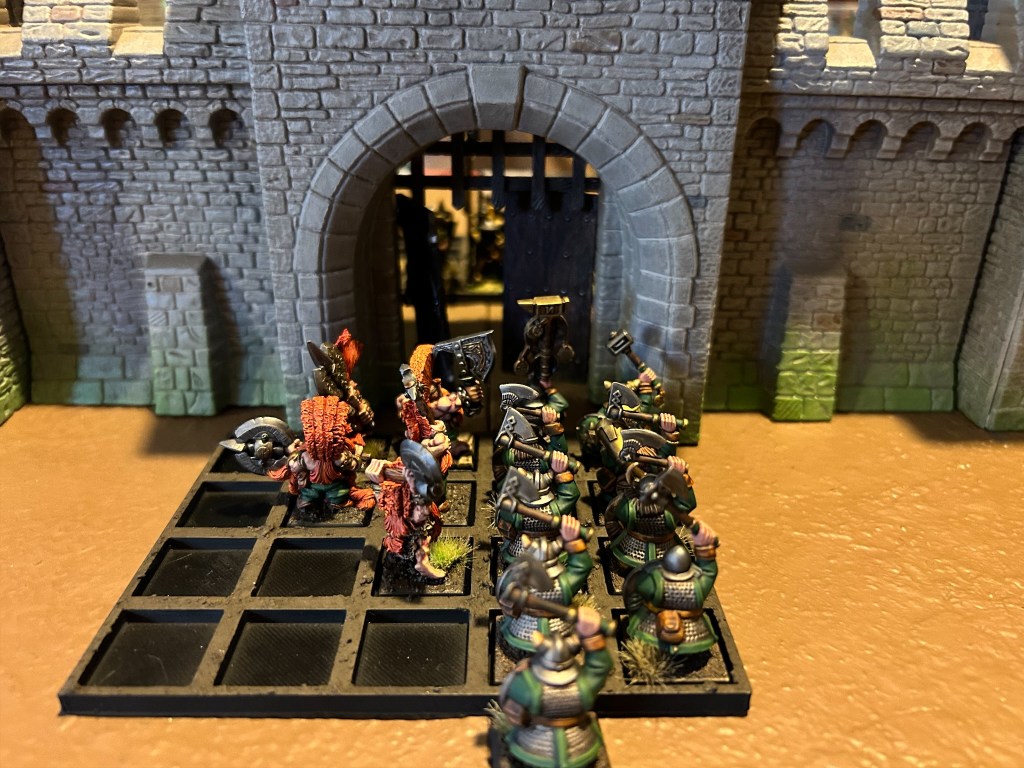
Once inside the walls, a desperate melee started between the Dwarfs and the Men-at-arms led by the Baron started. The combat was inconclusive, but the last turn had arrived and the Dwarfs won the day, having taken the gatehouse and slain the knights for no full units of their own lost (although as you can see above those archers did a lot of work on those units!).

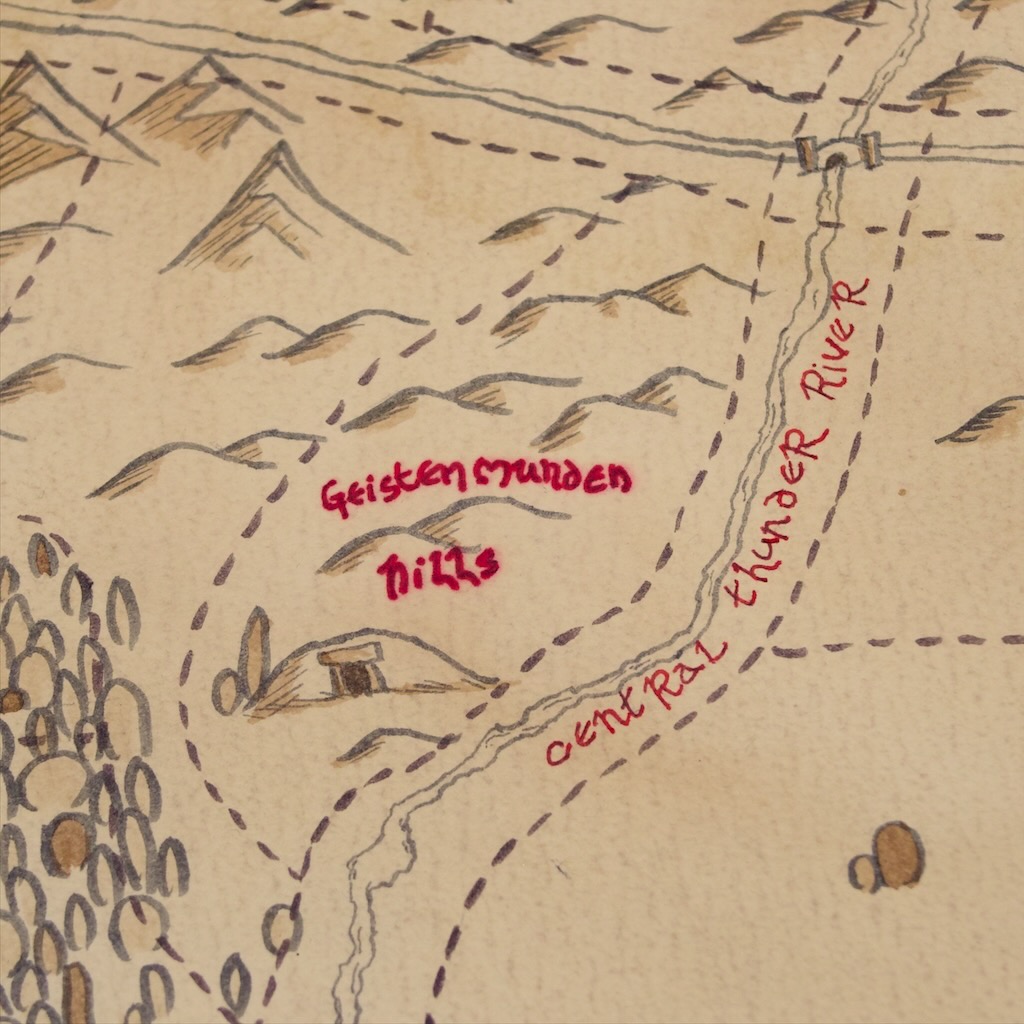
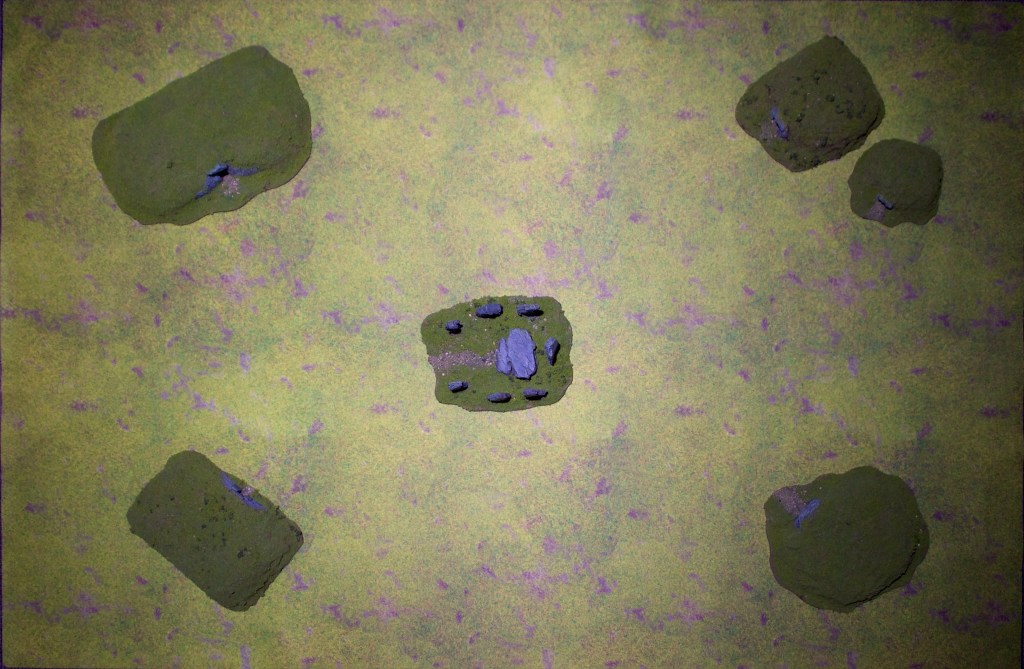
This battle resolves turn 4 and the map above shows the state of things as the turn ends.

The players made their moves for turn 5, and we have two battles lined up for this turn! Both feature the Ogres and the Beastmen, with the Ogres attempting to seize the starting location of the Beastmen, and the Beastmen trying to take the river section off the Ogres.
The defense of the Beastmen home territory has already been fought, although unfortunately I did not get to take many photos.
Hopefully you’ve enjoyed this longer than usual post! Plenty of gaming action in the coming months as this campaign gets played out, and I hope to be able to photograph most of it!