Back in December last year, Games Workshop announced their 1 Million miniatures challenge, which has people pledging in their local Warhammer stores to paint 25, 50, or 100 miniatures between January and early May. I figured that would be a fun thing to do so I duly pledged I’d do 100 miniatures thinking that would be a piece of cake (foolish!). I had this great idea that this would serve as a good excuse to paint my Tomb Kings starter set which has 90+ miniatures in it, and skeletons being relatively easy to paint that would be that.
Trouble was, building 90+ skeletons in one shot is actually quite boring, and I quickly found my enthusiasm dwindled to pretty much nothing. Which left me in early-march with just the last two post’s worth of miniatures done for the challenge: the Flagellants and the Amazon Blood Bowl Team, totalling 20 miniatures. Suddenly to make the 100 by May 9th I needed to paint something like 1.3 models a day.
So I switched tack to the methodology that gets me painting the most: abandon all plans and paint whatever I feel like at the time. Hence this post which shows of the eclectic result of the whatever I feel like strategy, but in so doing adds another 16 models to the tally. I’ll show them off in painting order.
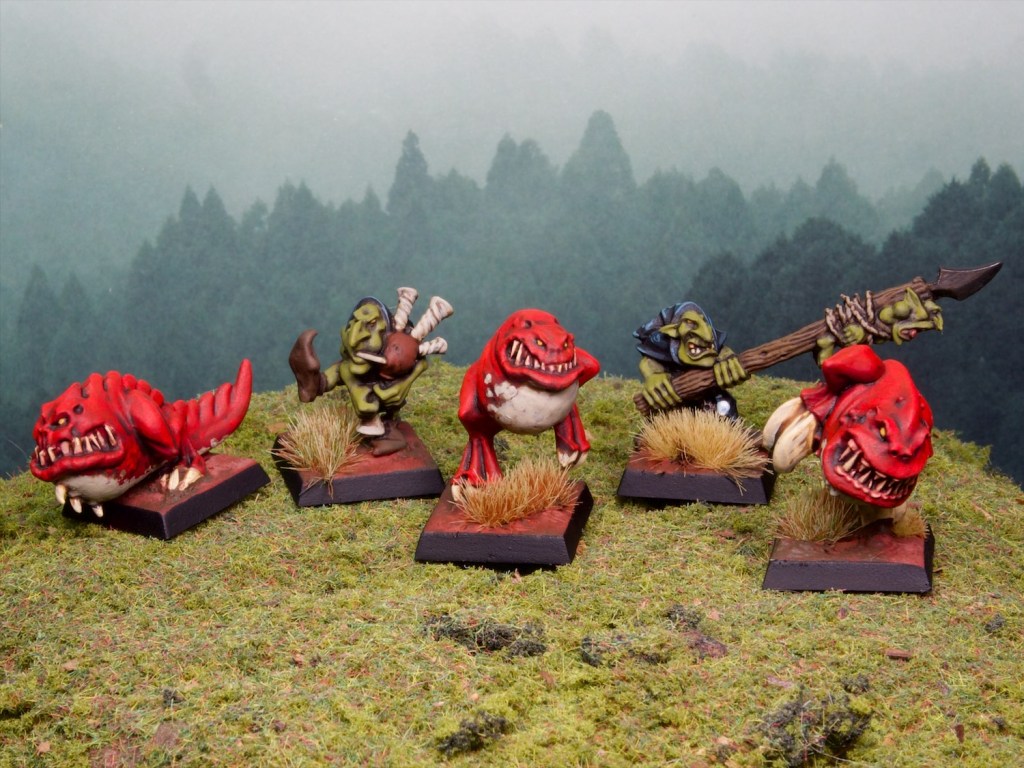
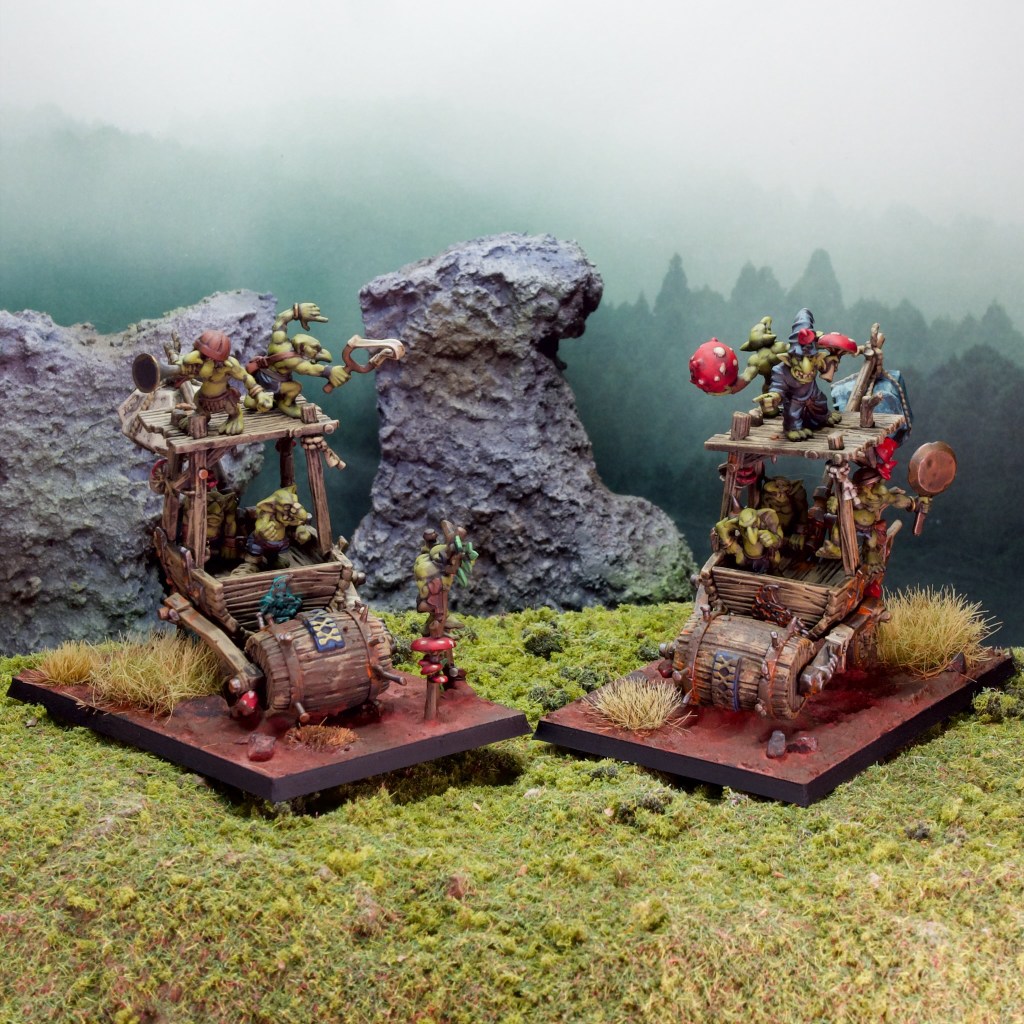
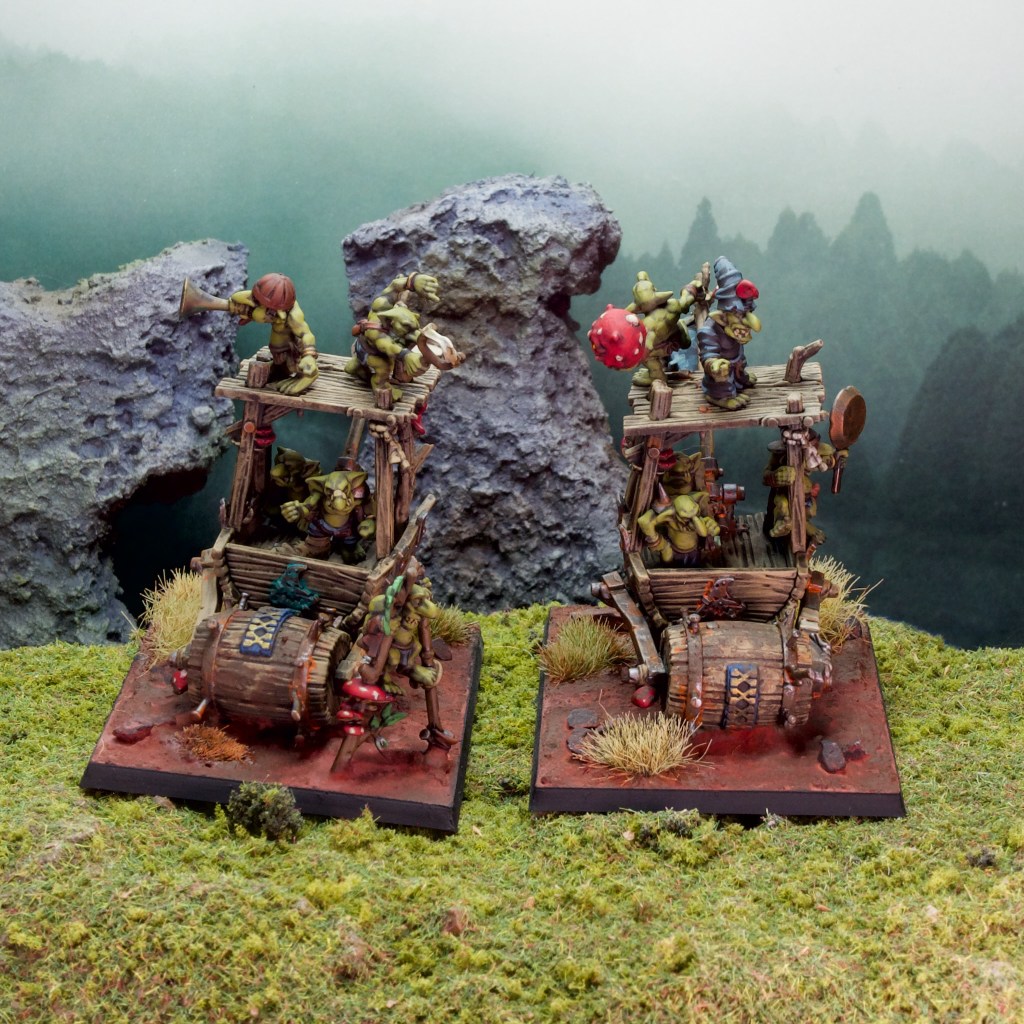
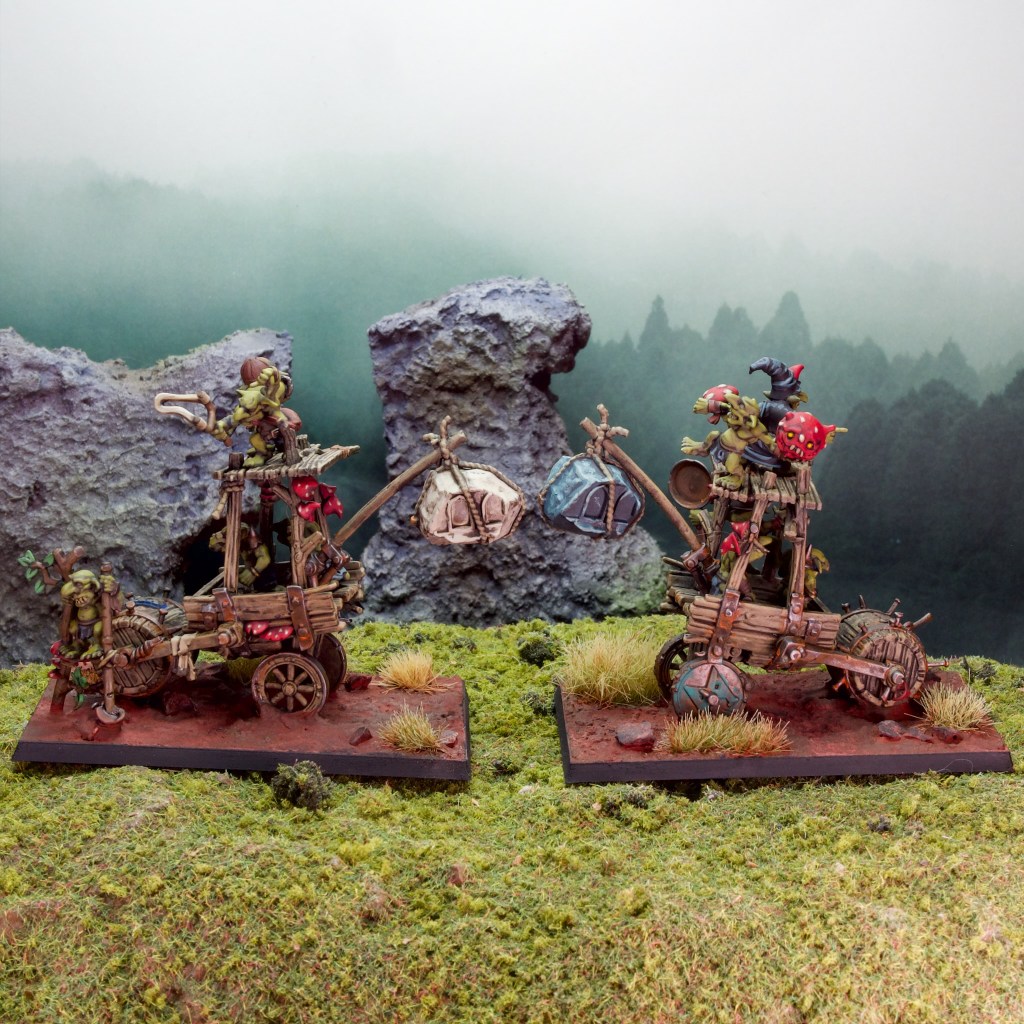
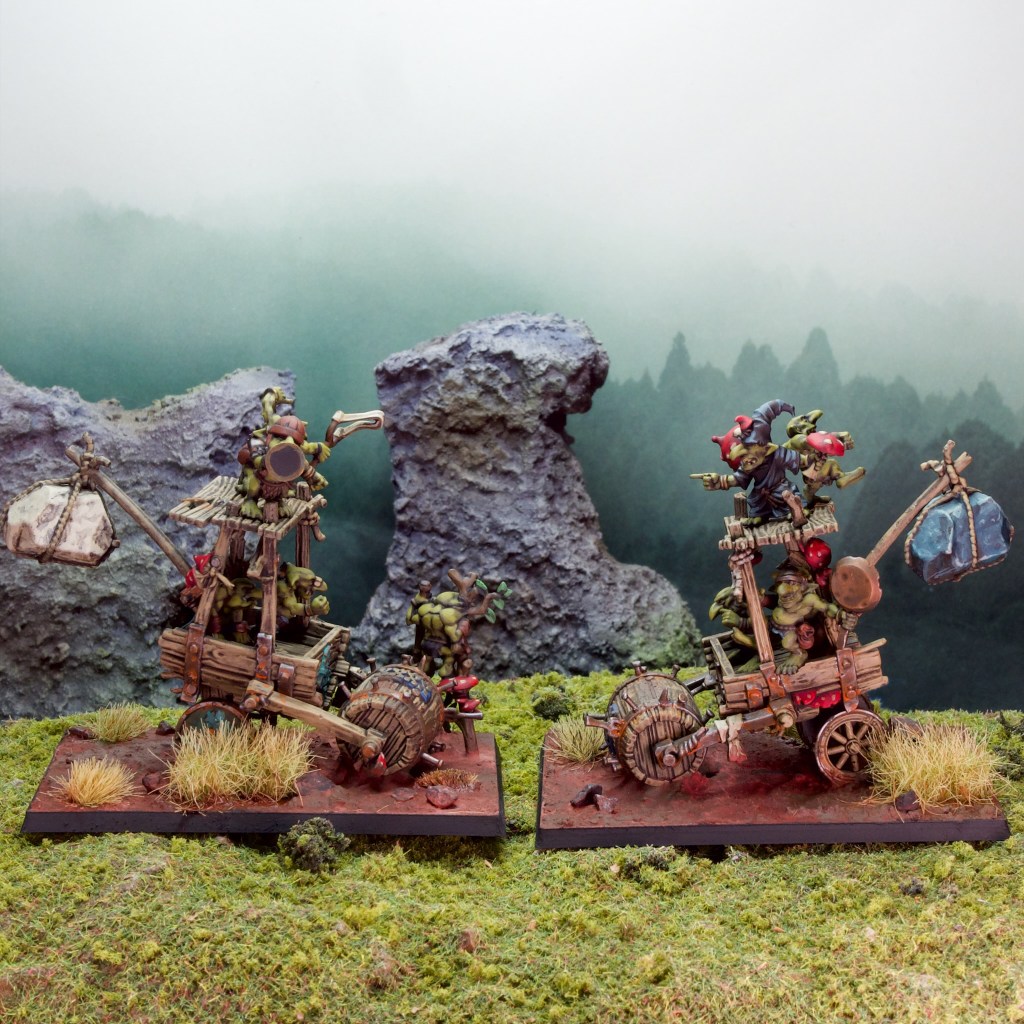
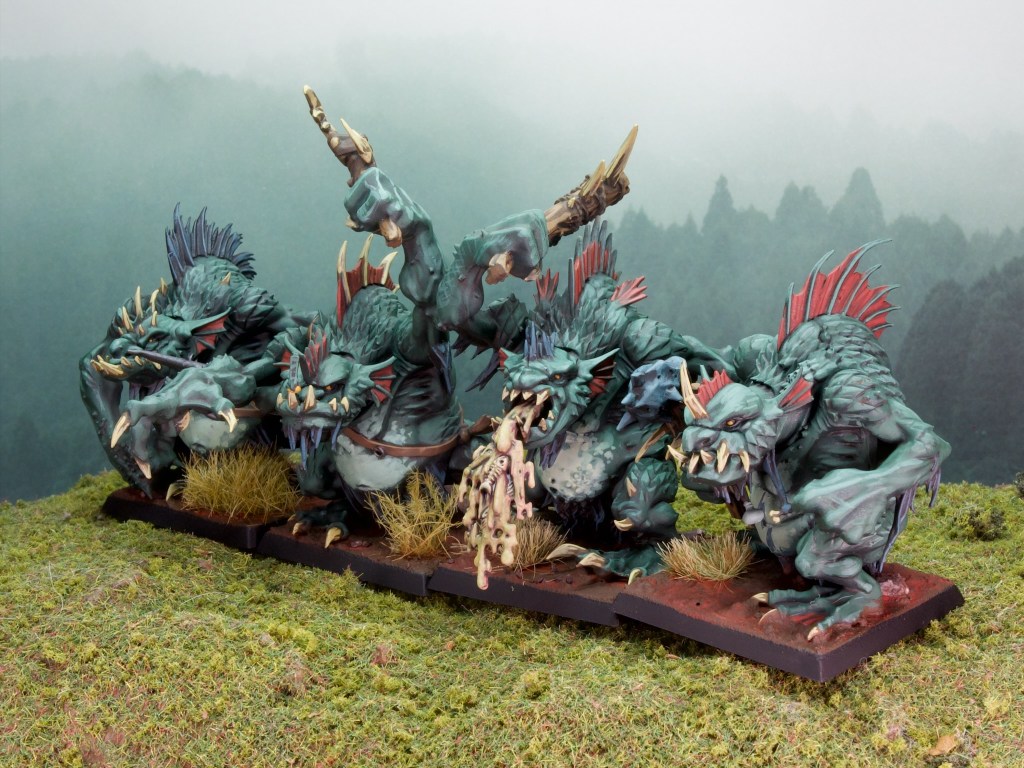
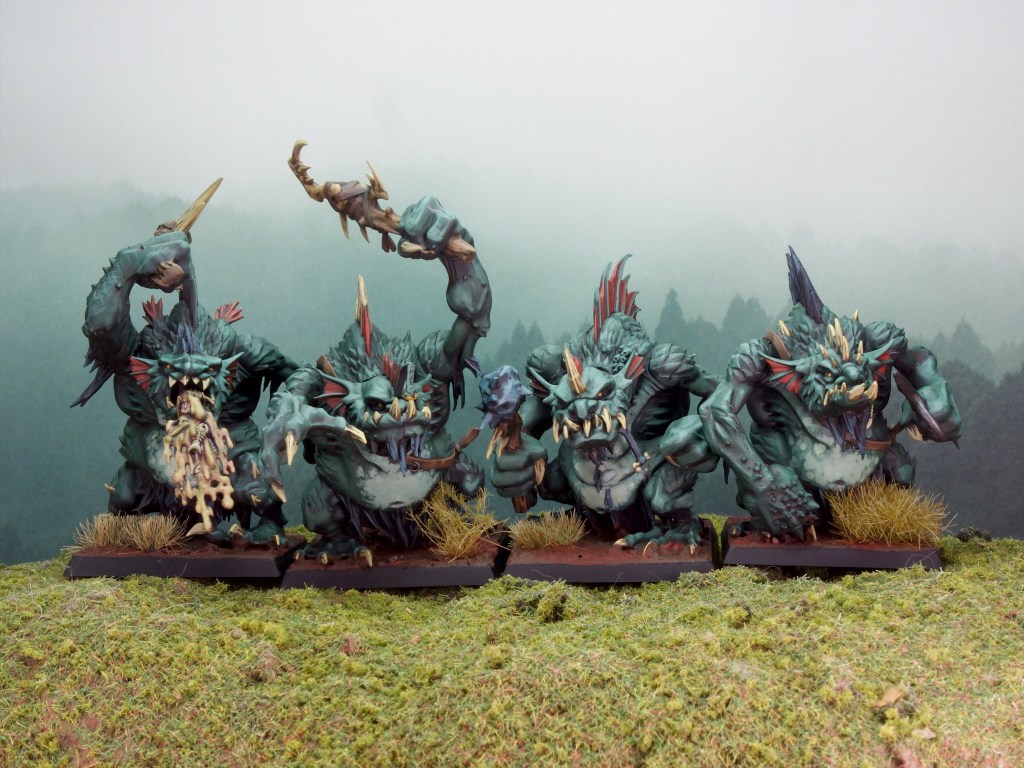
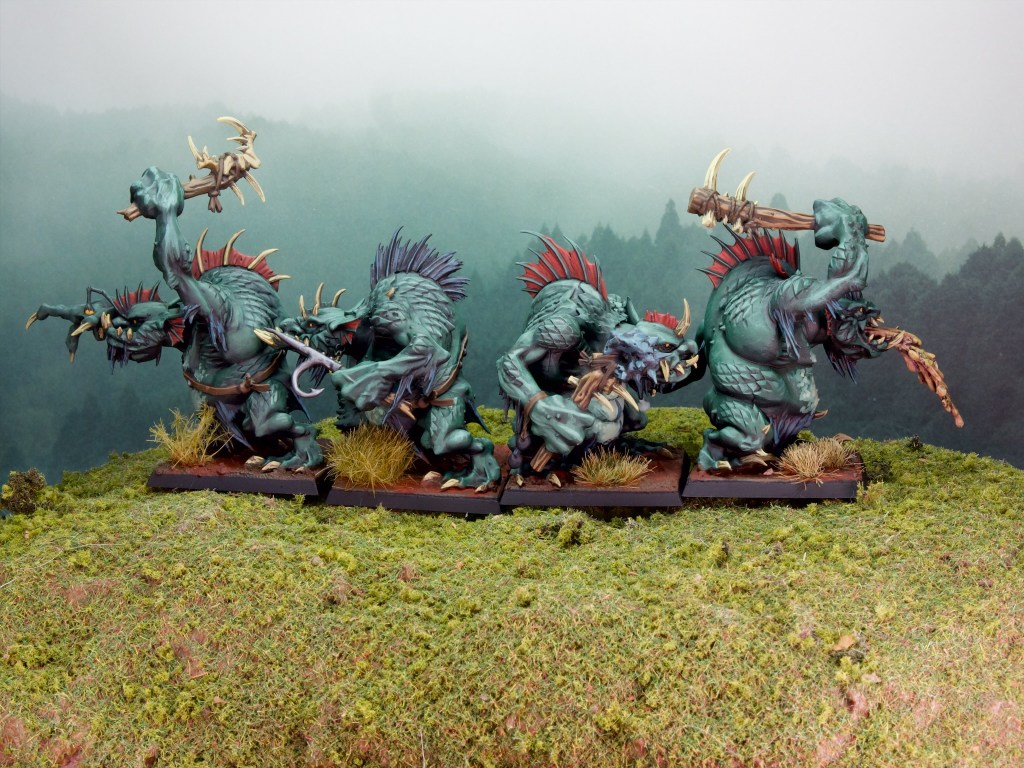
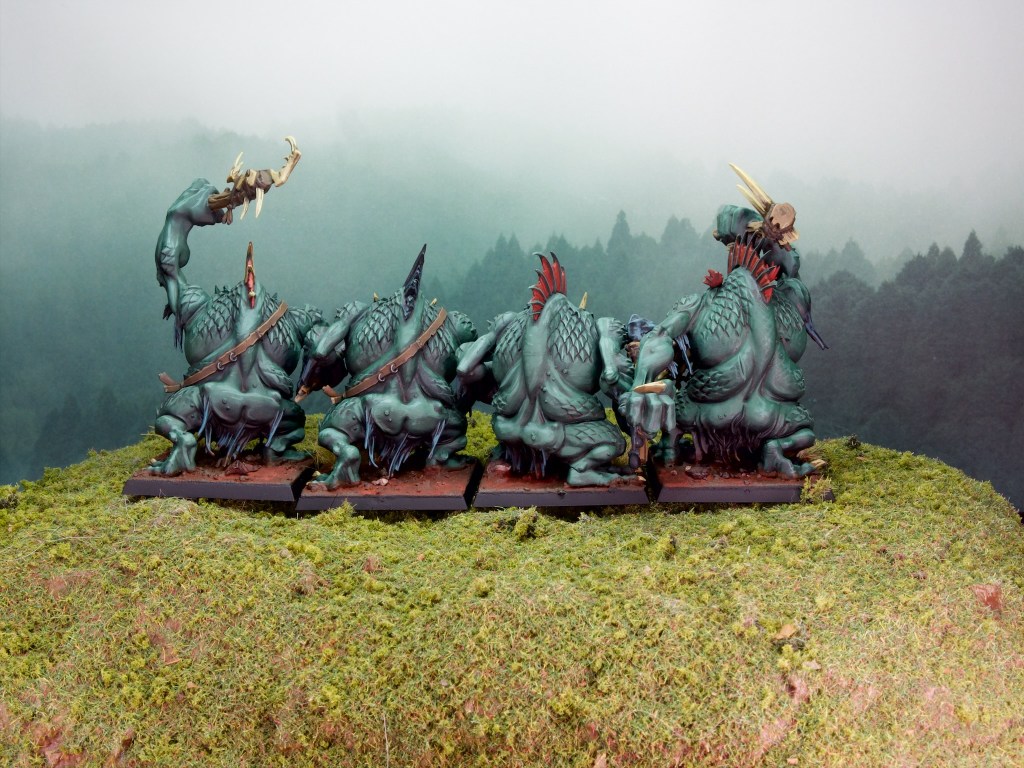
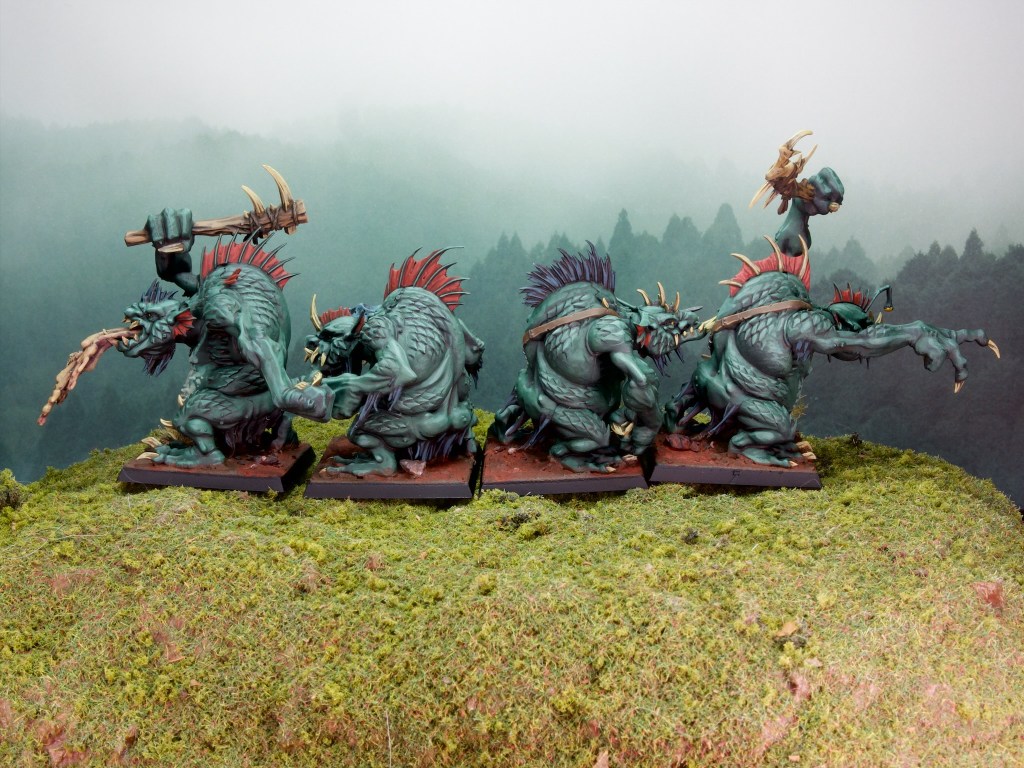
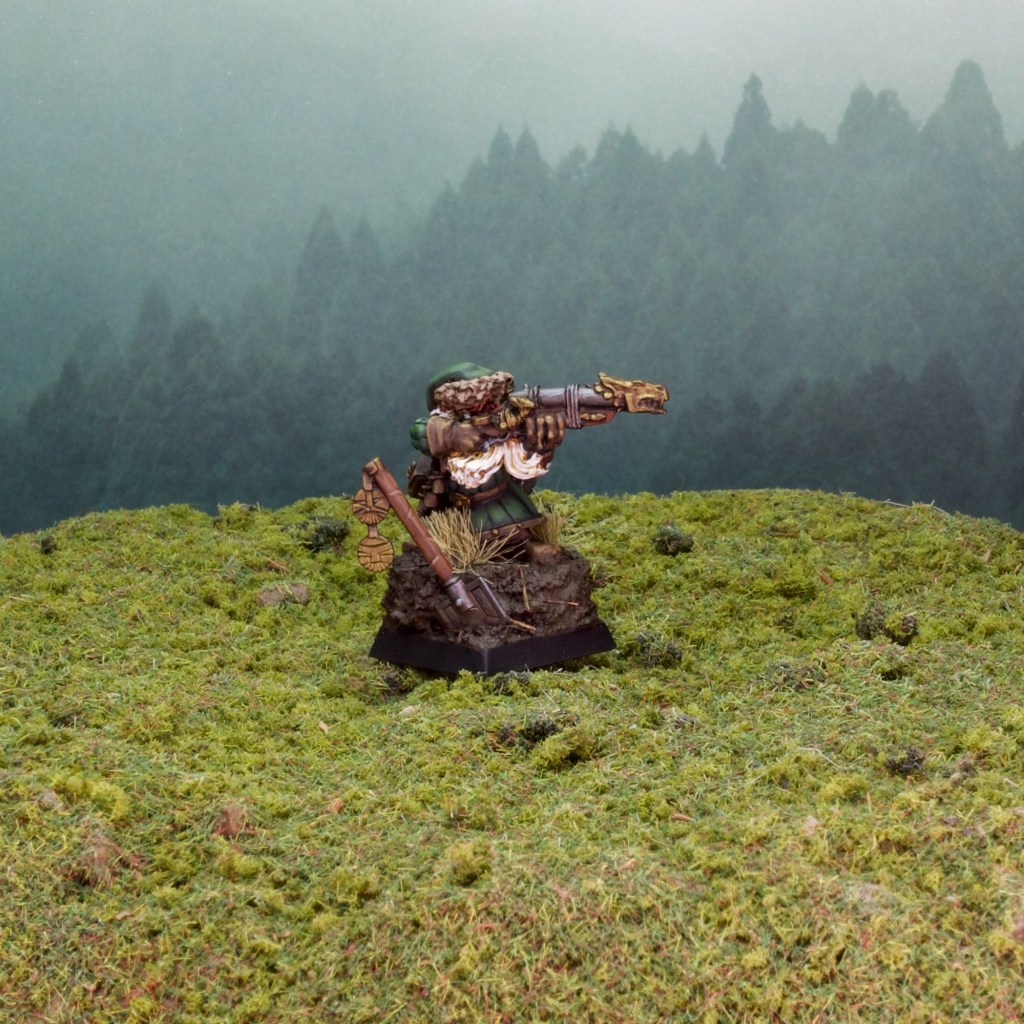
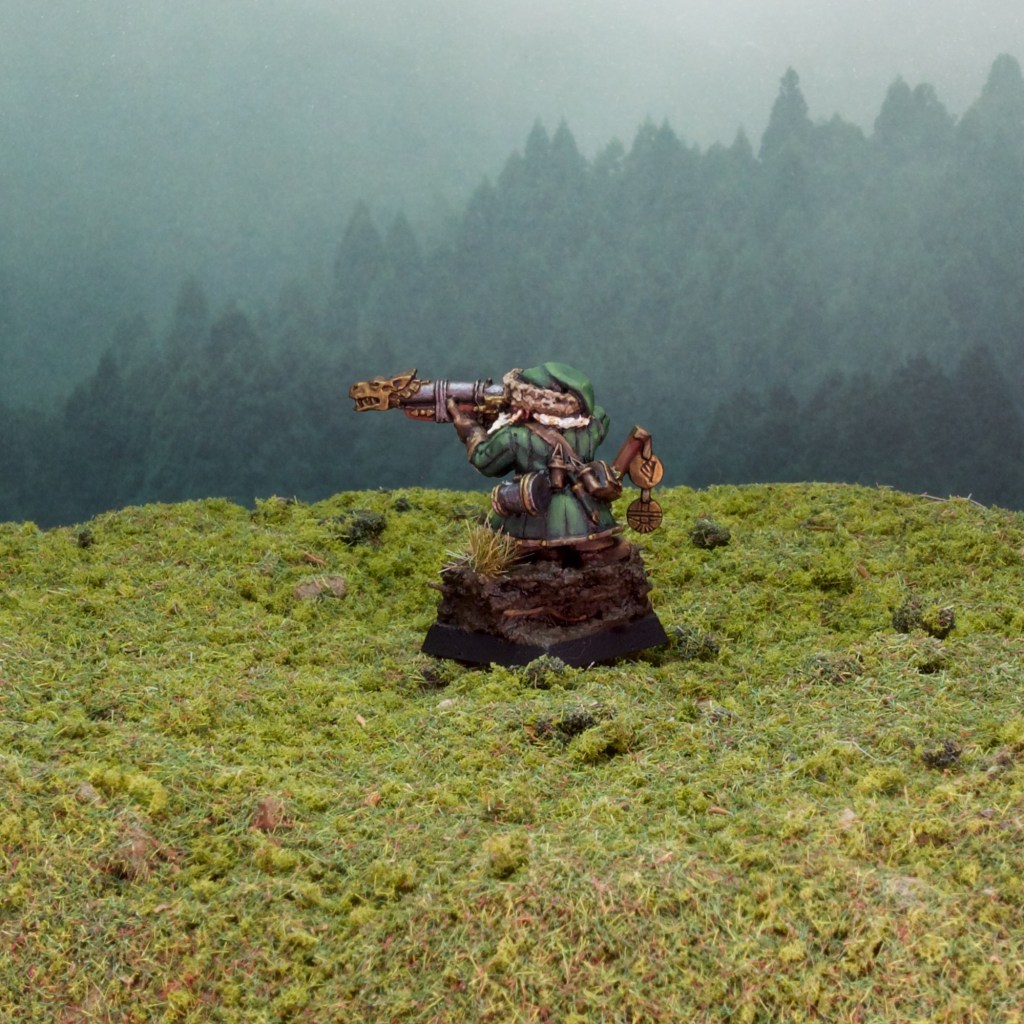
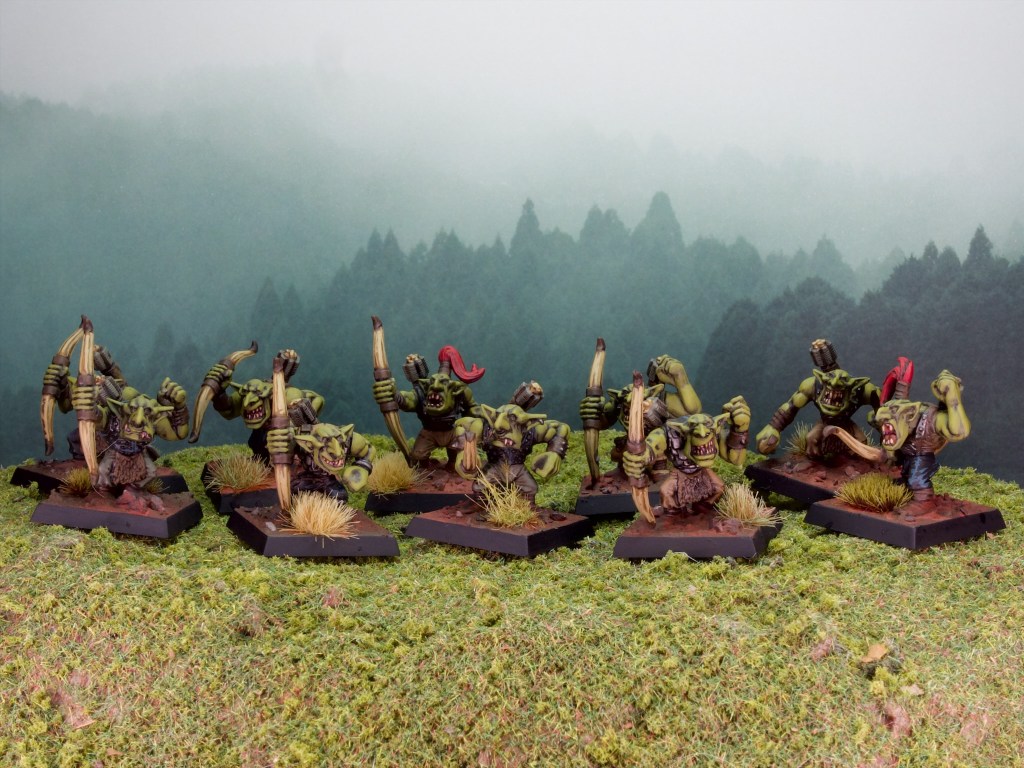
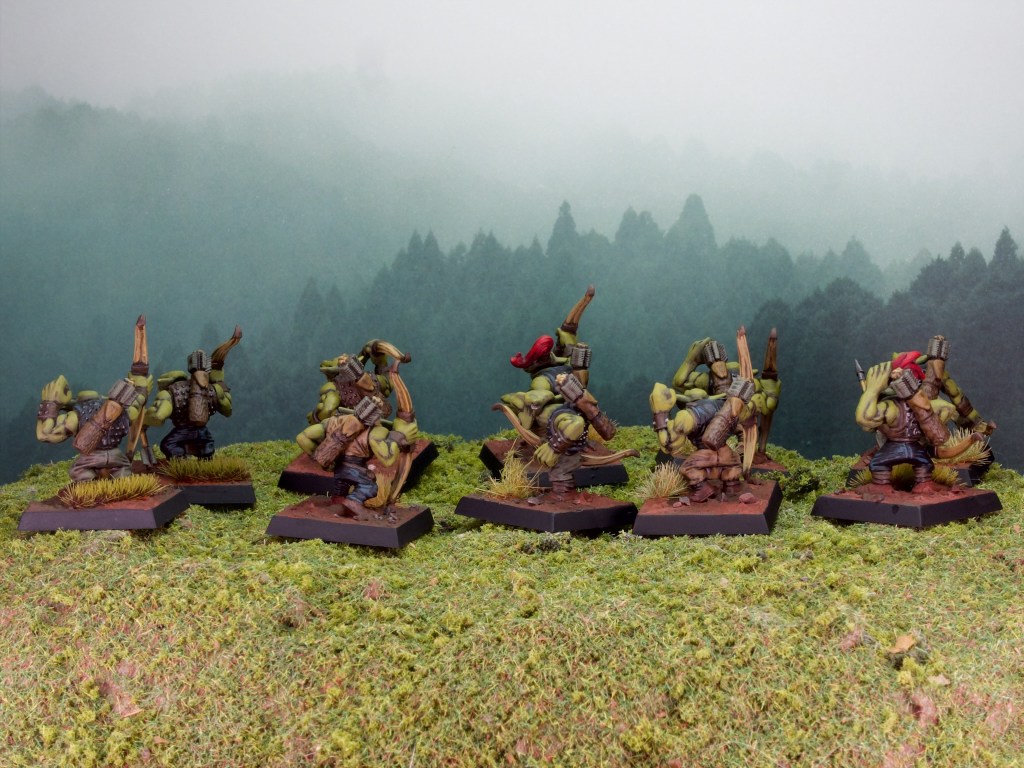
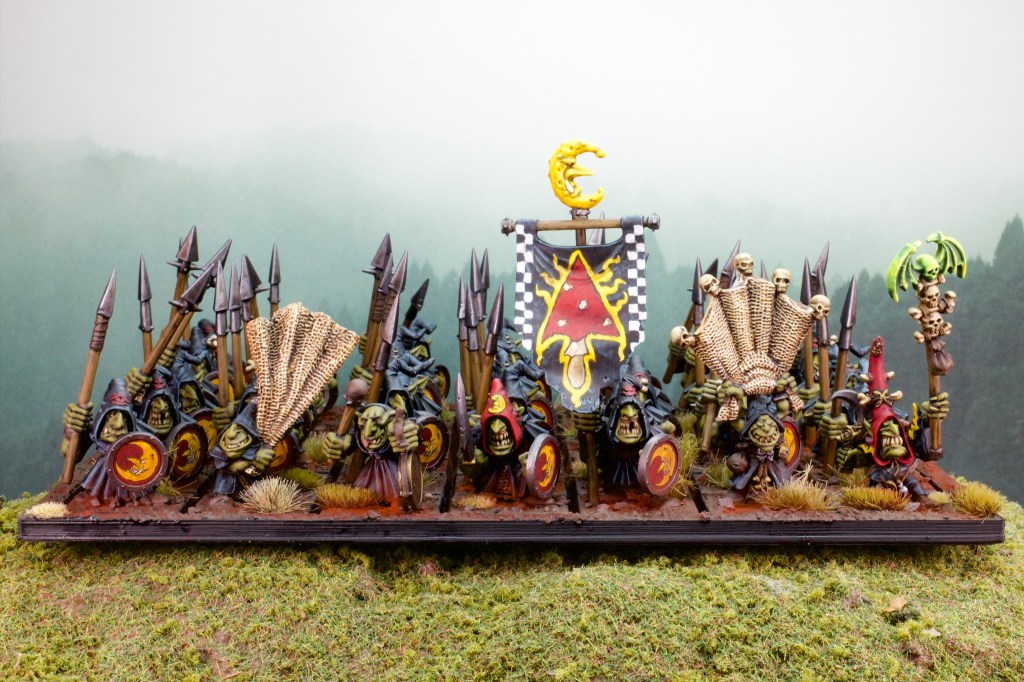
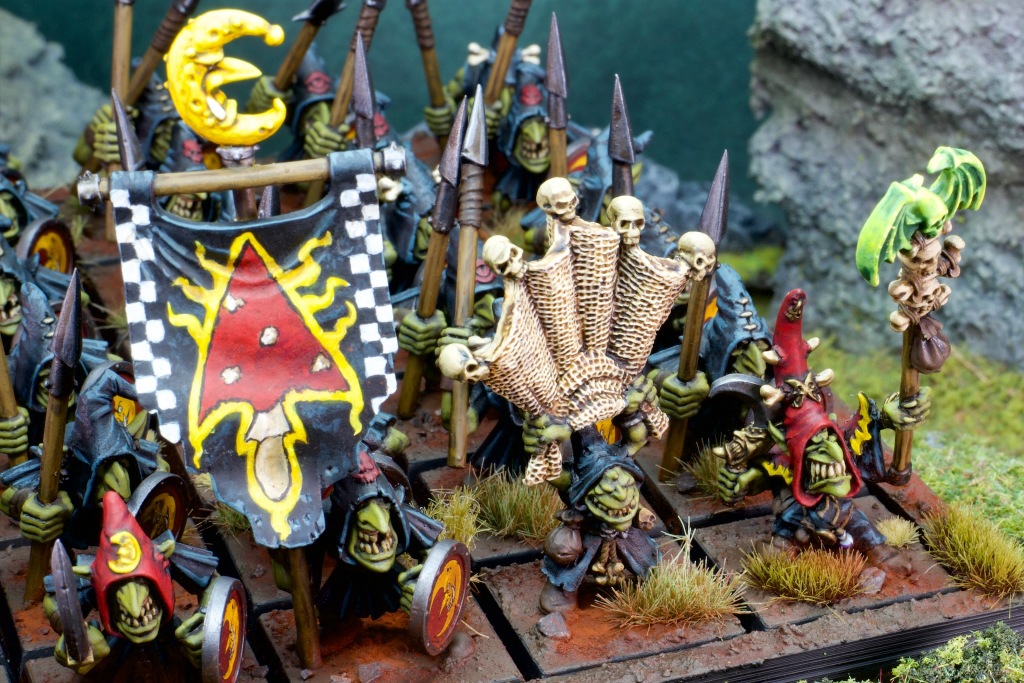
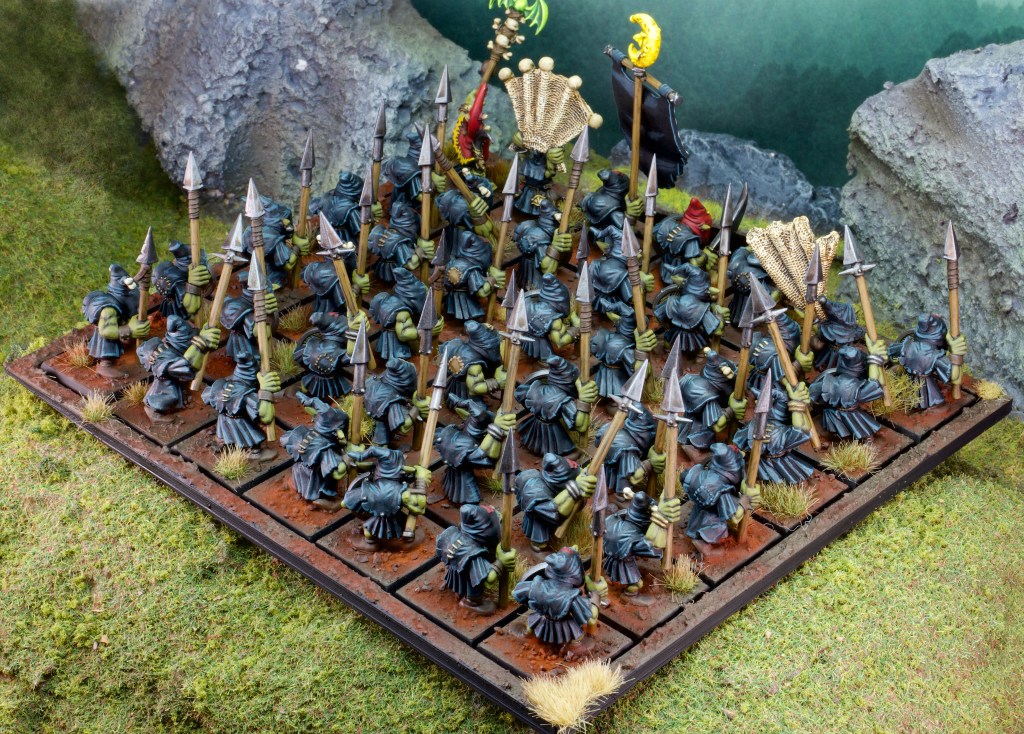
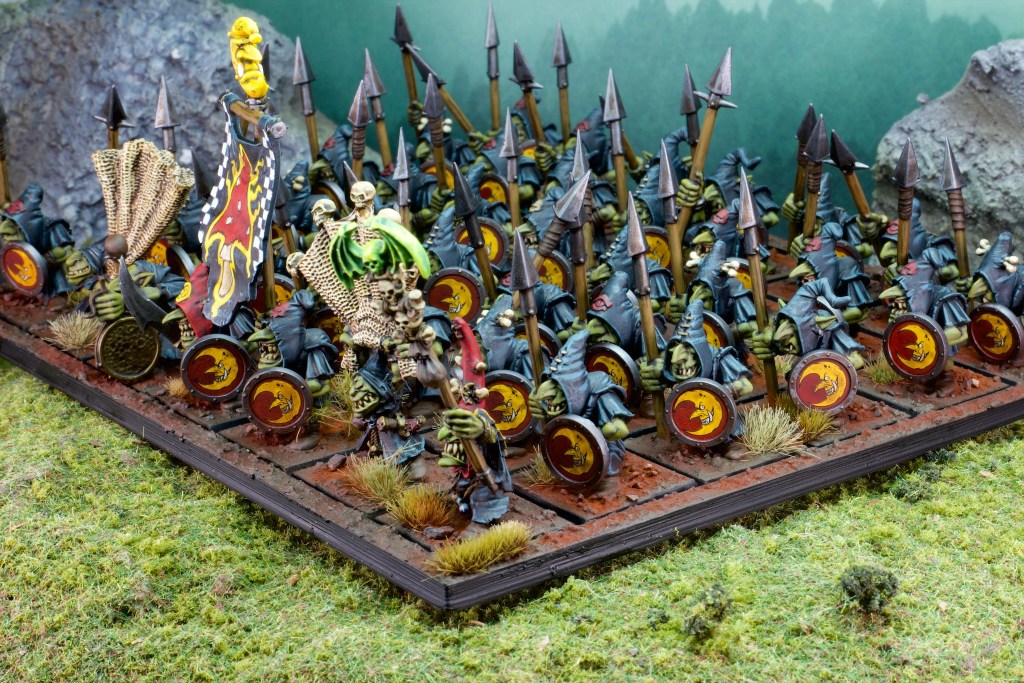
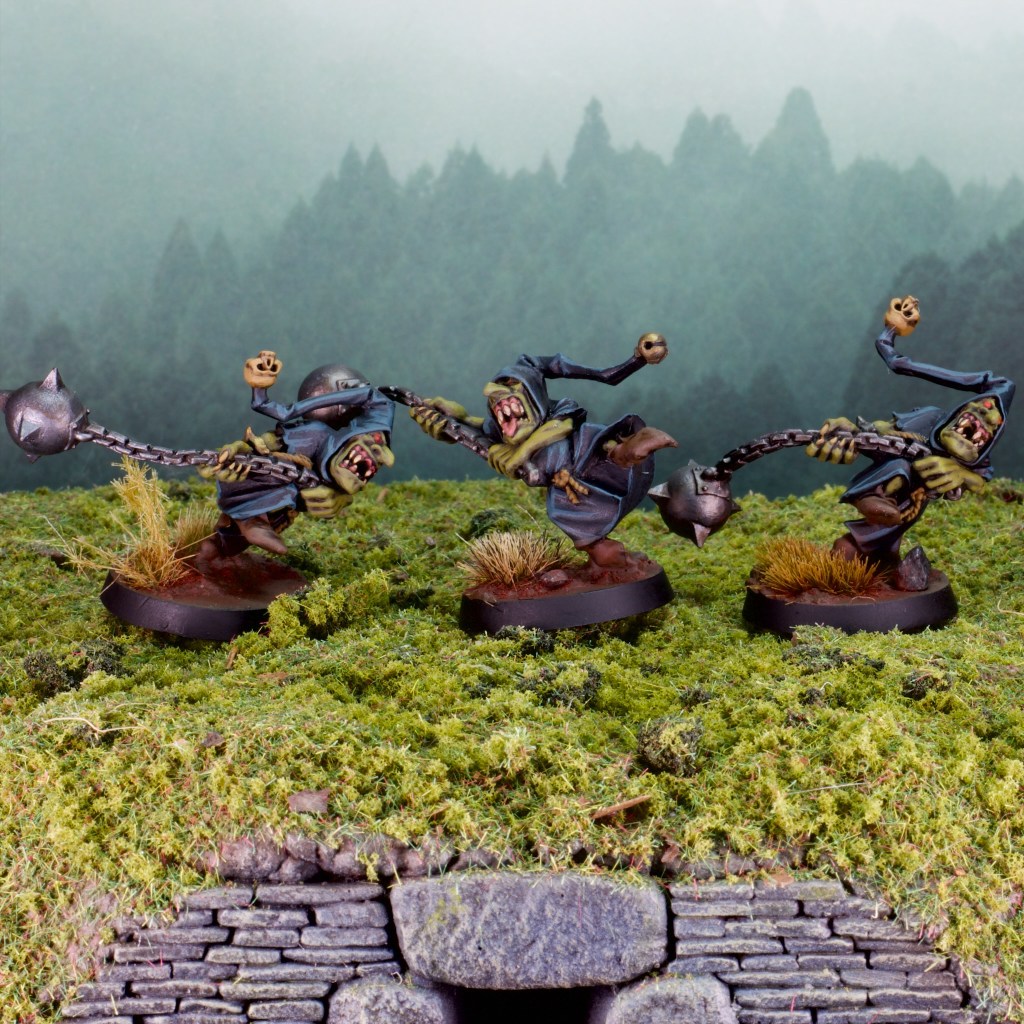
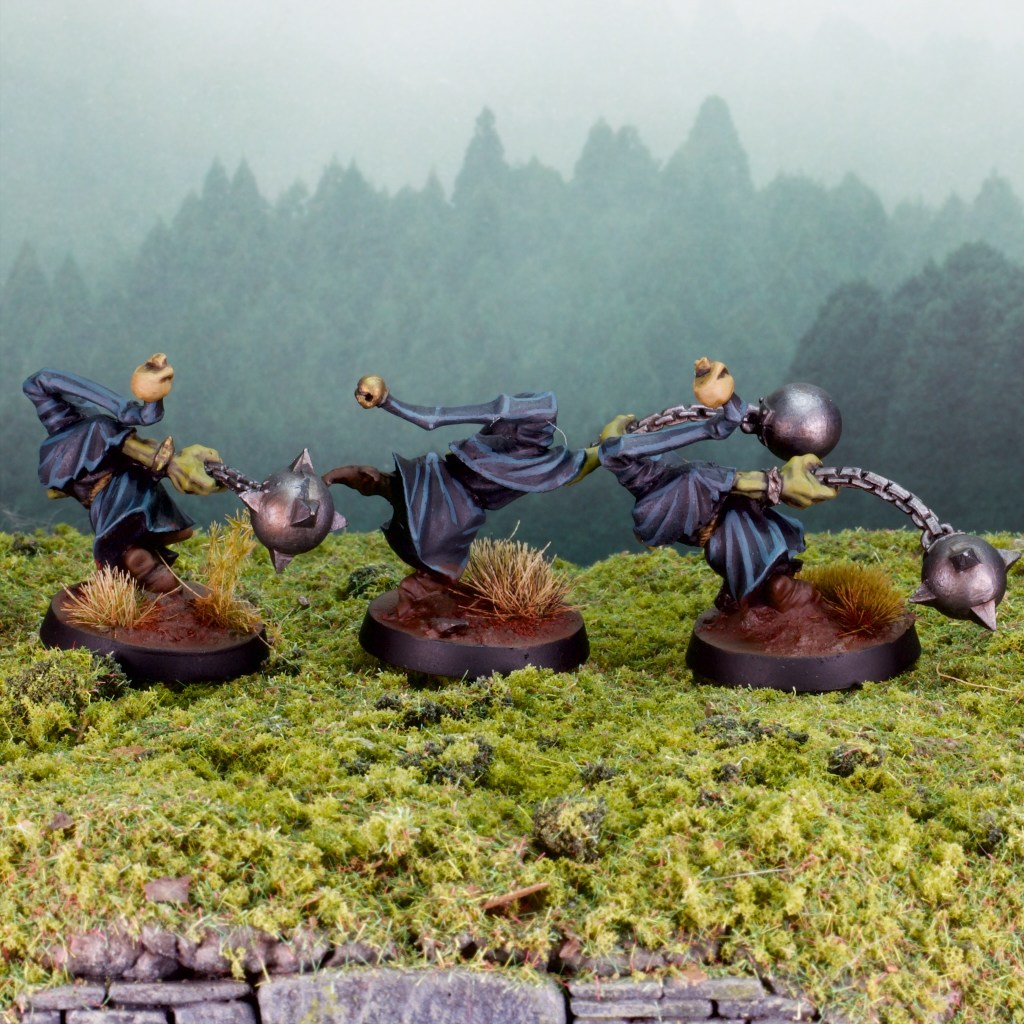
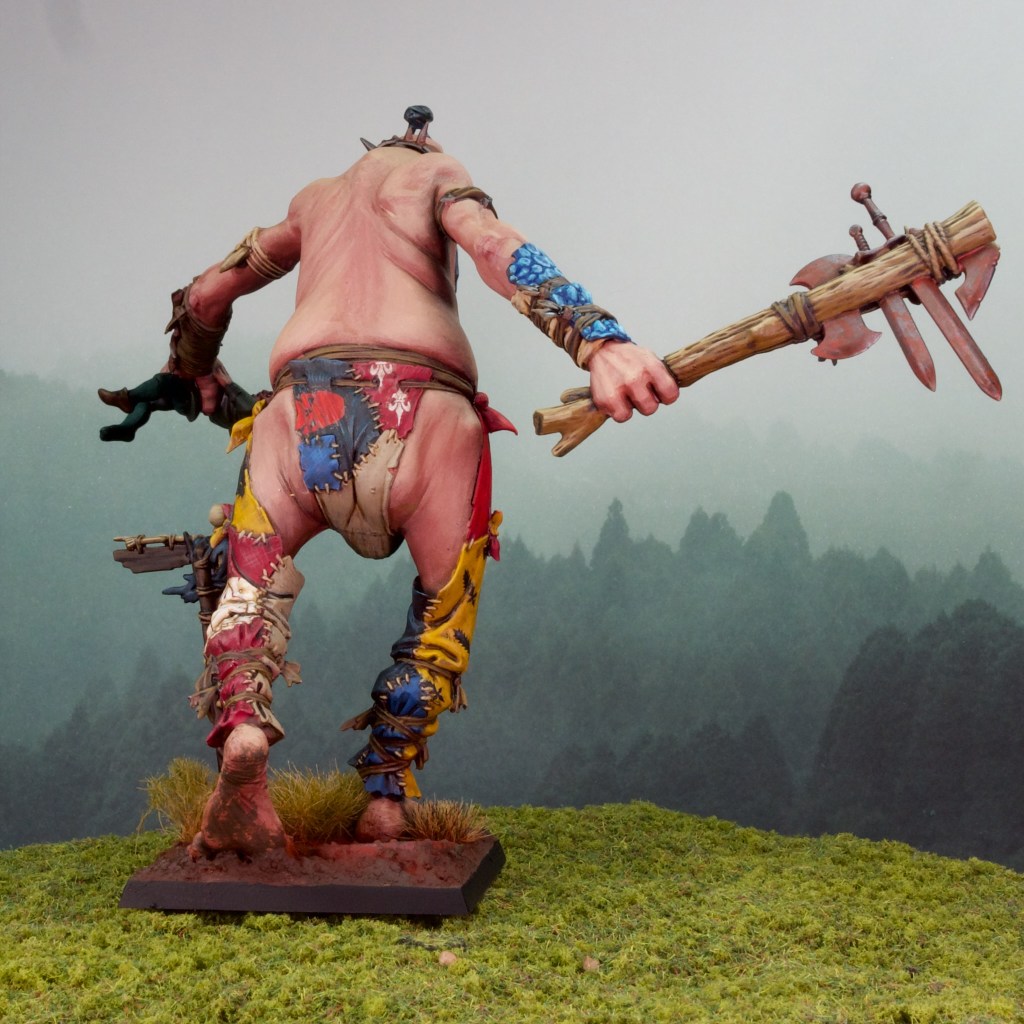
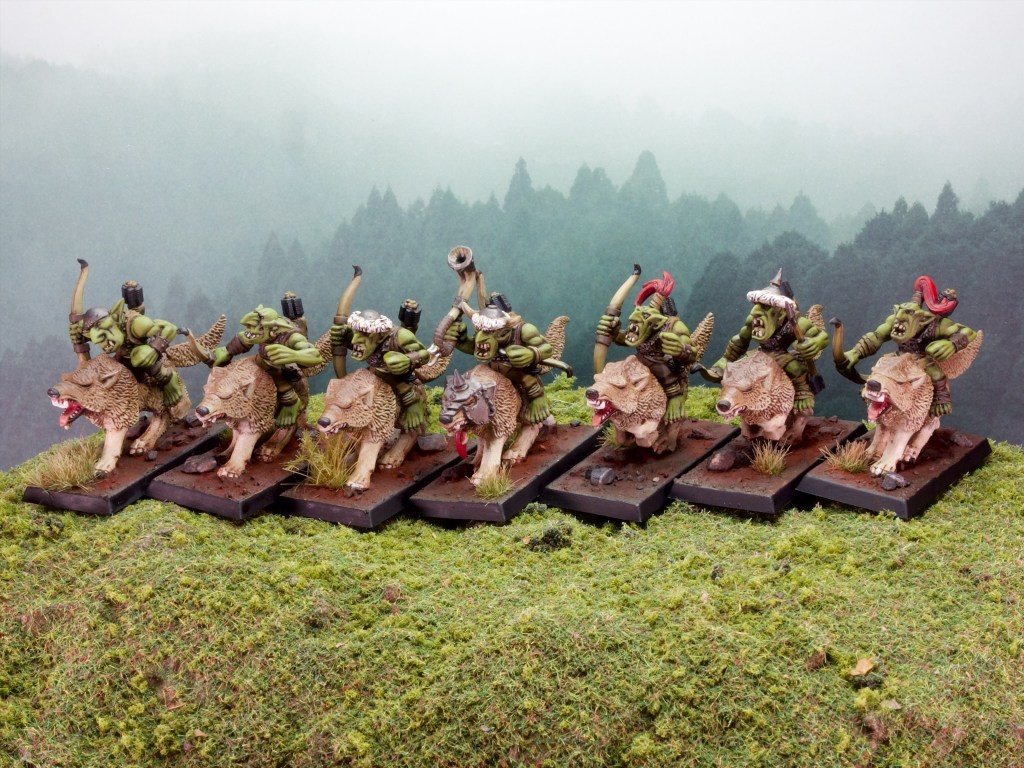
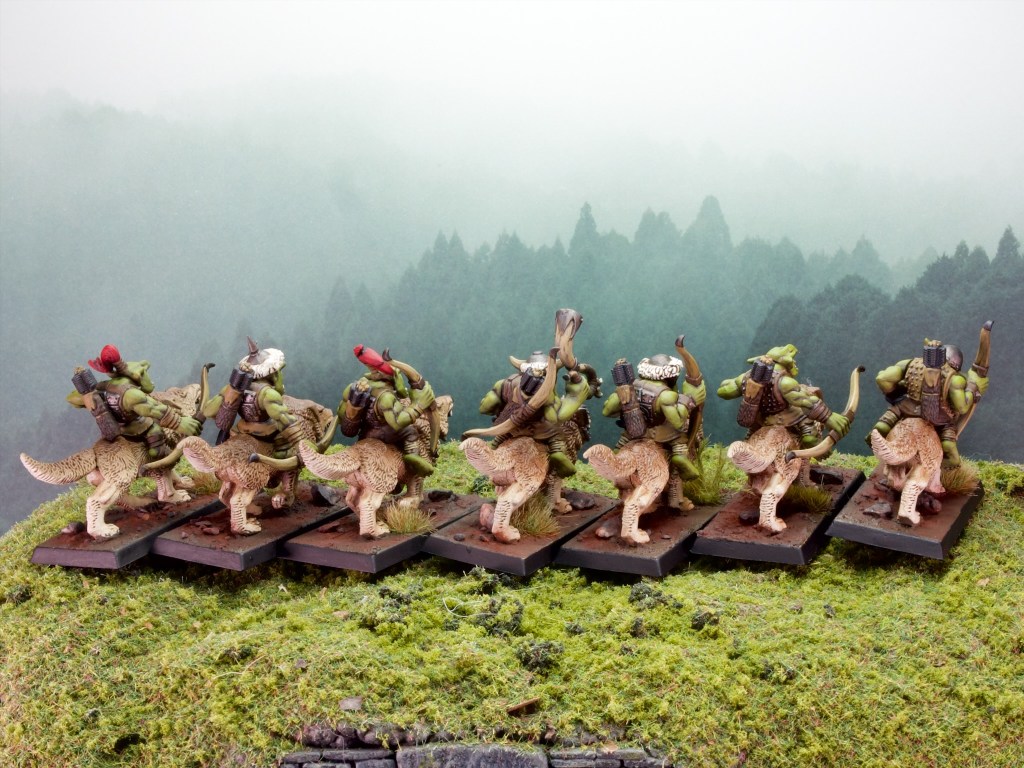
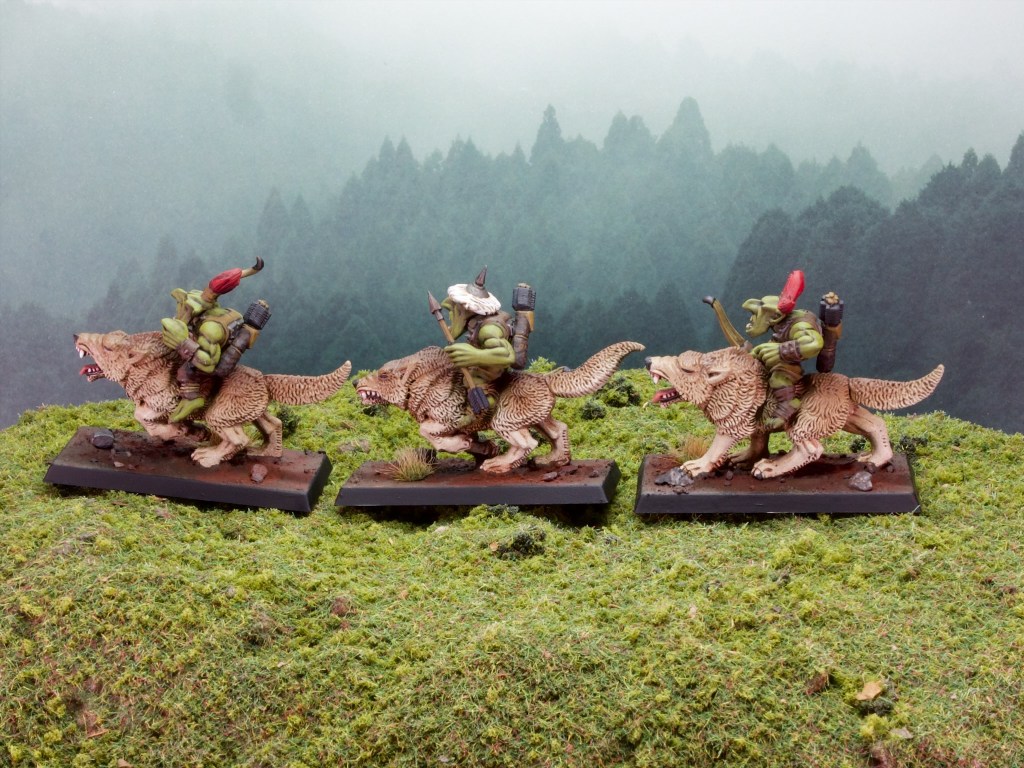
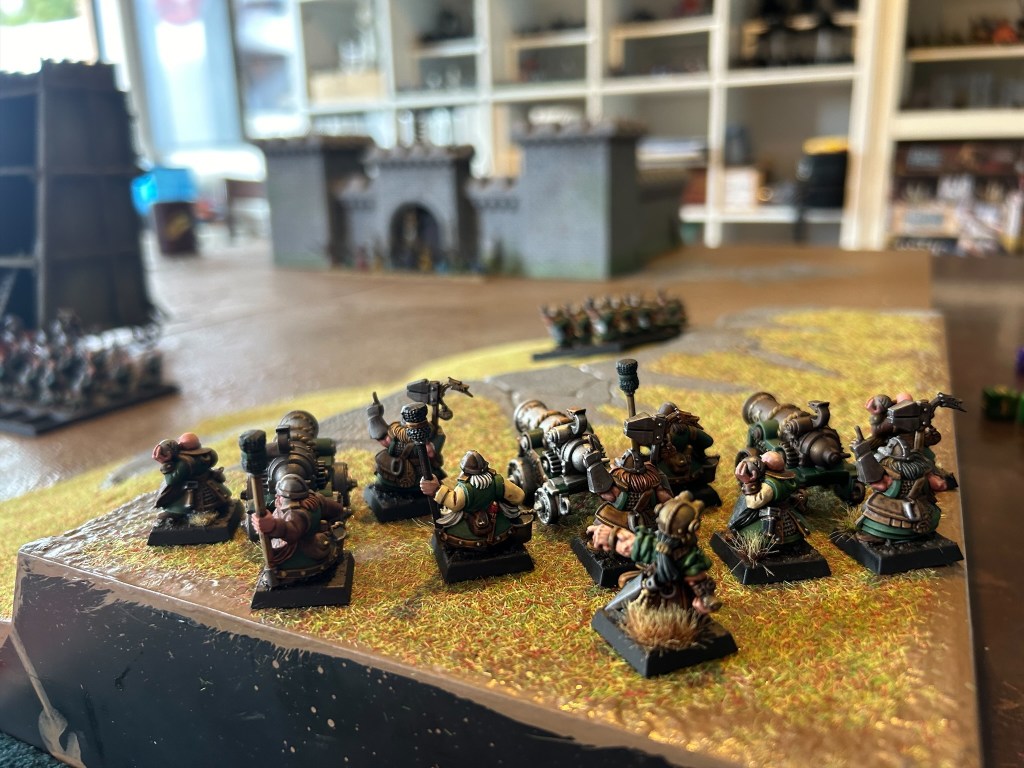
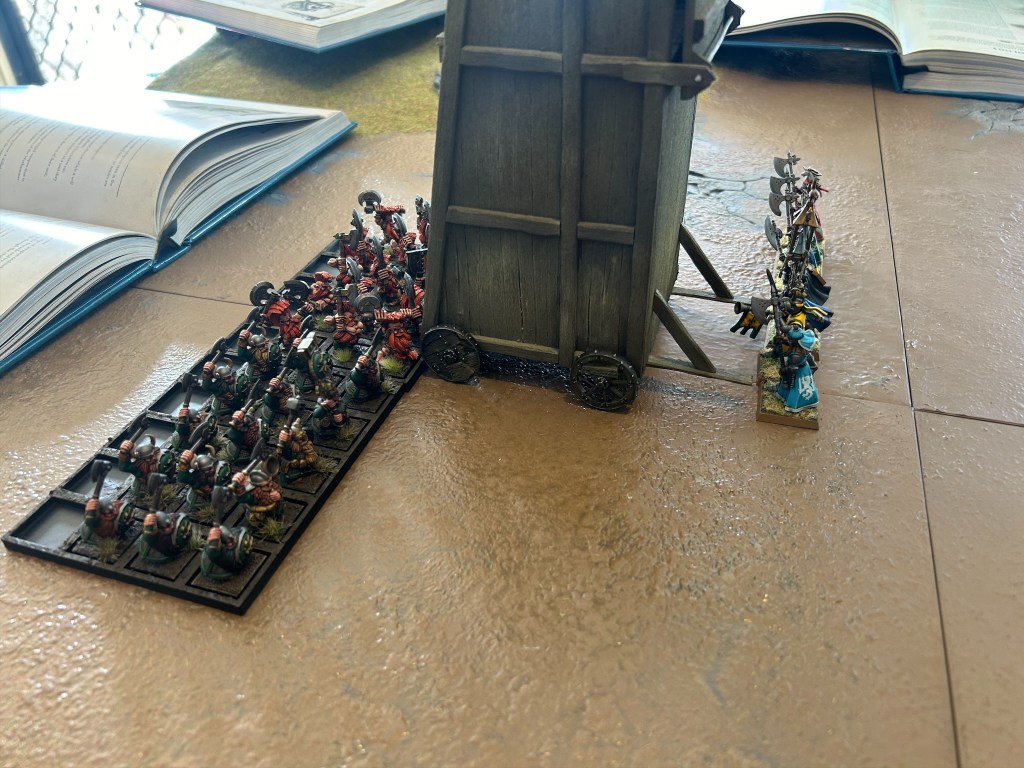
First up we have these wacky Goblin Squid Herders and their charges, three mean-looking Squigs!
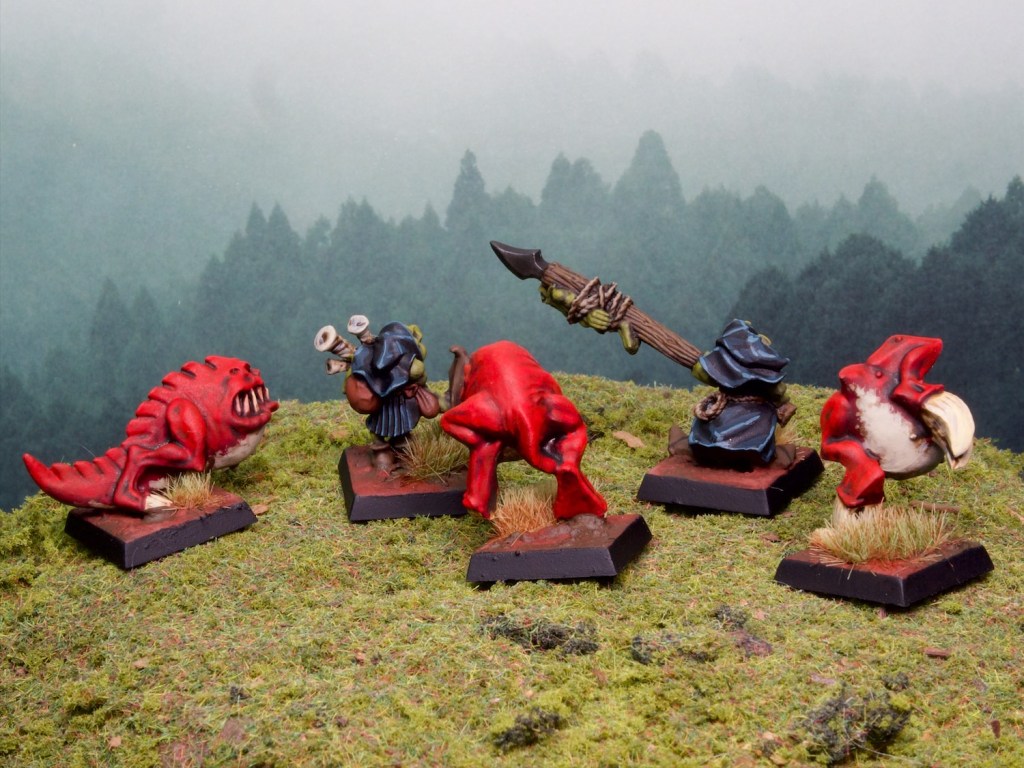
These models are very fun, and were great to paint. I really enjoyed doing the patterns on the Squig bellies, and felt they were necessary to break up what would otherwise have just been angry red balls with legs!
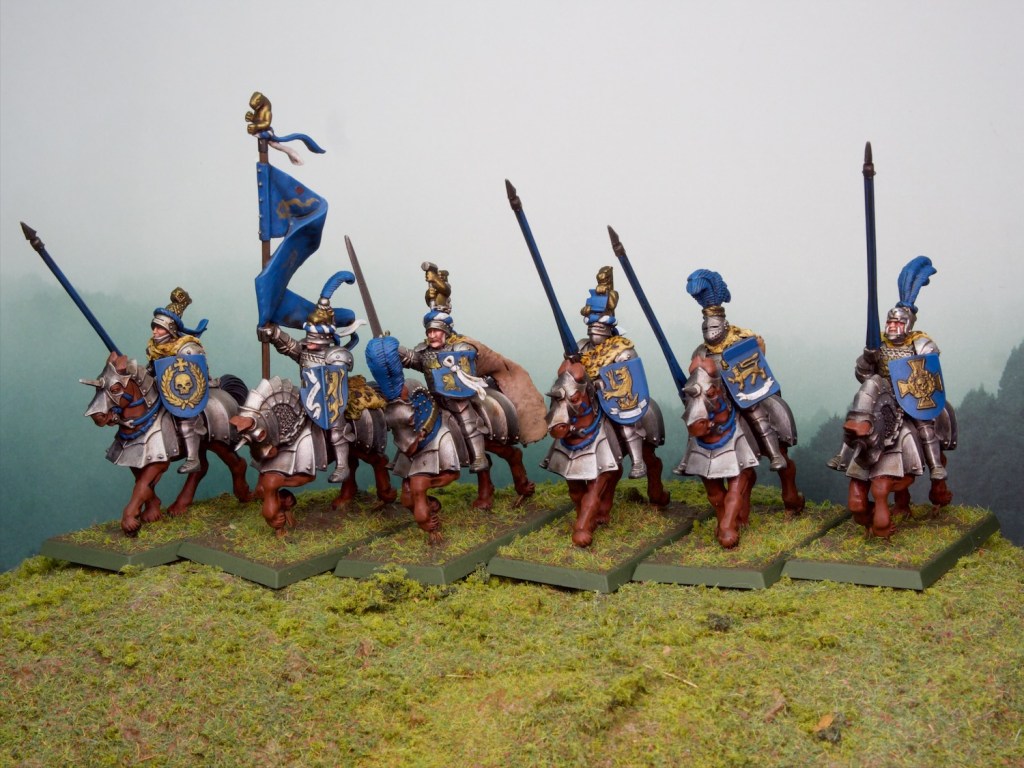
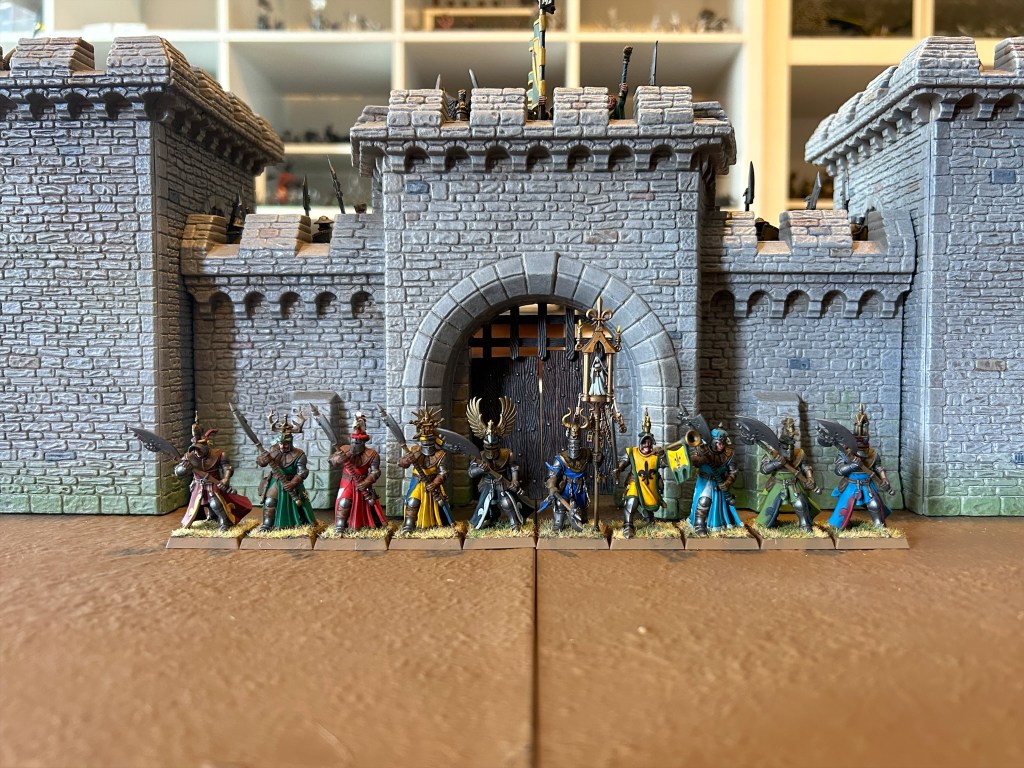
Next up we have this unit of Empire Knights converted and painted to be of the order of Knights Panther.
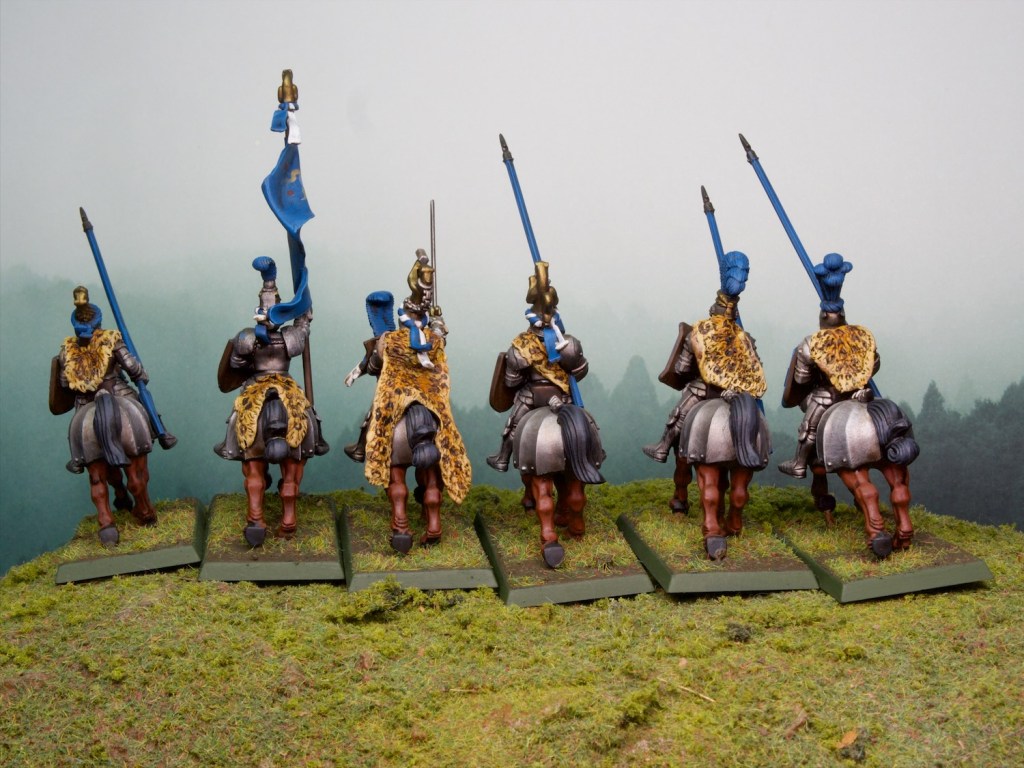
I made the cloaks and other fur applications from greenstuff which was good practice (but also really slow, bad idea when trying to paint 100 miniatures, whatever I feel like isn’t always efficient). The paint job on these was quick, although I spent a bit of time on the furs as the signature element of these models. This mostly involved creating the gradient from yellowy-brown to cream on the furs before painting on the spots using dark brown contrast paint.
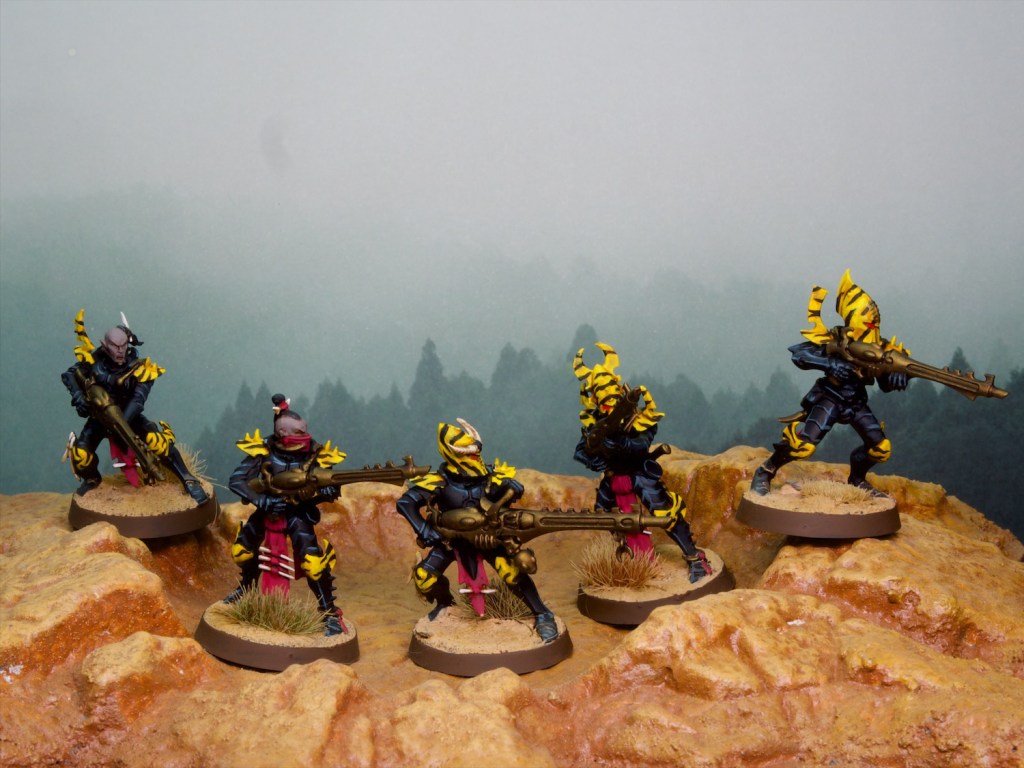
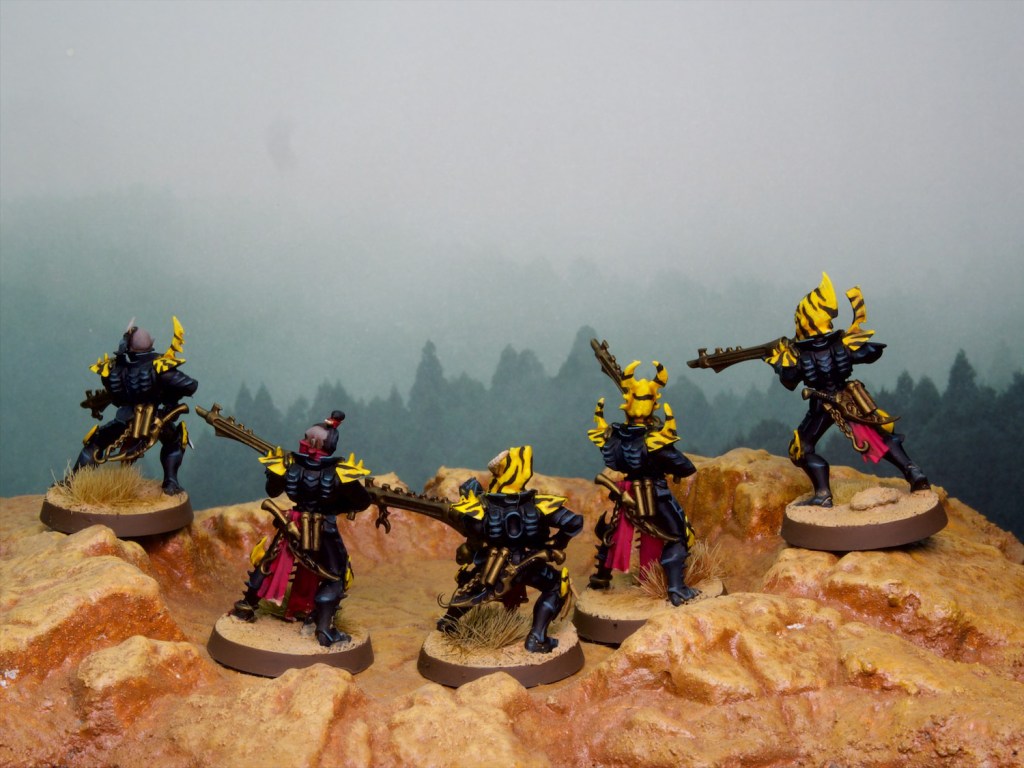
Finally we’re staying with animal patterns but in a much more synthetic setting with the last entry in this post: some Dark Eldar warriors with a wild (pun intended) colour scheme. I’ll go more in depth on the influences for this scheme in another post hopefully, but long story short I saw some very cool, extremely 80s, Eldar colour schemes in the 1st edition Warhammer 40,000 rulebook and went from there. Some of the tiger stripes are a bit wonky, but I got better as I went along and learned what worked and what didn’t. The scheme is surprisingly fast to paint, mainly because most of the armour is black and I find I can do that black with blue-ish edge highlight look pretty quickly (don’t look too close at those highlights thanks).
I hope you’ve enjoyed this look into the mix of models that made the cut for things I felt like painting in the last few weeks! This is a bit of a microcosm for how I approach this hobby and why if you’ve followed this blog for a bit you’ll have noticed me jumping from project to project all the time. I value the fun I get out of this hobby more than anything else and that means I’m always trying to paint what inspires me. I like to think of it as striking while the iron is hot on an idea.
That might mean I get excited on a project for a few months then stop when I get excited about something else. This might seem unproductive, but at the end of the day I find even if I park a project for a bit, inspiration will come back at some stage and that is the time to resume it. If I push through when I’m not inspired anymore I’ll a) not enjoy myself and b) get a worse result, both of which are things I like to avoid. Anyway that’s enough yammering, I have 64 more models to paint!