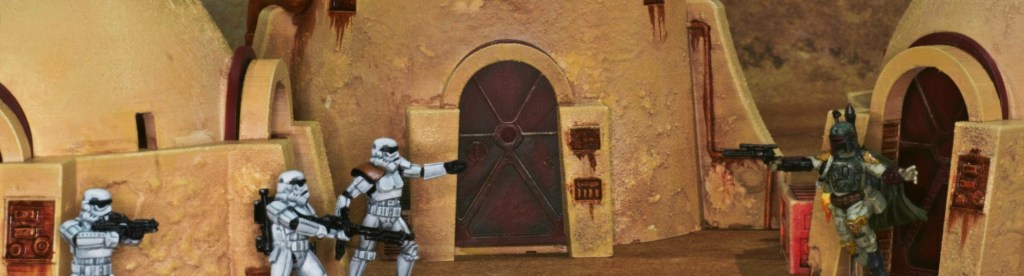
I played a Middle-Earth SBG tournament yesterday (more on this at the end), and was inspired by some of the tables I saw there to paint some terrain of my own. I’d done all the preparation for these buildings while recovering from my eye injury a few weeks back, but never got around to painting them as I got too excited by being able to see well enough to paint models again! My 15-month old had a three hour nap this afternoon that provided a window of opportunity to put my new found motivation to good use.
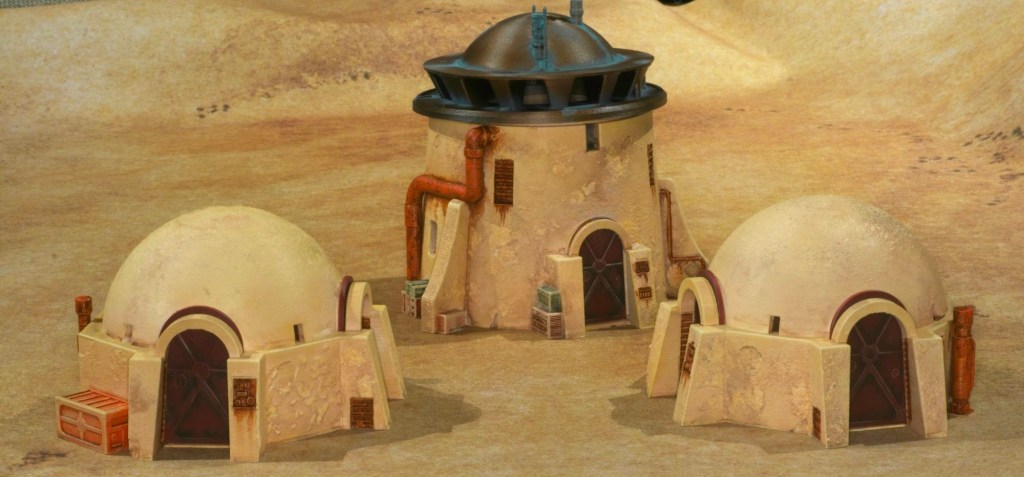
The buildings in question I 3D printed on my filament printer from models by Imperial Terrain who produce great Star Wars Legion terrain. To add to the look of them, I textured all of the walls with tile grout, which provided a great surface for drybrushing as well as hiding some of the layer lines from the printing process. I really love the look of this technique and will keep applying it to printed terrain where it makes sense.
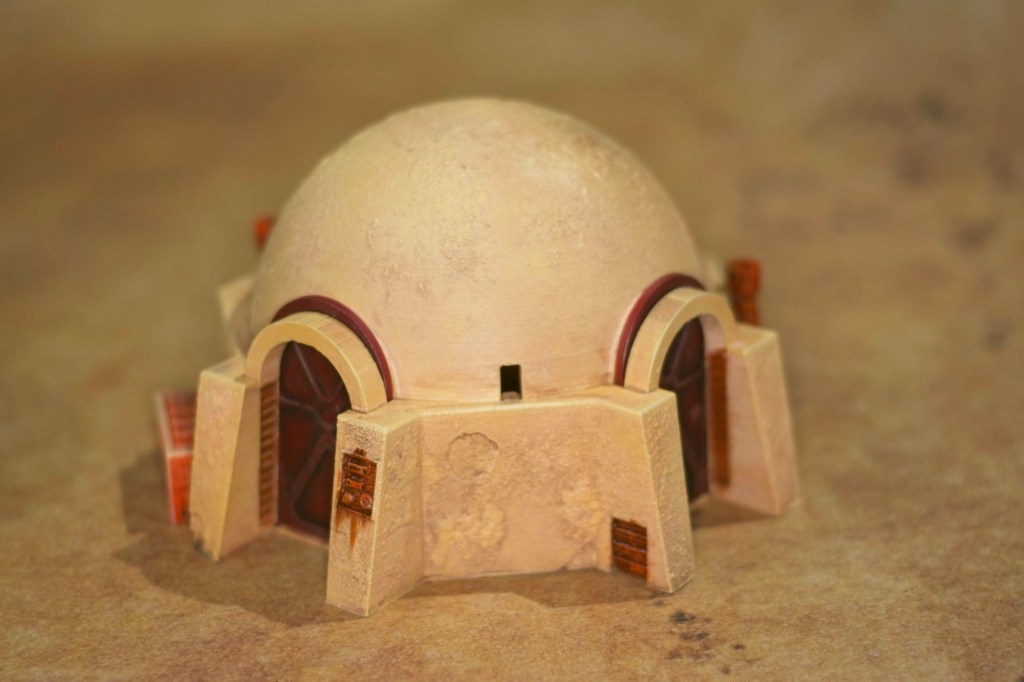
For the walls of the structures, I started with an all over coat from a cream spray can, followed by a reddish-brown wash I made using a mixture of craft paints, water, and some window cleaner to break the surface tension. Once that was dry, I drybrushed a mix of ochre and white craft paint, followed by another drybrush of the same mixture with more white added.
The crates were painted in a variety of flat colours and hit with the wash and drybrush steps of the walls.
The rusted elements were done with a burnt sienna craft paint, followed by a mixture of burnt umber, red, and yellow inks all over. The same ink mix was used to do the rust streaks. The pipes were then hit with sponged on orange paint to add a bit more variety.
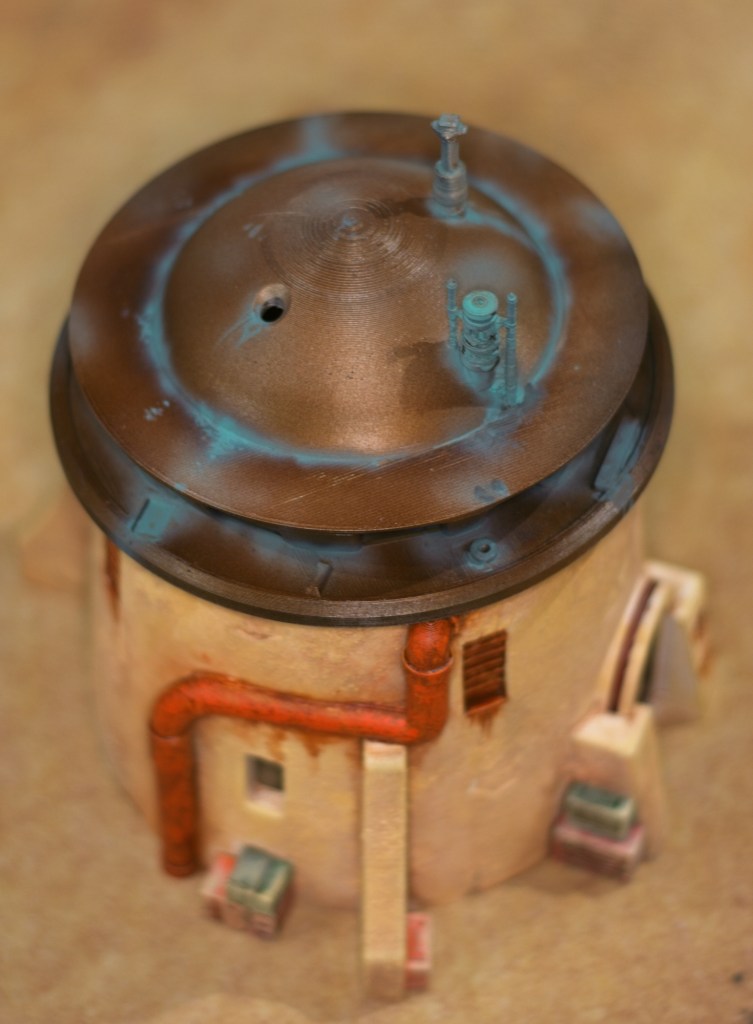
The roof of the tall building was done in a brassy-coppery look, which is something I’d seen on the painted examples on Imperial Terrain’s website and really like the look of.
I’m not sure how they did theirs, but mine was done using the airbrush, with an all over coat of Vallejo Metal Colour Copper, followed by a shading step done using Burnt Umber Ink. The verdigris was done using GW’s Nihilak Oxide through the airbrush (to avoid the wash running in the print lines), followed by some stippling of the same paint to add a bit of texture to the effect.
Overall very happy with the outcome, and the little guy woke up just as I was putting the finishing touches on the buildings so thanks a lot to him for giving me the time to get these done! I have a fair few more pieces to tackle before the table will be done, so expect some more Star Wars terrain posts in the future!
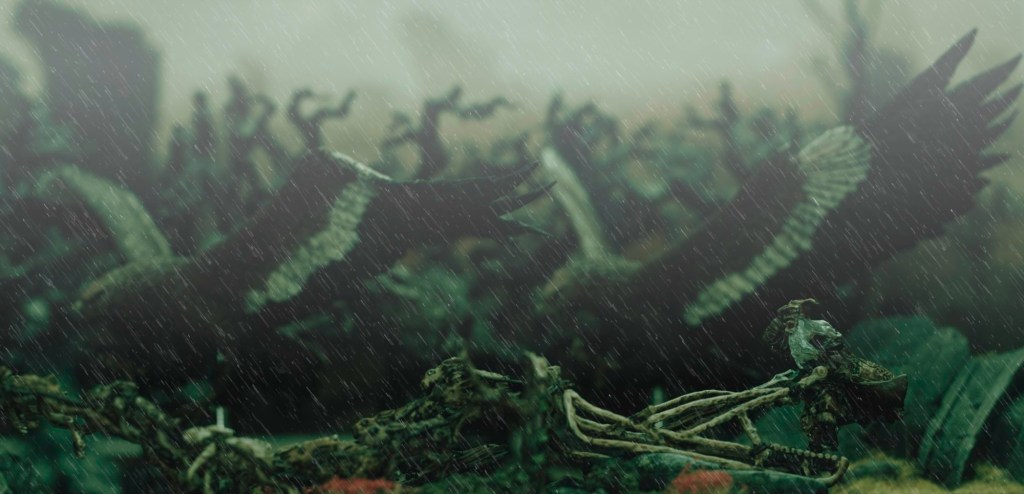
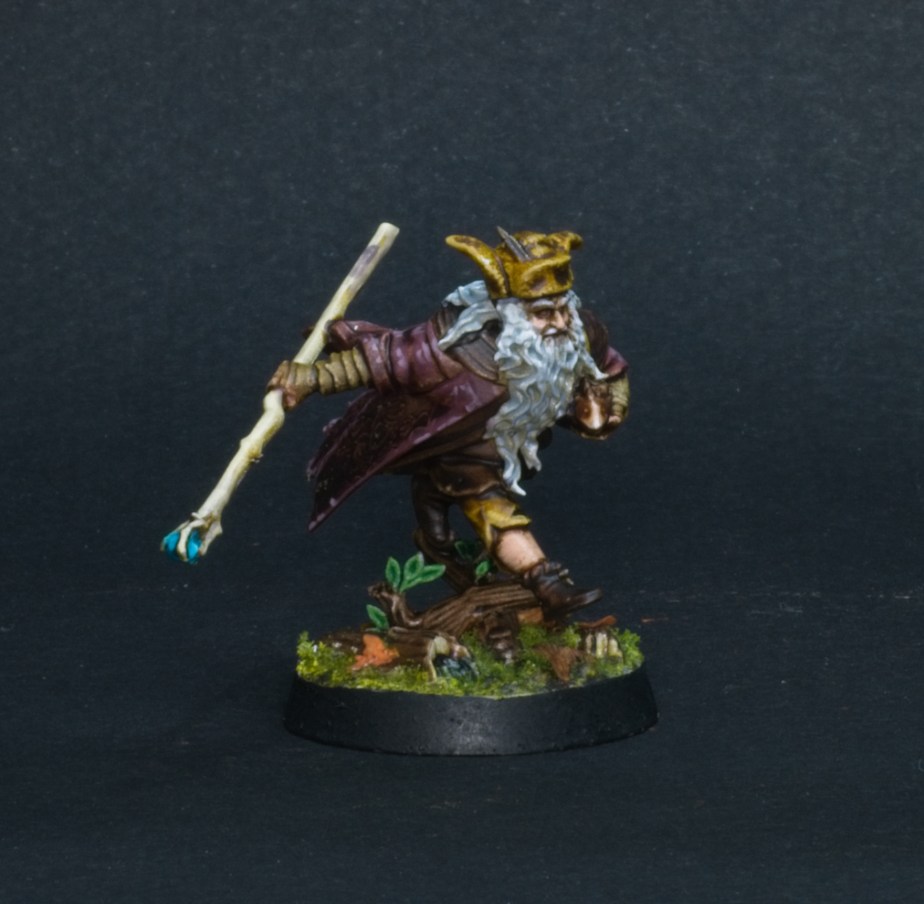
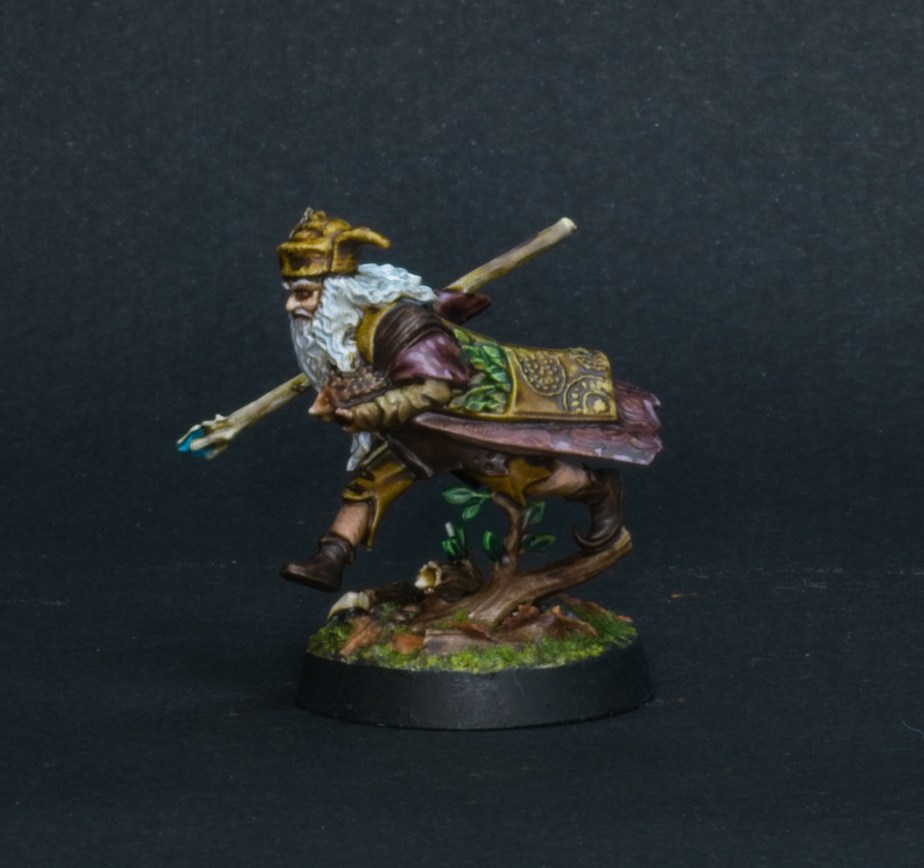
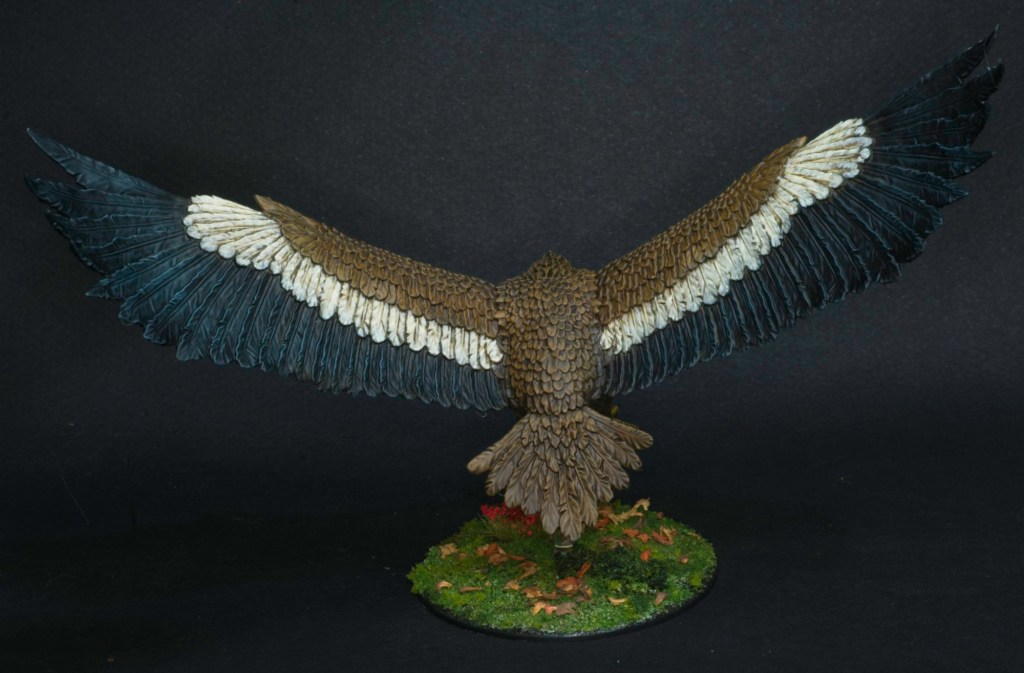
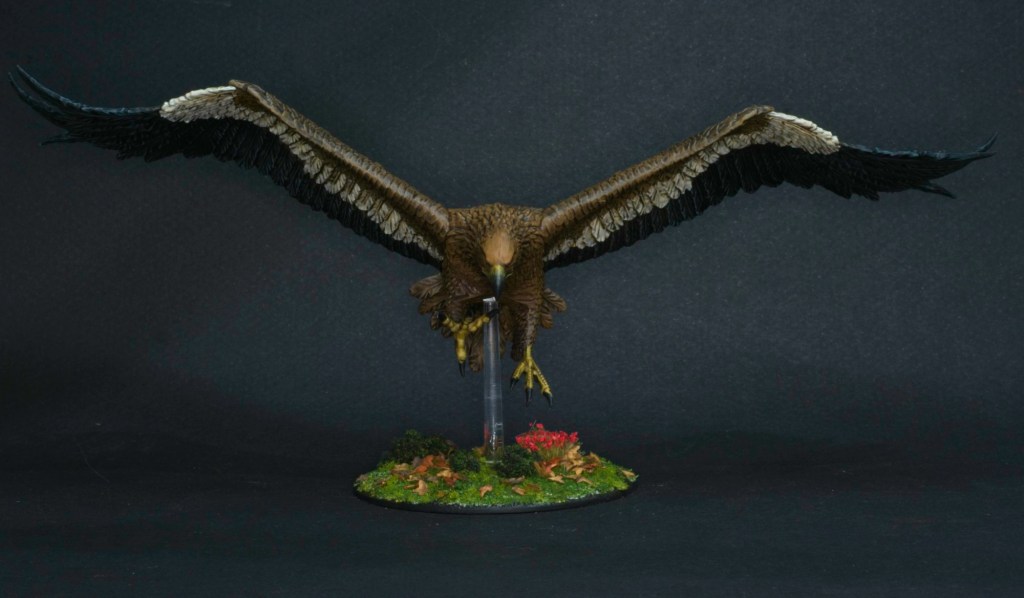
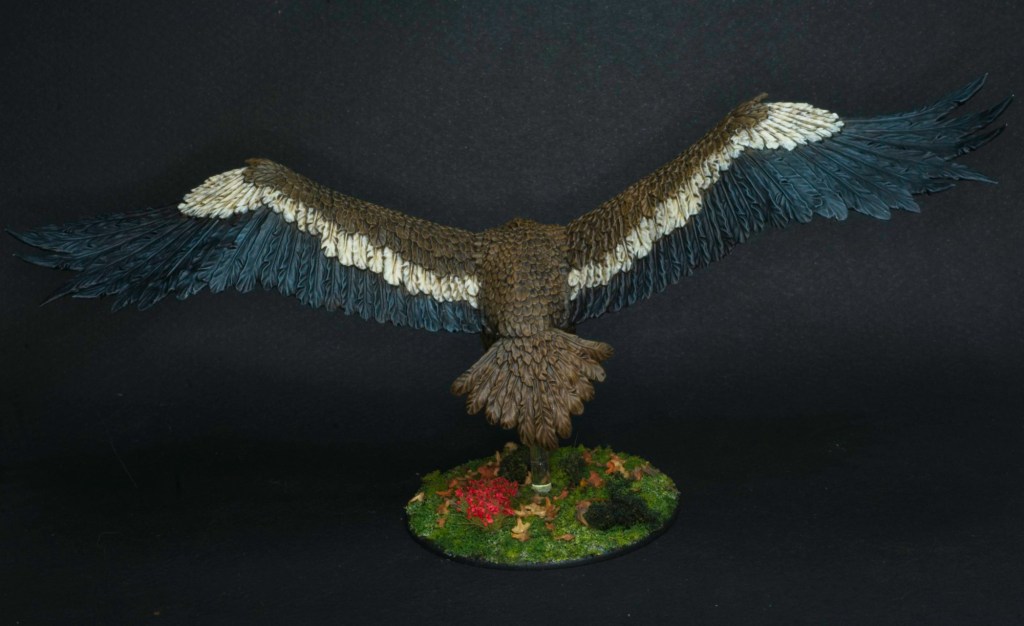
Radagast goes to war!
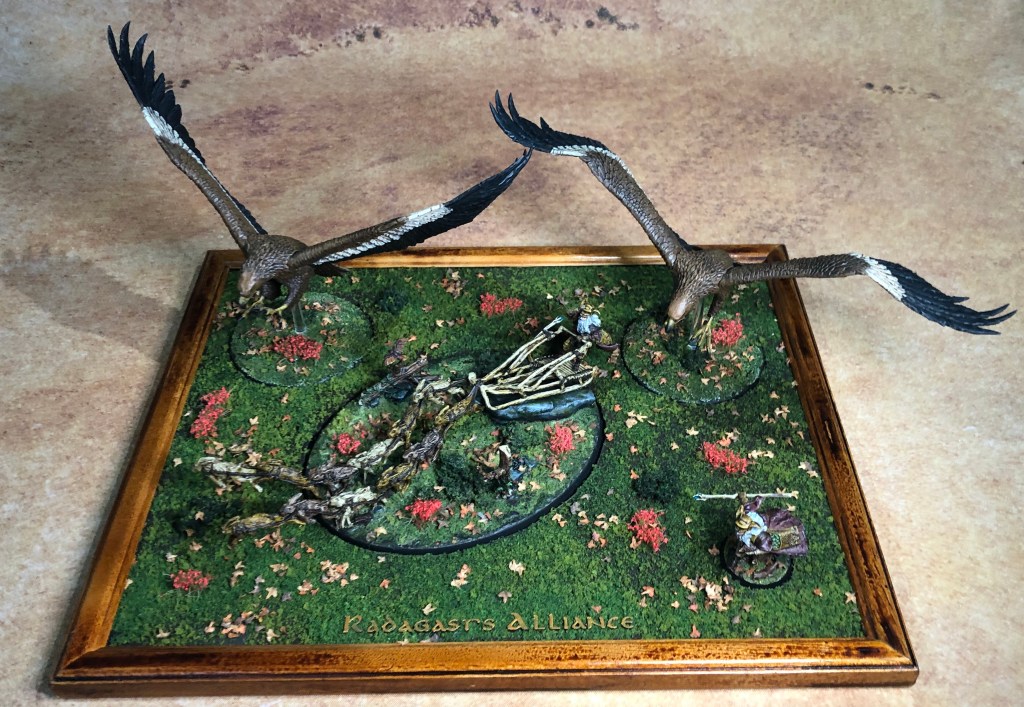
As I mentioned above, I played a one day tournament yesterday with the models I showcased in the last post. I ended up with two wins and two losses, finishing up somewhere in the middle of the field which I was happy with. For the tournament I put together the small display board you can see above and the effort paid off as I took home the best painted army award which I was very happy with. All in all a good fun day, and as always has motivated me to paint even more Middle-Earth armies!