Defenders of Malko

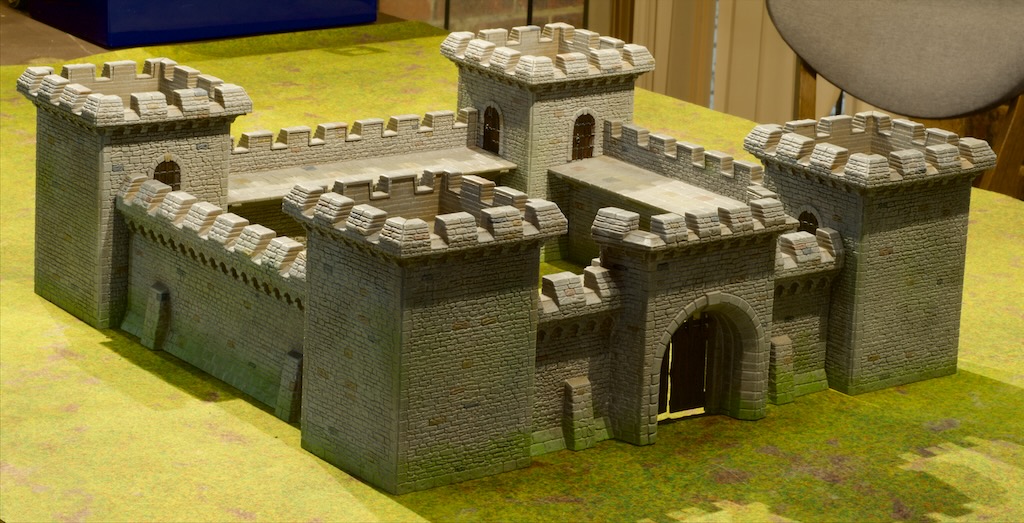
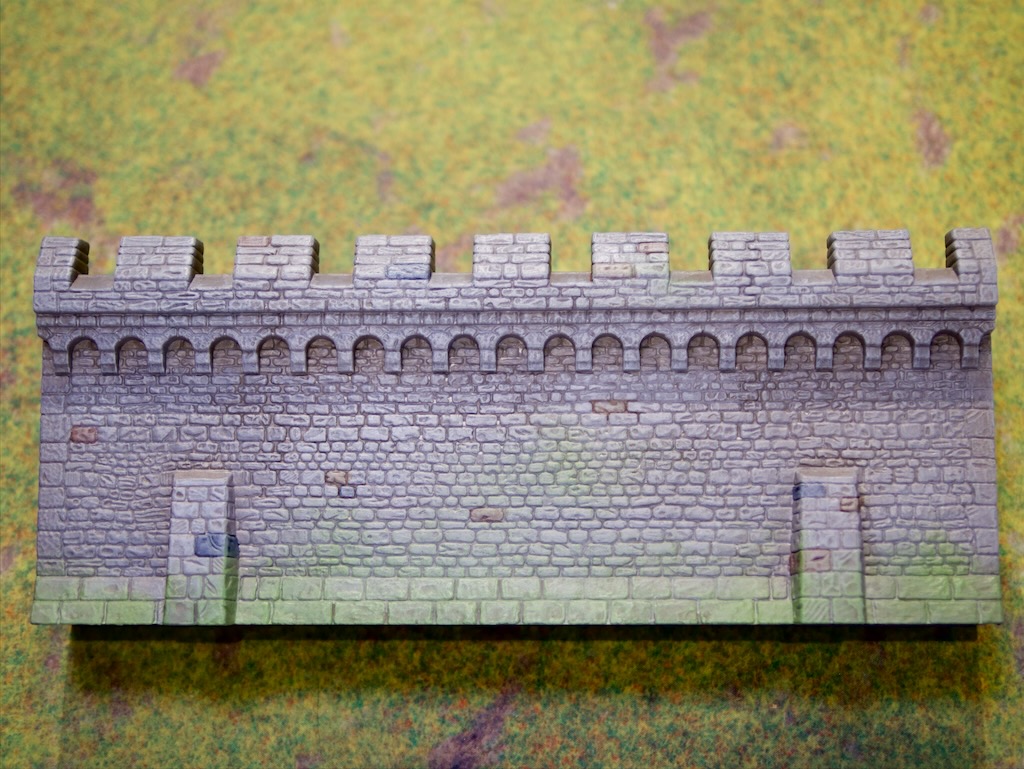
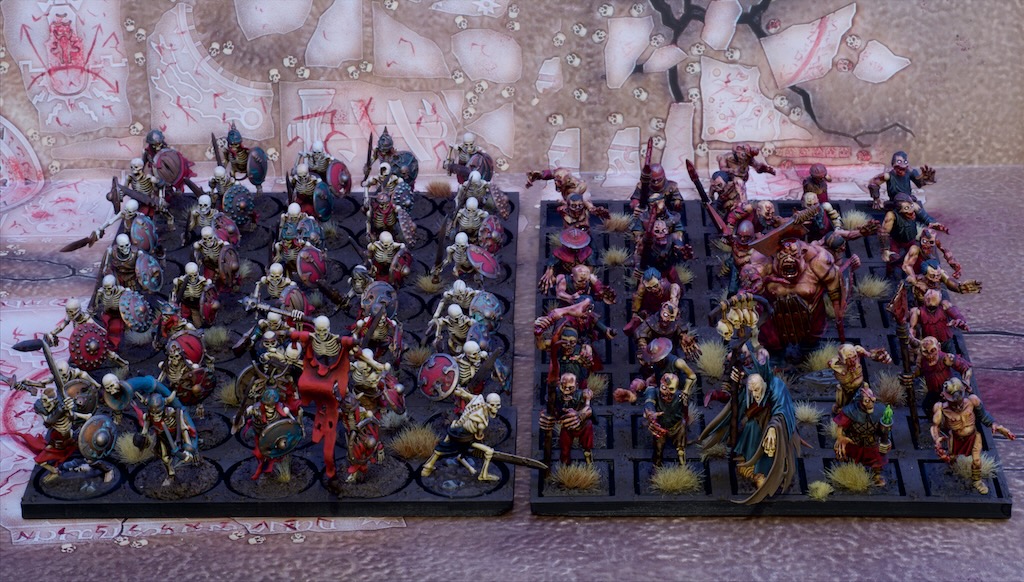
I hinted last post that I was going to start on another faction for our Border Princes campaign. If you remember, right at the start of this project I drew up a map of the Border Princes that the campaign will be fought over. At the centre of that map is the town of Malko, one of the major objectives of the campaign. We decided that Malko should have some neutral defenders, to provide some opposition to any players trying to take the town.

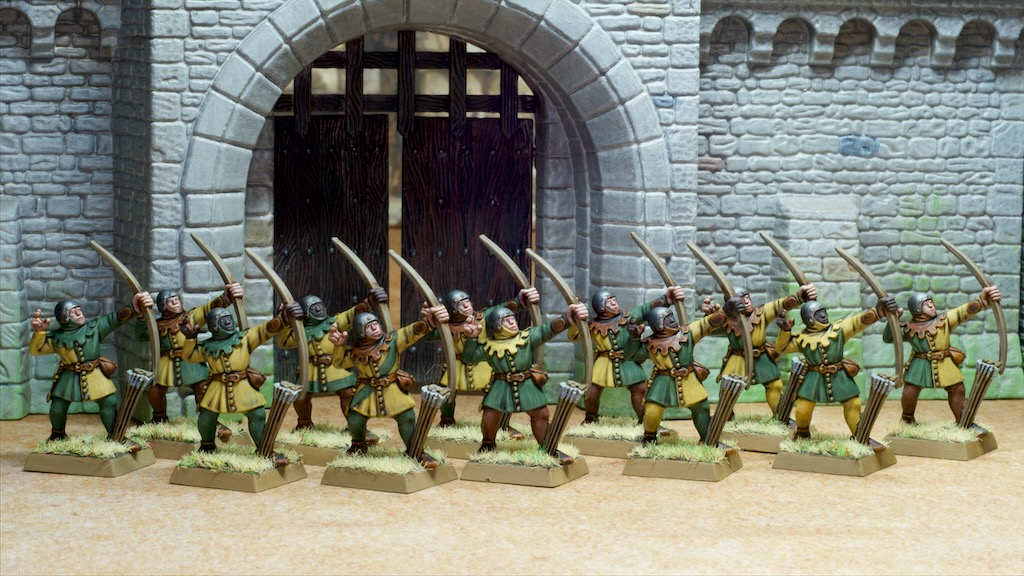
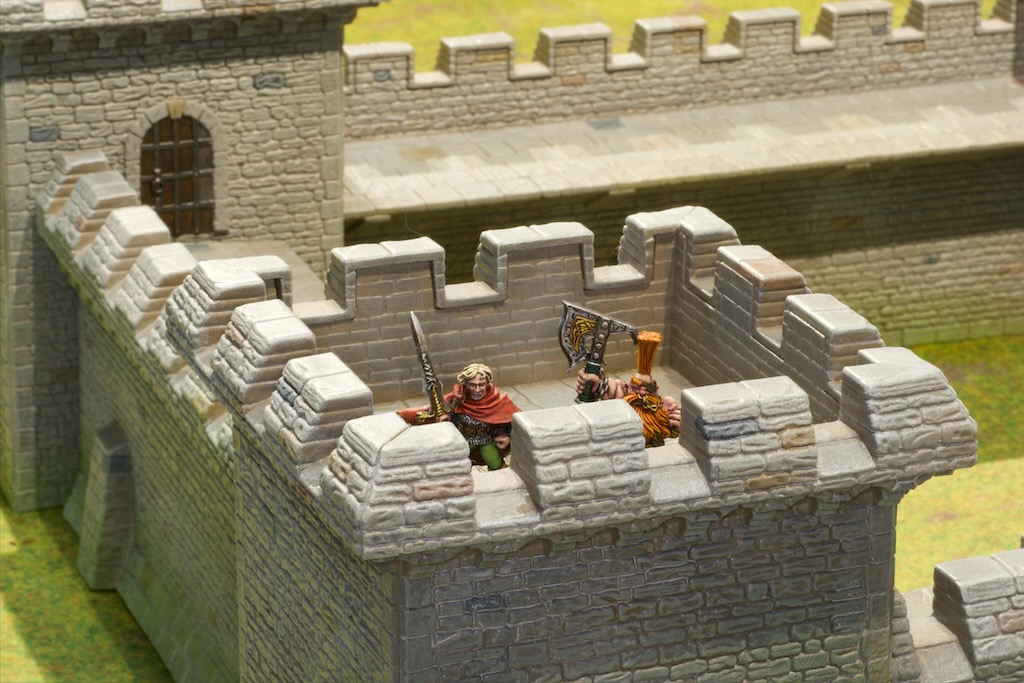
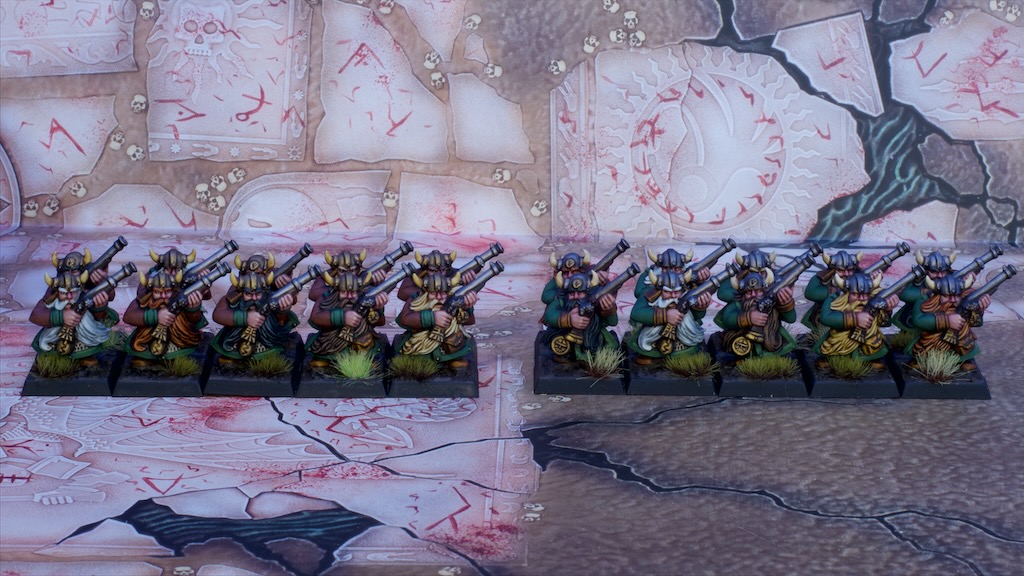
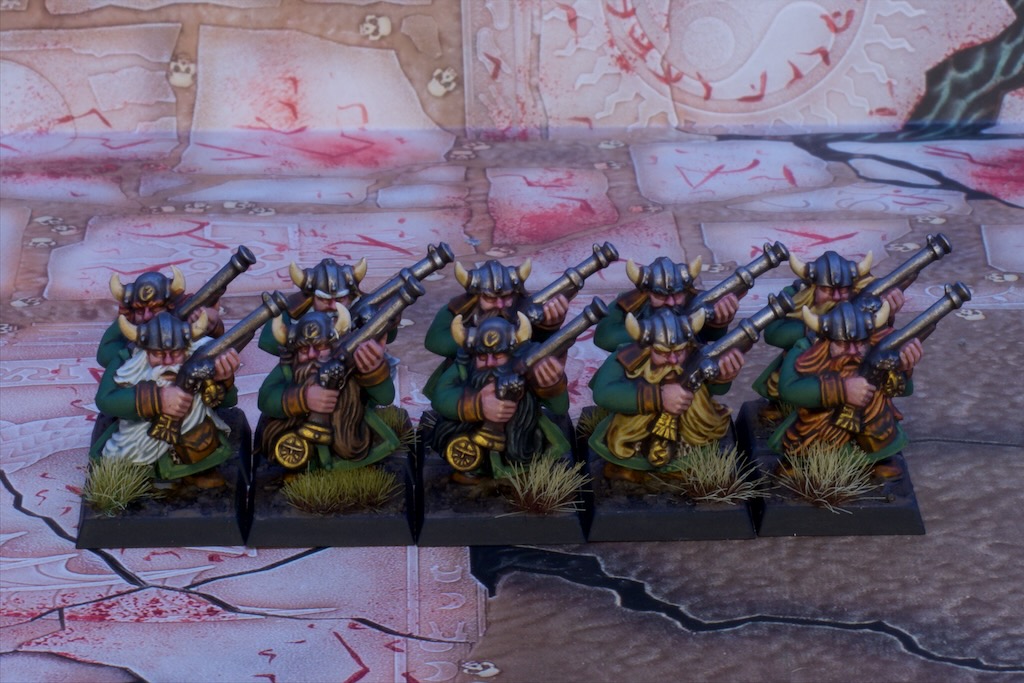
In come these Bretonnian archers! The Border Princes is a region outside the more civilised areas of the old world, but is home to some that try their luck in the wilder areas. This includes quite a few Bretonnian nobles that decide to strike out with their retinues and make a life there. As such Bretonnia was a clear pick for the neutral faction that occupies Malko.

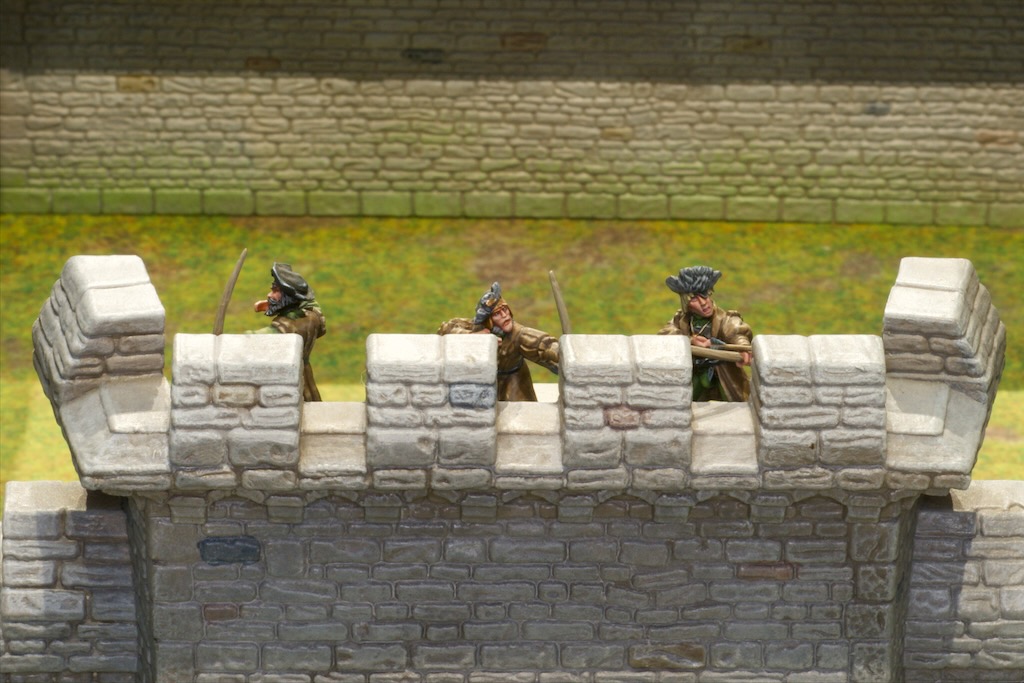
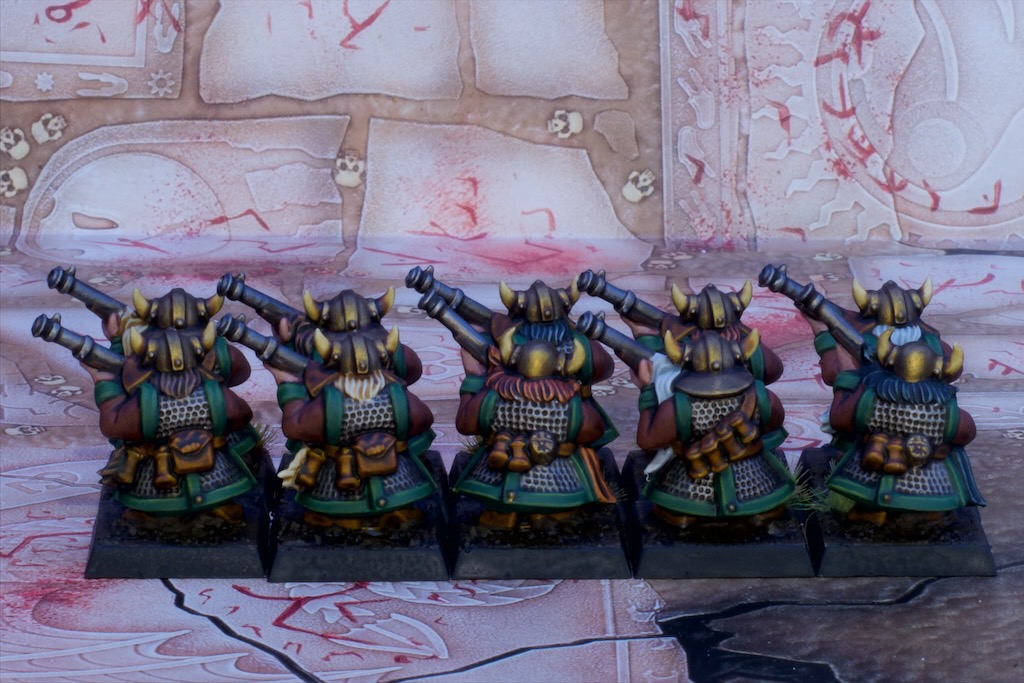
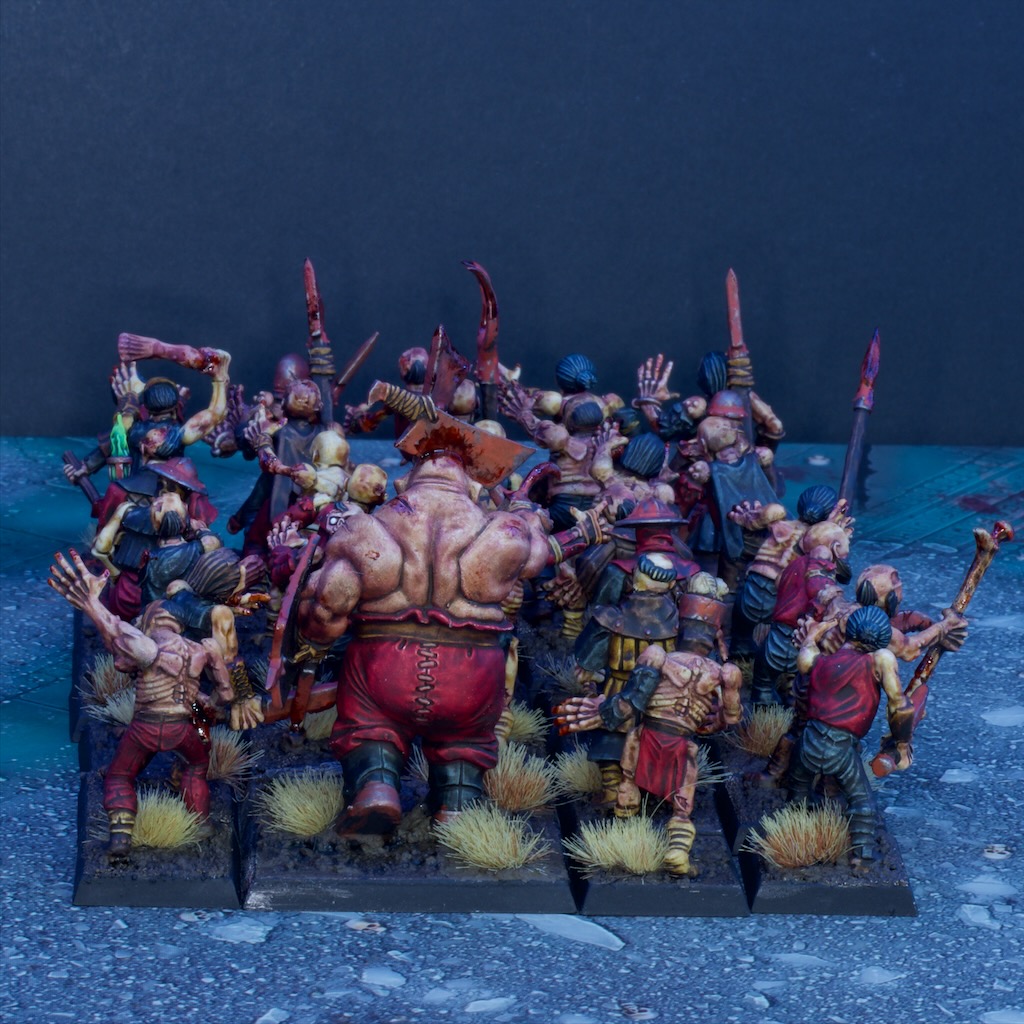
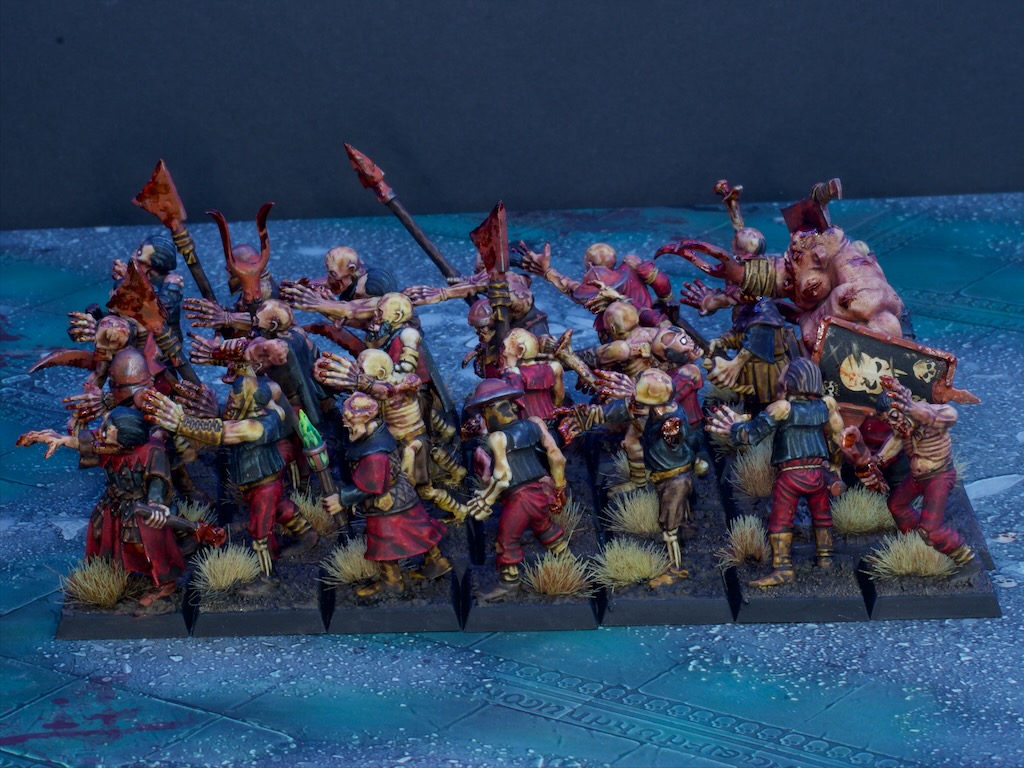
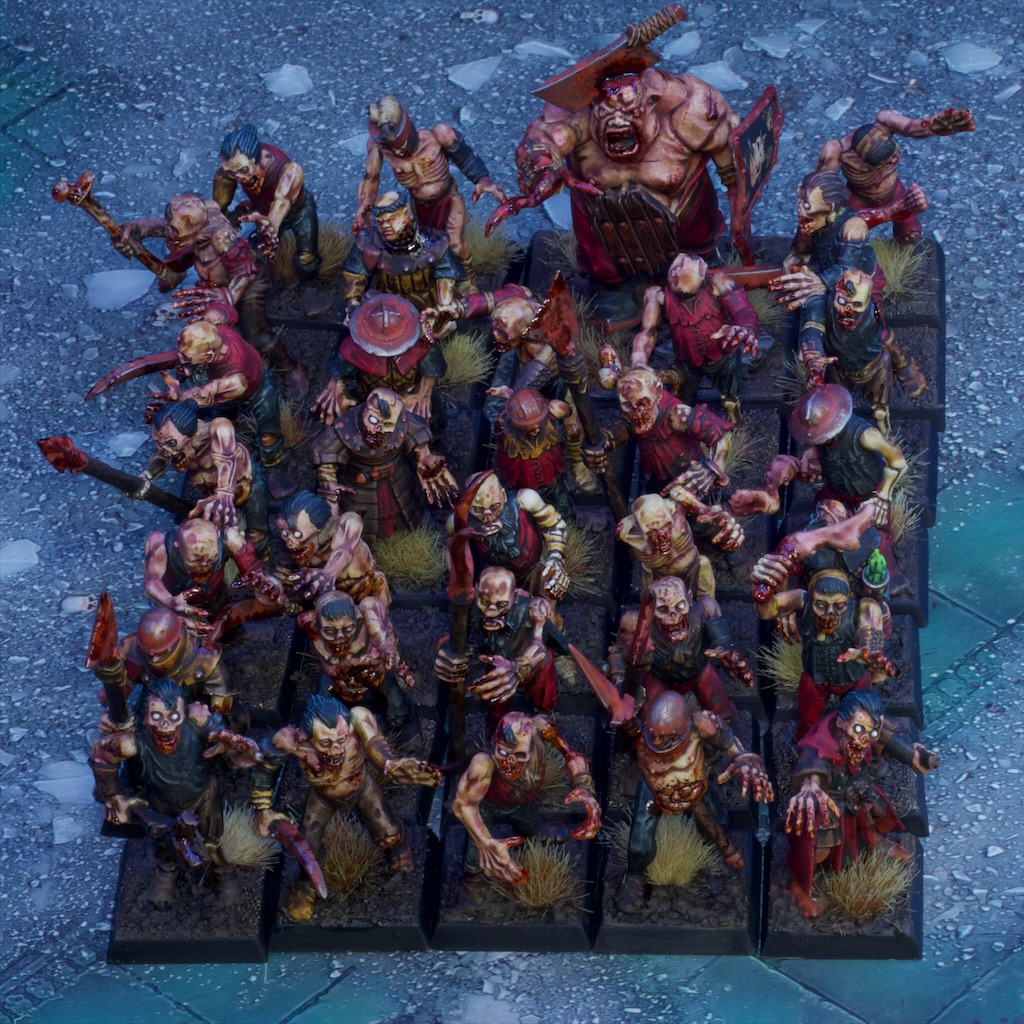
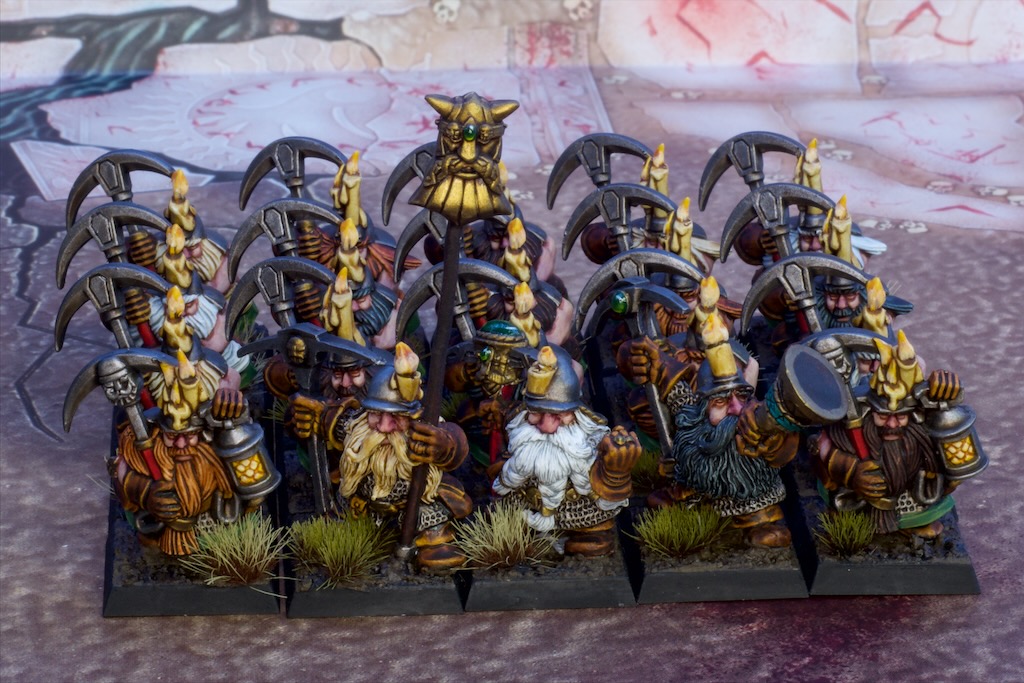
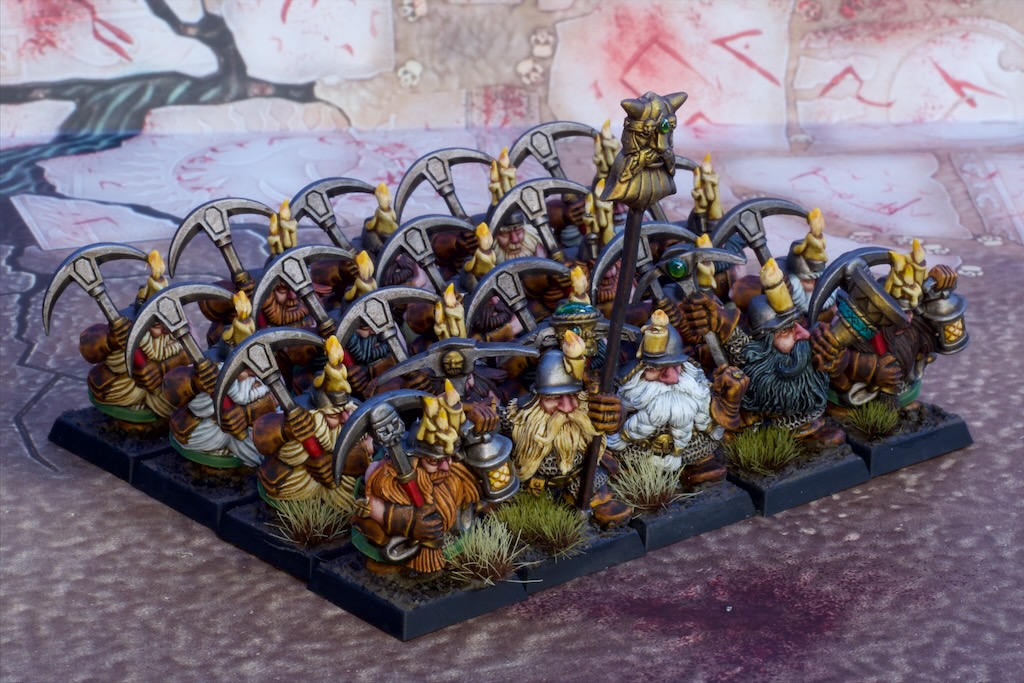
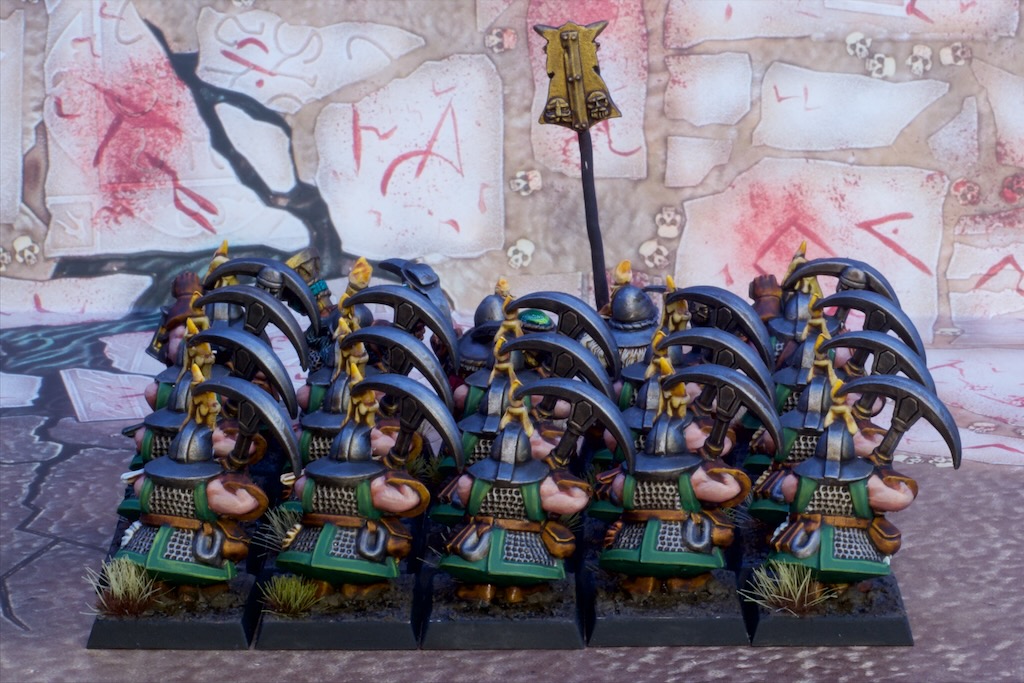
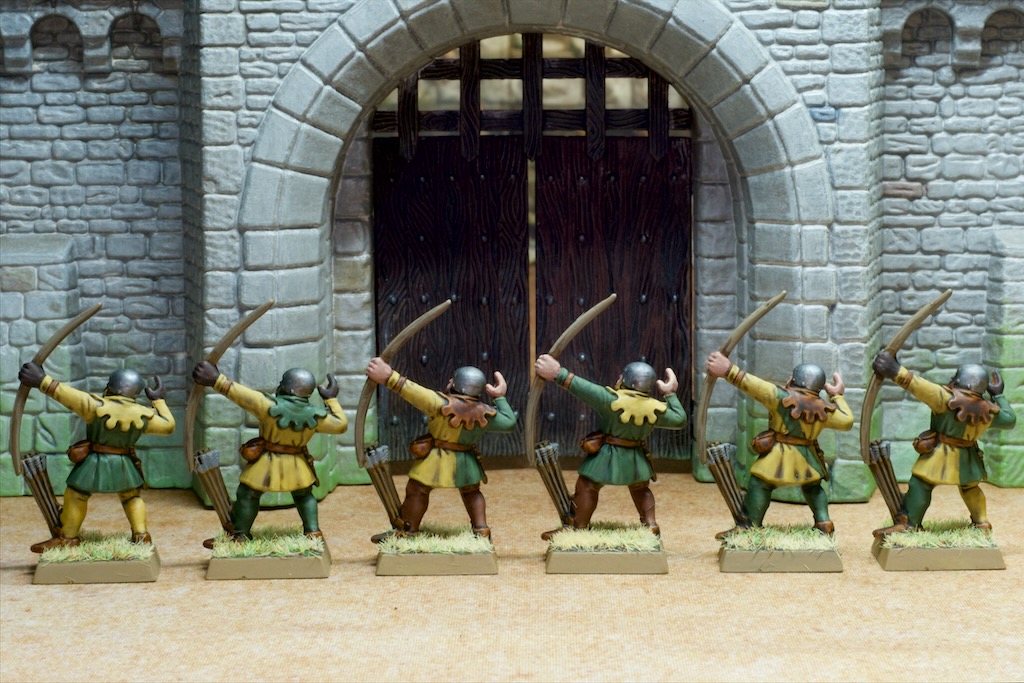
These archer models are the ones that were found in the 5th edition Warhammer starter set. They are single part models and there are two poses. You’ll notice all the archers in this batch are the same pose however, as I decided to paint 12 of the one pose and then do 12 of the other pose later.

While I’m talking about these models, definitely check out the Hammer the Backlog blog, especially posts like this one, with photos of the fully painted starter set in question! Lee over there has done an awesome job of bringing them to life.

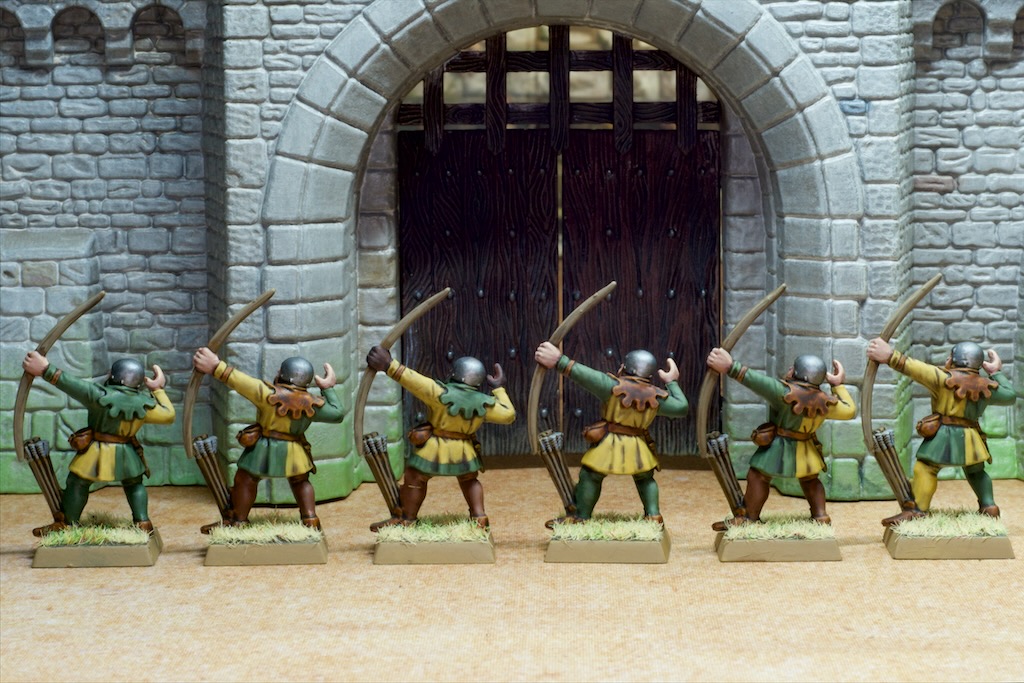
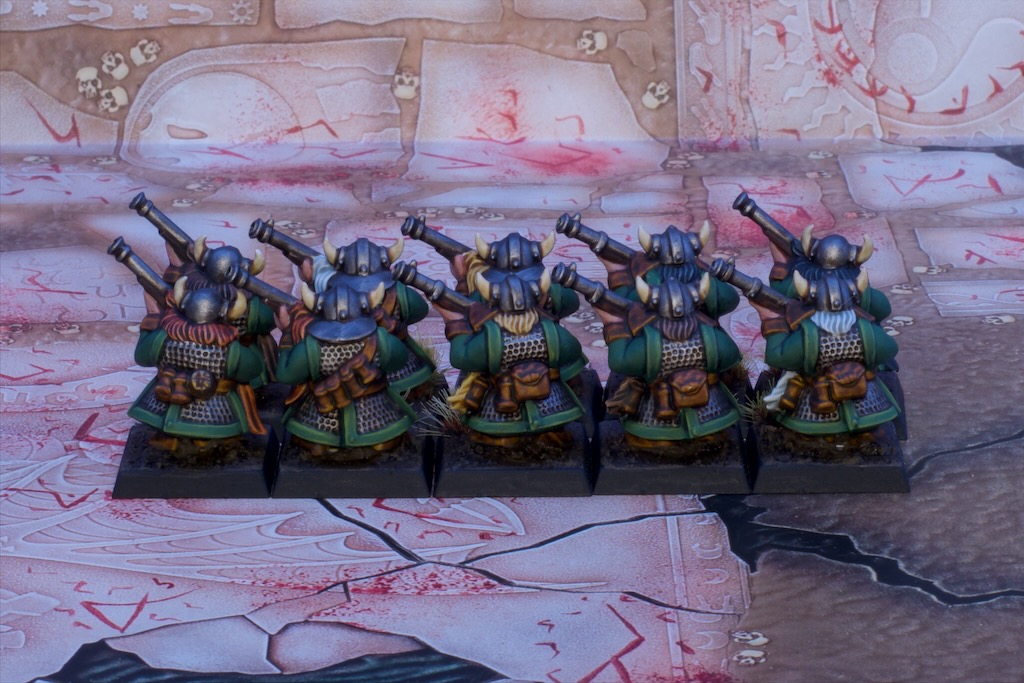
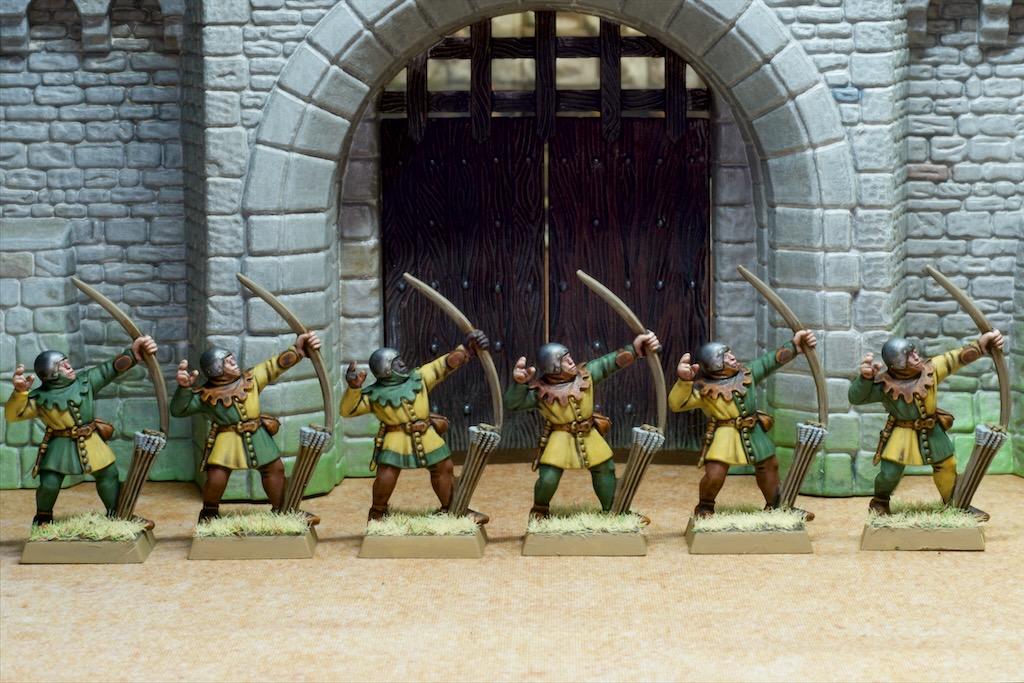
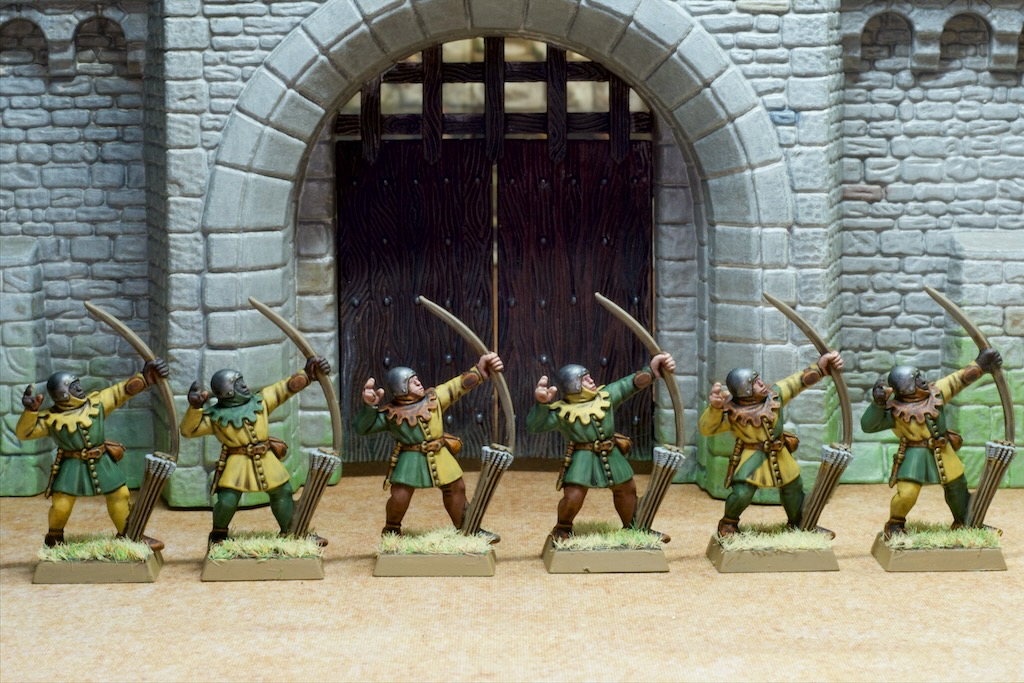
To break up the uniformity of the models I decided to try to differentiate them by changing the patterns of their clothes. I think it worked pretty well!

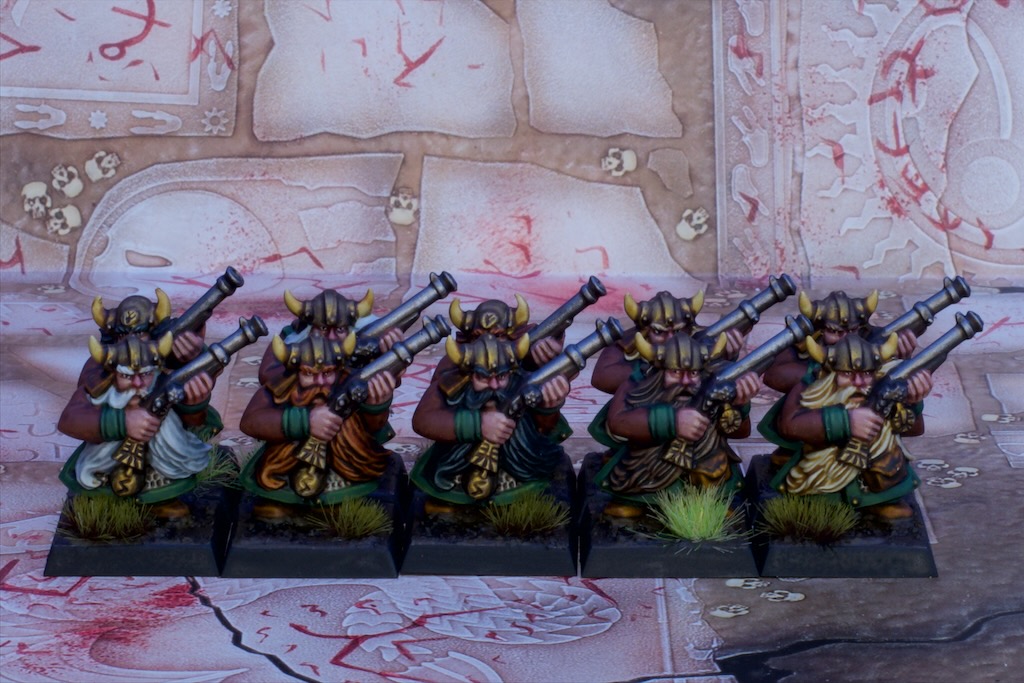
Painting-wise these are nothing special, mostly my usual basecoat > wash > highlight process I do for my “bulk” army models. Here are the colours used:

Undercoat: Vallejo Primer Dunkelgelb

Yellow: Undercoat (left as is) > GW Agrax Earthshade > Vallejo Heavy Goldbrown

Green: Vallejo Heavy Green > GW Agrax Earthshade > Vallejo Heavy Green > 50/50 Vallejo Heavy Green/Vallejo Russian Uniform WWII

Wood (Bow/Arrows): Vallejo German Came Medium Brown > GW Agrax Earthshade > Vallejo German Came Medium Brown > 50/50 Vallejo German Came Medium Brown/Vallejo German Camo Beige WWII

Leather: GW Gore Grunta Fur Contrast > GW Agrax Earthshade

Silver: Scale 75 Black Metal > GW Agrax Earthshade > Scale 75 Black Metal

Brass: Scale 75 Necro Gold > GW Agrax Earthshade > Scale 75 Necro Gold

Light Skin: GW Bugman’s Glow > GW Reikland Fleshade > GW Bugman’s Glow > GW Cadian Fleshtone > GW Kislev Flesh > GW Carroburg Crimson (Noses only!)

Dark Skin: GW Bugman’s Glow > GW Contrast Cygor Brown > 50/50 GW Bugman’s Glow/GW Contrast Cygor Brown

Base Rims: Vallejo US Field Drab

These were fun to paint, and very quick! I have the second batch sitting in paint stripper, and they should be ready soon. Good chance then that the next post will be more archers unless I get distracted by something else along the way!

Terrorgheist

Back much sooner this time, with just the one model, but a big one at that!

Sorry for the “Inception” style floor rising up into the sky on this shot! This is a very tall model and I didn’t have any terrain tall enough to act as a backdrop!

This is one of the biggest monsters Games Workshop produced for the old Warhammer world back in the day, a Terrorgheist! Effectively a really, really, big undead bat that has unnatural terror causing powers (I’d be terrorised quite naturally if I saw one of these!). I’ve always loved this model and at the same time been extremely daunted by the idea of painting it, hence this model staying as bare plastic for the last 10 or so years…

Scary!

After painting my unit of slayers, I wanted to paint something a bit more loosely and settled on this big bag of bones. With that in mind, the painting ended up being very straightforward: Wildwood contrast on all the leathery skin bits, Skeleton Horde contrast on all the bone bits, and Flesh Tearers Red contrast on the exposed fleshy bits and the mouth. The model then got an all over dousing of a wash made from Brown and Grey oil paints. I left it to sit around for most of a day and then picked out all the bone areas in Vallejo Model Colour German Came Beige WWII and highlighted them with a mix of the aforementioned beige and Vallejo Model Colour Bonewhite. The ears and nose were picked out in GW Bugman’s Glow, washed with GW Druchii Violet, and highlighted with a mix of GW Bugman’s Glow and Vallejo Model Colour Dead Flesh. Quite simple and quick overall!

You may have noticed some red goopy bits all over the mouth of the beast in the photos so far! This was my first attempt at trying out the stringy gore effect I’ve seen quite a bit in other painter’s photos. It’s quite simple to achieve really, get some UHU tube glue (the transparent gel-like version you squeeze out of a tube) and mix in some red (I found GW Flesh Tearers Contrast worked best for me, I also tried GW’s Blood for the Blood Good, but that seemed to react with the glue and dry too fast to be useful). Use a wooden skewer or toothpick to then pick up your red sticky blob and start tacking it on a part of the model and stretch to another. Repeat until sufficient horror has been achieved!

The mouth wasn’t the only area getting this treatment, the model has these exposed innards that seemed like another appropriate spot to use this!

I’m interested to see how resilient this ends up being on what is a gaming model, it could be this is only a useful technique for display models that can expect a lot less handling. I’ll report my findings at some stage in the future! Regardless, it’s quite easy to do and looks great I think.

This model comes with a humongous base (which as you can see is nicely warped), and while the model comes with these rocks that do a neat job of starting to fill it, I knew I was going to need something else on there to break it up some more.

As a start I put in this mini scene of a zombie starting to pop out of the ground, although clearly this rat thinks that breakfast was just delivered! For the rest of the space, I broke out my big tufts. These are mostly leftovers from sets of tufts that are too big to fit on regular bases and have been piling up in my tufts box for a while now. Nice to have something to use them on.

The more Warhammer savvy of you might have recognised that I’ve talked about using 6th edition Warhammer for this campaign and that this model didn’t arrive till 8th edition (if memory serves!). My Vampire Counts for the campaign are themed around the Necrarch bloodline, and the Necrarch specific army list at the back of the 6th edition army book allows them to take unridden zombie dragons as a rare choice (normally these require a vampire to ride them) to represent their mastery of necromancy. This seems like a great way to run this model without having to make up rules so that’s what I’m doing!

That’s it for this update, I had a lot of fun painting this model and I get to pivot onto another faction after this. Something I haven’t posted anything about yet!

Slayers!

It’s been a bit of a while between updates, painting this unit was slow for a couple of reasons: as I mentioned last time around I’m back in the office mostly which has cut down on my painting time, but more importantly I took my time on these!

This is one of my “holy grail” units, Troll slayers! Dwarves were my introduction to Warhammer, and I spent a lot of time over the years looking at the models in the pages of my army book (all I could do, 14 year old me definitely could not afford full units of metal models!). I got my hands on a lot of metal dwarf models a couple of months ago off a friend that was wanting to sell them off, and I’ve been greatly looking forward to painting them.

Troll Slayers can have multiple “Champion” type models and I decided to include two in the unit. The leftmost model in the photo above is the one that came with the models I just bought, and the rightmost is a model I’ve had since those early days, finally getting painted. Both very cool sculpts.

I had a bit of fun with the banner, the runes on the left scrolls spell out I KO TROL. The book has a horn symbol on it as a call back to this army’s origin: Karak Hirn – The Horn Hold.

I also had a lot of fun painting the troll head mounted on the banner. The blue makes for a nice contrast with all that orange!

These Troll Slayers mark a bit of a milestone for my Dwarfs, they take the army up to 1000pts which is the size we settled on for this campaign. So here’s a photo of everything I’ve painted so far for them! I’ll likely paint up some more models (I own plenty more now!) for the army, but it’s ready to go as it is and I’ll focus on the other factions for now.

Fortress

It’s been a little bit between updates, I’ve taken to working from the office again mostly and my painting time is much reduced as a result. It also hasn’t helped that Diablo 4 is finally out! Regardless, I found myself with a bit of painting time today and decided to use it to finish off something that’s been in progress for a good 3-4 years.

Those of you familiar with the old Warhammer Fortress might have recognised it in the background of a few of my photos over the years, most recently in my previous post, and further back as backdrop for my Skaven army. It’s finally painted, and will be used as part of the Border Princes campaign.

These photos are a bit lower quality than what I try do do usually, I don’t have lightning big enough to take photos of something that size, so the room lights had to do!

Painting-wise I don’t have much detail unfortunately (that’s what I get for taking so long to paint something!) but generally here’s how it was approached:

  • The whole model was undercoated with some spray paint from the hardware store – a greyish brown
  • The model was washed with some thinned down brown craft acrylic
  • Everything was dry brushed with greys, dark to light
  • Some stones were picked out with GW Shades, in blues, reds and ochres.
  • The wood bits were picked out in GW Contrast Cygor Brown
  • The metal bits were picked out in Vallejo Gun Metal
  • A very light wash of Abteilung 502 Dust Oil Paint was done over the stone areas to represent mortar
  • A dry brush of Vallejo Goblin Green was done on the lower parts of the walls and towers to make them look a bit mossy
  • A slight dry brush of brown and bone was done over the areas that would be trodden on, i.e. the tops of the walls and the towers

This was pretty fun to paint even considering the size of it, and I look forward to using it in games! I’ll leave you with a couple of shots with miniatures in the battlements so you can see the scale for yourself. Till next time!

Thunderers Part 2

As I implied in Thunderers Part 1 I had some more Thunderers to paint for this Dwarf army, and that’s what I painted over the last week.

These are the same models as the first unit, the single piece plastics from the Battle for Skull Pass starter set for 7th edition Warhammer. As such there’s not much new to discuss so this will be a bit of a shorter post!

To keep things interesting, I decided to paint them slightly differently to the last batch, keeping the same colour palette but placing a few colours in different places. While these Dwarfs are from the same Hold as the other regiment, they might come from a different clan for example. I want to experiment with varying colours within armies some more, especially for fantasy and pre-modern historical games. These are not uniformly outfitted armies, they’re likely to be wearing what they brought from home!

Here is this new unit next to the previous unit I painted. I think they fit in well together even when standing apart. Of course matching the bases helps a lot to tie them together.

The more eagle eyed amongst you may have noticed that I painted the eyes on this unit but not on the previous one. I’ve been a bit lazy with these Dwarfs so far and skipped that step, but for some reason felt like painting these in. Unfortunately for me I now feel like the Dwarfs I painted before this unit are missing something and I may have to go back and give them something to look with!

That’s it painting-wise, but there’s been an interesting development collecting-wise in the last week. A friend of mine sold me his collection of old (6th edition era for the connoisseurs) metal Dwarfs for a steal so I’m the proud owner of a lot more Dwarfs, three full blocks of infantry and quite a few characters. Before that I’d been scouring eBay for some of these older models and one unit I managed to get for a good price also arrived this week, so I’m inundated with new models to paint. Expect many more Dwarf posts in the near future!

Poltergeists!

The dead are back once more, this time less corporeal than the last few times! For this post we have a collection of ghastly ghosts, for my Border Princes Campaign Vampire Counts army. There are two units here, a Banshee and a unit of Spirit Hosts. I painted them both at the same time as I wanted them to match.

First up let’s take a look at the Banshee! She’s a relatively old model, still being metal and from a few editions of the game ago, but quite a cool one I think.

I quite enjoyed painting the folds in all the cloth she’s wearing, although the blends look a bit smoother in person than they do in the photos I think (or at least they’re smoother when not being lit properly!).

The Spirit Hosts are much newer models, and are plastic (hence the crazy top heavy poses!). I do love the story these models tell, with the hosts pouring out of skeletons. Very cool models.

Painting-wise, both the Banshee and the Spirit Hosts were painted in much the same way. I started with my usual very light grey undercoat, followed by an all over spray of GW Akhelian Green Contrast through the airbrush. The contrasts through the airbrush go on as a translucent but relatively even coat, so this gave me a nice blue green colour all over the models. I then misted some very dilute Vallejo Model Air White over the models to starts the highlighting process. This gave me a slightly lighter blue layer to start brush highlighting over. A handy first step that also gives the areas on the models that are hard to reach with a brush (plenty on these as you can tell!) some highlights so I could lazily ignore them later. I then worked through highlights of the appropriately named Vallejo Game Air Ghost Grey, followed by highlights of fairly dilute Scale75 White.

These were nice and quick, painted in two sittings just how I like it!

A Runesmith Walks Into a Graveyard

Back again with some more Border Campaigns updates! This time around with a character each for my Dwarf and Vampire Counts armies, and some troop reinforcements for the latter. I decided to paint a couple of character models to break up all the infantry I’ve been painting lately, and settled on a Runesmith for my Dwarfs and a Necromancer for my Vampire Counts.

First up let’s cover the dwarf as the rest of this post is firmly focused on the undead!

This Runesmith model is a classic one, and one of the first Warhammer models I ever bought. I’ve made a few attempts at painting him over the years, but like most of my early models he’s ended up in a box and battered! He gets a fresh paint job for this campaign and it’s nice to see him finished after all these years. What a cool model and a joy to paint.

At the same time as the Runesmith I painted this necromancer model (I like painting more than one model at once so I have something to do during drying times!). This is one of the first modern plastic characters to come out if memory serves, maybe alongside the 7th edition release?

Great model as well, although much more modern looking. I had fun painting him too, especially the eyes. He’s ended up with a bit of a crazy look which is spot on for a necromancer I think!

Following on from the necromancer are a horde of Skeletons (rather appropriate!). I didn’t paint all these in the last week, that would be a bit much, but I did finish painting them after having not touched them for a good 4-5 years!

You’ll notice that these are on round bases unlike every other model I’ve show for this army so far. These were at one time on square bases, Vampire Counts being one of my Main armies during the 8th edition of the game. When the Old World blew up and Age of Sigmar was born I rebased these skeletons onto round bases to suit the game (well 20 of them at any rate, I built 20 more straight onto round bases at a later date!). I couldn’t face rebasing them a second time, and with the recent announcement that 20mm based infantry are moving up to 25mm bases in the new edition of the game I decided that I could just rank them up as is and make trays to have them neatly arranged.

As I said above, while I didn’t fully paint these in the last week, I did do some painting to finish them. The 20 skeletons that were added during the Age of Sigmar era were done so for a tournament and I did not have time in the lead up of that event to fully highlight them to match the original twenty. This week I finished those 20, highlighting them to match the originals and I repainted the bases on all 4o to match this latest incarnation of my vampire counts.

The trays you see them on I designed in Tinkercad (great for these simple jobs!) and printed on my 3d printer. I also designed and printed a second set of trays.

This second set is for 20mm square bases, taking them up to the same frontage as 25mm base infantry, so they’ll match my skeletons. You’ll notice the big slot in one of the bases, and if you read my The Living Dead! post you’ll know what that’s for!

Zombies!

After I decided to not rebase my skeletons, I wanted my zombies to match them so made them a set of trays to match so the army would look somewhat cohesive. The round bases do stand out somewhat, but I think it’s not too bad and the two units look like they belong together. I’m keen to get impressions on this so feel free to let me know what you think in the comments.

That’s it for this update, I’ve also been working on some terrain for the campaign, but I’ll show that at a later date when it’s all done!

Thunderers Part 1

I got a few good painting sessions in this week and got to add this 10-strong unit of Thunderers to my Dwarfs for our Border Princes campaign.

These, just like the majority of the Miners I painted a few weeks back, are from the Warhammer 7th edition starter set: Battle for Skull Pass. This means they’re one-piece plastics and therefore are quite limited in their casting as a result. I think they look fine for army models however and as an added bonus they’re very easy to paint due to the complete lack of overhangs brought on by those casting limitations.

They were painted in the exact same manner as the Miners I mentioned above so feel free to go see that post for a detailed guide. In short, the beards and leather are done with contrast paints (two coats of Snakebite Leather for the leather, and a single coat of Gore-Grunta fur, Wildwood, Black Templar, Apothecary White, or Skeleton Horde for the beards). The metallics are Scale75 paints (silver: S75 Black Metal, Bronze/Brass: S75 Necro Gold), washed with GW Agrax Earthshade and highlighted with their respective basecoat colour. The green is the most involved process with a base coat of Vallejo Heavy Black Green followed by successive highlights of the same base colour with more and more S75 Sherwood Green mixed in all the way up to the line highlights done in pure Sherwood green. For the sleeves I stopped a few steps into this highlight process to differentiate them from the green on the armour (maybe 60% Heavy Black Green to 40% Sherwood Green).

Nice and simple and very quick to paint, I finished these in two sessions which is a nice pace. I have another unit of 10 to paint for the army, and I’m currently planning on how (or if!) to differentiate them from these ones painting wise.

Still plenty more to paint for this campaign so expect more Warhammer models to come this way soon!

The Living Dead!

If you read my last few posts you’ll know I’m preparing to play in a map based campaign set in the Border Princes with some friends. For this campaign I’m fielding a Dwarf army and a Vampire counts army. After painting some of the Dwarfs last time around I decided to switch over to my Vampire Counts to keep things fun. The zombies seemed like a good place to start so I painted up a nice big batch of them. All up there’s “35” zombies there (32 really but the ogre counts as 4!), giving me enough for a unit of 20 and 15 summons.

I actually built these models a long time ago, during the 8th edition of Warhammer, so somewhere around 10 years ago. They were built by mashing together a zombie box and a Bretonnian men-at-arms set, as well as the addition of a spare ogre from my Ogre Kingdoms army. It’s about time these got some paint on them!

Painting wise I knew I wanted to go fast, the goal being to paint the 32 models in the time it would normally take me to paint a unit of 10 models. That meant leaning heavily on contrast paints, aiming for as many parts as possible to be done in single coats of contrast paints.

The skin was done with a 50/50 mix of Plaguebearer Flesh contrast and Fyreslayer Flesh contrast. I tried to mix these somewhat unevenly to get a bit of variation when applying the paint. The skin then got a patchy application of Carroburg Crimson wash to add a bit of red to some sections for even more variation.

The cloth, leather, and bone areas were done with a variety of contrasts including Flesh Tearers Red, Cygor Brown, Wyldwood, Black Templar, Aggaros Dunes, Skeleton Horde, and Snakebite Leather. These non flesh areas then got an all over wash of brown enamel (MIG Brown Panel Wash) for an easy dirtying.

The metal areas were painted with Scale 75 Black Metal, then covered in Khimera Red Oxide and Khimera Orange patchily and wiped away somewhat messily to get a worn rusty look.

The blood you see on the models was done after my usual coat of Matte Varnish to retain the glossy look. The blood was done using an old technique I picked up from one of the more successful Australian display painters back in the day. The technique makes use of Tamiya Clear Red acrylic paint mixed with some regular black acrylic (in this case I used Vallejo). The clear red is alcohol based and dries very quickly into a pretty tacky substance that can be applied to models in a quite realistic way, giving some nice texture as well as colour for the blood effect. By varying the amount of black mixed in you can go from a nice fresh blood all the way to coagulated blood. Lots of fun!

These were tremendous fun to paint. Much like Nurgle models they are very freeing in that it’s possible to go a bit crazy with washes and get something reasonable looking at the other end. They won’t win me any awards, but they look nice and icky and grimy and I don’t think I can ask more of zombies!

Off to work we go!

Planning is proceeding for the Border Princes campaign, armies have been selected and painting underway! I’ll be fielding Dwarfs and Vampire Counts, with the remainder of the forces in the campaign being Lizardmen, Beastmen, Orcs and Goblins, and Wood Elves. Additionally we’ve decided to have a small Bretonnian force defend the central town to make it a bit more challenging to take that important location. I’ll be painting that up took so expect some photos as I start getting getting around to that.

First up though is more progress on the Dwarfs. This unit of miners is probably the largest unit that I’ll be including in the army, so it was nice to get it done. The models are a mix of the old metal miners for the command and of the Battle for Skull Pass plastic models. They’re actually quite different looking but I think with the matching paintwork they work together well enough.

Painting-wise these were pretty straightforward. I used contrast paints a fair bit, with the beards being just a single coat of contrast: Gore-Grunta Fur for the red beards, Black Templar for the black beards, Skeleton Horde for the blonde beards, Cygor Brown for the brown beards and Apothecary White for the white beards.

The leather was done with Snakebite Leather with a coat of Burnt Umber Ink over the top to darken it. The candles are a single coat of Aggaros Dune, with the flames done with a coat of Nazdreg Yellow with some highlights of Nazdreg Yellow mixed with white.

The metallics are all Scale75, with the silver sections done with Black Metal and the bronze sections with Necro Gold. In both cases I base coated with the metallic paints, gave them a wash of Agrax Earthshade and highlighted back up with the paints.

The green on the armour is Vallejo Heavy Black Green followed by successive highlights mixing in Scale 75 Sherwood Green.

Overall I’m pretty happy with the look of these considering they were painted relatively fast. Hopefully I can get these Dwarves done up relatively quickly and move on to the other armies for the campaign!