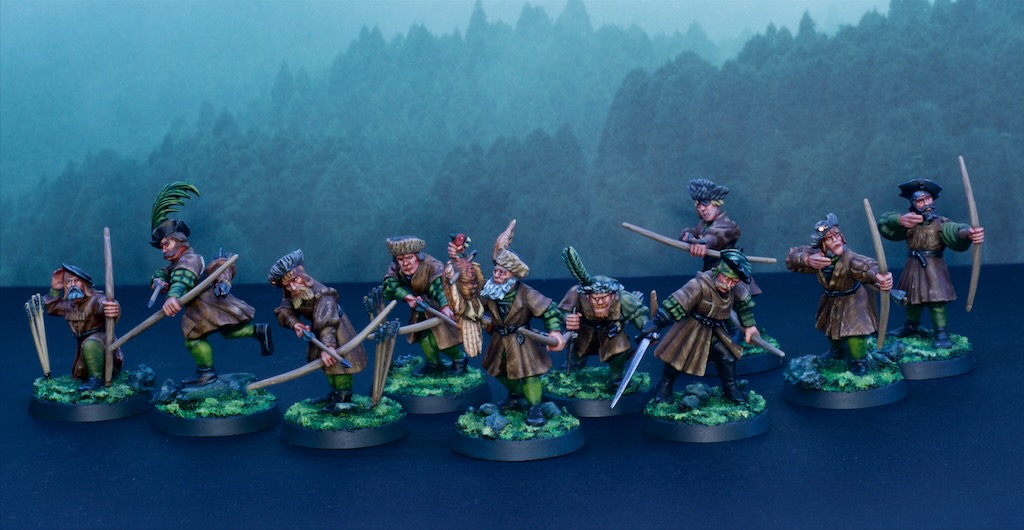
The dead are back once more, this time less corporeal than the last few times! For this post we have a collection of ghastly ghosts, for my Border Princes Campaign Vampire Counts army. There are two units here, a Banshee and a unit of Spirit Hosts. I painted them both at the same time as I wanted them to match.
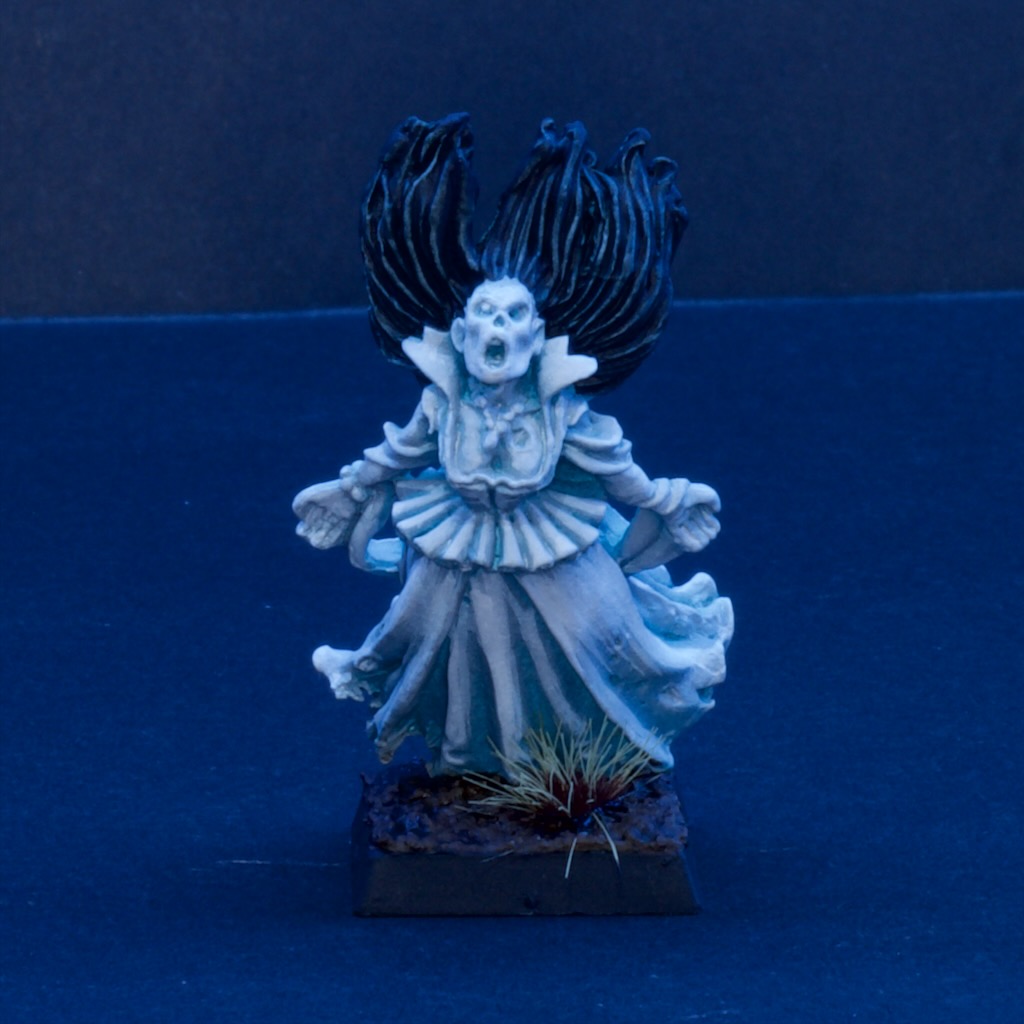
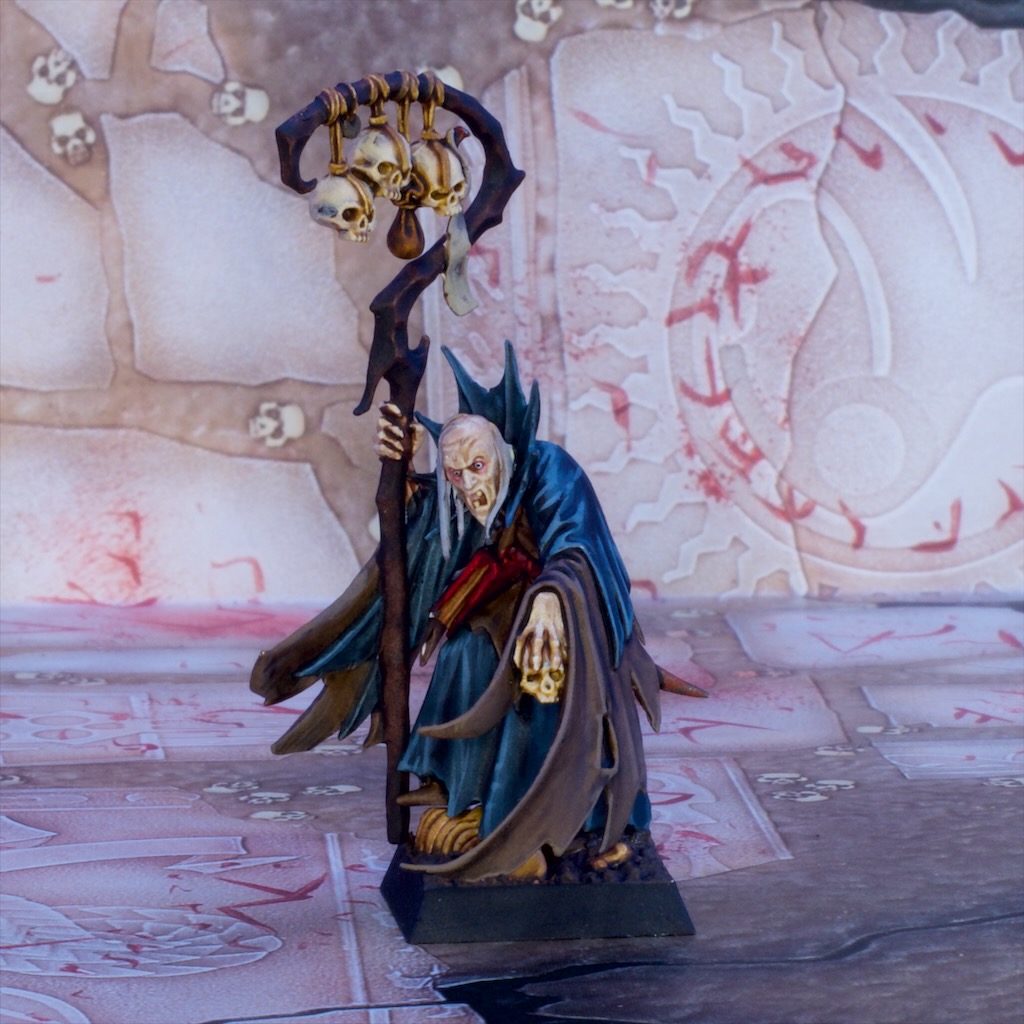
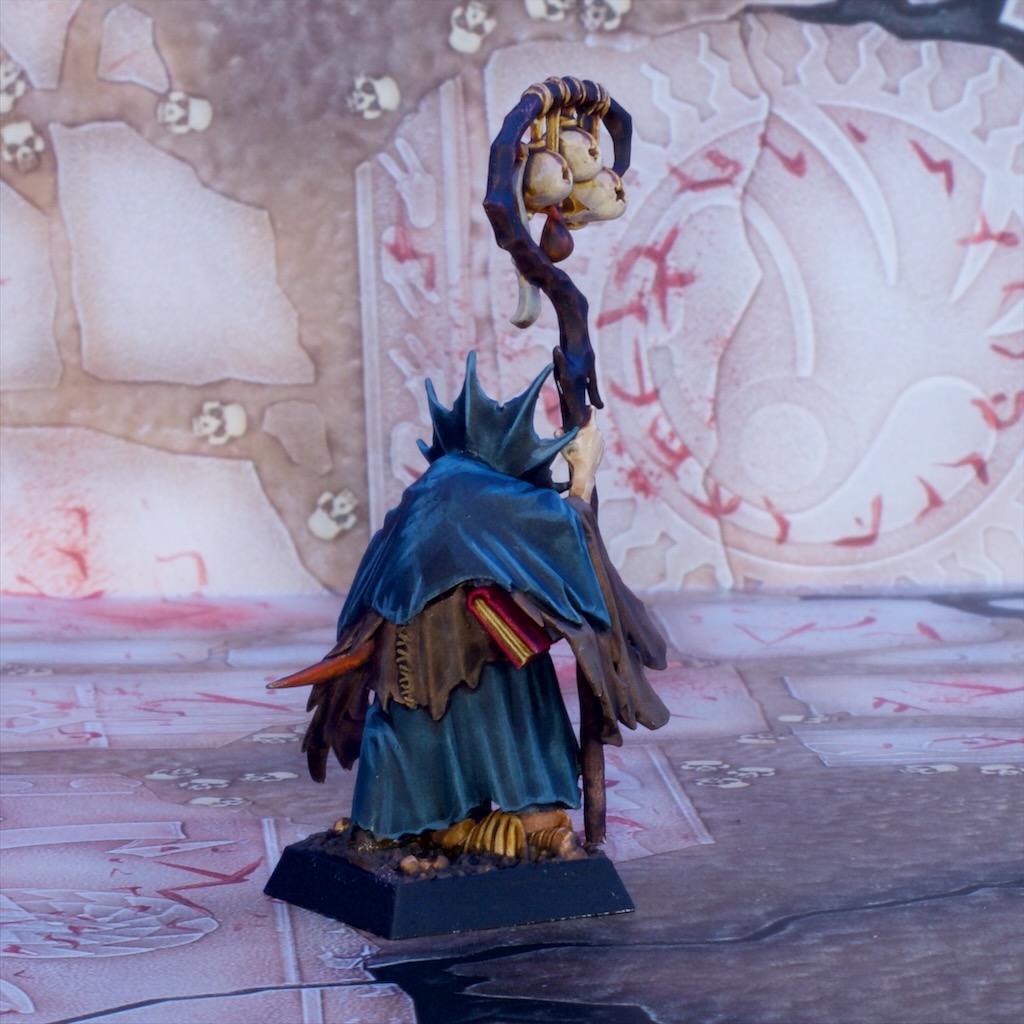
First up let’s take a look at the Banshee! She’s a relatively old model, still being metal and from a few editions of the game ago, but quite a cool one I think.
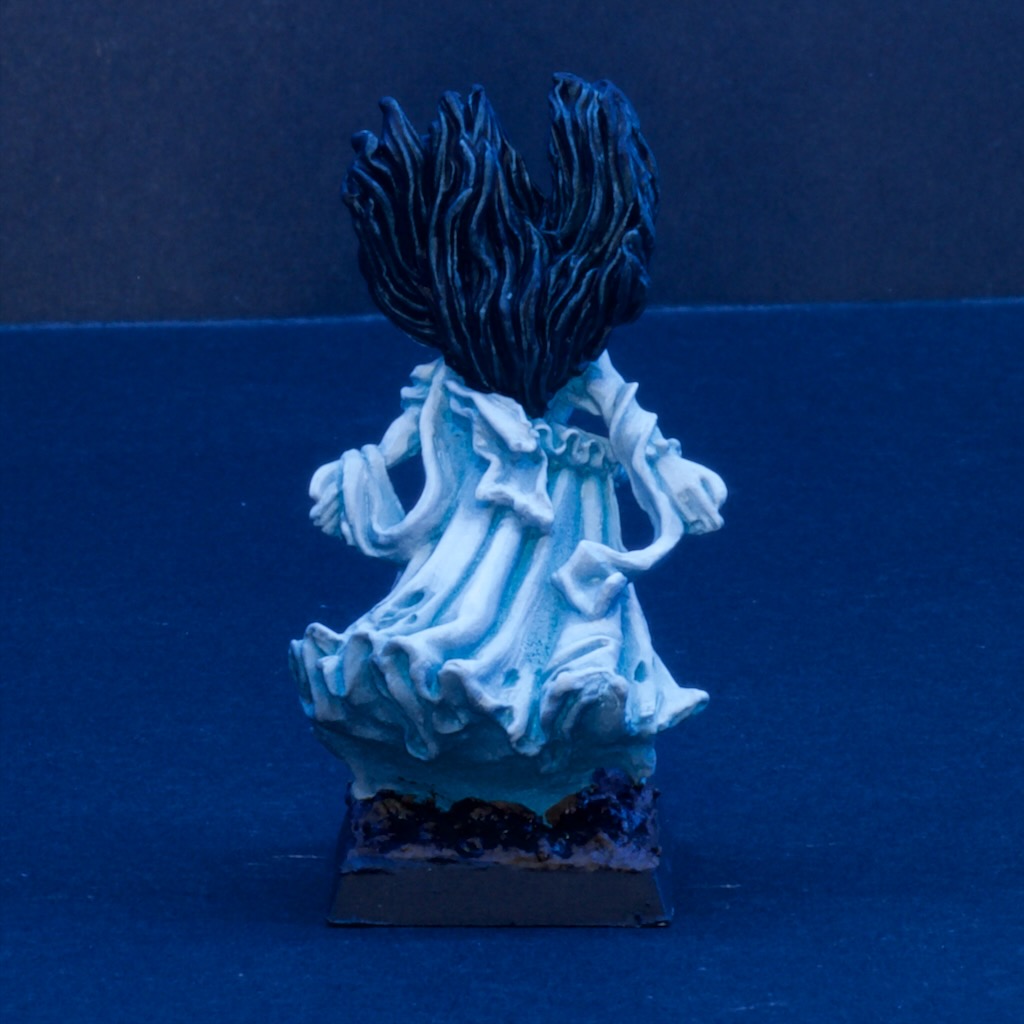
I quite enjoyed painting the folds in all the cloth she’s wearing, although the blends look a bit smoother in person than they do in the photos I think (or at least they’re smoother when not being lit properly!).
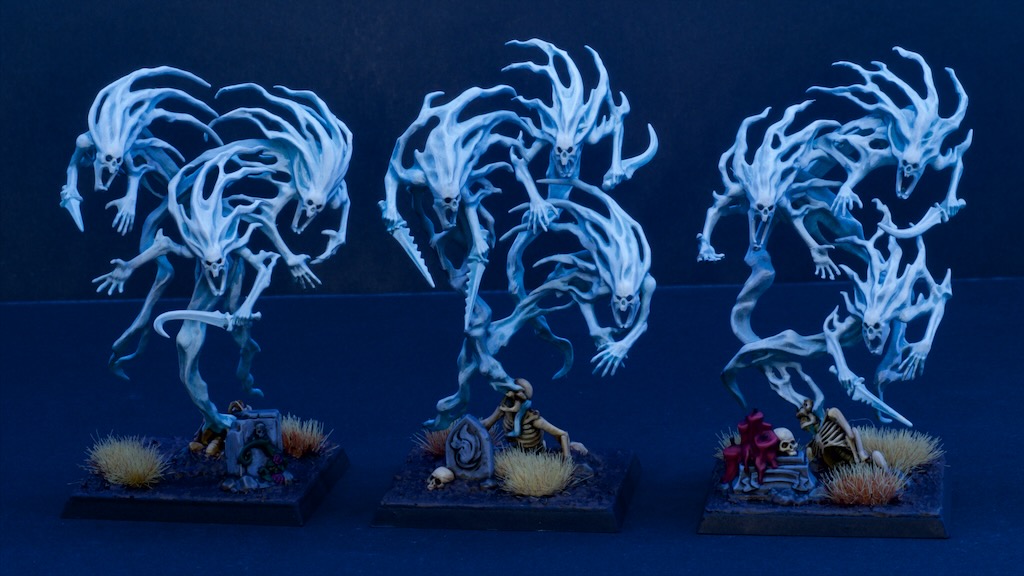
The Spirit Hosts are much newer models, and are plastic (hence the crazy top heavy poses!). I do love the story these models tell, with the hosts pouring out of skeletons. Very cool models.
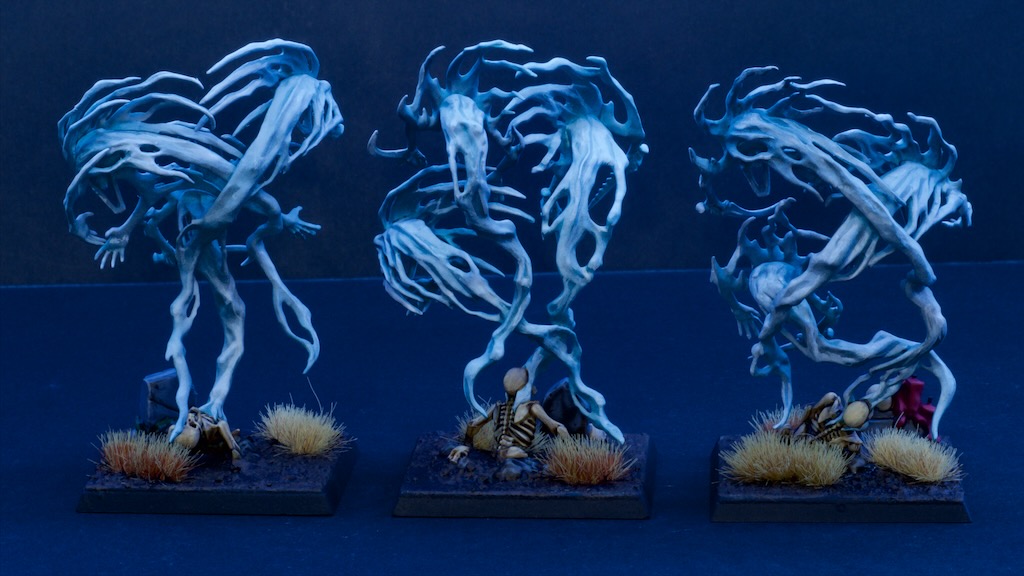
Painting-wise, both the Banshee and the Spirit Hosts were painted in much the same way. I started with my usual very light grey undercoat, followed by an all over spray of GW Akhelian Green Contrast through the airbrush. The contrasts through the airbrush go on as a translucent but relatively even coat, so this gave me a nice blue green colour all over the models. I then misted some very dilute Vallejo Model Air White over the models to starts the highlighting process. This gave me a slightly lighter blue layer to start brush highlighting over. A handy first step that also gives the areas on the models that are hard to reach with a brush (plenty on these as you can tell!) some highlights so I could lazily ignore them later. I then worked through highlights of the appropriately named Vallejo Game Air Ghost Grey, followed by highlights of fairly dilute Scale75 White.
These were nice and quick, painted in two sittings just how I like it!