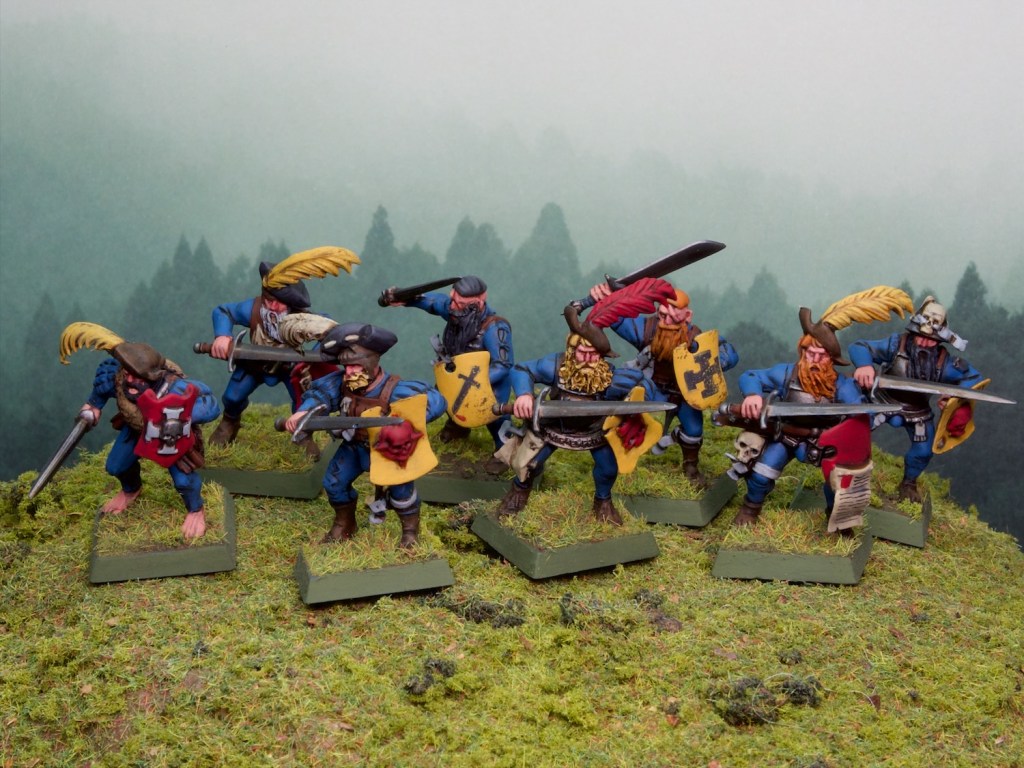
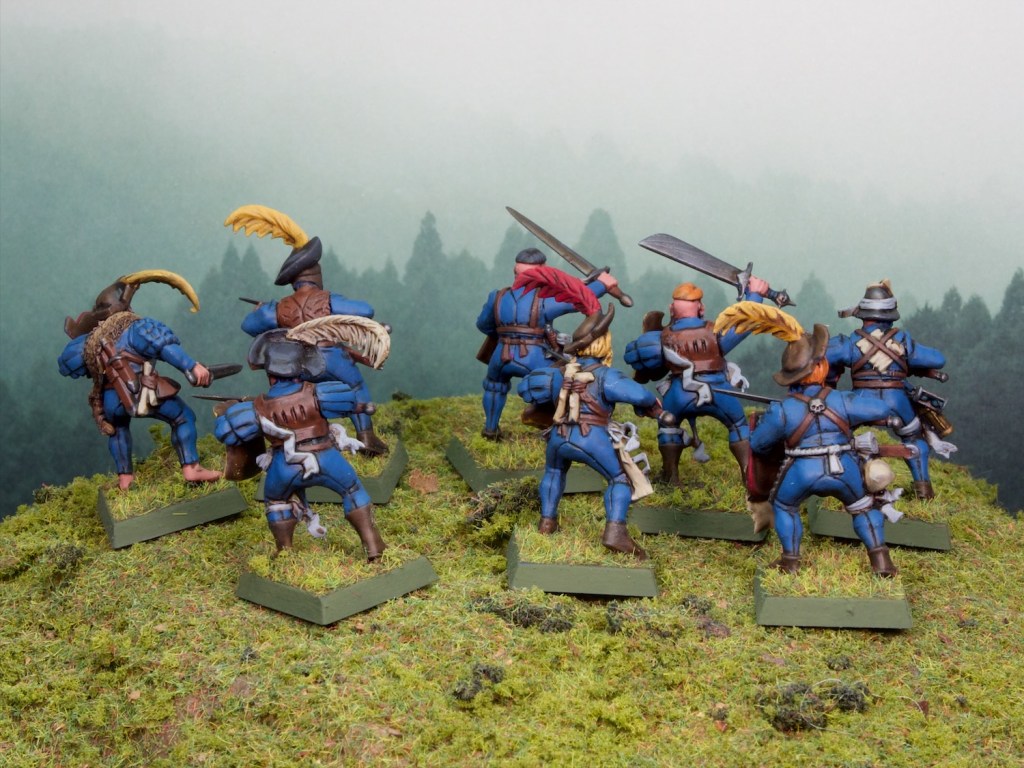
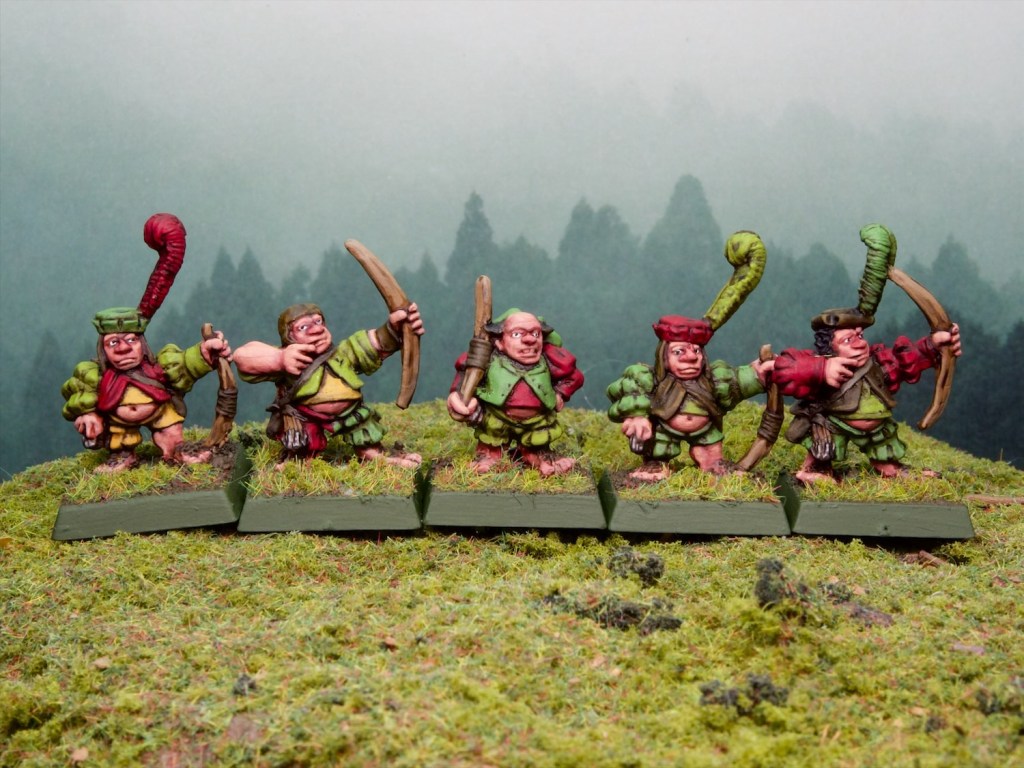
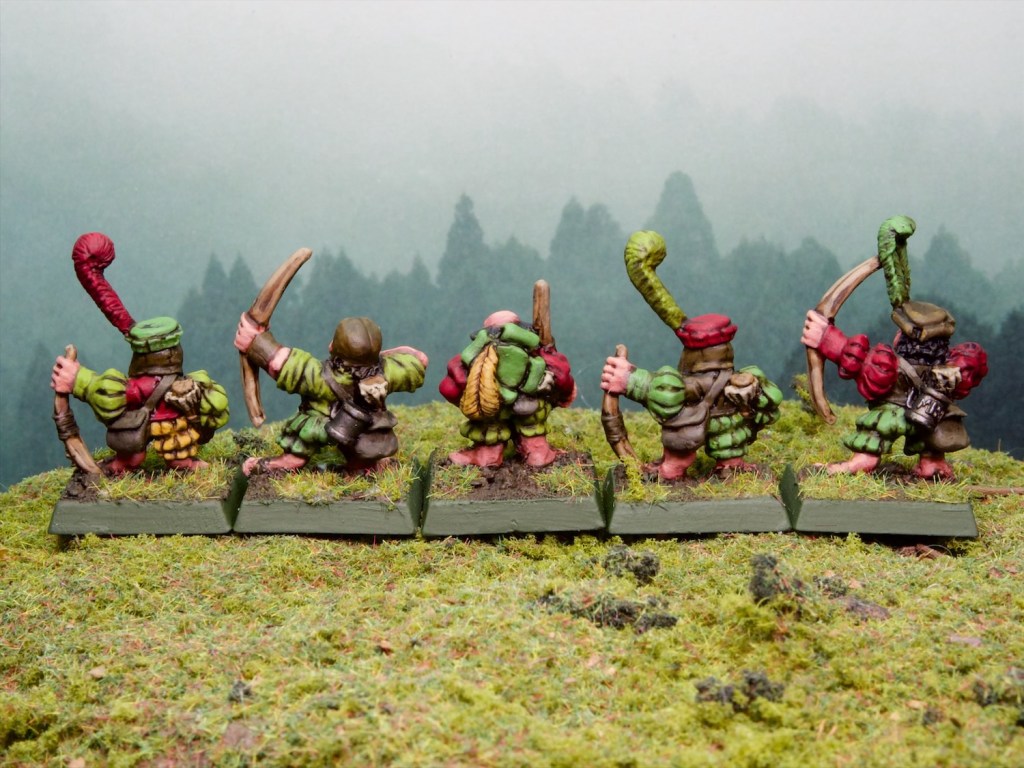
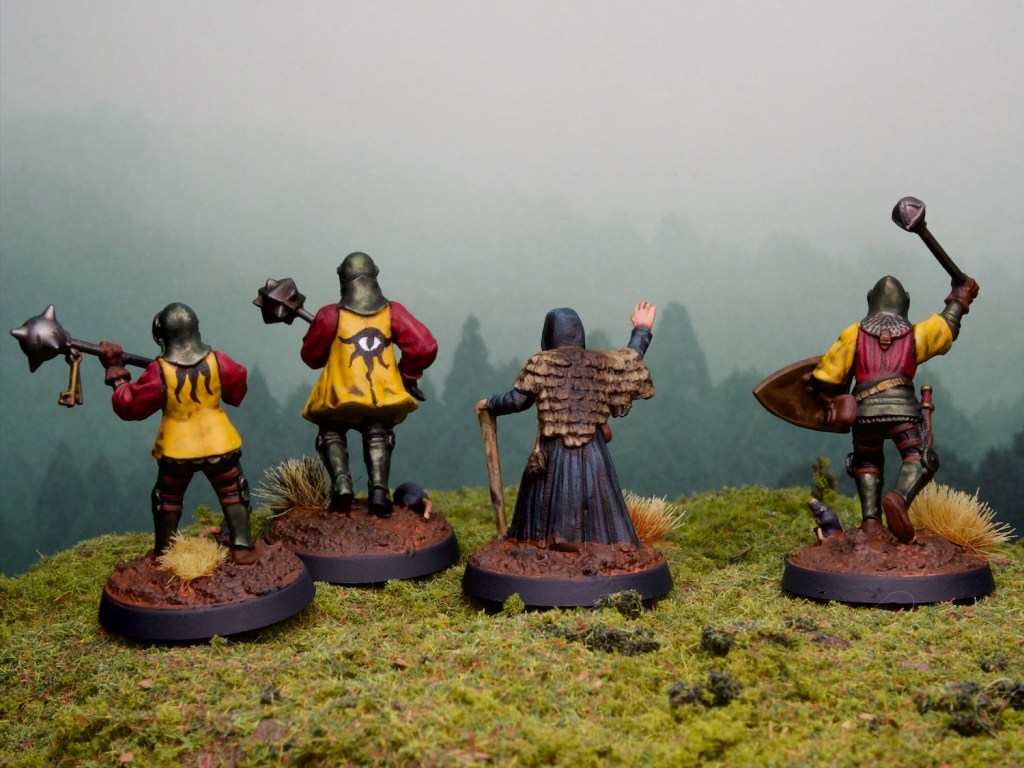
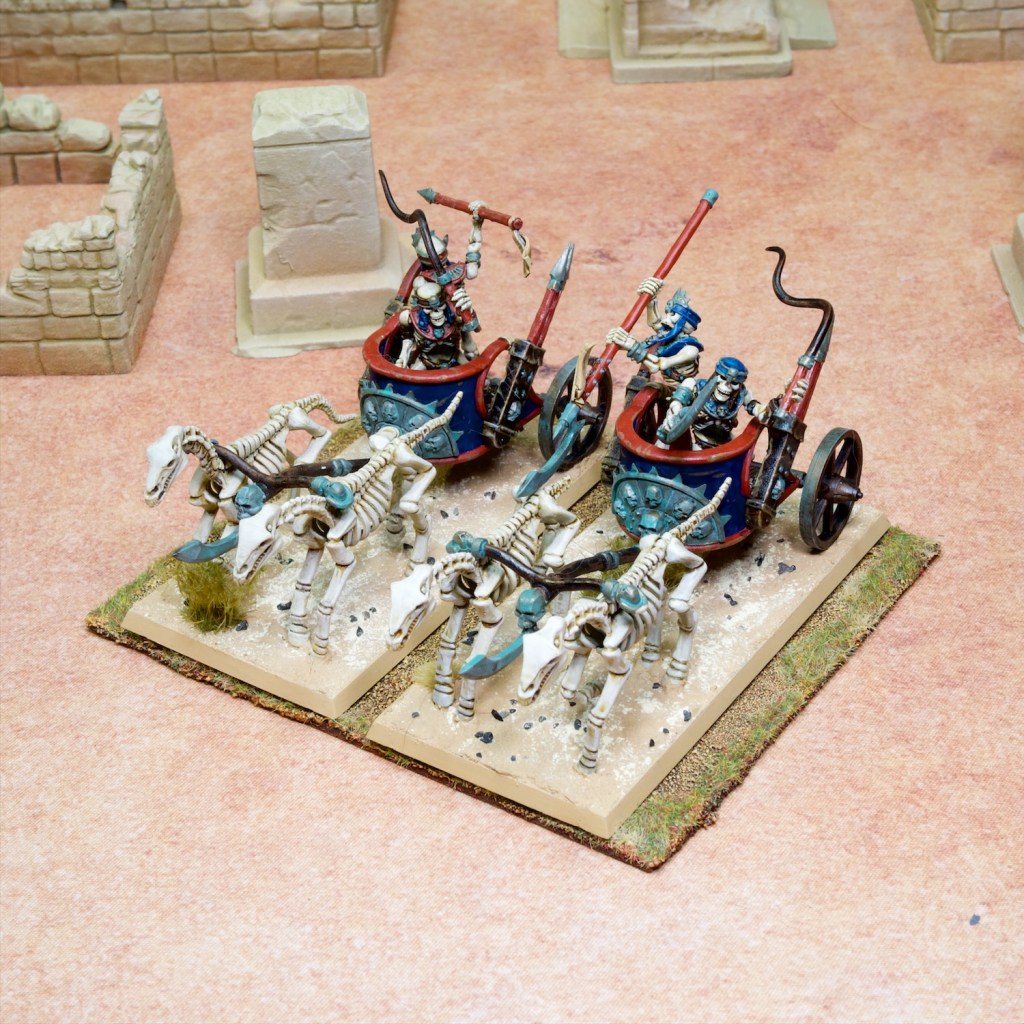
I’ve taken a slight detour through the screaming crowds of Blood Bowl fans over the last couple of weeks, as my gaming group decided to get ready for some games of Blood Bowl after the release of the latest edition of the rules. I’ve always enjoyed Blood Bowl, so I did not take much convincing and found myself assembling a freshly unsealed box of Amazons soon after.
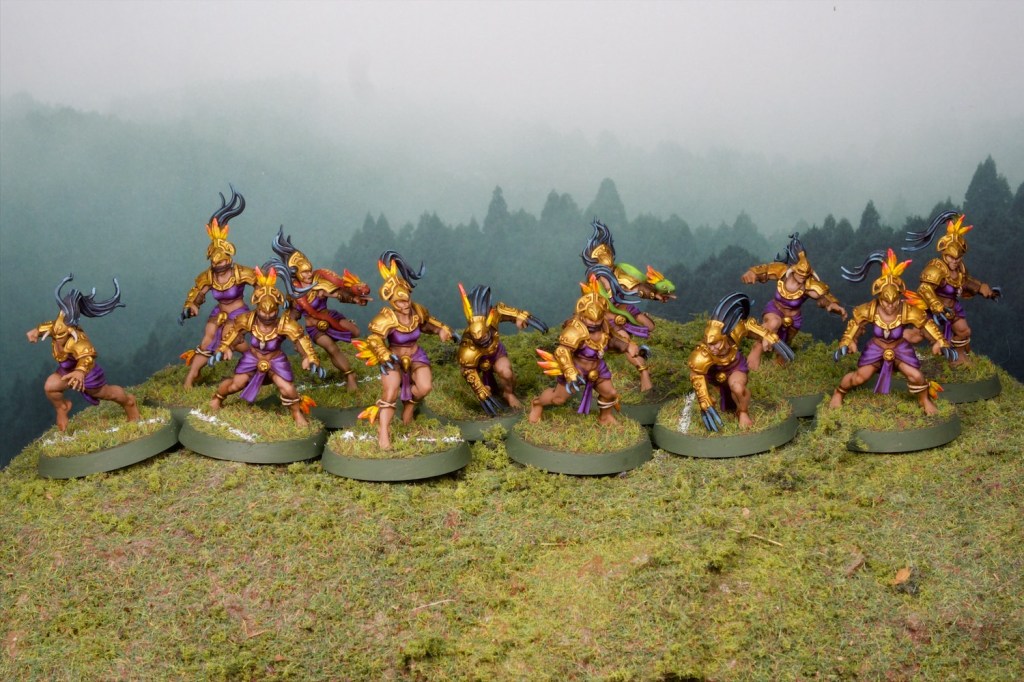
I’d sort of kept an eye on Blood Bowl models over the last few years, and was always pretty impressed with the sculpts. Now I’ve put a modern team together and painted it I can say they stand up to that initial impression. They’re great models, with a nice amount of detail (but not so much they’re tedious to paint, which is a great balance).
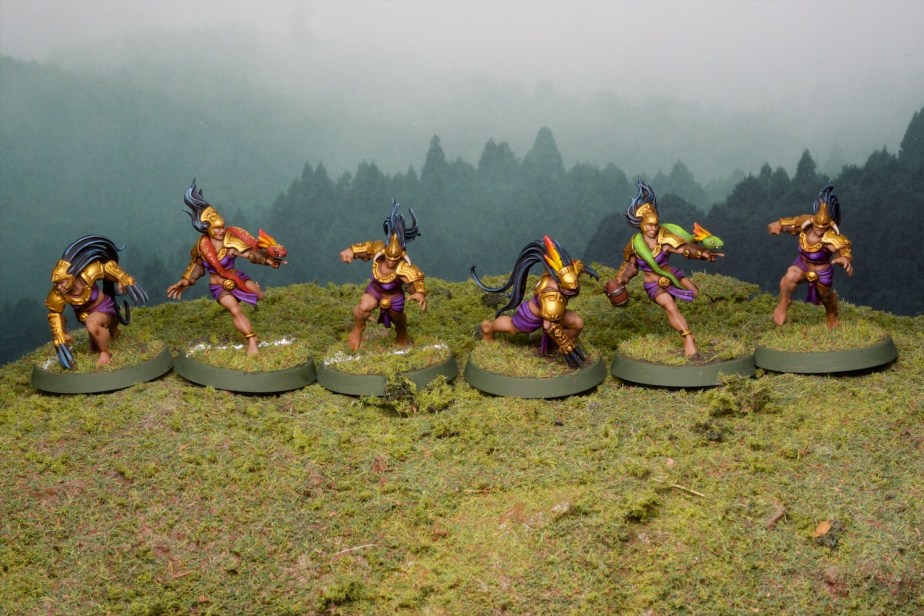
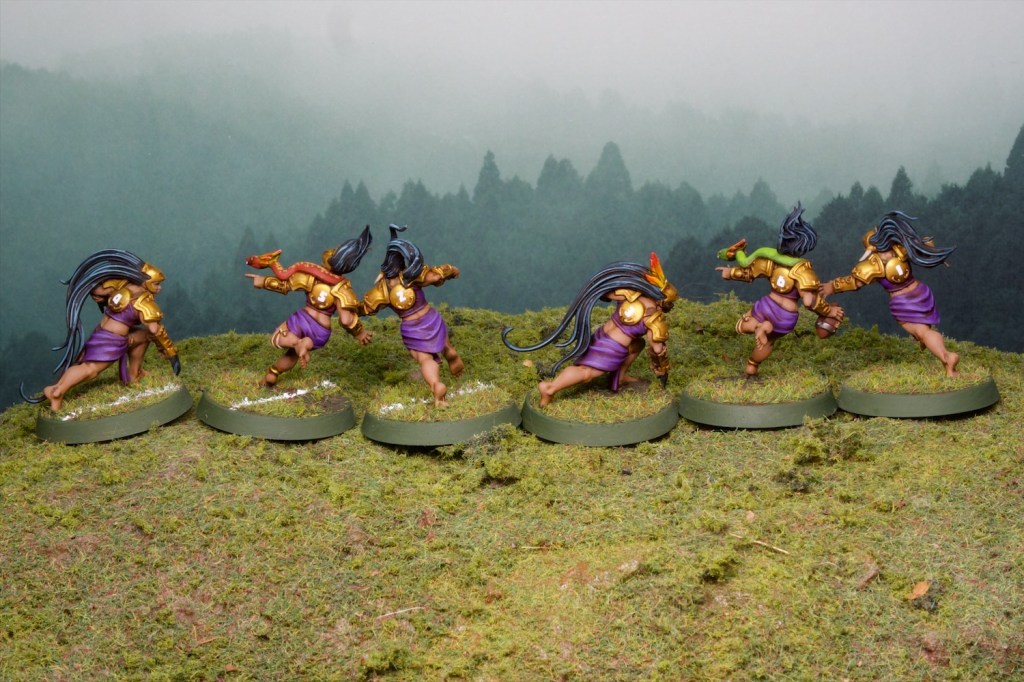
I went for a gold and purple colour scheme for no other reason than I found it pleasing to the eye. The yellow and red feathers were inspired by the artwork for the Magic: The Gathering set Ixalan which has these really cool yellow/red/purple feathered dinosaurs all through it.
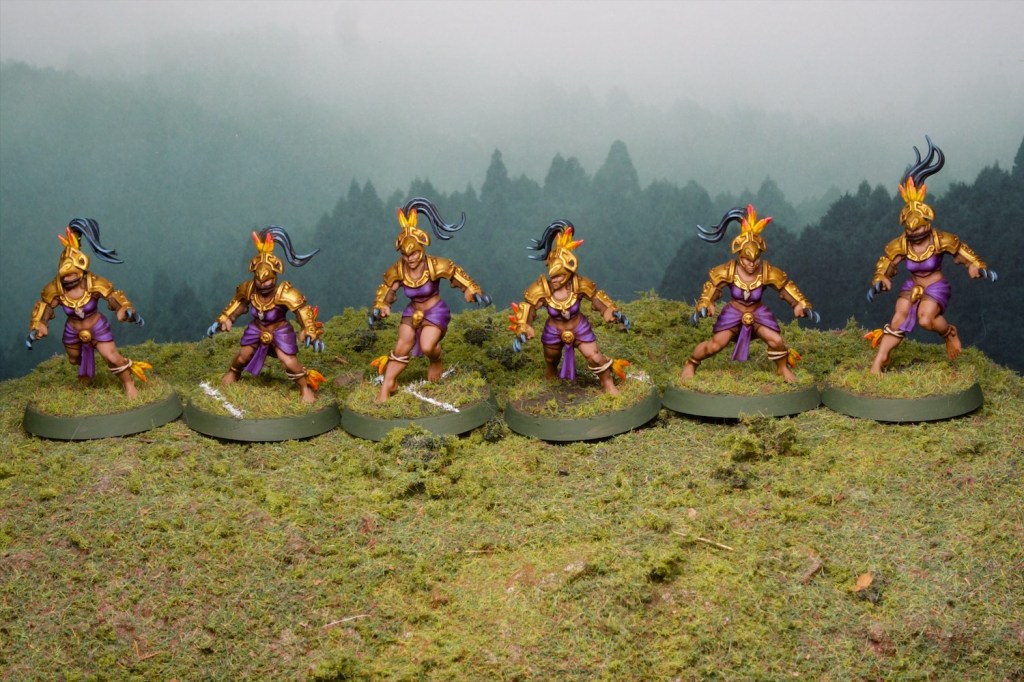
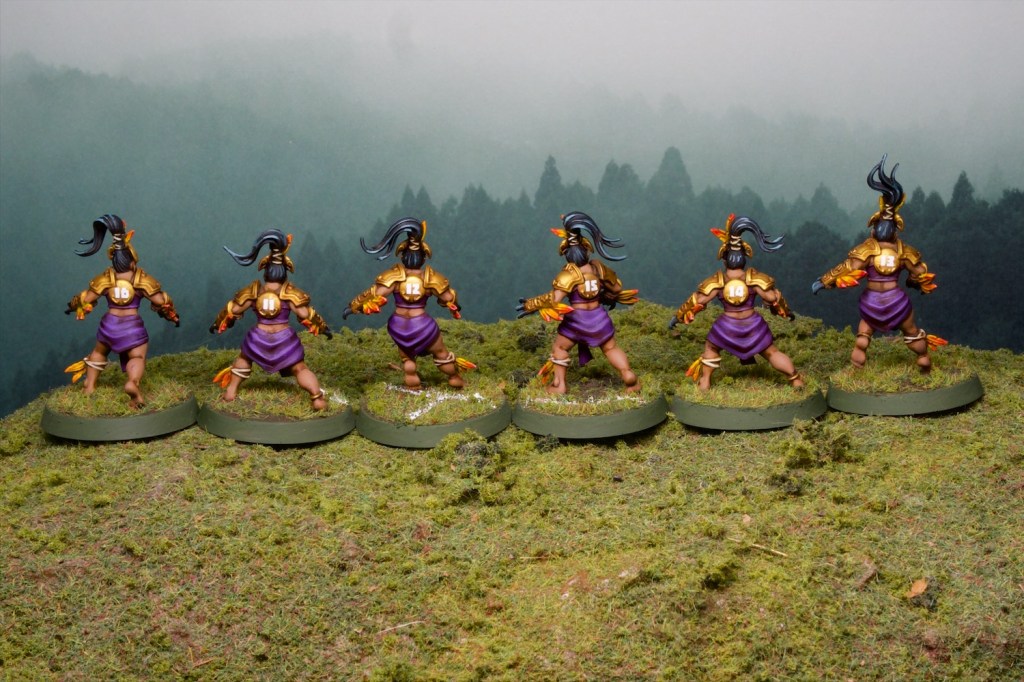
The numbers are from the transfer sheet that came with the set. They also had transfers for the base rims to indicate the player positions (e.g. blitzer etc.) which I’m sure is practical but I didn’t really like the look of that so I avoided them.
I look forward to playing some games with them, it’s been ages since I’ve played tabletop Blood Bowl (I’ve played a bit of the video games in the intervening years). Amazons were very fun to play back in the day and I hope that still holds.
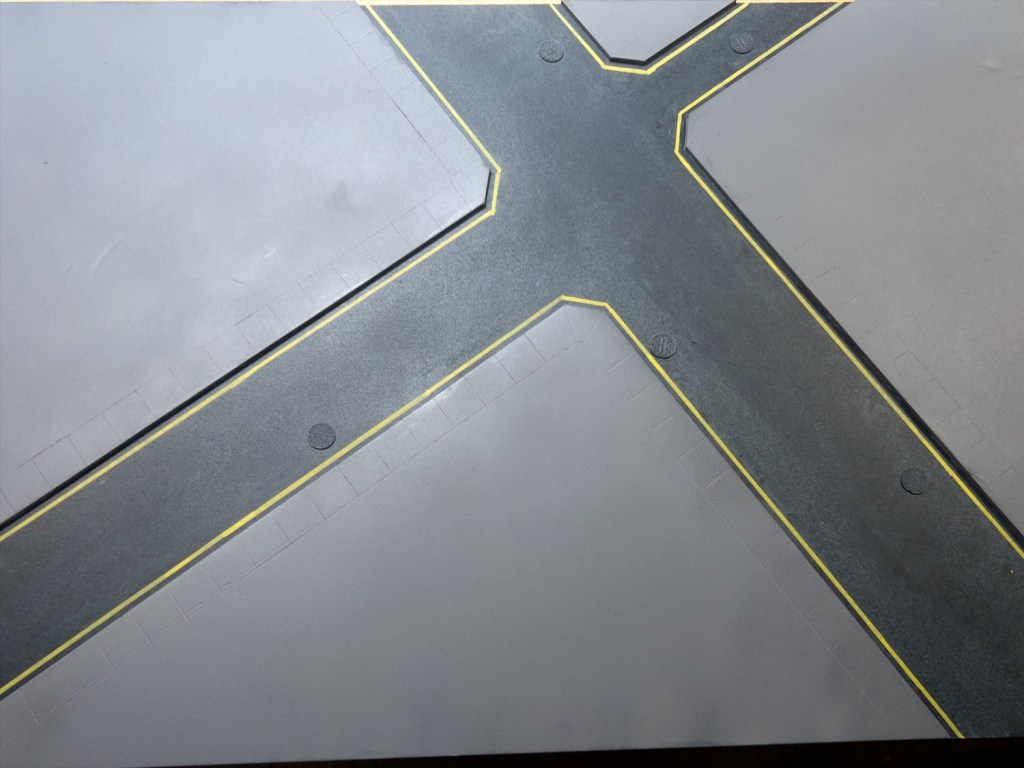
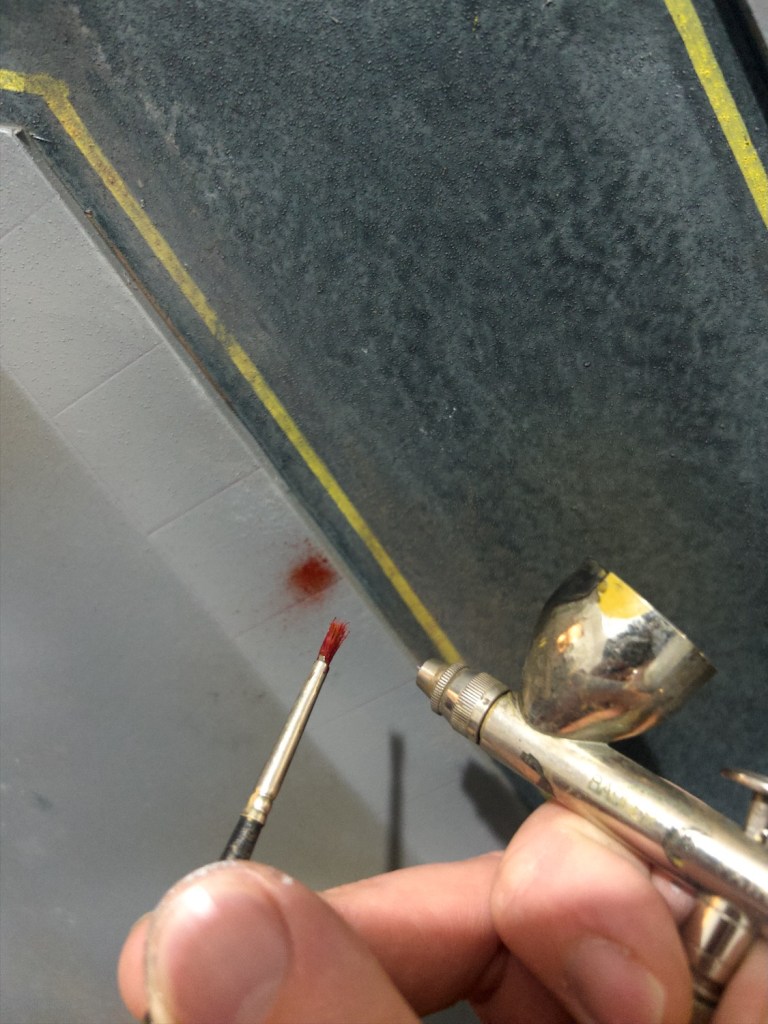
I wanted to show a photo of my setup for batch painting after a discussion with Jeff over at https://kuribospainting.com on holders for miniatures in the last post‘s comments.
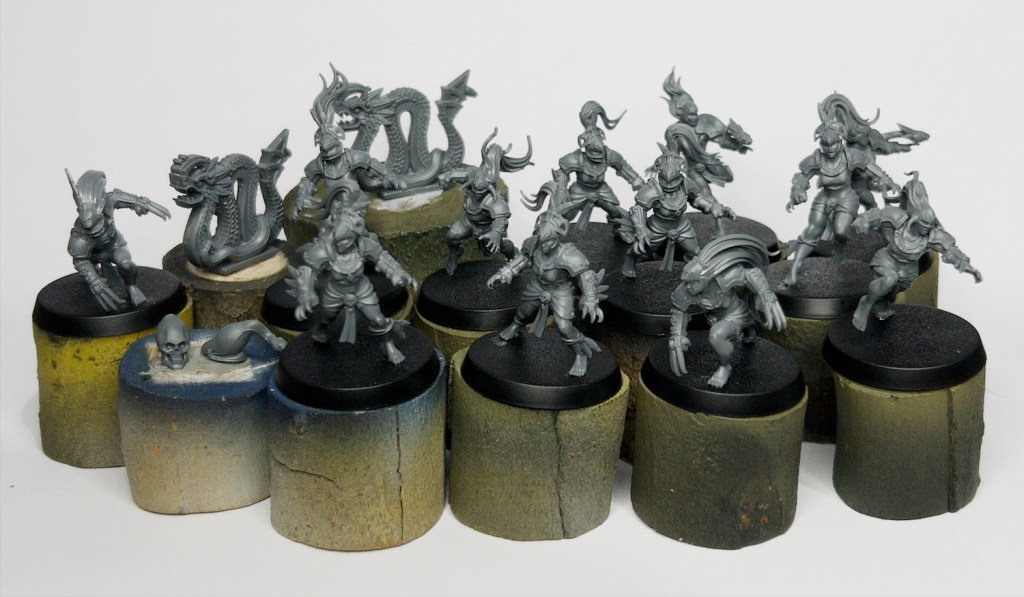
As you can see I tack on the models to some bits of branch I’ve cut up into ~4cm cylinders. I find these quite comfortable to hold and they have a nice bit of weight to them (they’re eucalyptus, so quite dense) which means the models don’t topple over. I prime the models like this and don’t take them off till I go paint the base rims. Having one per model is quite practical. You can also see some of the markers and the balls which I didn’t paint yet, I’ll get to them at a later date!

For the second instalment of From the shelves I have Fate Core from 2013.

Fate is a really interesting system that has clearly influenced a lot of later roleplaying games. I’ve played a decent amount of it over the years (although mostly an earlier version, which was part of the Dresden Files roleplaying game). As I mentioned earlier this book is from 2013 and represented a refreshed version of Fate. I’d actually never read it, so it’s been sitting on my shelves unread for 10 or so years. One good outcome of this series is that I’ve finally read through it.
The core concept of Fate is the Aspect system. The way that works is characters, antagonists, locations, basically anything in the game works have aspects, which are short descriptive sentences. These sentences can be used in the game to change what is happening by spending a resource called fate points. For example a player with a character with the aspect “Avid wargamer” could spend a fate point to get a bonus to a roll to do with statistics (this is called invoking an aspect), the player justifying this because their character is very familiar with probabilities. This works for locations too, if a location is “dimly lit”, the player could spend a fate point to get a bonus to hiding. The games master can also use these aspects to make the player’s life difficult (called a compel), for example by making the “Avid wargamer” fail to resist going into a games store when they’re meant to be meeting a friend somewhere else. When the GM does this, they offer the player a fate point which they can spend later for a positive bonus. This whole aspect system is very cool and makes the game really character driven.
There are quite a few other systems to the game but I’m focusing on aspects because I think they’re an interesting mechanic that I’d like to leverage in wargames. It would be quite easy to give aspects to units on the battlefield (e.g. “Bodyguard to the King”, “Want to prove themselves”, “Fled in the last battle”) and give players a pool of fate points they can use to invoke the aspects of their own troops for bonuses, or compel their opponent’s troops to do something negative, but passing a fate point to the opposition in so doing. I think it would be great fun for more narrative games.
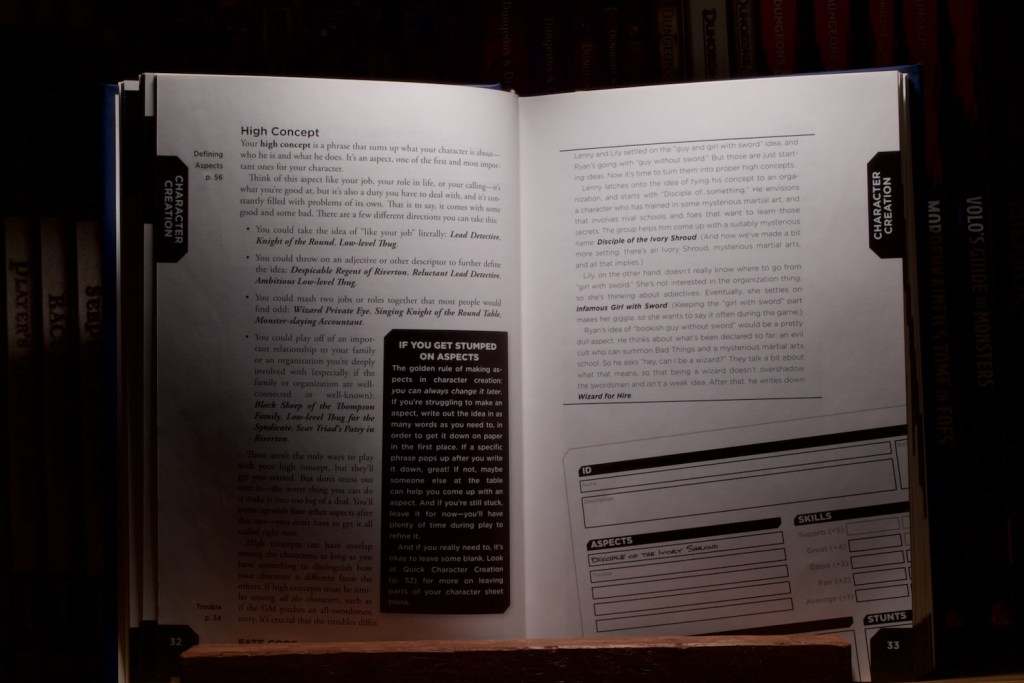
From a book writing perspective, I think this is a really well laid out book, with an abundance of clarifications for the reader. The pages above are a good representation of the style of the book, with a rules section (left page), a play example (right page, italics), and where appropriate an example of what the rule looks like on the character sheet. You also have these dark tabs on the edges of the pages that make it really easy to find sections by quickly flicking through the book.
Overall I’m impressed with the book, and really like what the game is doing. In practice my group has struggled with Fate, the system as a whole just doesn’t quite work for us and that’s why we stopped playing it. However it is packed with great ideas and I’ve re-used plenty of them throughout the years and plan on doing so plenty more in the future. Fate has also clearly had an impact on many later roleplaying games, and I find Fate mechanics or ideas all the time when reading/playing other roleplaying games.